
Easy Pumpkin Carving Ideas — Beginner Stencil is basically my yearly reminder that I can love Halloween vibes without being some kind of carving genius. If you have ever stared at a pumpkin and thought, I do not want to mess this up, you are in the right place. I like simple stencils, clean lines, and designs that look cute even if they are a little lopsided. We are keeping it beginner friendly, low stress, and actually doable on a weeknight. And yes, you can totally make this a cozy little fall moment with snacks and candles while you work. 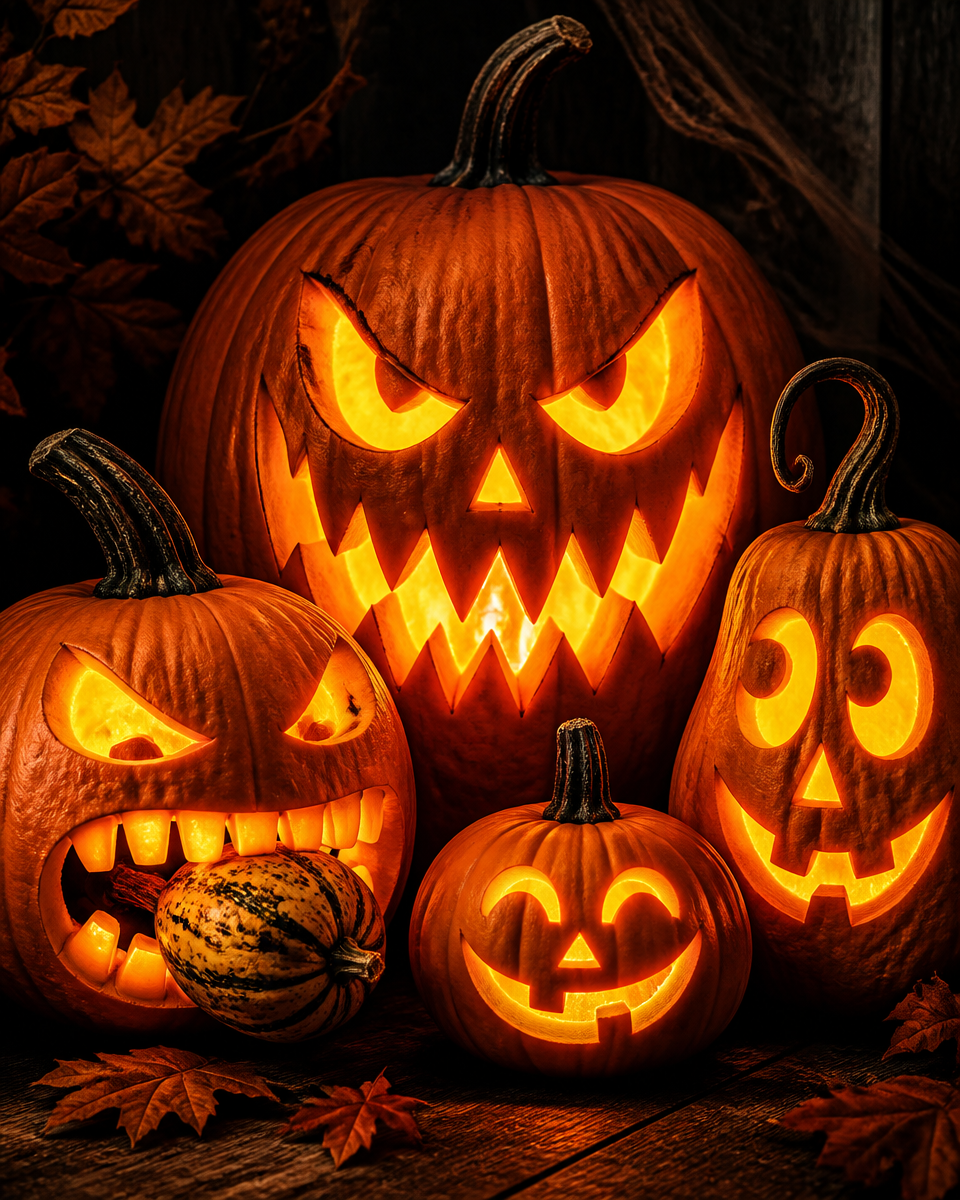
Easy Halloween pumpkin carving ideas
When I say easy, I mean the kind of pumpkins that still look great from the sidewalk, even if you did them in under an hour. My favorite approach is to pick a design that is bold and readable, because tiny details are where beginners get frustrated.
Here are a few easy Halloween pumpkin carving ideas that always work:
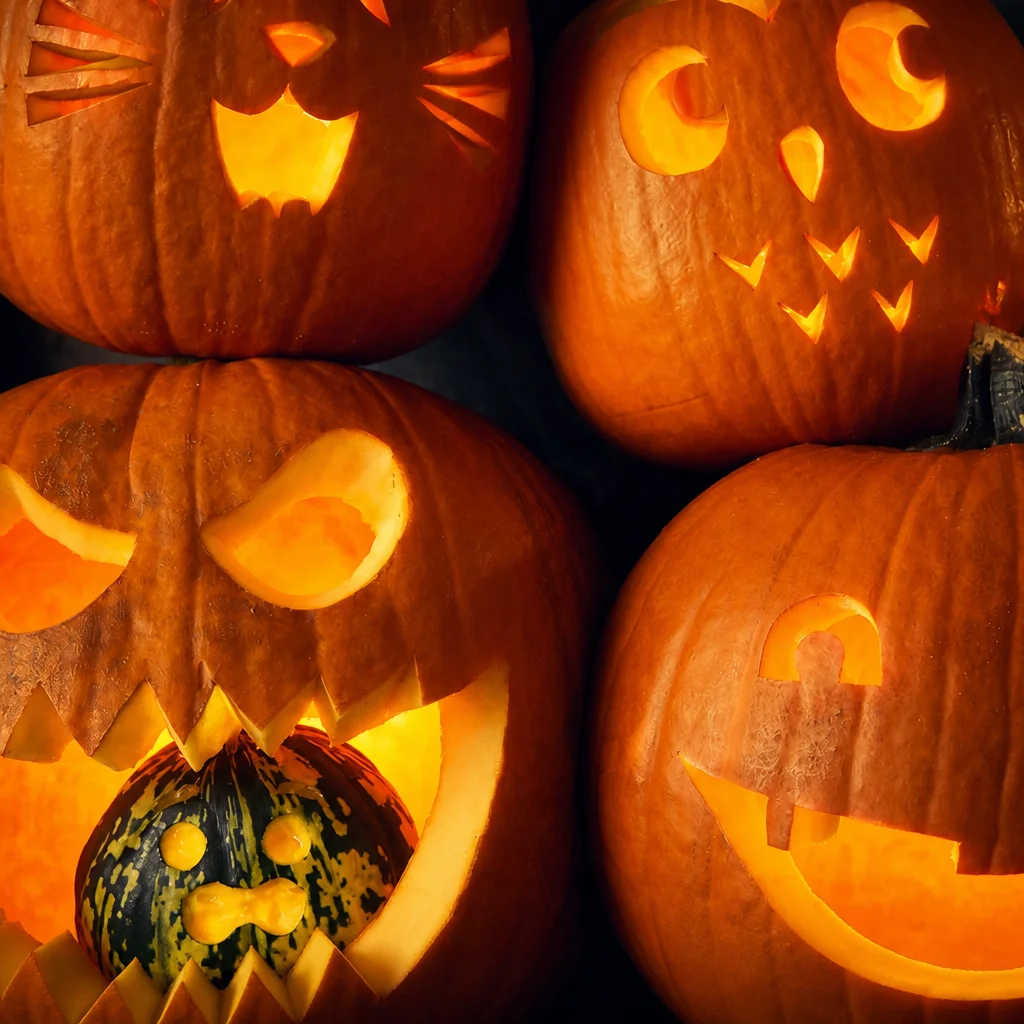
- Classic jack o lantern face with big triangle eyes and a wide smile. It is classic for a reason.
- Friendly ghost shape using a stencil. It looks impressive but it is mostly smooth curves.
- Big moon and a bat silhouette. Two shapes, lots of impact.
- Cat outline with pointy ears. Keep the whiskers thick, not thin.
- Simple name or house number cutout. Great if you want something different from faces.
If you want a cozy baking break between scooping seeds and carving, I love making a loaf of easy cream cheese pumpkin bread. It makes the kitchen smell like fall, and you get a snack reward for doing the messy pumpkin work.
The big secret is choosing designs with fewer “floating” pieces. If a shape is not connected to the rest of the pumpkin, it can fall in. For example, if you carve a circle pupil inside an eye, that little circle is going to drop. Instead, carve a bigger eye shape and let the candlelight do the rest.

Creative pumpkin carving tips for beginners
This is the part where I save you from the mistakes I made the first few years. I used to think harder stencil equals cooler pumpkin. Nope. The coolest pumpkin is the one you actually finish and feel proud putting on the porch.
My beginner stencil method that keeps it simple
Print your stencil, tape it on the pumpkin, then use a pin or toothpick to poke along the lines. When you remove the paper, you will see the dotted outline. Then you just carve along those dots like you are connecting them. It sounds almost too simple, but it really works.
Some creative pumpkin carving tips for beginners that make a big difference:
Go bigger than you think. Large shapes glow better and carve easier.
Carve slowly and keep checking the front view. Sometimes the angle makes a face look a little off, and you can fix it before it is too late.
Use painter tape to test placement. If you are doing a face, tape on paper eyes first and step back to see if it looks right.
Save the “oops” moments. If you nick a line, you can turn it into a scar, a wink, or a silly tooth.
Also, do not toss those pumpkin seeds. Rinse them and roast them later with salt, cinnamon sugar, or a little chili powder. That snack is basically the best part of carving, besides lighting the candle and turning off the porch light to admire your work.
I like having a warm drink nearby while I carve, and this easy pumpkin spice latte homemade fall drink is my go to. It keeps the mood fun, especially when my hands are cold from pumpkin guts.
I tried a beginner stencil for the first time and it actually looked like the picture. The poke the dots trick made it so much less stressful. I even did a second pumpkin the next day.
Tools and materials needed for successful pumpkin carving
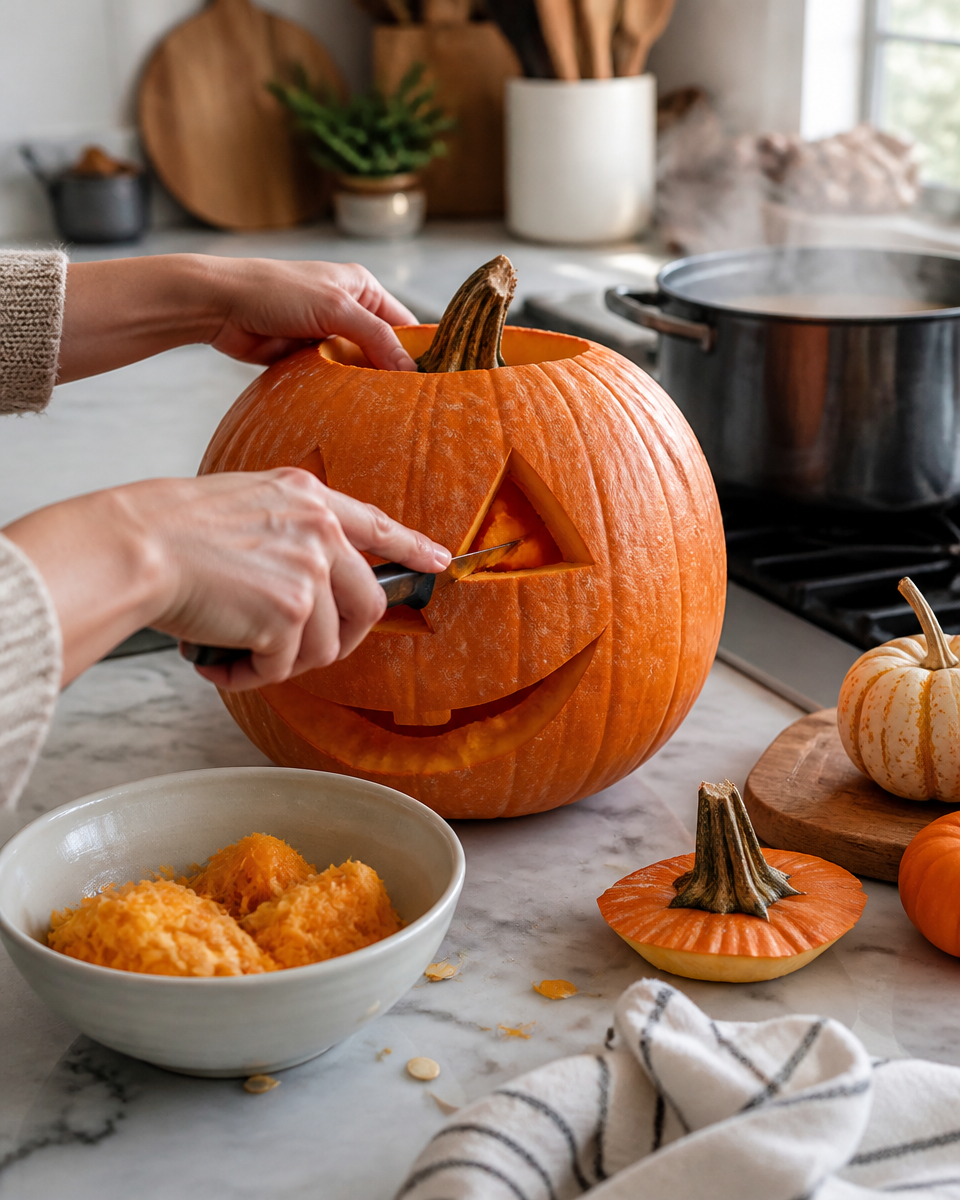
You do not need a fancy kit, but having the right basics makes your pumpkin look cleaner and helps you finish faster. I have done it with a kitchen knife before, but I do not recommend that if you can avoid it.
Here is what I keep on my counter for successful pumpkin carving:
- A medium pumpkin with a flatter front side. Warty pumpkins are cute but harder to stencil.
- A small serrated carving saw or pumpkin carving knife. A simple kit is fine.
- A sturdy spoon or scoop for cleaning out the inside.
- Marker for freehand touch ups if you need them.
- Pins or toothpicks for transferring stencil lines.
- Newspaper or a disposable tablecloth for easy cleanup.
- A bowl for seeds and stringy bits.
- Battery LED light or tea light candle. I prefer LED if kids are around.
;
A quick pumpkin tip that feels almost like a magic trick: after you carve, rub a tiny bit of petroleum jelly on the cut edges. It helps slow down drying and shriveling, so your design lasts longer.
And if you are hosting a little carving night, something easy and warm for dessert is always a win. This easy pumpkin pecan cobbler is the kind of thing people scoop into bowls while admiring everyone’s pumpkins on the porch.
Safety tips for carving pumpkins
I know, safety tips are not the exciting part, but they matter. Pumpkins are slippery, knives are sharp, and this is one of those activities where a tiny mistake can ruin the whole night. These are the rules I personally follow every year.
Easy safety habits that actually help
Cut away from your hand every single time, even for small pieces.
Keep the pumpkin steady by putting a damp towel under it so it does not roll.
Use the right tool and do not force it. If you are pushing hard, switch angles or use a smaller saw.
Let kids do the safe jobs like scooping seeds, poking stencil dots, and wiping the outside.
Take breaks if your hand is tired. Tired hands slip.
One more thing people forget: if you are lighting with a real candle, keep the flame away from the lid and make sure the candle sits on a flat base. If the candle tips, it can smoke up your design or worse. Honestly, LED lights look great and you can set a timer and forget it.
Unique themes and designs for pumpkin carvings
If you want your porch to look like you planned it on purpose, themes help. You can still use Easy Pumpkin Carving Ideas — Beginner Stencil designs, just pick a set that matches. I love a theme because it makes even simple carvings feel extra special.
Theme ideas that look amazing in a group
Spooky cute lineup: smiling ghost, friendly bat, and a simple cat face.
Classic horror light: big moon, haunted house silhouette, and a basic skull shape.
Fall not scary: leaves, stars, acorns, and a cozy word like “hello” or “boo.”
Family set: one pumpkin per person with their initials or a simple icon they pick.
I also like mixing carving with no carve details. For example, you can carve a simple face and add a little hat, or use toothpicks to attach felt shapes. It is forgiving, and it makes the pumpkin feel custom without extra knife work.
If you are going for that full fall night experience, I would absolutely pair carving with a warm drink like this easy pumpkin spice latte homemade fall drink, and maybe a snack slice of easy cream cheese pumpkin bread for anyone who shows up “just to watch” and somehow ends up carving anyway.
And yes, I just said it again because Easy Pumpkin Carving Ideas — Beginner Stencil really is the vibe. It is simple, it is doable, and it still gives you that glowy porch moment when you step back and smile.
Common Questions
What is the easiest pumpkin carving design for a total beginner?
A classic jack o lantern face with big eyes and a wide mouth. Simple shapes carve cleanly and glow really well.
How do I keep my stencil from sliding on the pumpkin?
Tape it in several spots and pick the flattest side of the pumpkin. If it is still shifting, use extra tape on the top and bottom edges.
Should I cut the lid from the top or the bottom?
Bottom is easier for lighting because you can lift the pumpkin and set it over the candle or LED. But top is fine if you angle the cut so the lid does not fall in.
How long will a carved pumpkin last?
Usually 3 to 7 days depending on weather. Keeping it cool and rubbing a little petroleum jelly on cut edges can help it last longer.
Can I carve the pumpkin a day early?
Yes. Store it somewhere cool, and if you can, wrap it loosely and keep it out of direct sun. It will still look great the next night.
A cozy send off for your carving night
Keep it simple, pick a bold design, and trust the stencil process. Easy Pumpkin Carving Ideas — Beginner Stencil projects do not need perfection to look awesome on your porch. If you want even more options, I like browsing 100+ Easy Halloween Pumpkin-Carving Stencils – HGTV when I need a quick win, and 26 Pumpkin Carving Stencils for the Best Jack-o – Real Simple when I want something classic and clean. Light your pumpkin, turn off the lights, and enjoy that little glow you made with your own hands. Then reward yourself with something cozy from the kitchen and call it a perfect fall night.
Easy Pumpkin Carving Ideas
Ingredients
Method
- Select a beginner-friendly pumpkin carving design.
- Print and tape your stencil on the pumpkin.
- Use a pin or toothpick to poke dots along the lines of the stencil.
- Remove the stencil to reveal the dotted outline.
- Carefully carve along the dotted lines.
- Go slowly and check your work regularly to ensure the pumpkin looks as intended from the front.
- Rinse and roast pumpkin seeds while enjoying a warm drink.
- Rub a bit of petroleum jelly on the cut edges to preserve your pumpkin’s design.
- Light your pumpkin and step back to admire your handiwork.
