pecan pie cobbler is what I make when I want the cozy vibes of pecan pie but I do not feel like babysitting a fussy crust. You know those nights when you promised dessert, but you are tired and the sink is already giving you dirty looks. This is that recipe that saves the day, smells like a holiday kitchen, and still feels special on a random Tuesday. It comes out gooey in the middle, crisp on top, and basically begs for vanilla ice cream. If you love that brown sugar and toasted pecan flavor, you are in the right place.
What Is Pecan Pie Cobbler?
Think of this as pecan pie’s laid back cousin. Instead of a single neat pie shell, pecan pie cobbler bakes in a dish with a simple crust or batter situation that puffs and browns while the filling turns sticky and rich underneath.
My favorite part is the texture. You get a buttery topping that feels like cobbler, plus that classic pecan pie filling flavor that tastes like caramel and toasted nuts. It is also easier to scoop and serve for a crowd, which is honestly why I started making it in the first place.
Here is how I explain it to friends: if pecan pie and a buttery cobbler had a baby, this would be it.
What Is the Difference Between Pecan Pie Cobbler and Regular Pecan Pie?
Regular pecan pie is all about the crust being a firm container for the filling. It slices cleanly if it is cooled properly, and it is usually baked in a pie plate with one bottom crust.
pecan pie cobbler is more casual and scoopable. The topping can be pastry like, biscuit like, or even cake mix based, and the filling tends to stay softer and gooier. It is meant to be served with a spoon, not a perfect pie server.
Also, cobbler is forgiving. If it bakes a few minutes longer or shorter, it still tastes amazing. With pie, the filling can swing from runny to over set pretty fast.
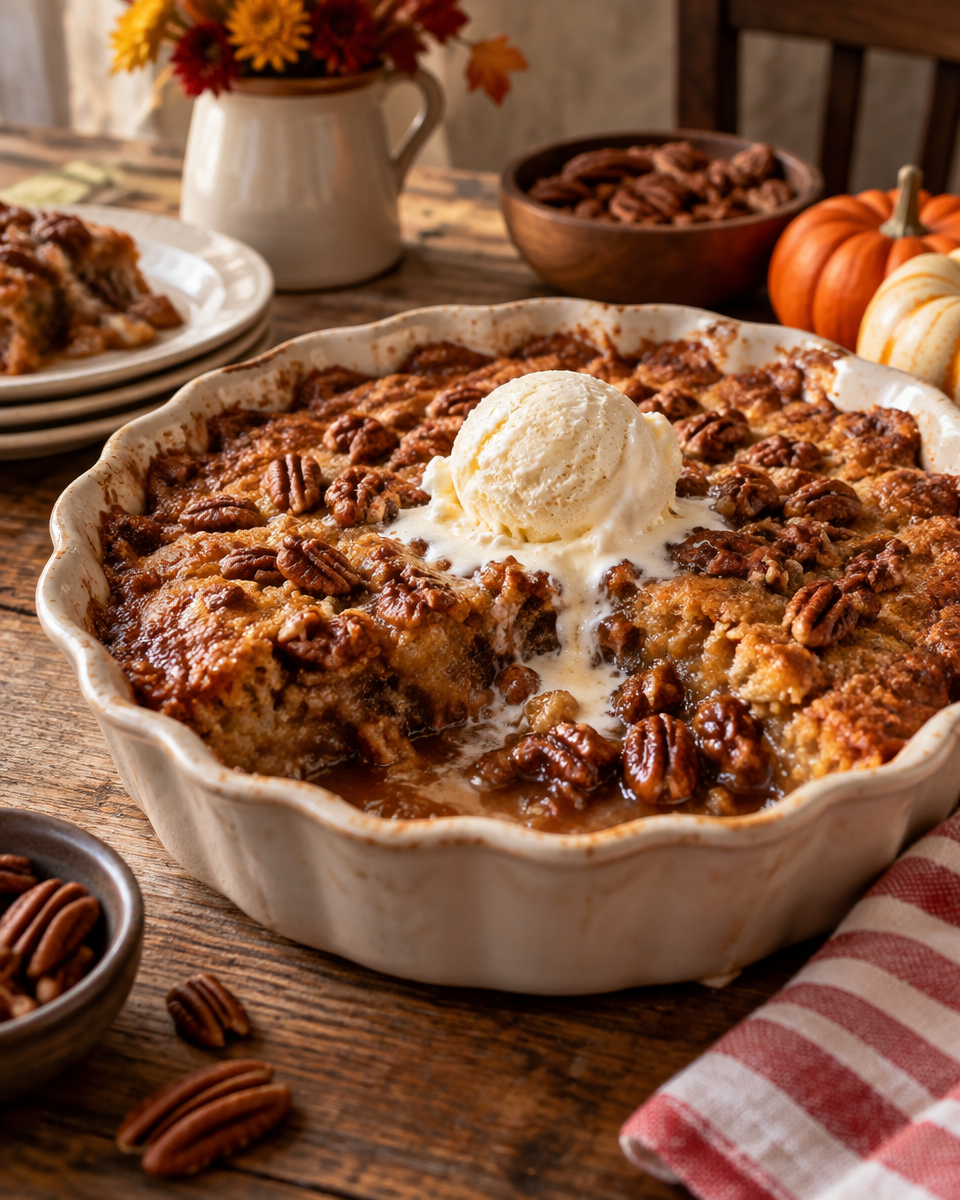
What Is the Best Crust for Pecan Pie Cobbler?
For me, the best crust depends on what kind of day I am having.
If I want that real deal buttery bite, I go with a simple homemade crust style topping that you press or dollop. If I want maximum ease, I lean into shortcuts that still taste homemade once they bake up golden.
My go to crust options
- Buttery biscuit style topping: soft, tender, and easy to spoon over the filling.
- Pie dough topping: store bought or homemade, cut into rough pieces and layered over the top.
- Simple batter cobbler: flour, baking powder, milk, and butter, then pour and bake.
If you want something snacky and crunchy for another day, I am also obsessed with this deliciously easy pecan pie bark recipe. It scratches the pecan pie itch without even turning on your oven for long.
Tips for the Perfect Gooey Pecan Pie Cobbler
This is the section where I save you from the two most common heartbreaks: dry cobbler and burned pecans. Here is what works every time in my kitchen.
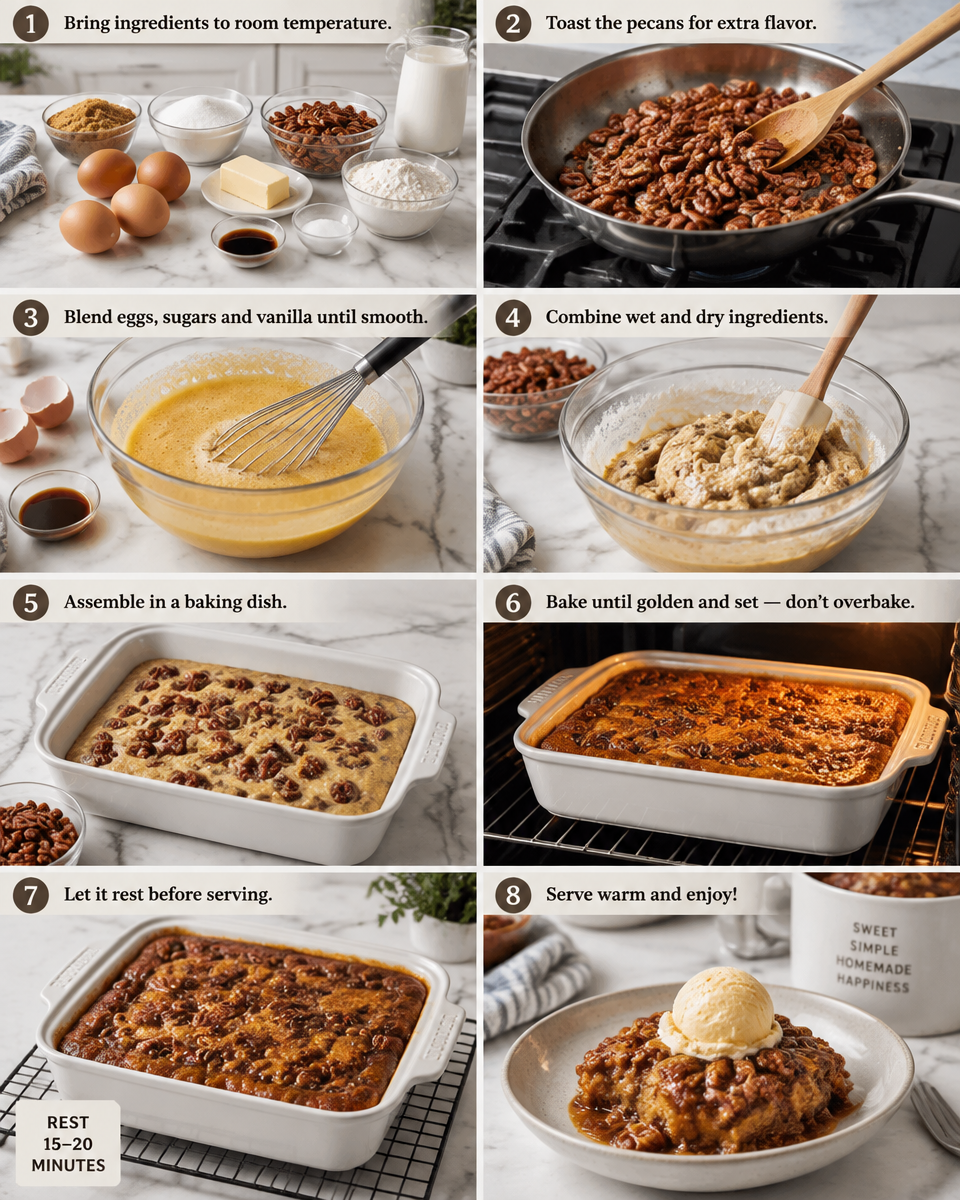
Use room temperature eggs if you can. It helps the filling blend smoothly so you do not get streaks of egg in the gooey middle. If you forgot, just place the eggs in a bowl of warm water for 5 minutes.
Toast the pecans lightly first if you have an extra 6 to 8 minutes. It makes them taste deeper and nuttier. If you skip it, the cobbler is still good. Toasting just makes it great.
Do not overbake. The center should jiggle a little when you gently shake the dish. It will set more as it cools. Overbaking turns the gooey filling into something closer to candy, and not in the fun way.
Protect the pecans if they brown too fast. Loosely cover the dish with foil for the last 10 to 15 minutes if needed.
“I made this for a family dinner and it disappeared in minutes. The middle stayed perfectly gooey and the top was crisp and buttery. I am officially making it for Thanksgiving too.”
One more tip: let it rest for at least 15 minutes before serving. This is the hardest part because the smell is unreal, but it helps the filling thicken up.
Can You Make Pecan Pie Cobbler With a Cake Mix?
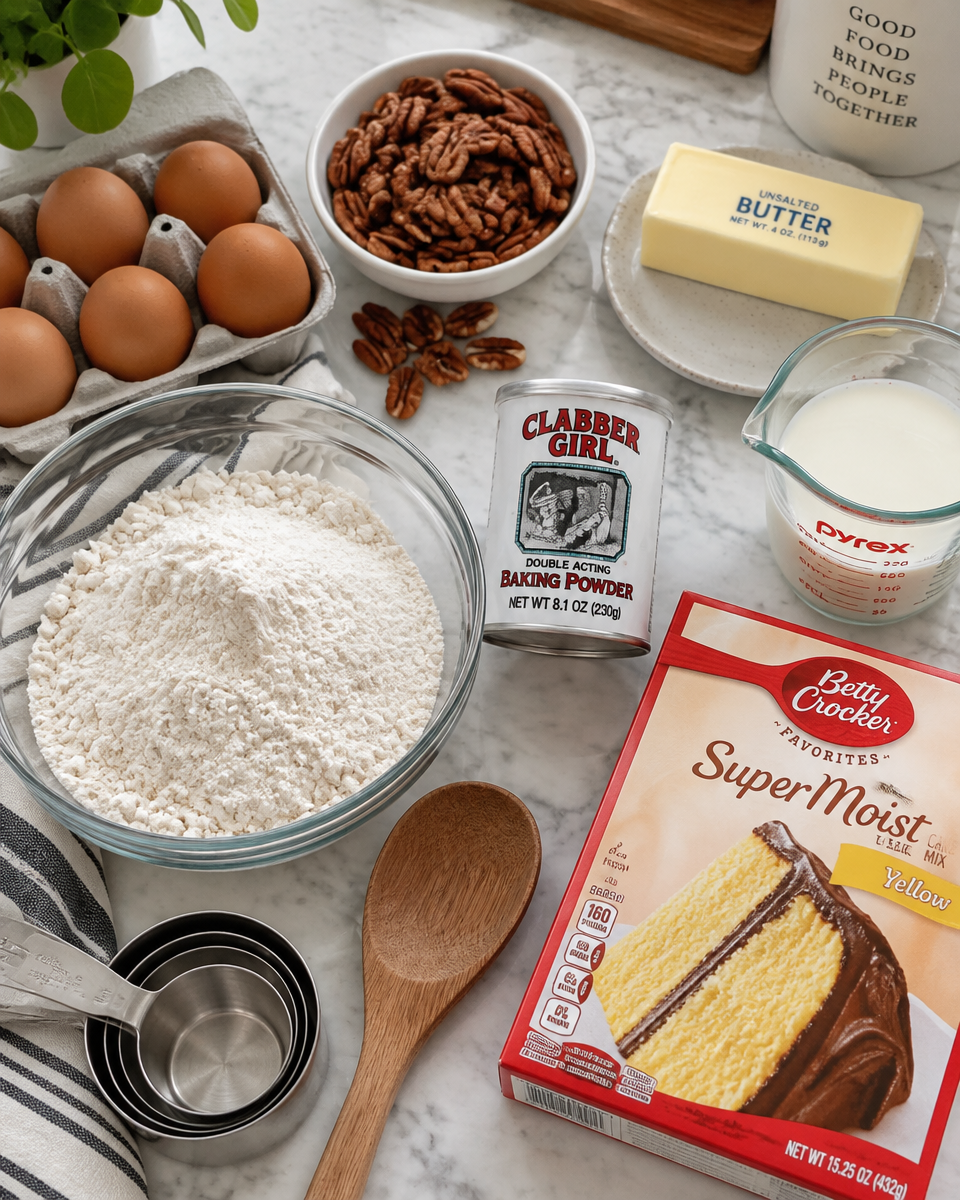
Yes, and I am not ashamed to say it. Cake mix can make pecan pie cobbler even easier, especially if you are bringing dessert somewhere and you do not want to measure a bunch of dry ingredients.
The basic idea is to make the filling first, then sprinkle dry cake mix over the top and drizzle melted butter so it bakes into a crisp topping. Yellow cake mix is the classic choice. Butter pecan cake mix is also amazing if you can find it.
If you like easy shortcuts like this, you might also want to try these easy lazy pecan pie bars for parties. They travel well and people always ask for the recipe.
Can You Make Pecan Pie Cobbler Ahead of Time?
You can, and it is a lifesaver during the holidays. Here are the two ways I do it.
Option 1: Bake it earlier in the day. Let it cool, cover it, and keep it at room temperature for a few hours. Then warm it up before serving.
Option 2: Prep components. Mix the filling and keep it in the fridge. Keep your dry topping ingredients ready in another container. When you are ready, assemble and bake. This keeps the topping from getting weird or soggy.
I do not recommend fully assembling it the night before and leaving it unbaked, because the topping can absorb moisture and bake up heavier than you want.
Should You Serve Pecan Pie Cobbler Warm or Cold?
Warm. Always warm in my house. Warm pecan pie cobbler is where the gooey center shines and the topping feels crisp and buttery.
That said, I have eaten it cold straight from the fridge while standing in front of the open door like a little goblin, and it was still very good. Cold it is more set and fudgy, like a thick pecan pie bar.
If you are serving guests, warm it and add vanilla ice cream or fresh whipped cream. The contrast is perfect.
How to Store and Reheat Pecan Pie Cobbler
This dessert stores better than you would think, which is great because you will want leftovers.
Storing: Cover the baking dish tightly or transfer to an airtight container. Refrigerate for up to 4 days.
Reheating: For the best texture, warm it in the oven at 300 F until heated through, usually 10 to 15 minutes for a small portion or 20 minutes for a bigger dish. Microwave works too, but the topping softens a bit. I do the microwave when I am impatient.
If you are reheating a lot, cover loosely with foil so the top does not get too dark.
Frequently Asked Questions About Pecan Pie Cobbler
Q: Why is my cobbler runny?
It probably needed a little more baking time, or it was served too soon. Let pecan pie cobbler rest at least 15 minutes so it thickens as it cools.
Q: Can I use light corn syrup instead of dark?
Yes. Dark corn syrup gives a deeper caramel flavor, but light works fine. You can also do half and half.
Q: Do I have to use corn syrup?
Not strictly, but it helps with that classic texture. If you swap it, the filling may set differently. Maple syrup can work, but it will taste more maple forward and can be a bit looser.
Q: Can I use chopped pecans instead of halves?
Totally. Halves look pretty, chopped is easier to scoop. I often do a mix so you get good coverage plus a few nice pieces on top.
Q: What size pan should I use?
A 9 by 13 inch baking dish is great for a crowd. For a smaller batch, an 8 by 8 works, just watch the bake time since it can change.
More Easy Pecan Pie Dessert Recipes
If you are on a pecan kick, I get it. Once you buy a bag of pecans, suddenly you want to use them in everything.
For a creamy dessert that feels fancy but is actually low effort, this easy no bake pecan pie cheesecake is a total win. It is cool, sweet, and perfect when you do not want to turn on the oven.
And if you want another crunchy treat for gifting or snacking, I have to mention this again because it is so addictive: deliciously easy pecan pie bark recipe. I have wrapped it in little bags for neighbors and they always text me like, what is in this and why can I not stop eating it?
A Sweet Finish and a Little Nudge to Try It
If you have been craving something cozy and simple, pecan pie cobbler is the kind of dessert that makes your kitchen smell like you worked way harder than you did. Keep it gooey, do not stress about perfection, and serve it warm with ice cream if you can. For more inspiration, I also like checking out Pecan Pie Cobbler – WellPlated.com to compare little variations and serving ideas. Now grab that baking dish and make it happen, because you deserve a dessert that feels like a hug.
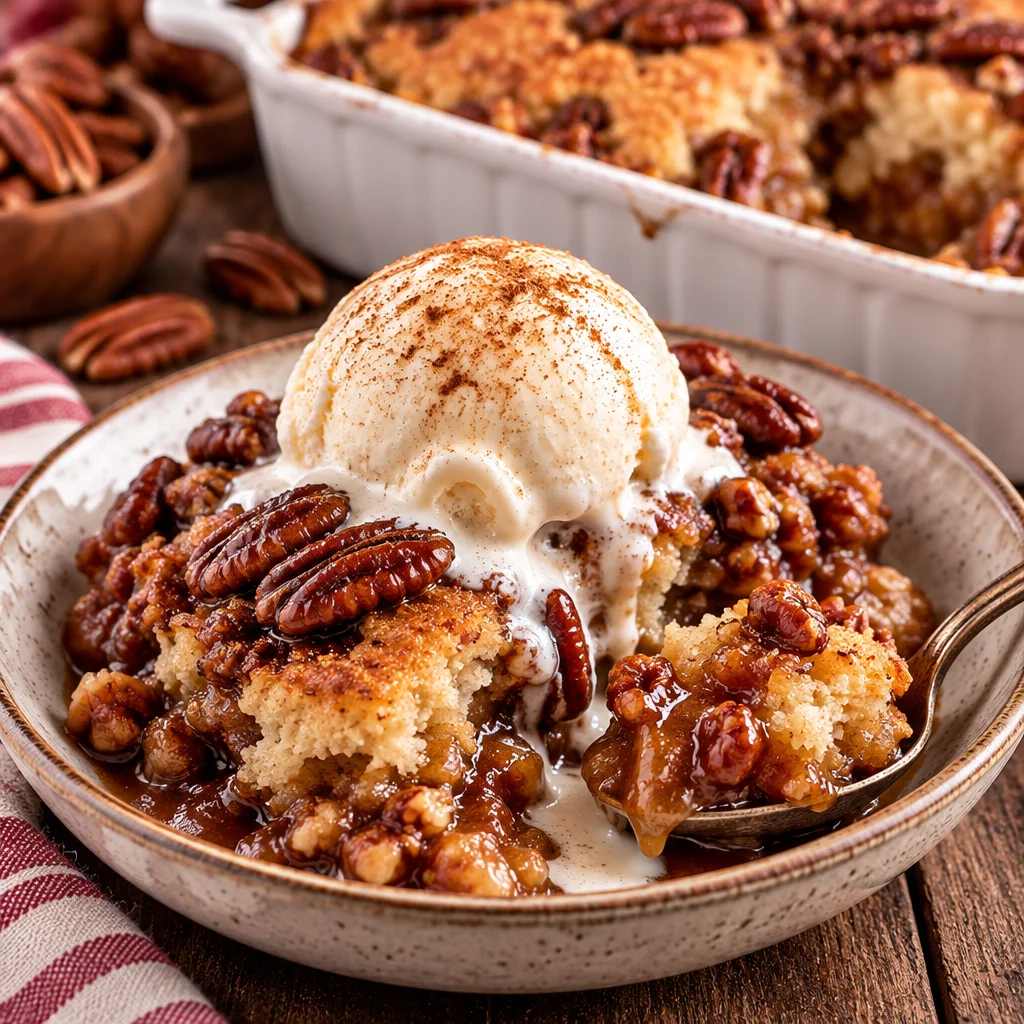
Pecan Pie Cobbler
Ingredients
Method
- Preheat the oven to 350°F (175°C).
- In a large bowl, whisk together the eggs, corn syrup, brown sugar, vanilla, and salt until well combined.
- Stir in the chopped pecans to the mixture.
- In another bowl, mix the flour, baking powder, sugar, milk, and melted butter until smooth.
- Pour the pecan filling into a greased baking dish.
- Dollop the batter over the filling and spread it gently.
- Bake in the preheated oven for 30-35 minutes until the top is golden brown and the center jiggles slightly.
- Let the cobbler rest for at least 15 minutes before serving.
- Serve warm with a scoop of vanilla ice cream or fresh whipped cream.