
Halloween Marshmallows are my go to fix when I want something cute and festive but I do not have the energy for a full dessert project. You know that feeling when you promised “something fun” for a Halloween party or a kids movie night, and suddenly it is the night before? Yep, this is for that moment. These are sweet, a little spooky, and honestly kind of relaxing to make once you get rolling. I also love that you can make them look fancy with very little effort. Let’s do it in a way that actually works in a real kitchen, not a picture perfect one.
What Are Halloween Marshmallows?
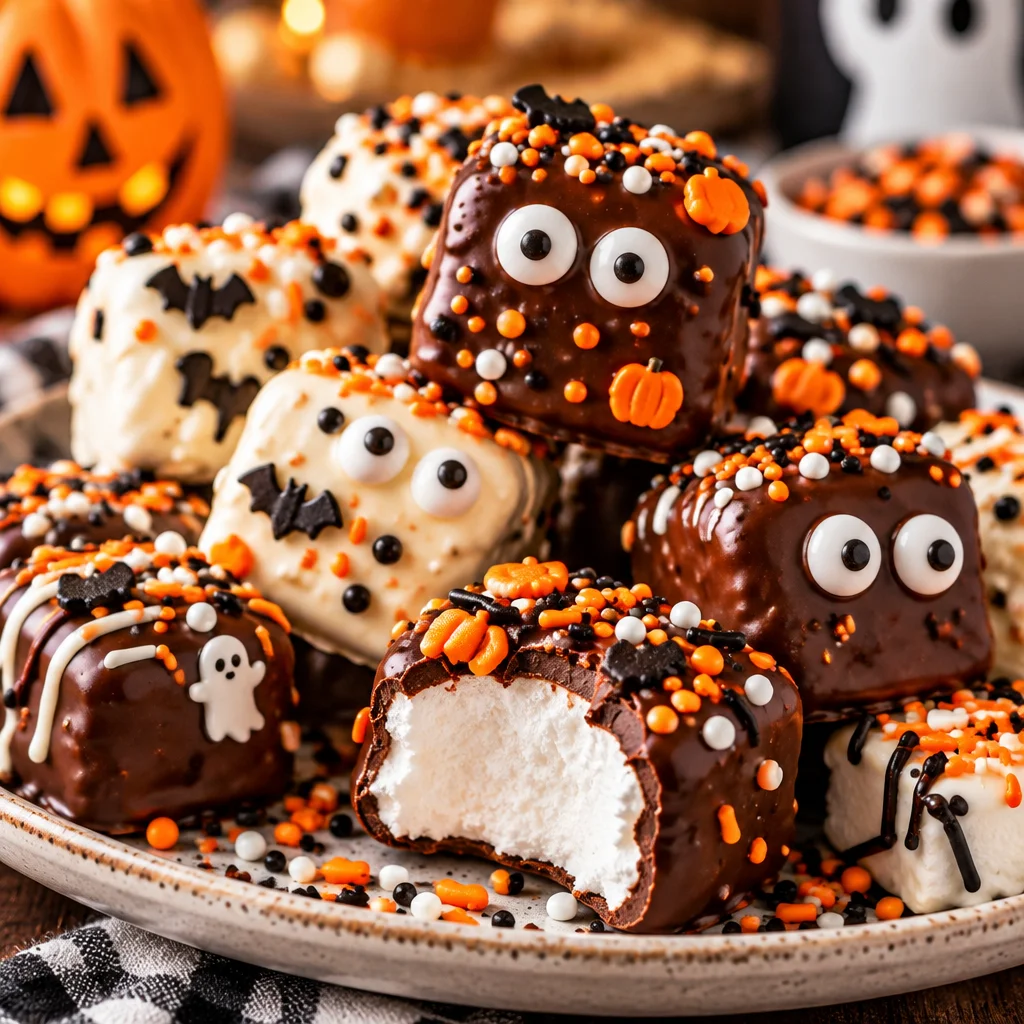
These Halloween Marshmallows are basically fluffy marshmallows dipped in melted chocolate or candy melts, then decorated with simple faces and spooky details. The reason it works is that marshmallows are light, dry, and easy to handle. Once dipped, the coating sets up and gives you that satisfying snap when you bite in.
I like this recipe because you can make a tray of them in under an hour, and you can make them look different even if you only have one or two colors. If you mess up a face, no big deal. Call it a monster and move on.
Halloween Marshmallows Ingredients
I am keeping this practical. You do not need fancy gear, but a few little things make it way easier and less messy.
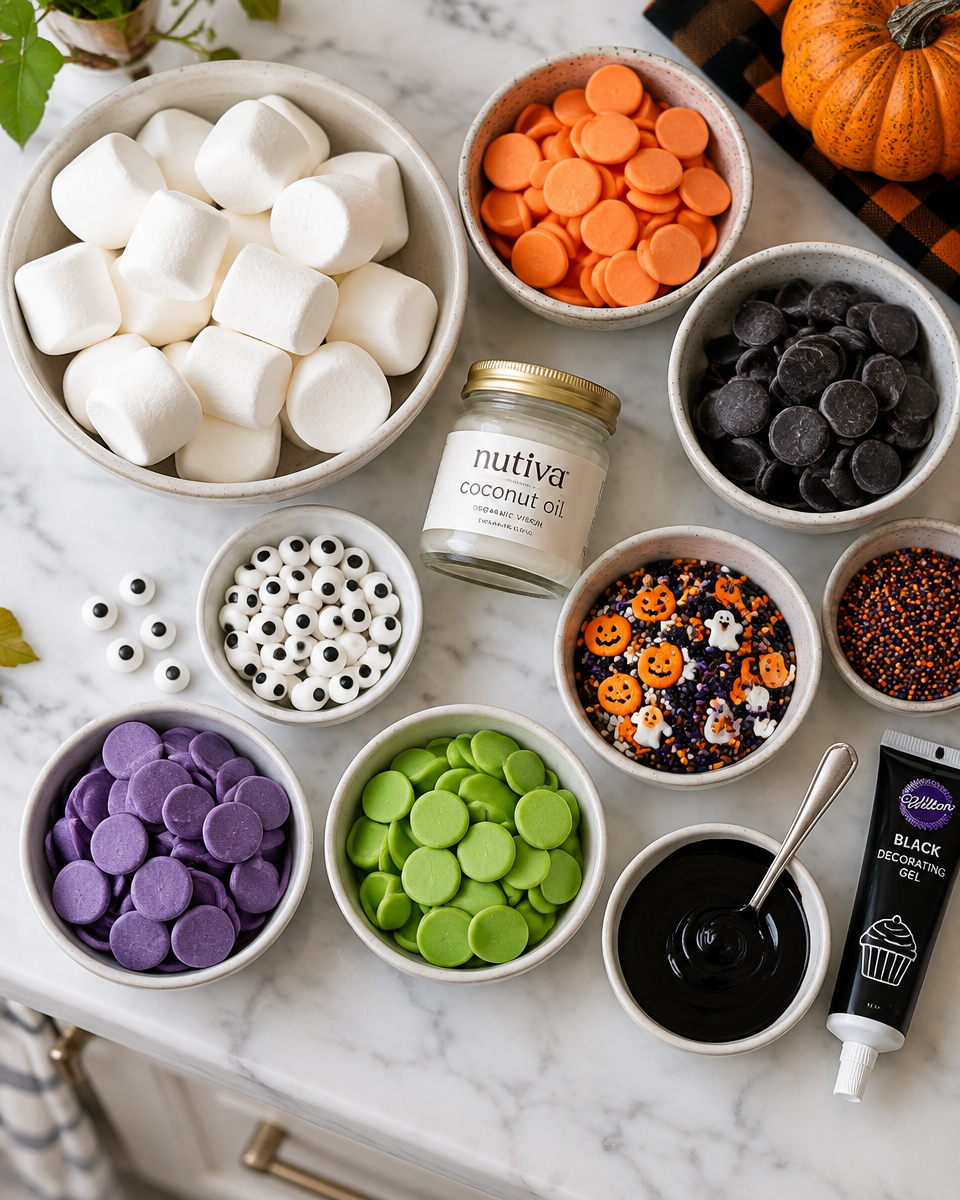
Ingredients
- Large marshmallows (fresh ones work best, stale ones get tough)
- Candy melts or chocolate chips (white, milk, or dark)
- 1 to 2 teaspoons coconut oil or vegetable shortening (optional, helps the coating melt smoother)
- Sprinkles (Halloween mix, black and orange, or whatever you have)
- Edible eyes or mini chocolate chips for eyes
- Black decorating gel or melted dark chocolate in a baggie for faces
Tools
- Baking sheet
- Parchment paper or wax paper
- Microwave-safe bowl (or a small pot for stove melting)
- Forks or dipping tools
- Toothpicks for details
- Small piping bag, or a zip-top bag with the tiniest corner snipped
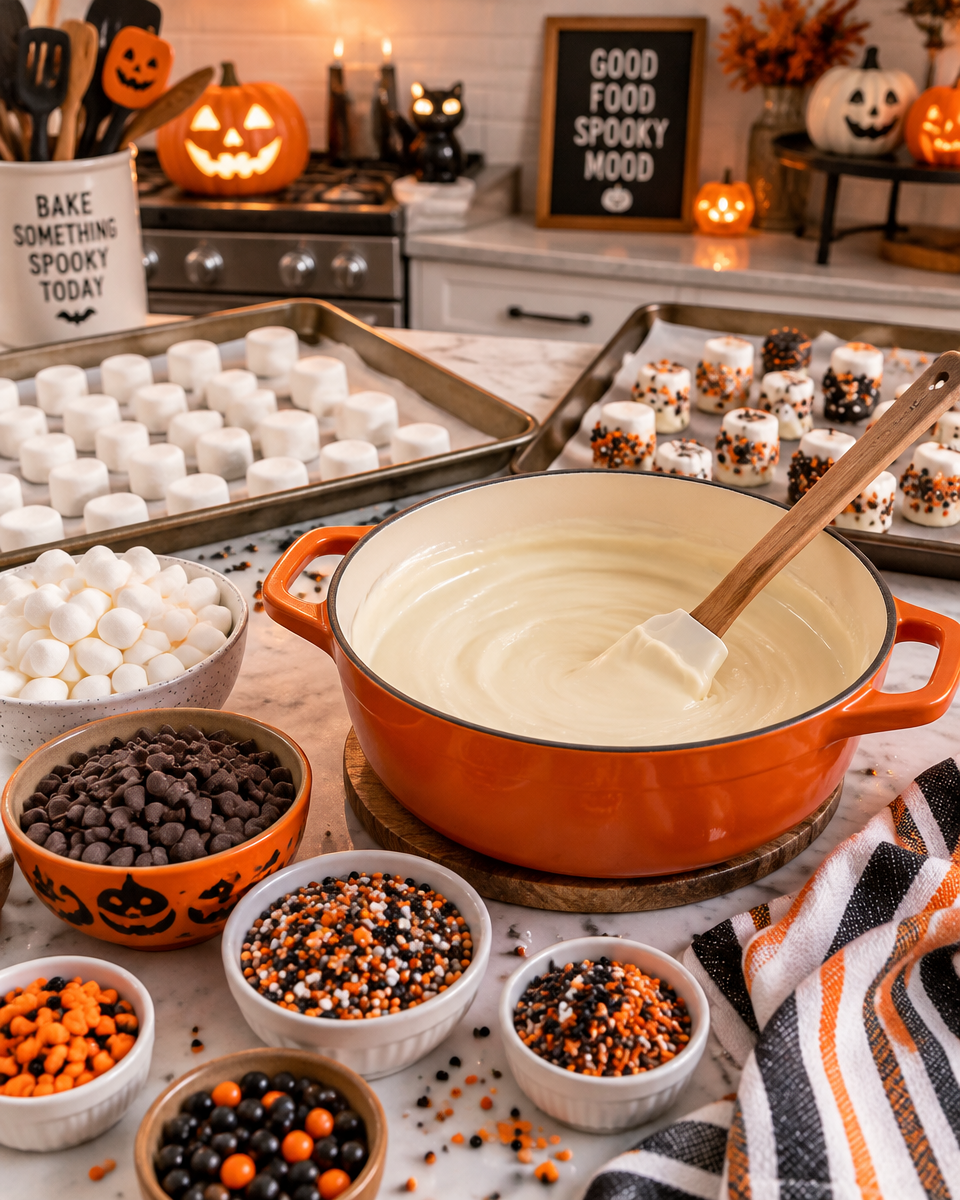
How to Make Halloween Marshmallows
The method is simple once everything is set up. Having your decorations ready before melting the coating makes the process easier and less messy.
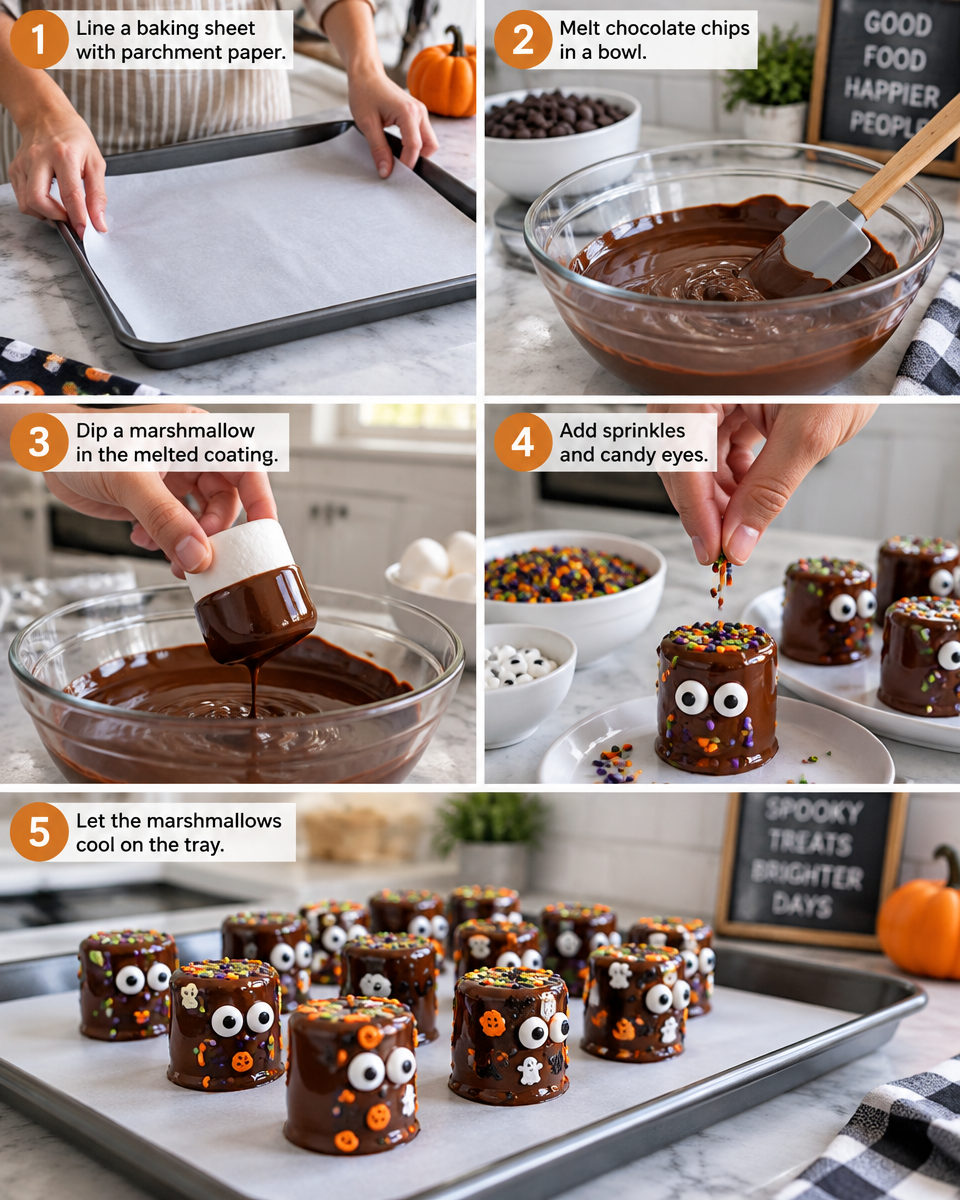
Step 1: Set Up Your Station
Line a baking sheet with parchment. Open your sprinkles and decorations. If you wait until after dipping to open things, your coating will start setting and you will be rushing, which is when the mess happens.
Step 2: Melt Your Coating
Add candy melts or chocolate chips to a bowl. Microwave in 20 to 30 second bursts, stirring each time. Stop as soon as it is mostly melted and stir until smooth. If it feels thick, stir in a tiny bit of coconut oil or shortening. Do not add water. Even a little water can make chocolate seize and turn grainy.
Step 3: Dip the Marshmallows
Drop a marshmallow into the melted coating and roll it around with a fork. Lift it out, tap the fork gently on the side of the bowl to remove extra coating, then slide the marshmallow onto the parchment.
If you are making pops, push a lollipop stick into each marshmallow first, then dip while holding the stick. Pops are great for kids, but they do take up more space to dry.
Step 4: Decorate Right Away
While the coating is still wet, add sprinkles or stick on candy eyes. If you are doing “mummies,” drizzle thin lines of white coating across the marshmallow and add eyes before it sets. If you are doing “ghosts,” keep it simple: white coating, two eyes, one tiny mouth.
For details like mouths or stitches, wait until the base coating is set, then pipe on the face with black gel or melted chocolate.
Step 5: Let Them Dry Until Set
Let the tray sit at room temperature for about 20 to 40 minutes, depending on your kitchen. If your house is warm, you can pop the tray in the fridge for 10 to 15 minutes, but do not leave them too long or condensation can form when they come back out.
Tips for the Best Halloween Marshmallows
If your candy melts are too thick, do not keep microwaving over and over. That can overheat them. Warm them gently, stir a lot, and thin with a touch of coconut oil if needed.
Set up your decorations before you start dipping. Chocolate and candy melts can begin to firm up quickly, so having everything within reach makes decorating much easier.
For simple Halloween designs, stick with ghosts or mummies. Candy eyes and a few lines of melted chocolate can make even basic marshmallows look festive without needing complicated decorating techniques.
How to Store Halloween Marshmallows
Halloween Marshmallows are best in the first 2 to 3 days because the marshmallow stays super fluffy. After that, they are still good, but the coating can start to dull a little and the marshmallow can get slightly chewy.
Drying: Let them set fully before packing. If they feel even a tiny bit tacky, give them more time.
Storage: Keep them in an airtight container at cool room temperature. Add parchment between layers so decorations do not rub off.
Fridge or freezer: I usually avoid the fridge because moisture can cause sweating. If you must refrigerate, seal them really well and let them come to room temp slowly while still sealed.
Make ahead: You can dip and decorate the day before a party with no problem. If you are making pops, store them upright in a cup or foam block so the coating does not smudge.
Frequently Asked Questions About Halloween Marshmallows
Can I use regular chocolate chips instead of candy melts?
Yes. Chocolate chips work, but they can be thicker. Add a small amount of coconut oil or shortening to help with smooth dipping.
Why is my coating clumpy or stiff?
Usually it is overheated or a little moisture got in. Melt slowly, stir often, and keep all tools completely dry.
How do I make them look neat if I am not “artsy”?
Pick one simple style like ghosts or mummies. Use candy eyes and a tiny dot mouth. Simple always looks intentional.
Can I color white chocolate for Halloween colors?
Yes, but use oil-based food coloring made for chocolate. Regular liquid coloring can mess up the texture.
Are Halloween Marshmallows safe to make with kids?
Yes, with adult supervision. Kids can help with sprinkles and faces, while an adult handles the melting and dipping because the coating is hot.
Final Thoughts
If you make these Halloween Marshmallows, do not stress about perfection. The fun is in the goofy faces and the mix of designs on the tray. Set up your toppings first, dip in small batches, and let them dry fully before packing. Now go make a tray, put on a spooky movie, and enjoy the easiest Halloween treat that still gets all the compliments.
Halloween Marshmallows
Ingredients
Method
- Line a baking sheet with parchment paper and set up sprinkles and decorations.
- In a microwave safe bowl, add candy melts or chocolate chips. Microwave in 20-30 second bursts, stirring after each, until mostly melted. Stir until smooth, adding coconut oil if necessary.
- Drop each marshmallow into the melted coating, roll it around with a fork, then lift it out, tapping off any excess coating.
- If making pops, insert a stick into the marshmallow before dipping.
- Immediately decorate the dipped marshmallows with sprinkles or candy eyes while the coating is still wet.
- To add details like mouths or stitches, wait until the base coating is set, then pipe on with black gel or melted chocolate.
- Allow the marshmallows to dry until set, approximately 20-40 minutes at room temperature, or cool in the fridge for 10-15 minutes.
