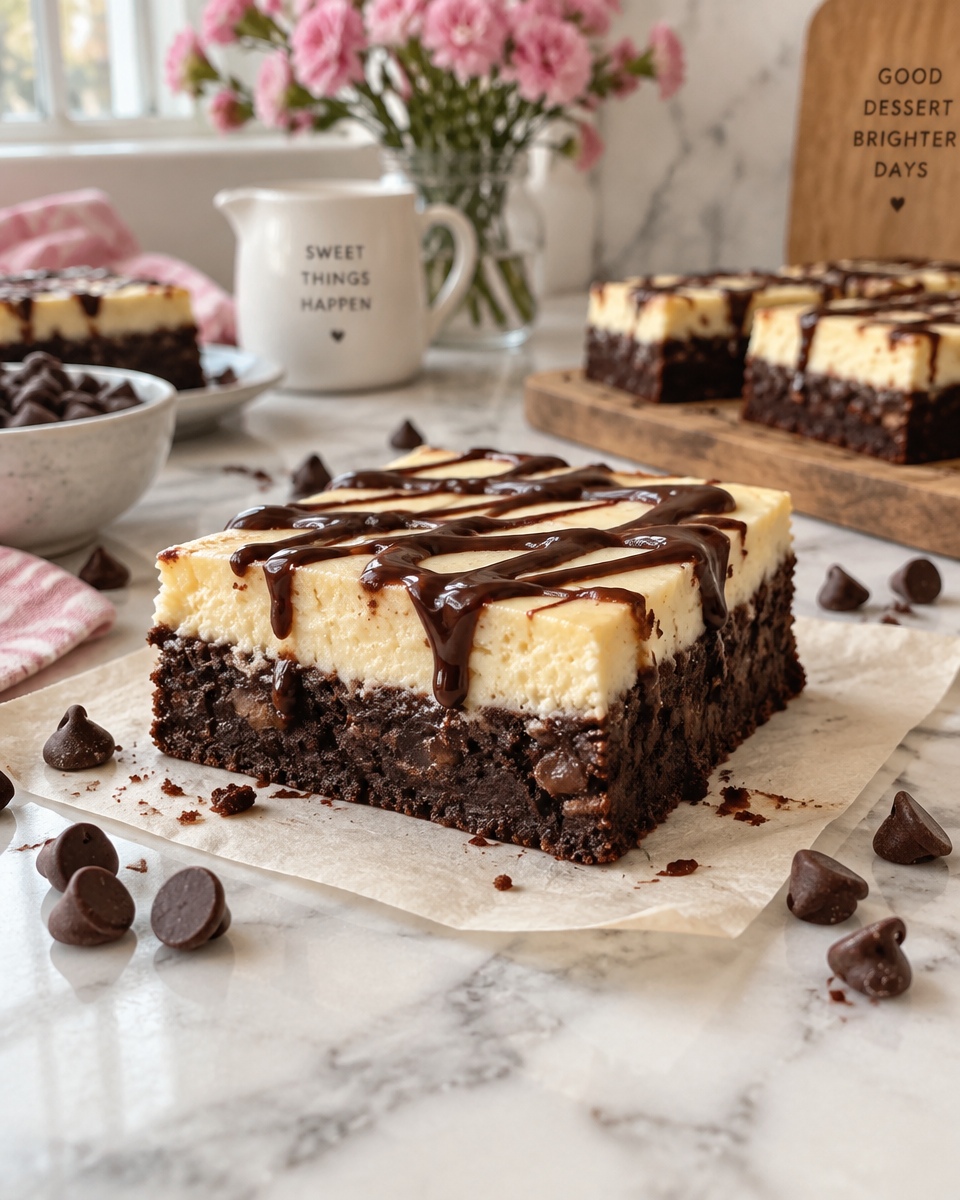
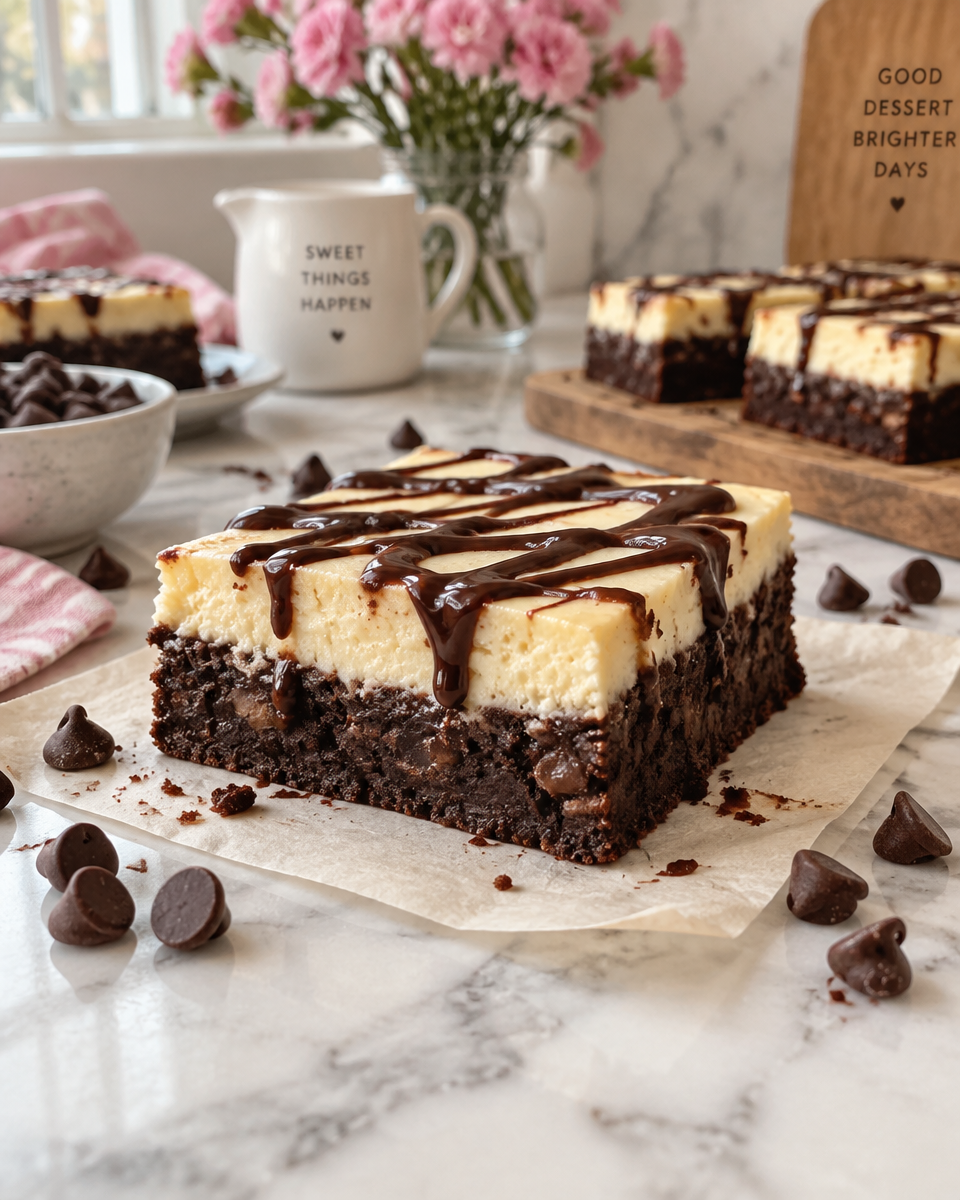
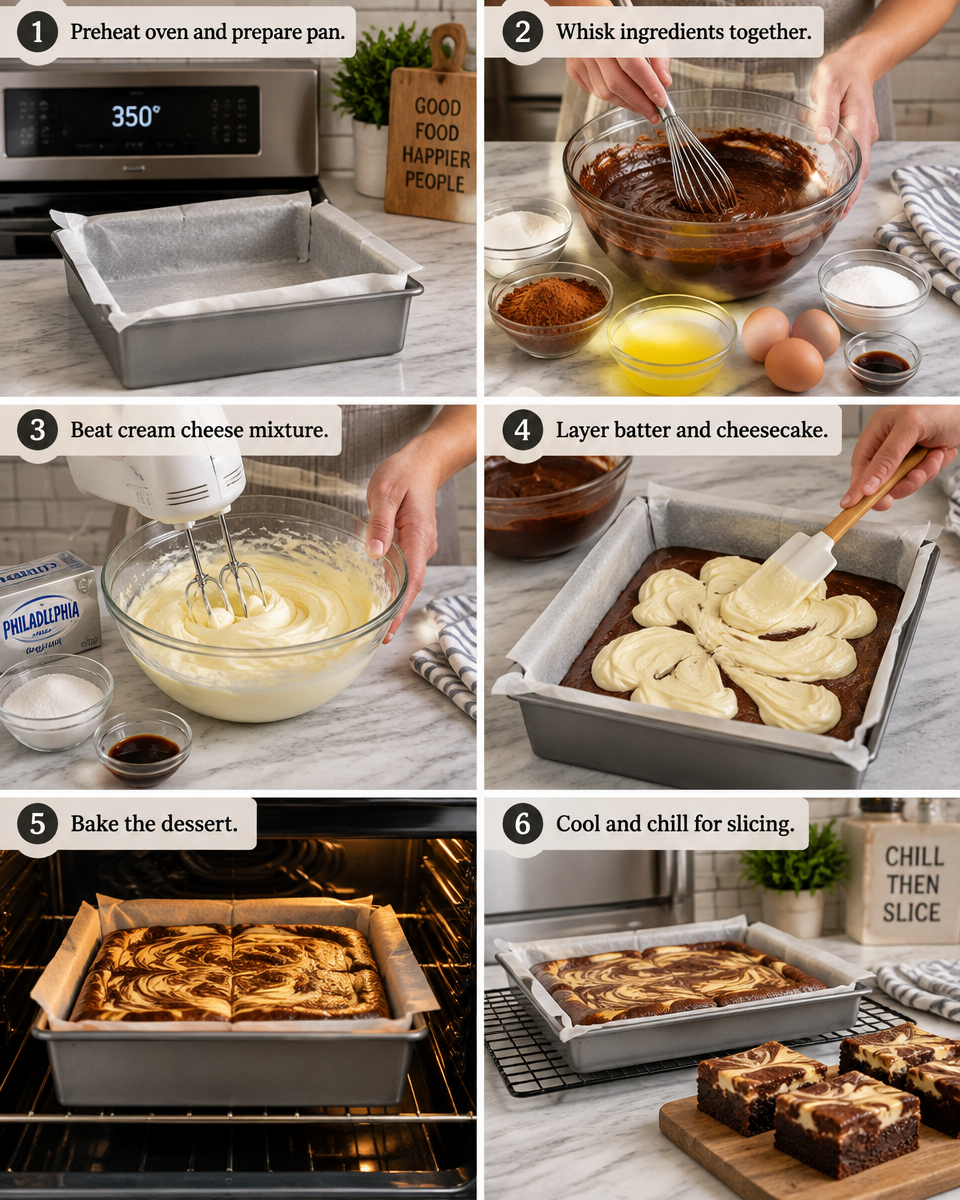
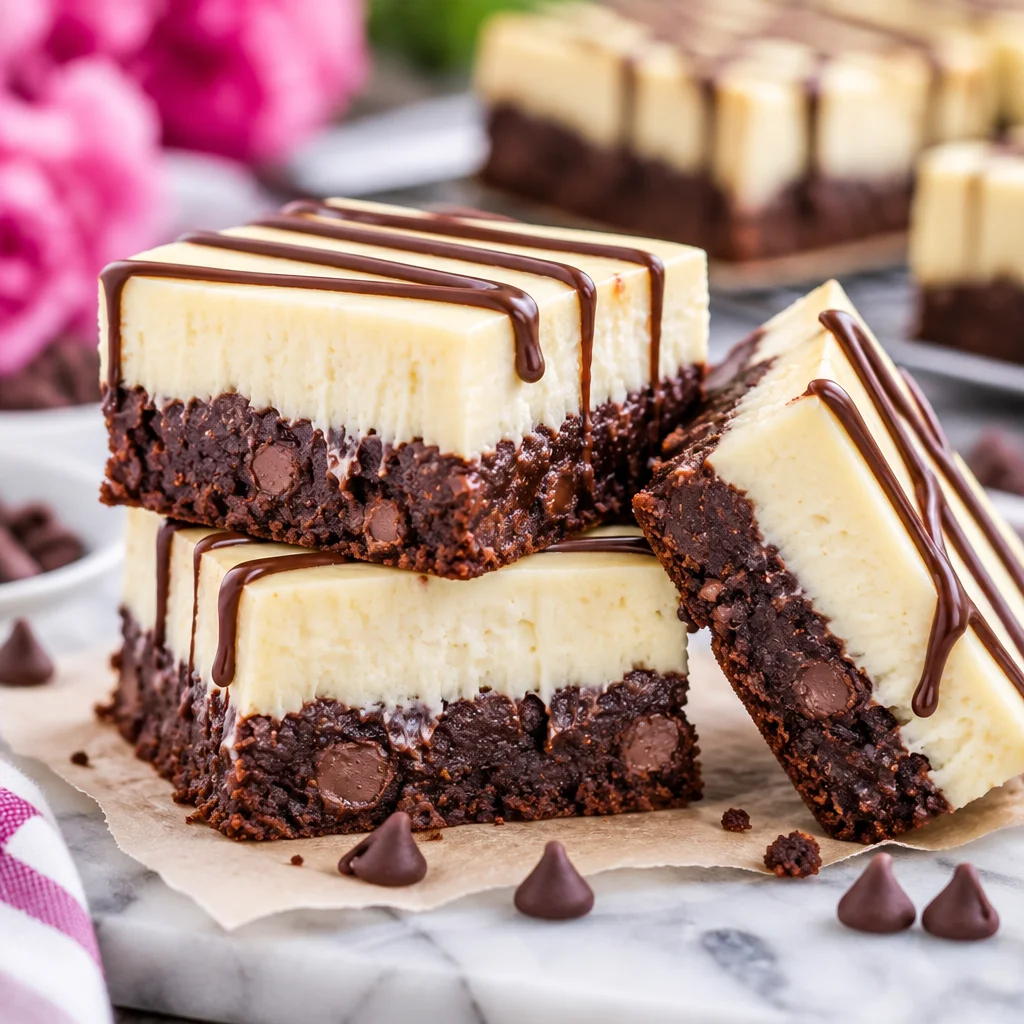
Chocolate Mousse Brownies are the answer to that moment when you want something richer than a basic brownie but you do not want a fussy dessert project. I make these when I need a guaranteed crowd pleaser, like last minute guests or a movie night that turned into a full snack situation. You get a thick, fudgy brownie base and a cloud of chocolate mousse on top, so every bite feels like a little reward. The best part is that it looks fancy, but the steps are honestly pretty simple. If you have a bowl, a whisk, and a little patience while things chill, you can pull this off.
What Are Chocolate Mousse Brownies?
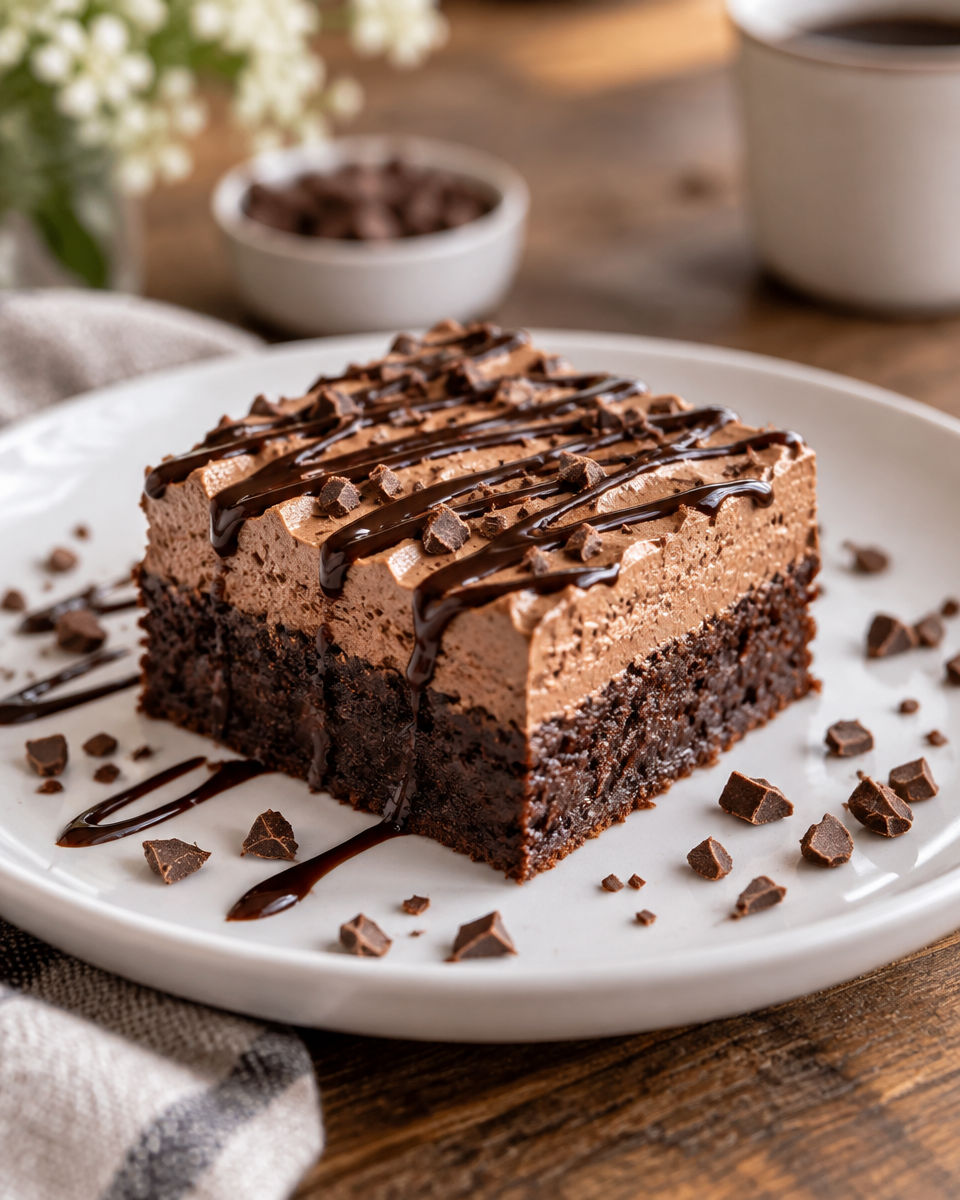
Think of these as a two layer dessert that hits two cravings at once. The bottom is a dense brownie that stays soft and chewy. The top is a smooth mousse that tastes like chocolate pudding’s cooler, fluffier cousin.
When I serve them, people always ask if I bought them from a bakery. I love that, because it is basically just brownies plus mousse, stacked together and chilled until sliceable. If you want a fun variation sometime, my family also loves these banana pudding brownies when we want a fruity twist but still want that brownie comfort.
Here is the simple breakdown of what you are making:
- Brownie layer: buttery, chocolatey, and fudgy
- Mousse layer: whipped, creamy, and rich
- Chill time: helps the layers set so you get clean slices
What Type of Chocolate Is Best for Chocolate Mousse Brownies?
Chocolate is doing the heavy lifting here, so it is worth using something you actually like the taste of. For the brownie base, I usually use semi sweet chocolate or a mix of semi sweet chips and a little dark chocolate. For the mousse, I lean toward dark or bittersweet chocolate because the whipped cream balances it out.
A few quick, real life tips from my kitchen:
Use bars when you can. Chocolate bars melt smoother than a lot of chips, which are made to hold their shape. If you only have chips, it still works, just melt them gently and do not rush it.
Avoid super cheap chocolate. I am not saying you need luxury stuff, but the waxy bargain chocolate can make the mousse taste flat. Pick a decent brand and you will taste the difference.
Match the sweetness. If your brownie base is already very sweet, use darker chocolate for the mousse so the whole pan does not become sugar overload.
What Makes These Brownies Extra Fudgy?
Fudgy brownies are not an accident. They come from the balance of fat, chocolate, and just enough flour to hold everything together. I like using melted butter and real chocolate instead of only cocoa powder. That combination gives the brownie layer a dense, almost truffle like feel after it cools.
Here is what I do every time for that extra fudgy bite:
Do not overbake. The center should look set but still a little soft. It will finish cooking from the heat in the pan while it cools.
Cool completely before topping. If you spread mousse on warm brownies, it melts and turns into a messy chocolate soup situation. Still tasty, but not the vibe.
Let them chill before slicing. Cold brownies slice cleaner, and the texture gets even denser and fudgier.
When I want a brownie that is chewy but a little lighter and more buttery, I make blondie brownies too. Different mood, same easy satisfaction.
Tips for the Richest Chocolate Mousse Brownies Every Time
This is the part where I save you from the little mistakes I made the first couple of times. My earliest batch was delicious but the mousse was slightly grainy because I got impatient with the chocolate cooling step. Learn from me.
My go to ingredient list
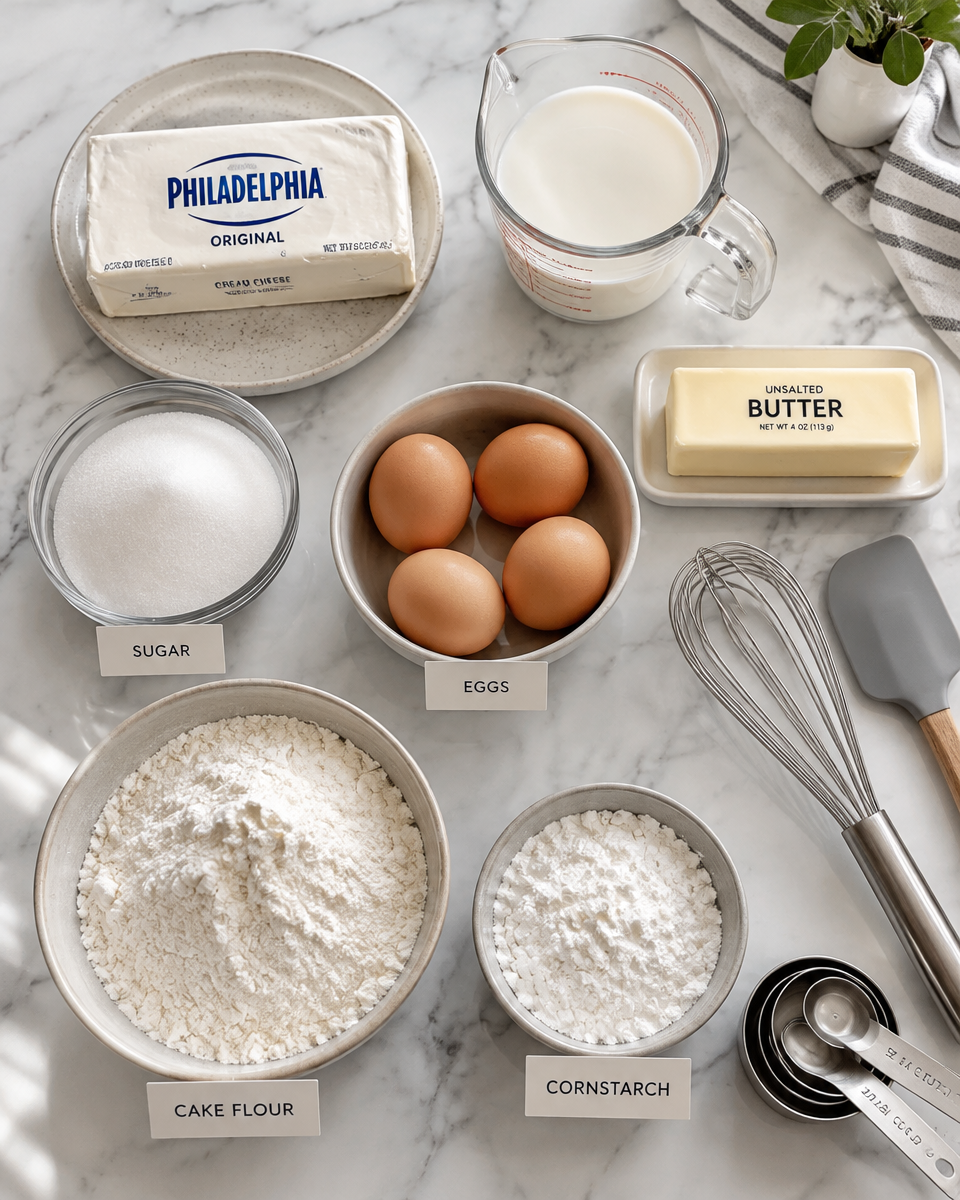
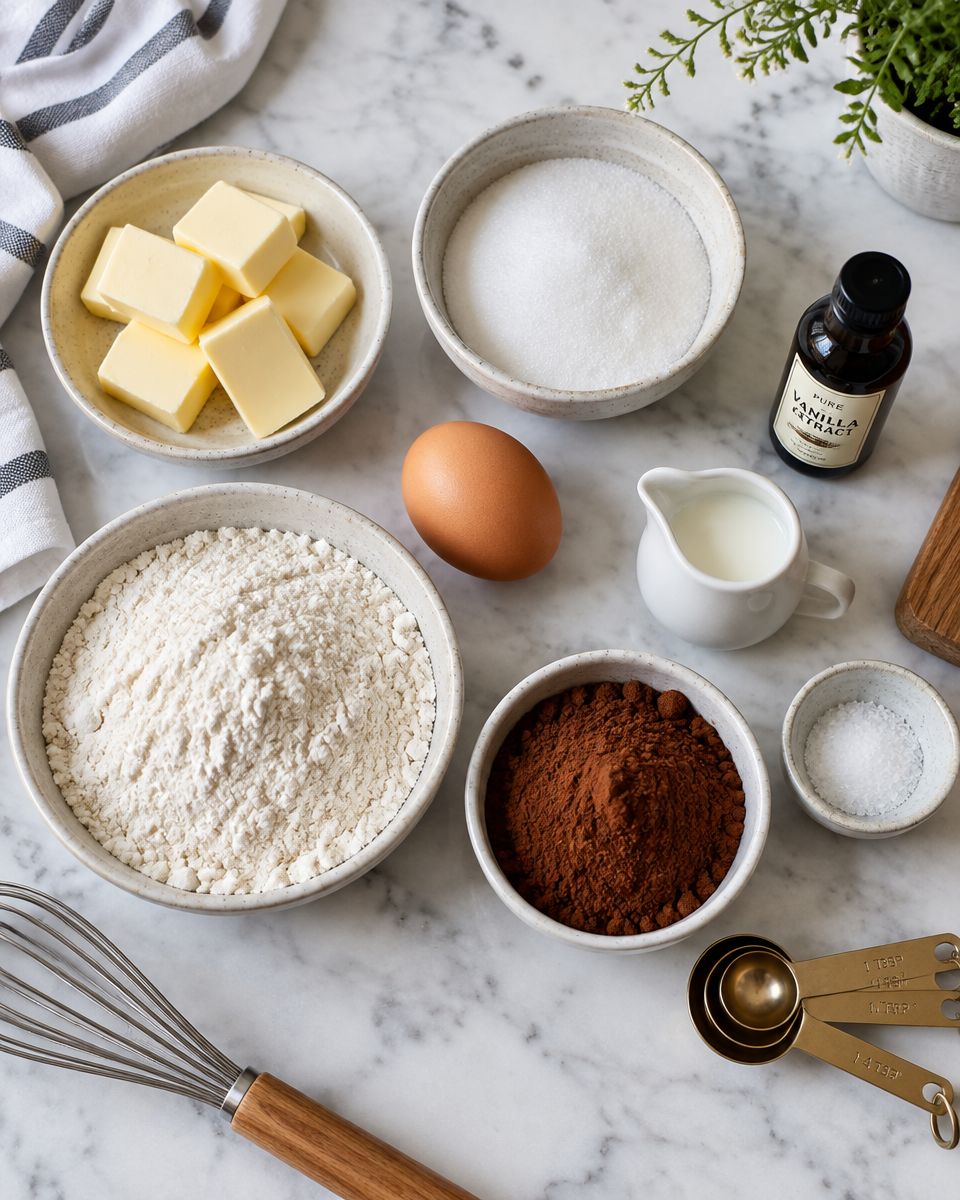
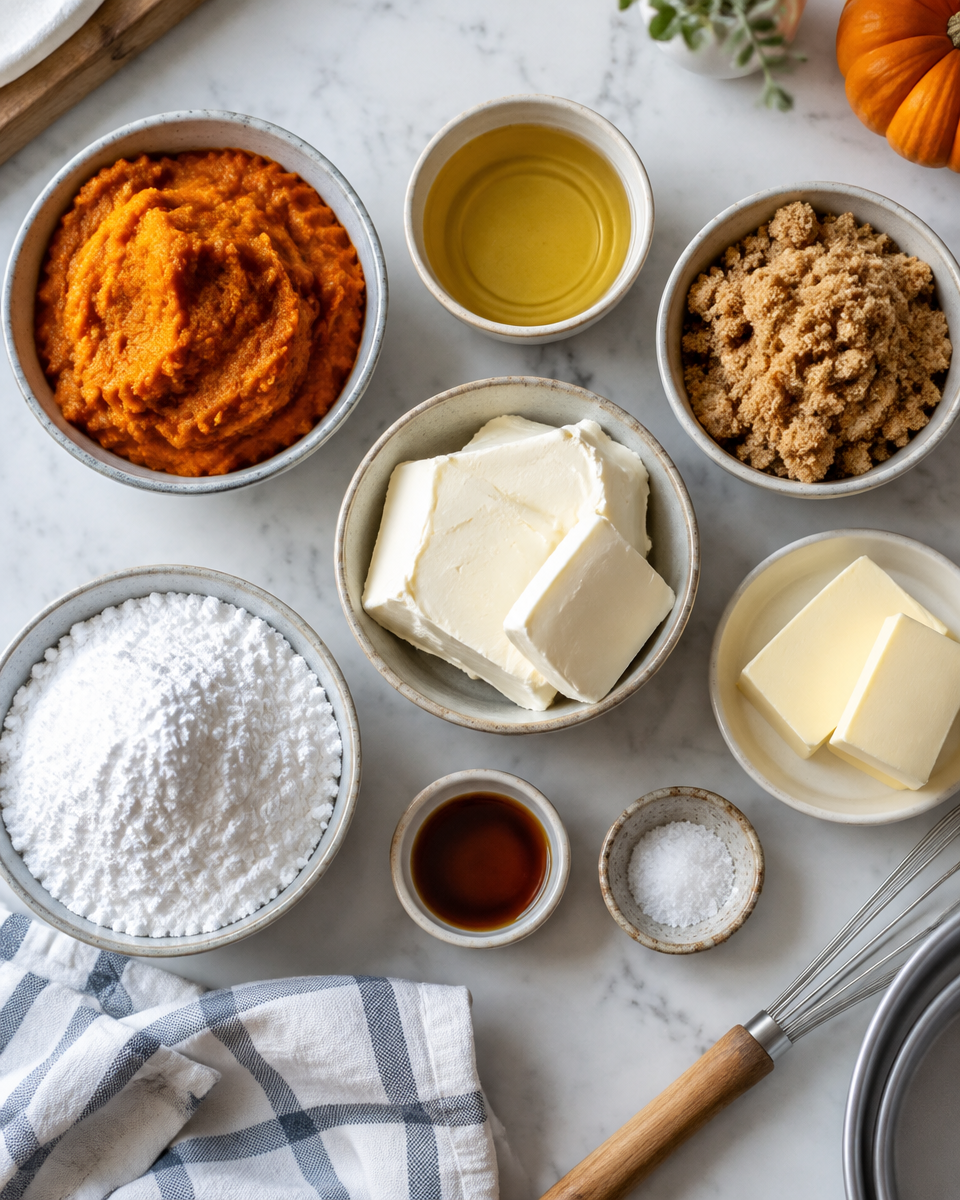
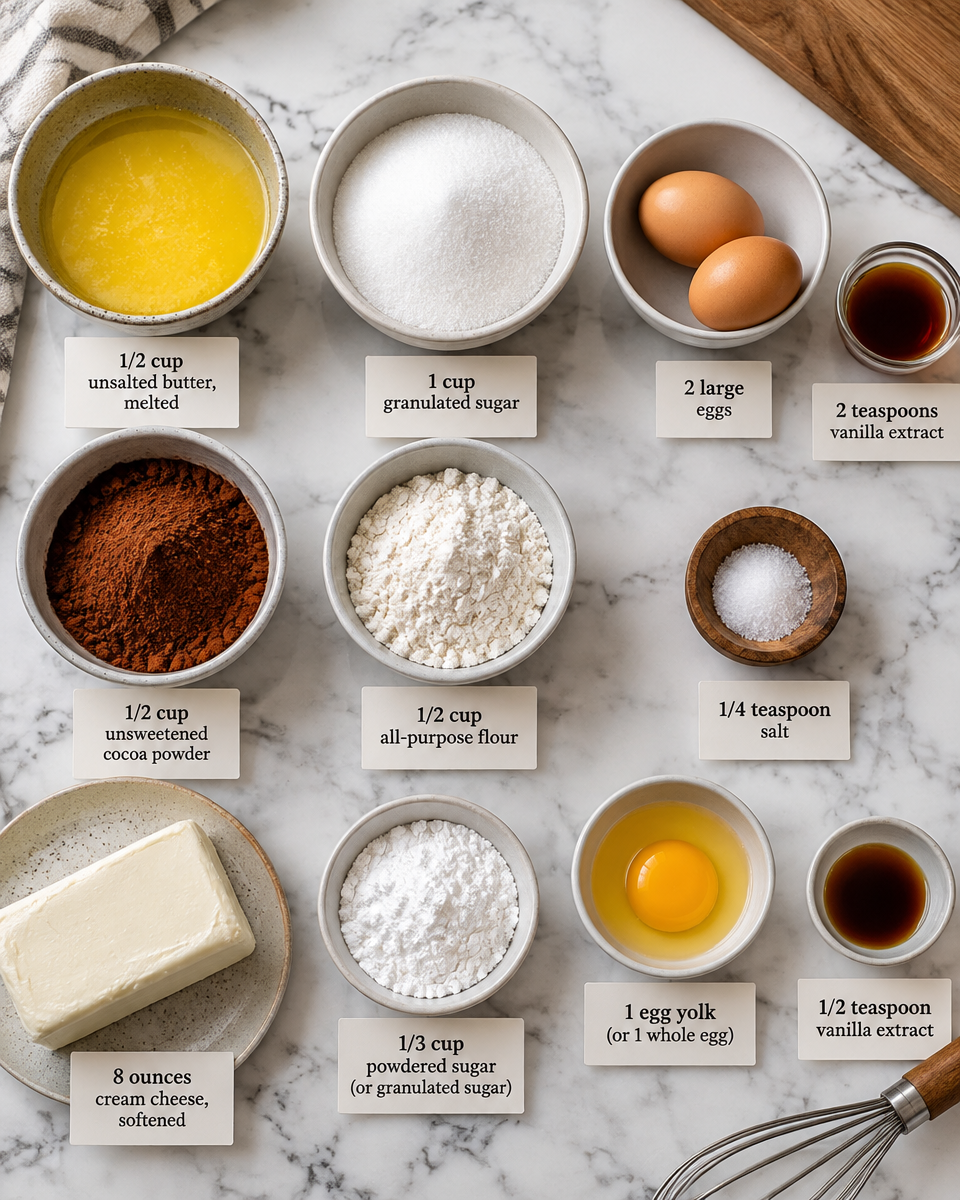
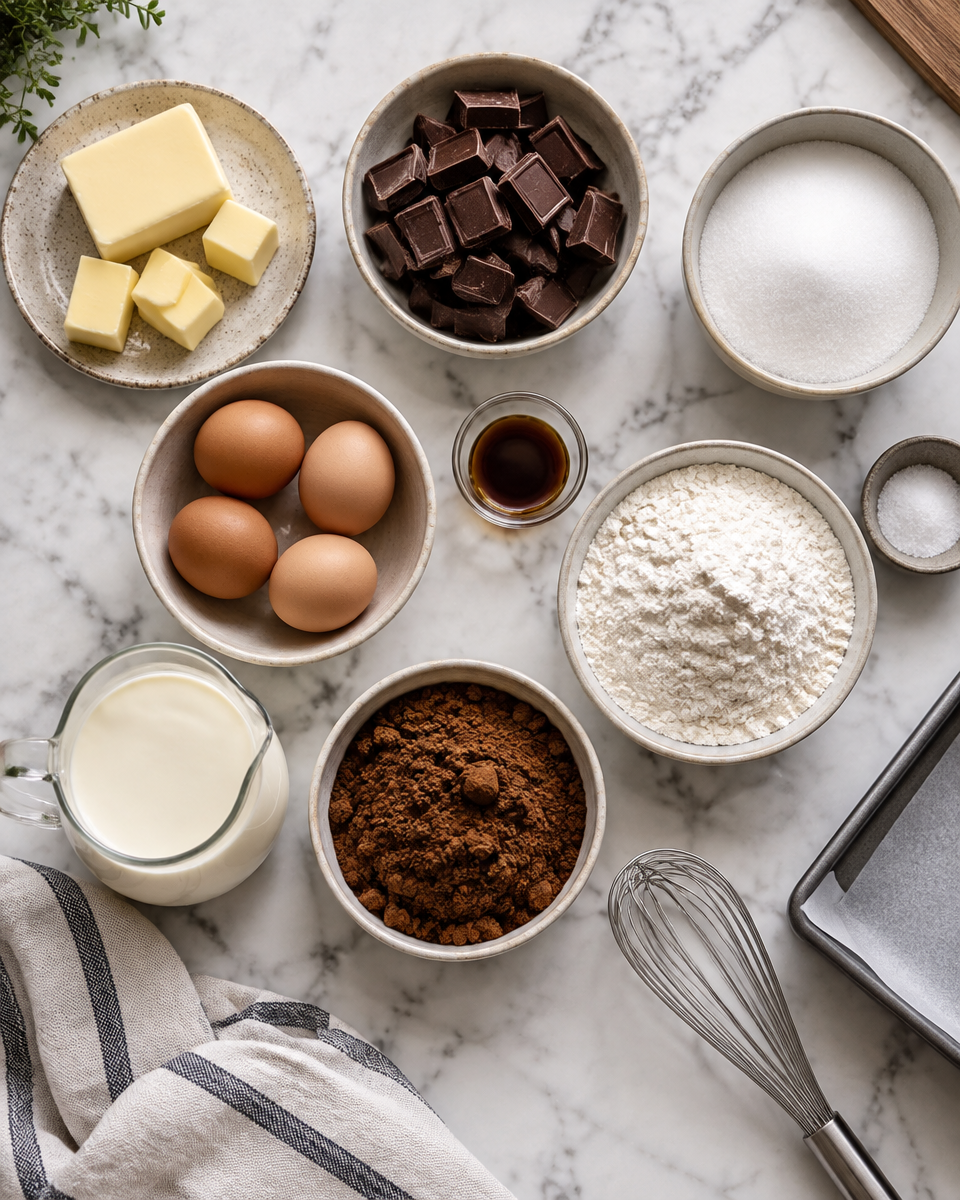
I like keeping the ingredient list simple and familiar. Here is what you will typically need:
- Butter
- Semi sweet or dark chocolate
- Sugar
- Eggs
- Vanilla
- Flour
- Salt
- Heavy cream for the mousse
- Cocoa powder or extra melted chocolate for deeper mousse flavor
Let melted chocolate cool slightly before adding it to anything whipped. If you add warm chocolate into whipped cream, it can seize or deflate.
Whip the cream to soft peaks for the smoothest mousse. If you whip it until it is stiff and dry, the mousse can look a little curdled when you fold in chocolate.
I made these for my sister’s birthday and everyone went back for seconds. The mousse layer tasted like a fancy dessert, but the recipe was easy enough that I did not stress at all.
Also, if you are into mint and chocolate together, you should try Andes mint brownies another time. They have that cool mint finish that feels extra fun after a rich meal.
How to Get the Perfect Layered Chocolate Mousse Topping
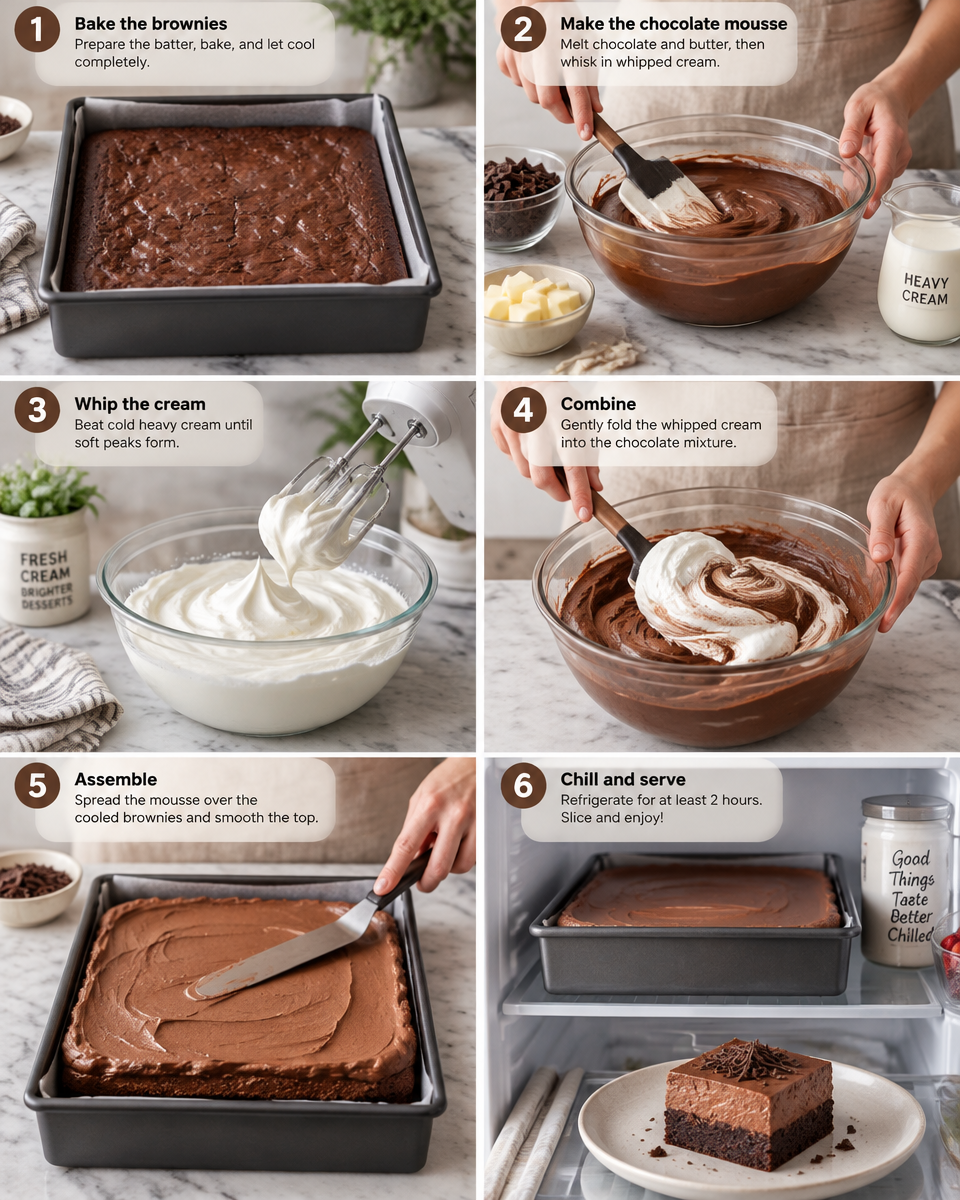
The mousse layer is what makes chocolate mousse brownies feel like a bakery dessert. The goal is a topping that is airy but still stable enough to slice. My method is simple: melt chocolate, whip cream, fold together gently, spread, then chill.
Layering steps that keep it neat
Here is what helps me get clean layers:
Step 1: Bake brownies and cool completely in the pan.
Step 2: Melt chocolate and let it cool until it is not hot to the touch.
Step 3: Whip cold heavy cream until soft peaks form.
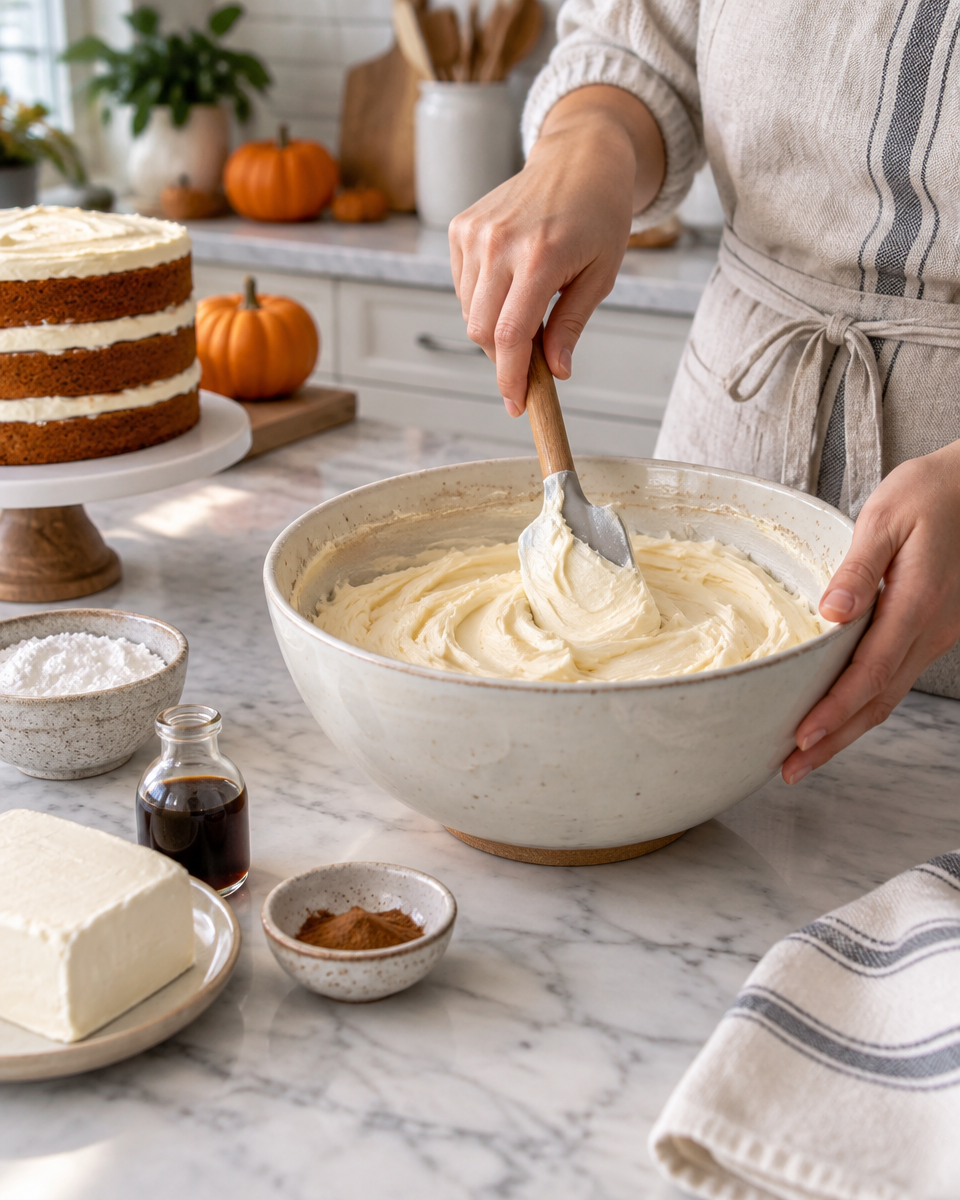
Step 4: Fold melted chocolate into the whipped cream in two or three additions. Go slow and gentle.
Step 5: Spread mousse over brownies using a spatula. Smooth the top.
Step 6: Chill at least 3 to 4 hours, or overnight for the best slice.
If you want it to look extra cute, dust the top with cocoa powder or add chocolate curls. I usually just scatter a few mini chips because I am realistic about my time.
Can You Make Chocolate Mousse Brownies Without Baking?
Yes, kind of. You can make a no bake version, but it will not be the same as a baked brownie base. If you need a true no bake option, you can press a cookie crust into the pan instead of baking brownies. Think crushed chocolate cookies mixed with melted butter, packed tightly and chilled until firm.
Then you add the mousse on top and chill until set. It will still taste amazing and give you that mousse plus chocolate base combo, but the texture is more like a chilled dessert bar than a brownie.
If you go the no bake route, I suggest:
Use a lined pan so you can lift it out easily.
Chill longer because the crust needs time to firm up.
Slice cold for clean edges.
Can You Make These Brownies Ahead of Time?
Absolutely, and I actually think chocolate mousse brownies are better made ahead. The chill time improves everything. The brownie gets fudgier and the mousse sets into that perfect creamy layer that does not slide around.
My make ahead timeline
If I am planning for a party, this is what I do:
Day 1 evening: Bake brownies, cool, add mousse, chill overnight.
Day 2: Slice right before serving, or a few hours ahead and keep refrigerated.
If you need to save time on the dessert table, you can slice them and place them in cupcake liners. It makes them look tidy and it is easier for people to grab one without smearing mousse everywhere.
On weekends when I am already baking, I sometimes do muffins too for breakfasts, like these banana chocolate chip muffins. It is a nice balance to have something not quite as rich waiting for the morning.
How to Store Chocolate Mousse Brownies
Because of the mousse, these need to be stored in the fridge. I cover the pan tightly or move slices into an airtight container. They keep well for about 3 to 4 days, although in my house they rarely last that long.
Storage tips that actually help:
Refrigerate: Always, because of the dairy in the mousse.
Keep them covered: So they do not pick up fridge smells.
Slice with a warm knife: Run your knife under hot water, wipe it dry, then slice. Repeat as needed for clean cuts.
Freezing: You can freeze them, but the mousse texture may change slightly. If you do freeze, wrap individual pieces well and thaw in the fridge.
Frequently Asked Questions About Chocolate Mousse Brownies
Q: Can I use boxed brownie mix?
A: Yes. If you are short on time, a boxed mix works fine. Just bake it in an 8 inch or 9 inch pan, cool completely, then add the mousse.
Q: Why did my mousse turn grainy?
A: Most likely the chocolate was too warm or you mixed too aggressively. Let the melted chocolate cool a bit and fold gently.
Q: How long do chocolate mousse brownies need to chill?
A: At least 3 to 4 hours, but overnight is even better if you want super clean slices.
Q: Can I make them gluten free?
A: Yes. Swap the flour for a good 1 to 1 gluten free baking blend. The mousse is naturally gluten free.
Q: What is the best pan size?
A: I like an 8 inch pan for thick layers. A 9 inch pan works too, just expect slightly thinner layers and a shorter chill time.
More Easy Chocolate Brownie Recipes
If you are on a brownie kick, I get it. Once you make chocolate mousse brownies and see how happy everyone gets, it is hard to stop. For different flavors, try minty brownies, banana based brownie twists, or even blondie style bars when you want something buttery and sweet without the deep cocoa vibe.
I like keeping a small rotation of go to desserts so I never get bored. Brownies are perfect because you can dress them up with toppings, mix ins, or a fun layer like mousse and still keep the process simple.
A sweet little wrap up before you bake
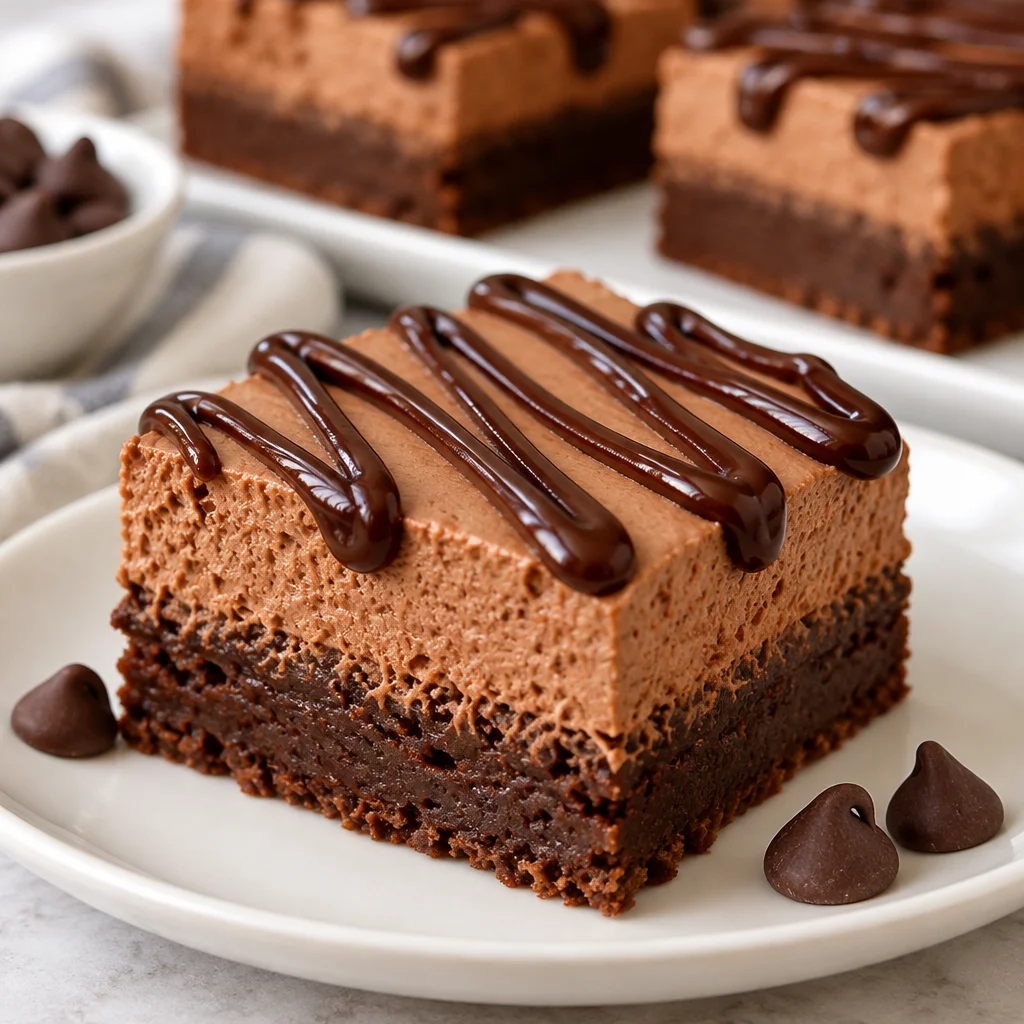
These chocolate mousse brownies give you that rich, fudgy base plus a creamy mousse top that feels special without being complicated. Focus on good chocolate, do not overbake the brownies, and let everything chill long enough to set. Once you slice into that clean layered bar, you will see why I keep coming back to this recipe. If you make them, I hope you take a quiet moment to enjoy the first bite because it is honestly the best part.
Chocolate Mousse Brownies
Ingredients
Method
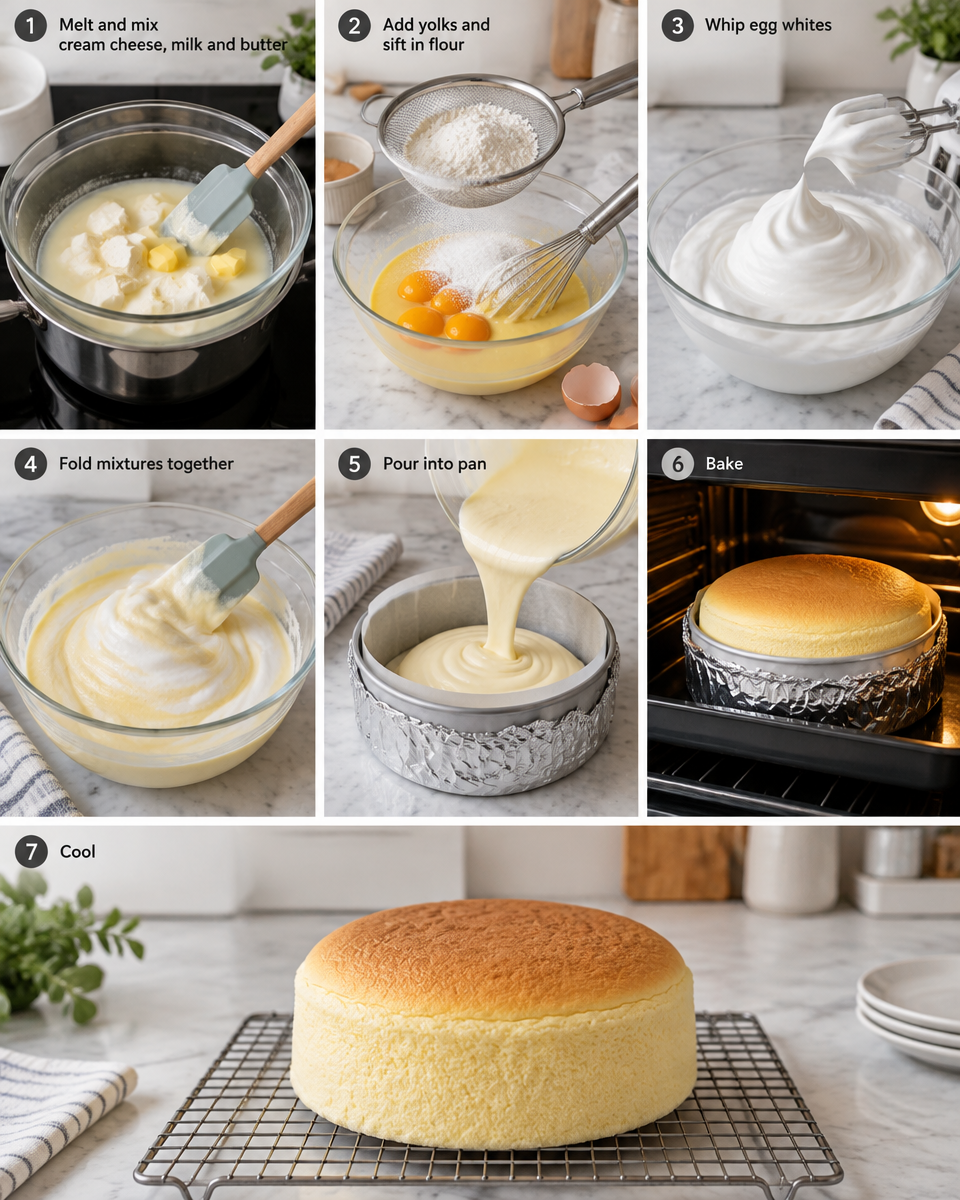
- Preheat the oven to 350°F (175°C).
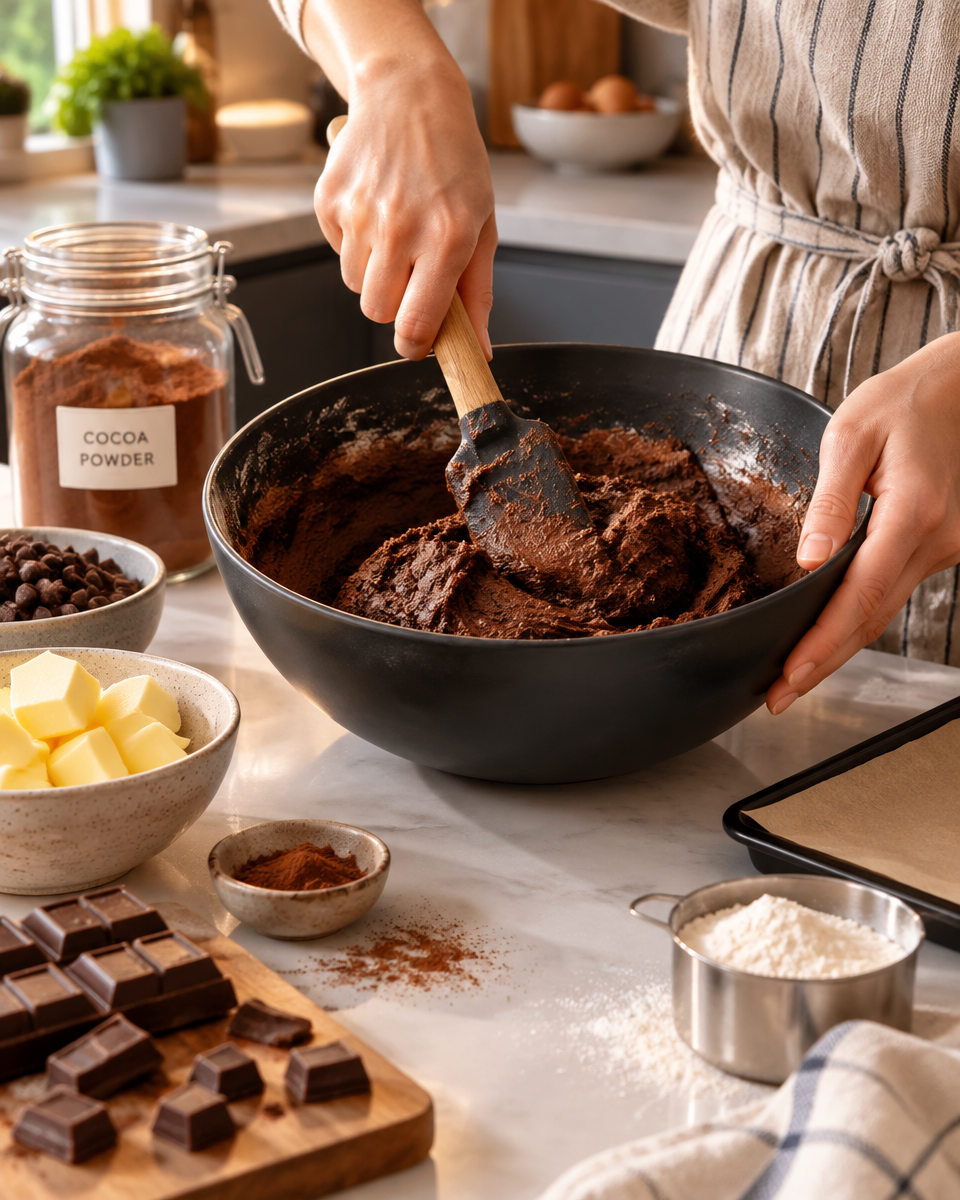
- Melt the butter and chocolate together in a bowl until smooth.
- In a separate bowl, whisk together sugar, eggs, and vanilla.
- Add the melted chocolate mixture to the egg mixture and combine.
- Mix in flour and salt until just combined.
- Pour the brownie batter into a greased 8-inch square pan and spread evenly.
- Bake for 30 minutes or until the brownies are set in the center.
- Allow brownies to cool completely in the pan.
- Whip the cold heavy cream in a bowl until soft peaks form.
- Gently fold the melted chocolate into the whipped cream in two or three additions until fully incorporated.
- Spread the mousse over the cooled brownie layer evenly.
- Chill in the refrigerator for at least 3 to 4 hours, or overnight for the best result.
- Slice with a warm knife for clean edges before serving.