
oreo spider cookies are my go to solution when Halloween is tomorrow, the kids want something fun, and I do not feel like baking and washing five mixing bowls. They look spooky in the best way, but they are secretly super simple. If you can dip a cookie in melted chocolate, you can make these. I have made them for class parties, movie nights, and one time just because I wanted a snack that looked like it belonged on a Halloween table. Stick with me and I will walk you through it like a friend in the kitchen.
What Are Oreo Spider Cookies?
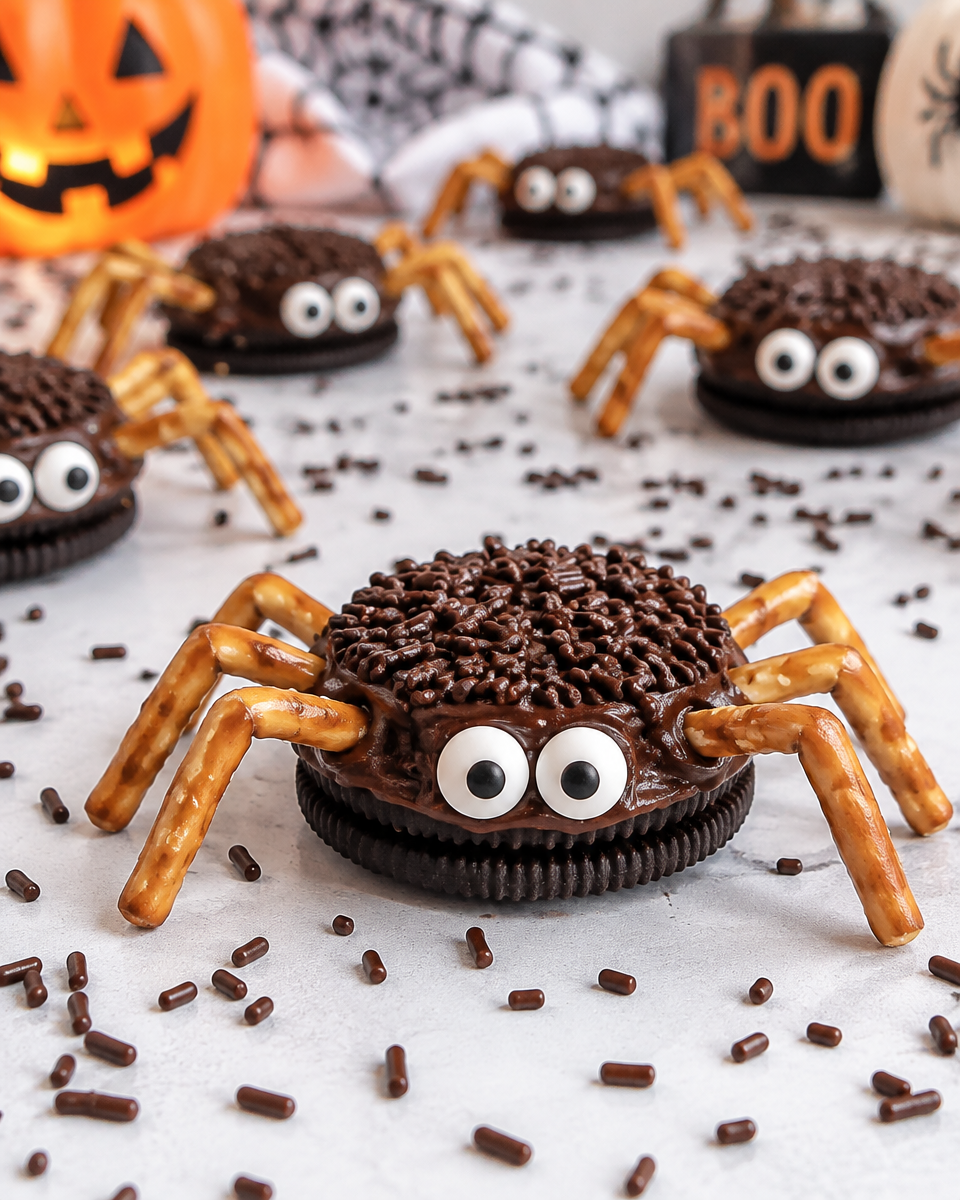
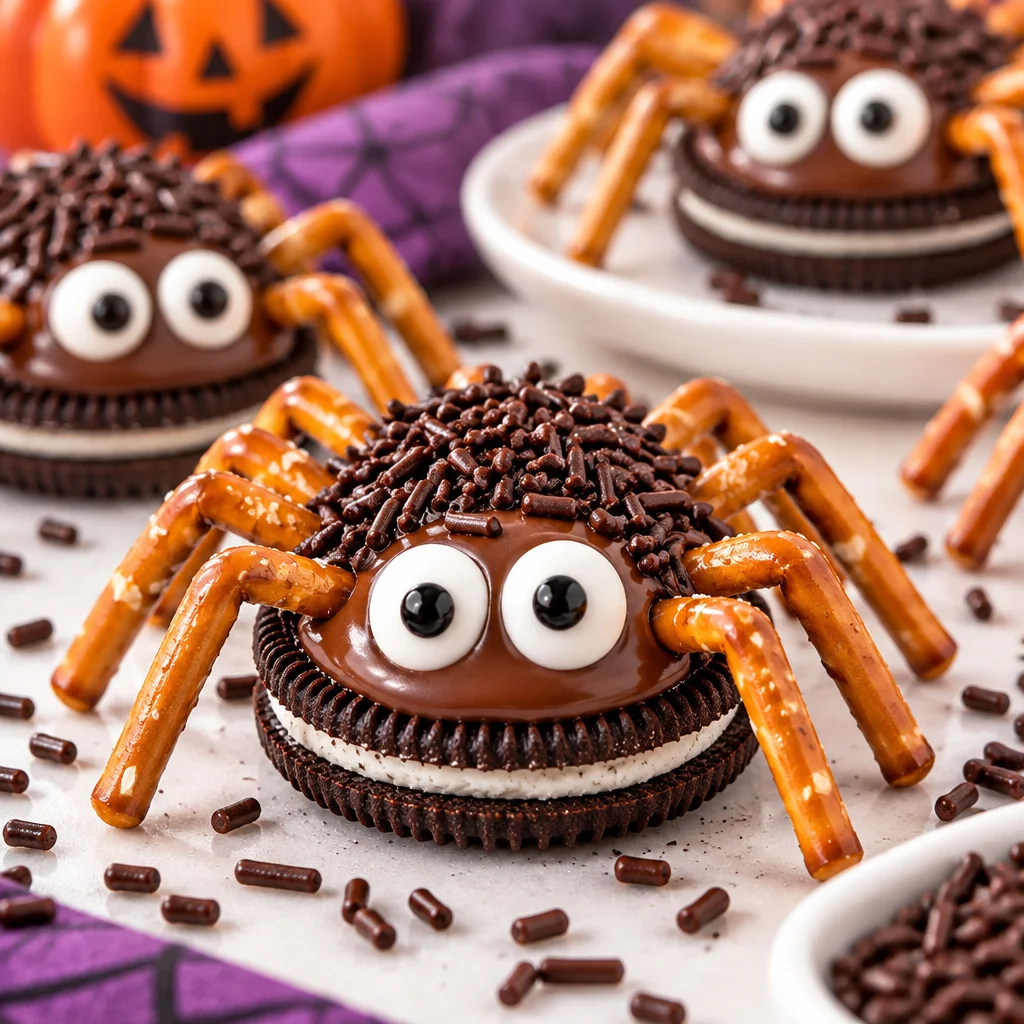
Oreo spider cookies are basically Oreo sandwich cookies turned into little spiders using chocolate and a few simple decorations. You dip the Oreo in melted chocolate, add legs, and then pop on candy eyes. That is it, and somehow they always get a big reaction.
I love this recipe because it is no bake, quick, and forgiving. If one spider looks a little goofy, it only makes it cuter. Plus, you can make a whole tray of oreo spider cookies in under an hour, even faster if you have a helper doing the eyes.
These are perfect for Halloween parties, school treats (as long as your school allows homemade goodies), and those nights when you just want something festive with minimal effort.
What You Need to Make Oreo Spider Cookies
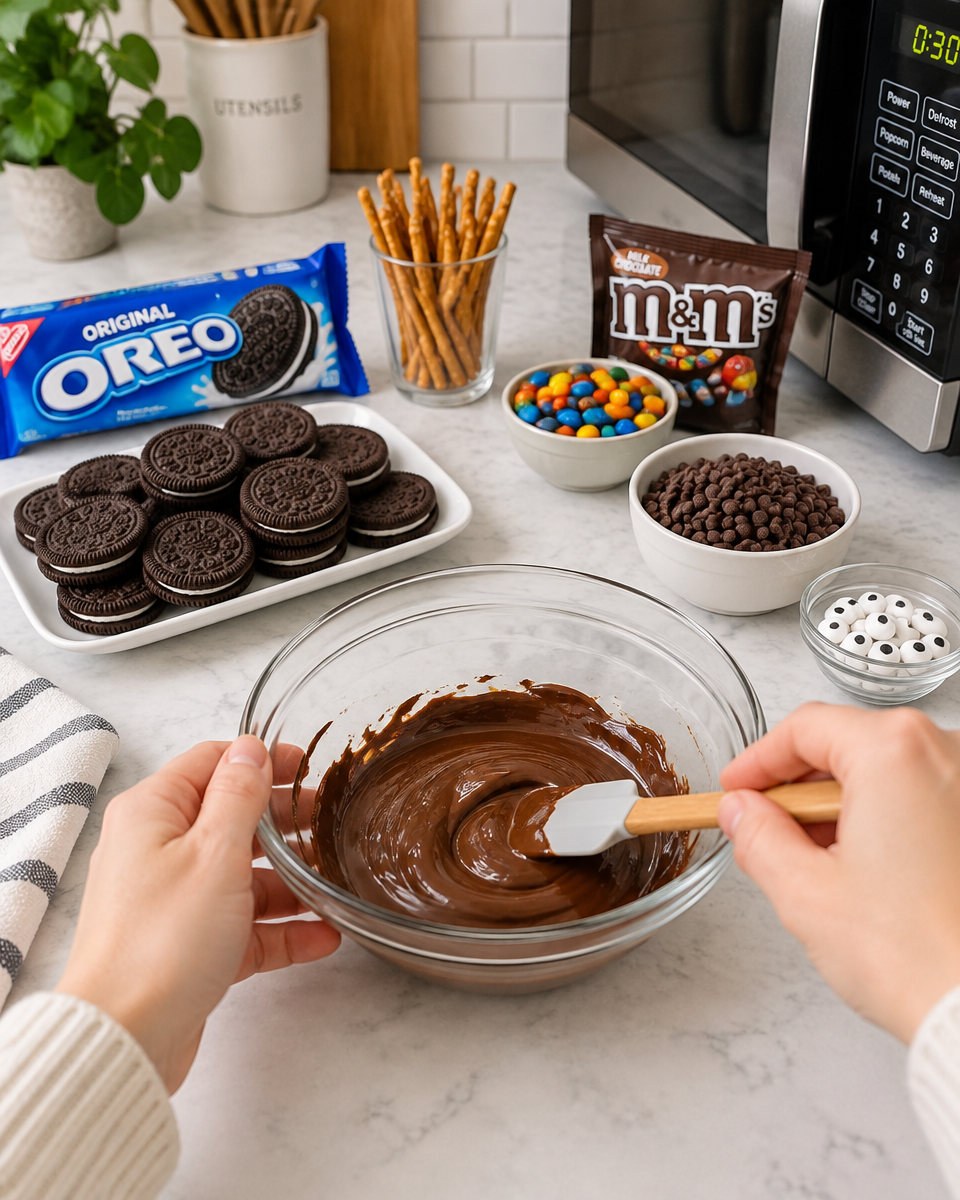
This is one of those recipes where the shopping list is short, and you can find everything at a regular grocery store. I like to set it all out before I start because once the chocolate is melted, you want to move kind of quickly.
Ingredients and simple tools
- Oreo cookies (classic works best, but any flavor is fine)
- Chocolate melting wafers or chocolate chips (dark or milk chocolate)
- 1 teaspoon coconut oil or shortening (optional, helps the chocolate melt smoother)
- Pretzel sticks (for legs) or thin chocolate candy sticks
- Candy eyes
- Parchment paper or wax paper
- Microwave safe bowl and spoon
If you are already in cookie mode, you might also like these Halloween pumpkin cookies for something soft and cozy to sit next to your spider tray.
One more thing. If you are using chocolate chips, they can be a little thicker when melted. That is where a tiny bit of coconut oil helps. You do not need much. A little goes a long way.
Tips for Perfect Chocolate-Dipped Oreo Spiders
I have messed these up enough times to know what makes them easy and what makes you want to sigh and start over. Here is what actually helps.
First, melt your chocolate slowly. I microwave in 20 to 30 second bursts, stirring each time. If you heat it too hard, it can seize up and turn grainy. If that happens, sometimes adding a little coconut oil can bring it back, but not always.
Second, use a fork for dipping. Drop the Oreo in, flip it, then lift it out with a fork and tap the fork gently on the side of the bowl. That gets rid of extra chocolate so you do not end up with a huge puddle under the cookie.
Third, work in small batches. I usually dip 6 to 8 cookies, then add legs and eyes right away. If you dip everything first and the chocolate sets, the decorations will not stick as well.
“I made these with my daughter for her classroom party and the teacher asked for the recipe the same day. They were the first treat gone from the table.”
Little tip from my kitchen: if your hands run warm like mine, keep a plate of undipped Oreos in the pantry instead of right next to the warm chocolate. They stay crisp and easier to handle.
How to Make the Spider Legs Look Realistic
The legs are the part that makes people say, wait, those are Oreos? The easiest trick is pretzel sticks because they are thin, crunchy, and they look like creepy spider legs right away.
Here is how I do it. Break pretzel sticks in half, then break each half again so you get shorter leg pieces. You want 8 pieces per cookie. After you dip the Oreo, slide 4 legs on each side, tucking the ends into the melted chocolate. I angle them slightly forward and slightly back so they look like the spider is crawling.
If the chocolate starts to set before you get all the legs in, just dab a tiny bit of melted chocolate where you want the leg to go and press it in. It is basically edible glue.
For extra realism, you can bend the pretzel pieces a bit as you press them in. Not too much or they snap, but a slight angle makes a big difference.

Can You Make Oreo Spider Cookies Ahead of Time?
Yes, and that is one of the reasons I keep coming back to oreo spider cookies. You can make them a day or two before your party and they still look great.
I usually make them the night before. Once the chocolate is fully set, I store them in a single layer in an airtight container. If I need to stack them, I put parchment paper between layers so the legs do not get snapped off.
If your kitchen is warm, you can chill them for 10 minutes to set, then bring them back to room temperature for serving. They taste better when the cookie is not fridge cold.
Variations White Chocolate and Coloured Spider Style
If you want a brighter Halloween tray, white chocolate is the easiest way to change the look. You can dip the Oreos in white chocolate, then use colored candy melts in orange, purple, or green for drizzle. It is a fun way to make a mix of spiders that look different but still match.
Some easy variation ideas:
White chocolate spiders: Dip in white chocolate and use black candy eyes for contrast.
Colored spiders: Use tinted candy melts and pick matching sprinkles.
Double drizzled: Dark chocolate dip with a white chocolate drizzle across the top for a webby vibe.
If you are building a cookie platter for different holidays too, these sparkle sweetheart cookies are adorable when you want something sweet and colorful in a totally different season.
How to Package Oreo Spider Cookies as Halloween Gifts
These are such a cute little gift, especially for neighbors, teachers, or that friend who always hosts Halloween movie night. The trick is packaging them so the legs survive the trip.
I like using small treat boxes or clear plastic containers with a flat bottom. Place a sheet of parchment down, then set each spider cookie with a little space between them. If you use cellophane bags, pick the wider ones so the cookies are not squeezed.
Fun add ons that make it feel special:
Halloween ribbon tied around the box
A simple tag that says “Spider Bites” or “Handle with Care”
A mix box with a couple different treats inside
If you want another easy cookie that travels well, try these Biscoff sandwich cookies. They hold up great in boxes and feel a little fancy without being fussy.
How Long Do Oreo Spider Cookies Last?
In my house, they last about 24 hours because everyone keeps “checking” the tray. But realistically, they keep well for several days.
Stored in an airtight container at cool room temperature, Oreo spider cookies are best in the first 3 to 5 days. After that, they are still safe to eat, but the pretzel legs can start to soften a bit depending on humidity.
If your home is really warm, you can store them in the fridge, but let them sit out 10 to 15 minutes before serving so the chocolate is not too hard. I do not recommend freezing them because the pretzels get weird once thawed, and the eyes can sometimes pop off.
Frequently Asked Questions About Oreo Spider Halloween Cookies
Quick questions I get all the time
1. Can I use off brand sandwich cookies instead of Oreos?
Yes. Just pick ones that feel sturdy, since dipping can crack very delicate cookies.
2. What if I cannot find candy eyes?
Use mini chocolate chips with a tiny dot of white icing, or pipe a little white chocolate dot and add a dark sprinkle in the middle.
3. Do I have to use pretzels for the legs?
No. You can use thin licorice pieces or candy sticks. Pretzels are just the easiest and they add a nice crunch.
4. Why is my chocolate lumpy?
It probably got too hot or touched water. Melt slowly and keep bowls and spoons completely dry. Adding a tiny bit of coconut oil can help if it is just thick, not seized.
5. How do I keep the legs from breaking?
Use a container with space so nothing presses against the sides. And do not stack without parchment layers.
Once you make Oreo spider cookies once, these questions disappear because you will feel how simple the process is.
More Easy Halloween Treat Recipes
If you are putting together a whole Halloween snack table, it is nice to have a mix of flavors and textures. Spiders are great, but a second cookie option makes the tray look fuller and more fun.
I love pairing these with a crisp butter cookie like these chocolate spritz cookies, especially if you pipe them into little swirls that look kind of like spider webs.
And if you are the type who likes seeing another method before you start, this recipe for Easy Oreo Spiders for Halloween Build Your Bite is a helpful extra reference to compare dipping and decorating styles.
A Spooky Little Treat Worth Making
If you need something festive that does not require baking, oreo spider cookies really save the day. Keep your chocolate smooth, add the legs while everything is still soft, and do not stress if a few spiders look silly. I swear those are always the ones people point at first. Try a batch this week, and if you make them for a party, set a few aside for yourself because they disappear fast.
Oreo Spider Cookies
Ingredients
Method
- Set out all ingredients and tools before starting.
- In a microwave safe bowl, melt the chocolate in 20 to 30 second bursts, stirring each time. Use coconut oil if necessary for smoother melting.
- Dip the Oreo in the melted chocolate using a fork, ensuring it’s fully coated, then lift it out and tap gently to remove excess chocolate.
- Immediately add 4 pretzel legs on each side of the dipped Oreo, tucking them into the chocolate.
- Place candy eyes on top of the Oreo by pressing them into the chocolate before it sets.
- Once the chocolate is fully set, store the cookies in a single layer in an airtight container. Use parchment paper between layers if stacking.
