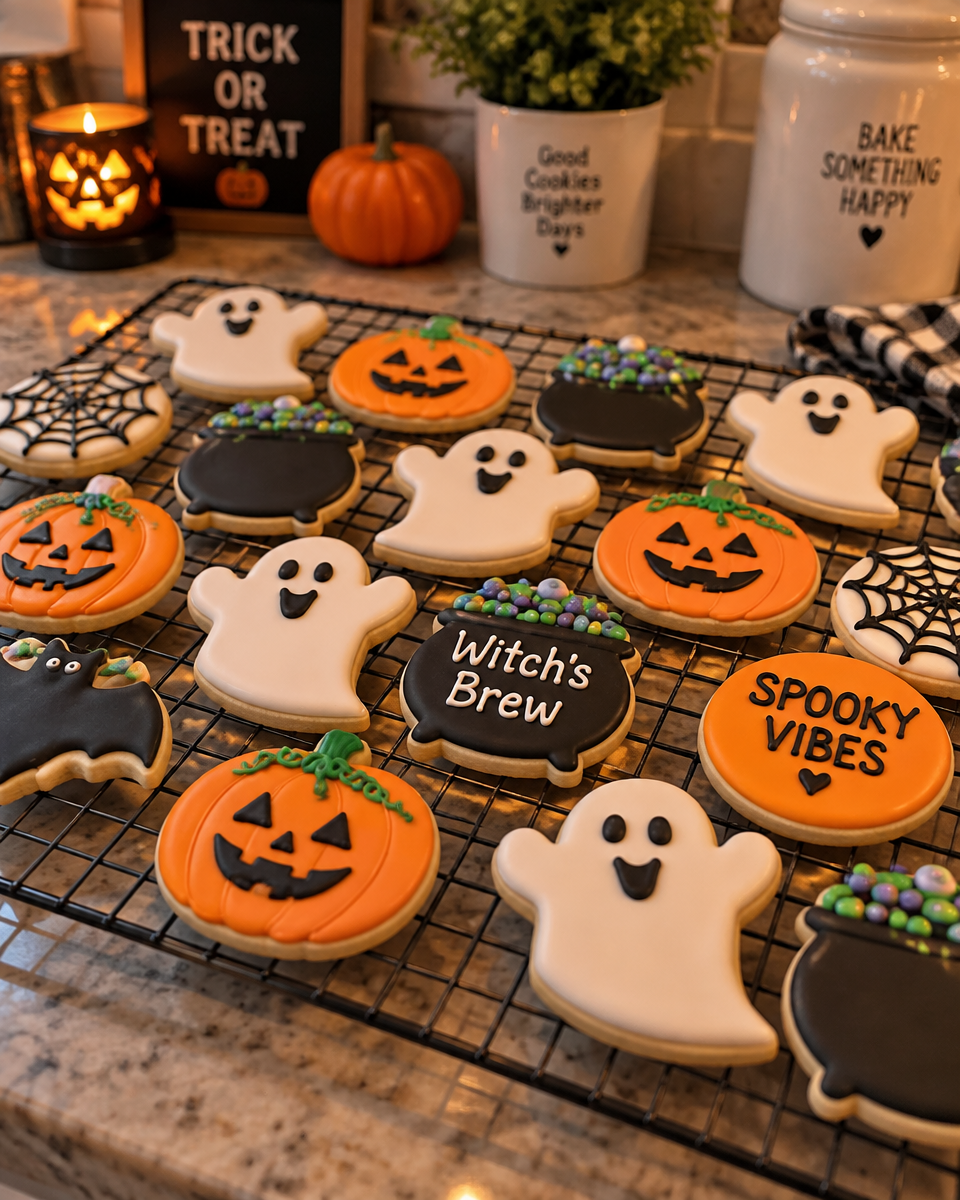
Easy Halloween Cookie Decorating — Cauldron Cookies is exactly what I reach for when I want something festive but I do not want to spend all day in the kitchen. You know that feeling when Halloween is suddenly tomorrow, and you promised treats for school or a party? Same. These little cauldron cookies look like you really planned ahead, but they are honestly super doable, even if you are not a fancy cookie person. I am going to walk you through the whole thing in plain language, with the little tricks that make decorating feel way less stressful.
What makes these easy circle Halloween sugar cookies so special?
First, the shape does a lot of the work for you. Starting with a simple circle cookie means no weird corners, no fragile bat wings snapping off, and way fewer icing headaches. We turn that circle into a cauldron with a couple of easy icing moves, and suddenly it looks like a whole Halloween scene.
Second, these cookies are forgiving. If your lines wobble a bit, it actually adds charm. Halloween is the best time to let things be a little spooky and imperfect.
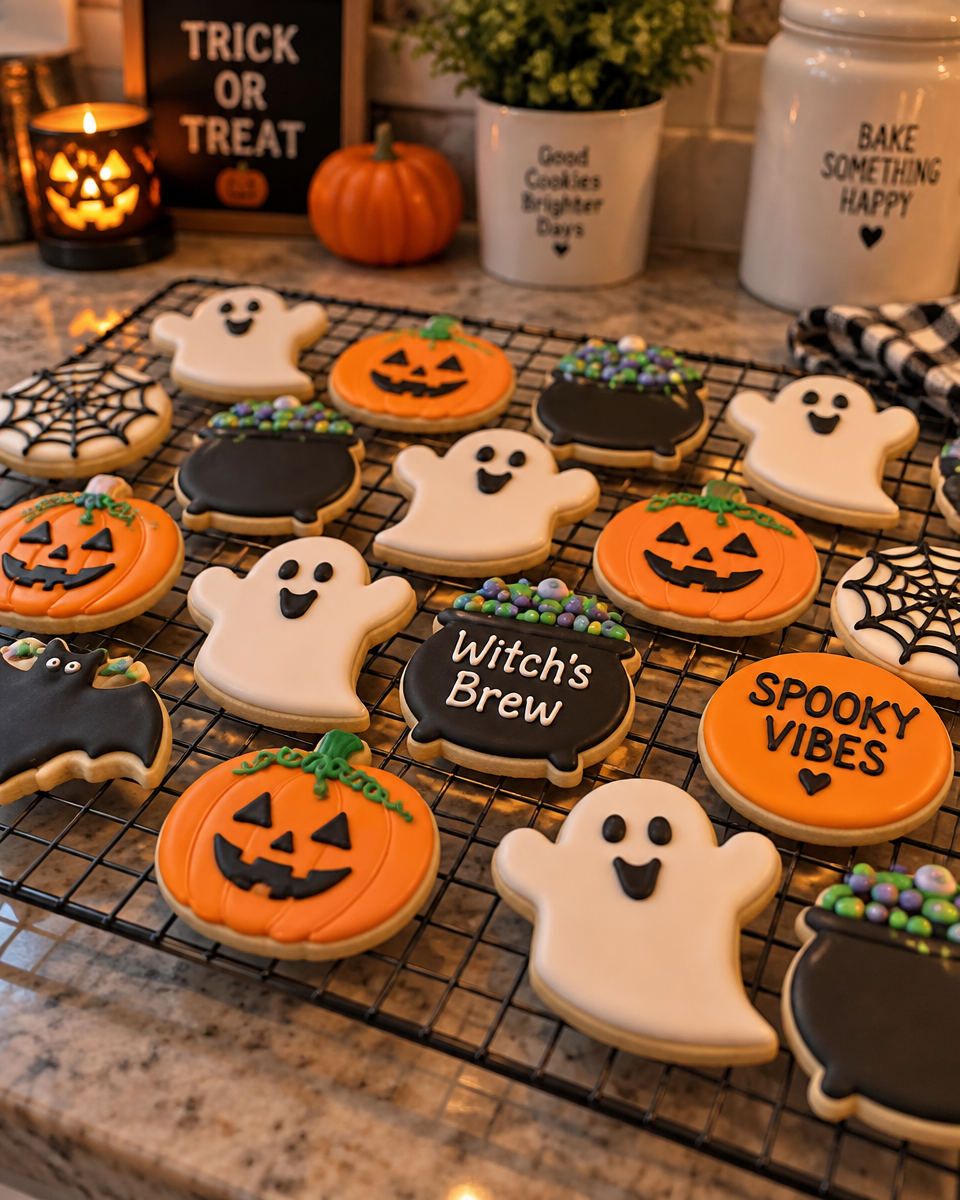
Here is what I personally love about this set:
- Fast shapes because it is basically circles plus a tiny base
- Bold colors that hide small mistakes
- Easy details like bubbles, drips, and sprinkles
- Kid friendly if you want little helpers nearby
Flavor wise, I keep the cookie base classic and buttery, because the icing already brings the color and sweetness. If you are in a cookie mood and want to build a whole holiday cookie board later in the year, you might also like my favorite clickable recipe for buttery Christmas spritz cookies. Different season, same satisfying bite.
Quick note on dough: chill it. Even 30 minutes helps your circles stay round, and that makes decorating so much easier.
Royal icing skills covered in this class
I am calling this a class, but really it is me chatting with you like we are in the kitchen together. Royal icing sounds intimidating, but for Easy Halloween Cookie Decorating — Cauldron Cookies you only need a few simple skills.
The three icing consistencies you actually need
Thick icing is for outlines and small details. It should hold a soft peak and not melt back into itself quickly.
Flood icing is for filling in areas smoothly. It should flow off a spoon in a ribbon and settle back into the bowl in about 10 seconds. If it disappears instantly, it is too thin.
In between icing is optional but nice for things like drips. Not as stiff as outline, not as loose as flood.
My little real life tip: do not chase perfection with water. Adding tiny drops is fine, but if you add too much, the icing gets runny fast and then it bleeds into other colors. When that happens, you will feel annoyed for no reason. Go slow.
You will also practice:
Wet on wet for bubbles and potion swirls, where you add dots or lines onto fresh flood icing and they blend a bit.
Layering where you let the base dry, then add handles, legs, or highlights on top. This is what makes the cauldron look more 3D without complicated techniques.
If you are the type who loves a chocolate cookie moment after decorating, keep this one bookmarked too: easy chocolate crinkle cookies. They are basically the opposite vibe of royal icing, which is why I like them as a backup treat for impatient snackers.
“I tried these cauldron cookies with my daughter and I was shocked how easy the steps were. The cookies looked party ready even though our lines were not perfect. Everyone asked where we bought them.”
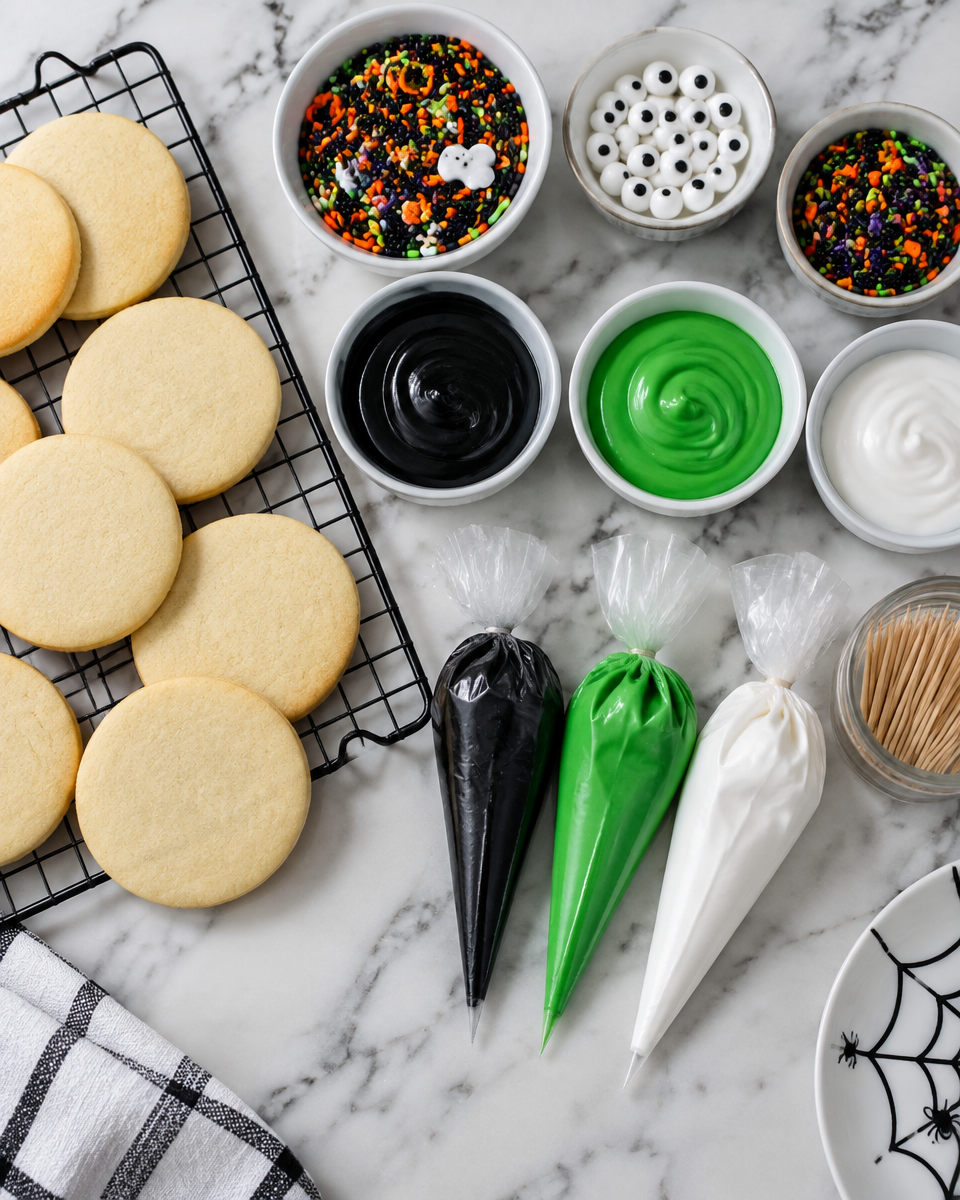
You will learn how to decorate (from start to finish) SEVEN Easy Circle Halloween Sugar Cookies
This is the fun part. All seven designs start with the same circle cookie, and you can mix and match the colors depending on what you have. For Easy Halloween Cookie Decorating — Cauldron Cookies, think black cauldrons, neon green potion, and little accents in purple, orange, or white.
Before you start, make sure your cookies are fully cool. Even a little warmth can make icing get shiny and weird.
What you will need in plain kitchen language:
- Circle sugar cookies, baked and cooled
- Royal icing in black, green, and white (plus any extra colors you want)
- Piping bags or zip top bags with tiny corners snipped
- Toothpicks for popping air bubbles and dragging lines
- Sprinkles, sanding sugar, or candy eyes (optional but cute)
Design 1: Classic witch cauldron
Outline the top half of the circle in black, then flood it. Add a flat rim at the top by piping a thicker line. Let it dry 20 to 30 minutes. Pipe two little legs at the bottom. Flood a bright green potion inside the top opening and add a few darker green dots for bubbles while it is still wet.
Design 2: Bubbling overflow cauldron
Do the same base, but this time add a drip line of green coming down the side. Use thicker icing so the drips hold their shape. Add a couple of white highlight lines once the black is dry.
Design 3: Potion swirl
Flood the potion area in green. Immediately pipe a thin spiral in a lighter green or white. Drag a toothpick gently through it for a swirly look. It feels like magic when it works.
Design 4: Spooky face cauldron
Once your black base is dry, pipe a jack o lantern face in orange, or do a ghost face in white. Little uneven eyes are totally fine, honestly it makes it creepier.
Design 5: Starry night cauldron
Add tiny white dots and stars on the dry black icing. If you have edible glitter, this is the moment. Keep it simple and let the contrast do the work.
Design 6: Candy eye cauldron
Add two candy eyes into the wet potion, so they look like they are floating. This one is always a hit with kids.
Design 7: The super easy minimalist cauldron
Just outline and flood the black cauldron, then add three green dots on top as bubbles. That is it. It still looks finished and adorable.
If you want to offer a more unexpected cookie next to these, I love putting out something nutty and not too sweet like black sesame cookies. They taste like a cozy little bakery treat and balance out all the Halloween sugar.
Drying tip from someone who has ruined a tray before: let them dry longer than you think. If you stack them too soon, you get dents and smears and you will be so mad. I leave mine out overnight if I can.
Free Resources for this Set
I am big on making cookie decorating feel doable, not like you need special gadgets. So here are the free resources I always suggest for a cauldron cookie set like this, especially if this is your first time.
Simple printables and guides to make decorating easier
Color cheat sheet: Write down your colors before you start. Black, green, white, plus one accent. When you are mid decorating, it keeps you from spiraling into too many bowls.
Consistency test reminder: Keep a spoon in your icing and watch how it falls. Ten second settle for flood is a good goal.
Dry time plan: Base layer first, then details later. If you do it in two rounds, you will feel way calmer.
If you are building a treat table, I like having one bright fruity option too. These cherry bell cookies are super cute and make the whole spread feel more colorful next to the black and green cauldrons.
Storage help because people always ask: once the icing is fully dry, keep the cookies in an airtight container at room temp. Put parchment between layers. They stay nice for about a week, sometimes a little longer depending on humidity.
And if you are working in a humid kitchen, run a fan nearby. Not blowing directly on the cookies like a wind tunnel, just gentle air. It makes a difference.
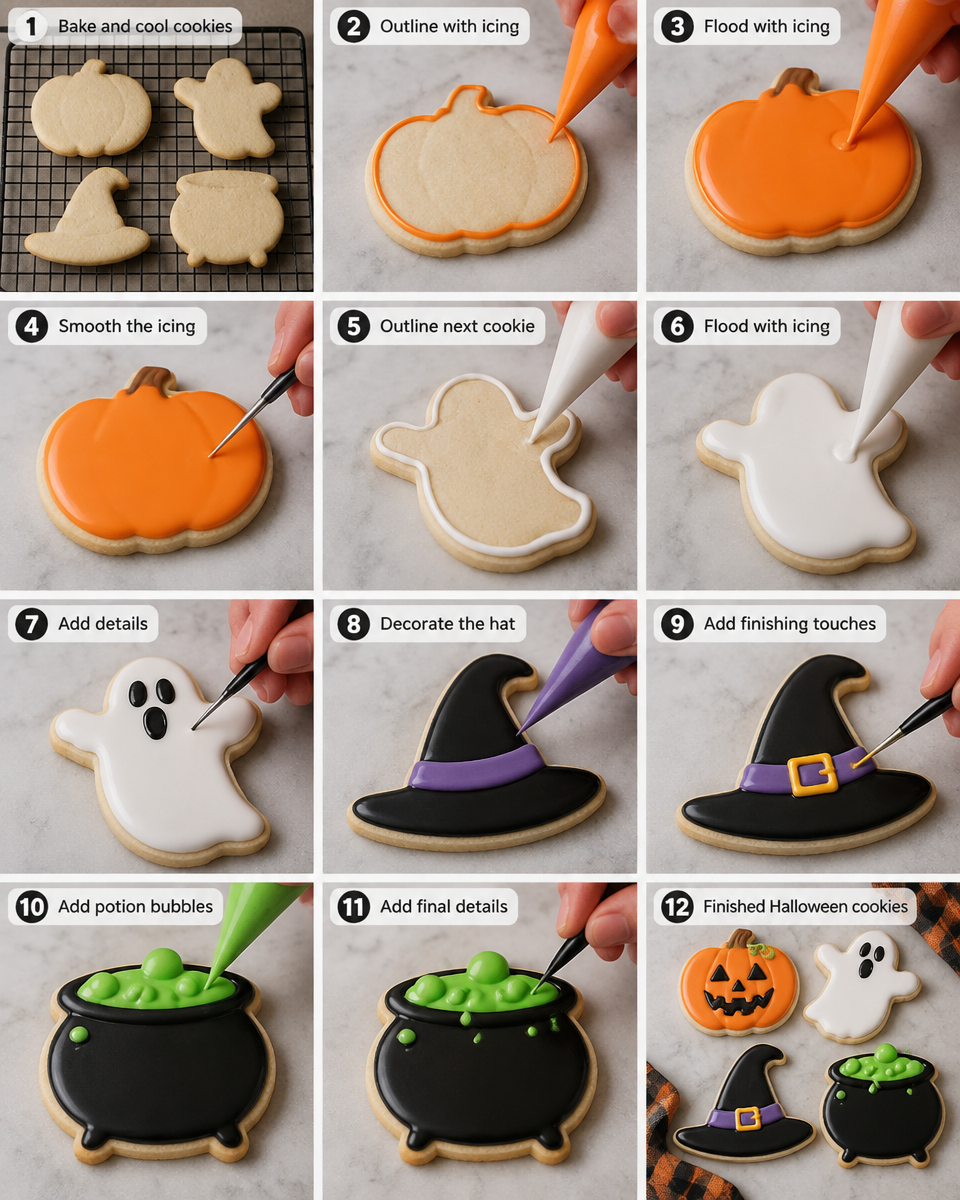
Want to dive into resources on the blog? Start here
If you are on a cookie kick, I totally get it. Once you decorate one set, you start thinking about the next theme. My suggestion is to keep a small rotation of reliable recipes so you are not learning everything at once.
Here is a fun one if you want a cozy dessert style cookie with a little extra personality: chocolate chip cannoli cookies. They are great when you want something a bit more bakery style, while your Halloween set is all about color and cuteness.
My other practical tip is to take pictures as you go. Not for social media pressure, just for you. Next year you will be so happy you saved the color mixes and the order you decorated in. That is how you get better without feeling like you are studying.
Common Questions
Do I have to use royal icing for Easy Halloween Cookie Decorating — Cauldron Cookies?
Royal icing is easiest for clean lines and a dry finish. You can use a thick glaze icing in a pinch, but it stays tacky longer and details can smudge.
How do I keep black icing from tasting bitter?
Use gel coloring and start with chocolate royal icing if you can. Cocoa helps the color without needing so much dye.
Can I make these cookies ahead of time?
Yes. Bake the cookies 1 to 2 days ahead, then decorate the next day. Or decorate and store airtight for up to a week once fully dry.
Why is my icing getting little craters or bubbles?
Usually it is air whipped in while mixing. Let the icing rest 10 minutes, then stir slowly. After flooding, pop bubbles with a toothpick.
How do I transport them to a party without ruining them?
Let them dry overnight, then place in a single layer in a snug container. If you must stack, use parchment and keep the container from sliding around.
A sweet little Halloween send off
Easy Halloween Cookie Decorating — Cauldron Cookies is one of those projects that looks impressive but feels relaxed once you start. Keep the shapes simple, give your icing time to dry, and remember that Halloween is allowed to look a little messy in a fun way. If you want even more inspiration, I love browsing Colorful and Cute Halloween Cookie Ideas – SweetAmbs for bright color combos, and Halloween Cookies – Witch Cauldrons | Sweet Jenny Belle for extra cauldron styling ideas. Now grab your circles, mix that spooky green, and have fun with it. You are going to surprise yourself with how cute they turn out.

Cauldron Cookies
Ingredients
Method
- Chill the cookie dough for at least 30 minutes before baking to help cookies maintain shape.
- Bake circle sugar cookies until golden, let them cool completely.
- For Design 1: Classic witch cauldron, outline the top half of the cookie in black, then flood it. Pipe a flat rim at the top and let it dry for 20 to 30 minutes. Add two little legs at the bottom and flood with bright green potion, adding darker green dots for bubbles.
- For Design 2: Bubbling overflow cauldron, replicate the base, but add a drip line of green icing coming down the side.
- For Design 3: Potion swirl, flood with green and immediately pipe a thin spiral in a lighter color. Drag a toothpick gently through it.
- For Design 4: Spooky face cauldron, after drying the black base, pipe a jack-o-lantern face or ghost face in contrasting colors.
- For Design 5: Starry night cauldron, sprinkle tiny white dots and edible glitter on the dry black icing.
- For Design 6: Candy eye cauldron, add two candy eyes into the wet green potion.
- For Design 7: Minimalist cauldron, outline and flood the black cauldron, then add three green dots for bubbles.
Notes