Go Back
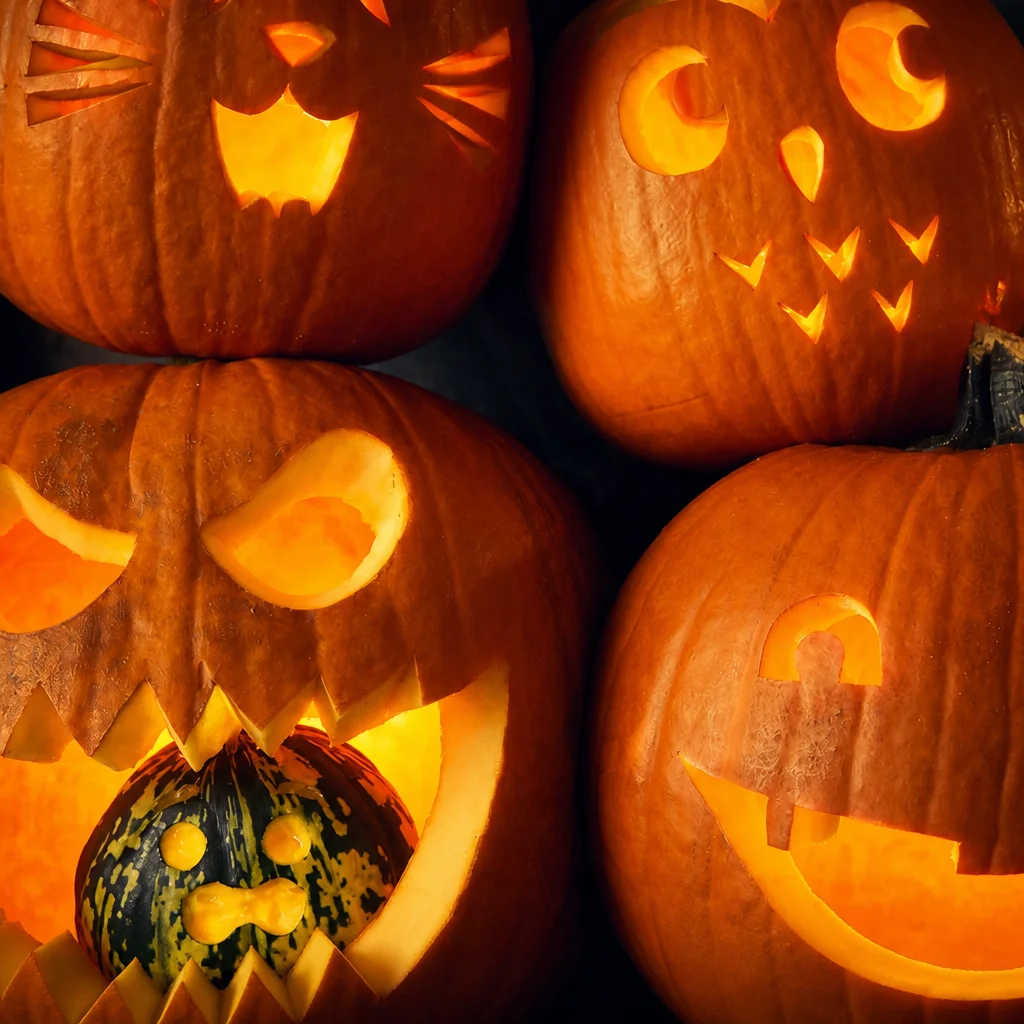
Beginner pumpkin carving stencil ideas for easy Halloween designs.

Easy Pumpkin Carving Ideas

Simple and cute pumpkin carving ideas perfect for beginners, ensuring you can enjoy the Halloween spirit without stress.
Prep Time 1 hour
Total Time 1 hour
Servings: 1 pumpkin
Course: Crafts, Seasonal
Cuisine: American, Fall
Calories: 150

Ingredients
  

Pumpkin Carving Essentials
  • 1 medium medium pumpkin Choose one with a flatter front side for easier carving.
  • 1 small small serrated carving saw or pumpkin carving knife A simple kit suffices.
  • 1 sturdy sturdy spoon or scoop For cleaning out the inside.
  • 1 marker marker For freehand touch-ups if needed.
  • a few pins or toothpicks To transfer stencil lines.
  • 1 newspaper or a disposable tablecloth For easy cleanup.
  • 1 bowl bowl for seeds and stringy bits To collect remnants.
  • 1 battery LED battery LED light or tea light candle Preferably an LED for safety around children.
Additional Tips
  • 1 tiny bit petroleum jelly To rub on cut edges, slowing down drying and shriveling.

Method
 

Preparation
  1. Select a beginner-friendly pumpkin carving design.
  2. Print and tape your stencil on the pumpkin.
  3. Use a pin or toothpick to poke dots along the lines of the stencil.
  4. Remove the stencil to reveal the dotted outline.
Carving
  1. Carefully carve along the dotted lines.
  2. Go slowly and check your work regularly to ensure the pumpkin looks as intended from the front.
Finishing Up
  1. Rinse and roast pumpkin seeds while enjoying a warm drink.
  2. Rub a bit of petroleum jelly on the cut edges to preserve your pumpkin's design.
  3. Light your pumpkin and step back to admire your handiwork.

Notes

Remember to carve away from your hand for safety and keep your pumpkin steady using a damp towel underneath. It's recommended to use larger shapes to make carving simpler.