
Easy Halloween Caramel Apples Classic Dipped are the kind of treat I make when I want something festive fast, but I still want it to feel special. Maybe you have a Halloween party coming up, or maybe your kids are suddenly obsessed with spooky snacks, and you do not want to spend all night baking. I get it. These apples look like you worked really hard, but the steps are honestly pretty simple. And the best part is that you can keep them classic or go wild with toppings depending on your mood.
Key Benefits and Uses of Easy Halloween Caramel Apples Classic Dipped
Let us be real, the reason I keep coming back to Easy Halloween Caramel Apples Classic Dipped is because they do a lot with very little effort. They are cute, nostalgic, and they make people happy the second they see them on a plate.
Here are the biggest perks in my house:
- They are a make ahead win. You can dip them earlier in the day and keep them chilled.
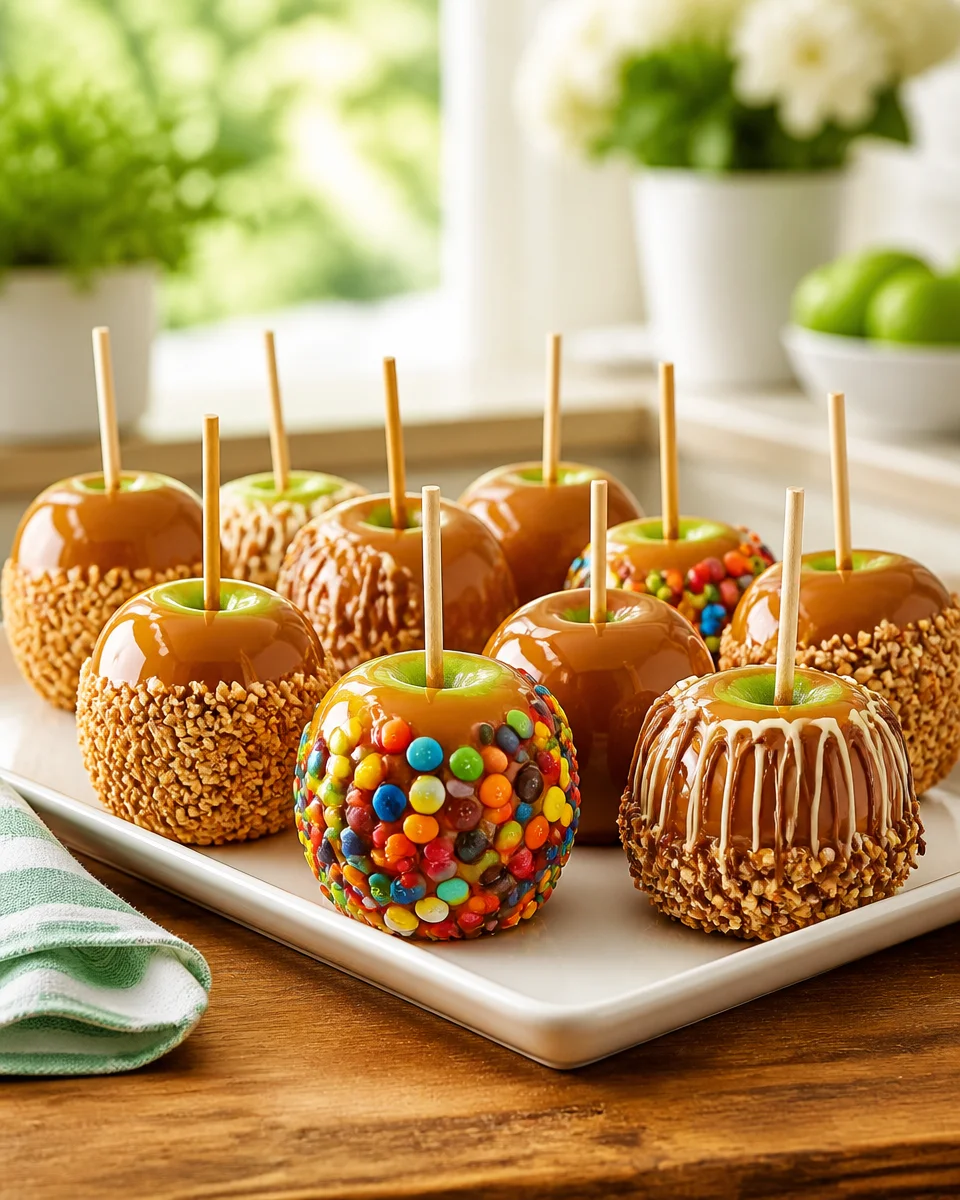
- They look like a centerpiece. One tray of caramel apples can carry an entire dessert table.
- They are customizable. Classic dipped, sprinkled, drizzled, or coated in candy bits, you choose.
- They feel like a treat and a snack. It is fruit plus candy, so it is basically balanced, right?
- Perfect for gifting. Wrap in cellophane and tie with ribbon, and you look like you planned ahead.
If you are on a caramel kick, I also keep a couple of other favorites in rotation. This deliciously easy homemade caramels recipe is great if you want soft chewy pieces for a candy jar, and it makes the kitchen smell amazing.
Common Misconceptions about Easy Halloween Caramel Apples Classic Dipped
I used to think caramel apples were super fussy. Like, candy shop only. Turns out, a few small details are what make them easy instead of annoying.
Misconception 1: You have to be a candy expert.
Nope. If you can stir and watch a pot, you can do this. The goal is smooth melted caramel, not a chemistry project.
Misconception 2: Any apple works.
Technically yes, but not every apple tastes good with caramel. Some are too soft or too sweet, and then the whole thing feels heavy.
Misconception 3: The caramel always slides off because you did something wrong.
Sometimes it is just wax on the apple skin. A quick scrub and dry makes a huge difference.
Misconception 4: They will stay perfect on the counter all day.
Caramel apples are happiest chilled once they are dipped. They can sit out for serving, but long warm countertop time can make the caramel droop.
“I made these for my daughter’s class party and every single kid asked for seconds. The caramel actually stayed on the apples, which has never happened for me before.”
If you love that sweet buttery flavor but want something you can slice and serve in bars, this is a fun fall option too: easy caramel apple cheesecake bars fall dessert.
How to Choose the Right Easy Halloween Caramel Apples Classic Dipped
This is where the whole recipe gets easier, because smart choices upfront save you later.
Best apples for dipping
I like apples that are crisp and a little tart. That tangy bite keeps the caramel from tasting too sugary.
- Granny Smith: my number one for that tart snap
- Honeycrisp: sweet but still crisp, super popular with kids
- Gala: softer sweetness, good if you want mild flavor
Try to avoid apples that feel mealy or have bruises, because biting into a caramel apple should be satisfying, not mushy.
What caramel should you use
You have two solid paths:
Option A: store bought caramels. You unwrap them, melt with a splash of cream or milk, and you are in business.
Option B: homemade caramel. It tastes incredible and feels extra special, but it is a bit more attention.
Either way, keep it thick enough to cling but not so thick it turns into a brick while you are dipping.
One more thing that helps: choose sturdy sticks. Popsicle sticks work, but I prefer thicker lollipop sticks or wooden dowels because the apples are heavy.
And if you want another buttery candy moment for the season, this one is a classic: delicious classic Christmas toffee easy to make enjoy. I know it is labeled Christmas, but honestly I would eat toffee any month of the year.
Practical Applications of Easy Halloween Caramel Apples Classic Dipped in Daily Life
This is not just a party treat. Easy Halloween Caramel Apples Classic Dipped can fit into regular life in a really practical way, especially in fall when apples are everywhere.
Here is how I actually use them:
- Weekend family treat: Dip a few apples on Friday night, then slice and snack over the weekend.
- After school surprise: Make mini ones using small apples or cut apples and dip slices for easier eating.
- Party dessert table: Display them upright in a foam block covered with candy corn for a cute look.
- Movie night: Slice them and serve like a caramel apple board with extra toppings.
And if you are in a “dessert but make it fun” season, you might also like this playful mashup: easy caramel apple cinnamon roll lasagna. It is sweet, cozy, and definitely a crowd pleaser.
Also, not everything has to be caramel, especially if you are serving a mixed group. If you need a light, fluffy side for potlucks, this easy ambrosia salad classic fluffy fruit salad is a throwback in the best way.
Tips for Getting the Most Out of Easy Halloween Caramel Apples Classic Dipped
This is my no drama method. It is basically the stuff I wish someone had told me the first time I tried.
My go to step by step recipe
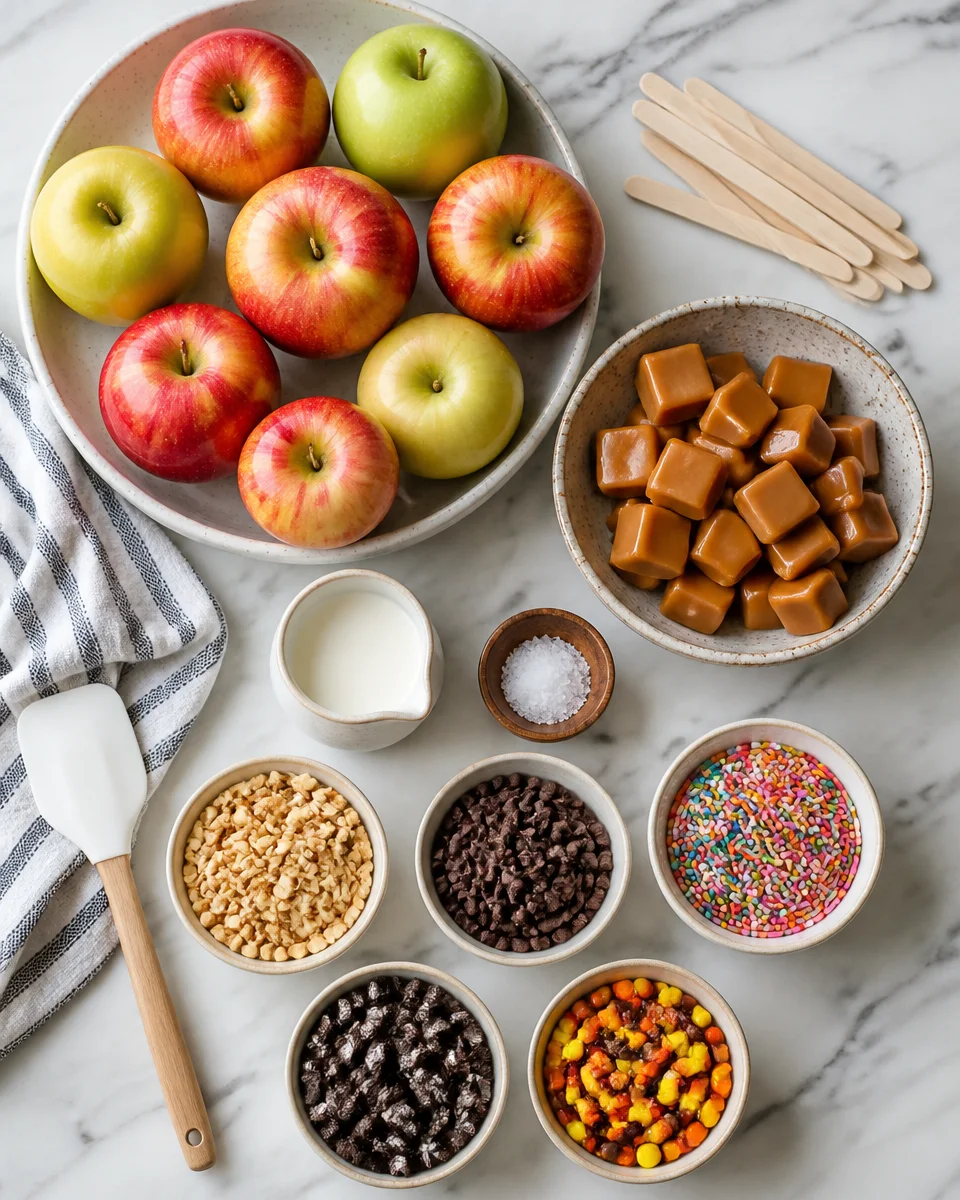
What you will need
- 6 to 8 small to medium apples
- 6 to 8 sticks
- About 11 oz store bought soft caramels, unwrapped
- 2 to 3 tablespoons heavy cream or milk
- Pinch of salt
- Optional toppings: chopped peanuts, mini chocolate chips, sprinkles, crushed cookies, candy bits
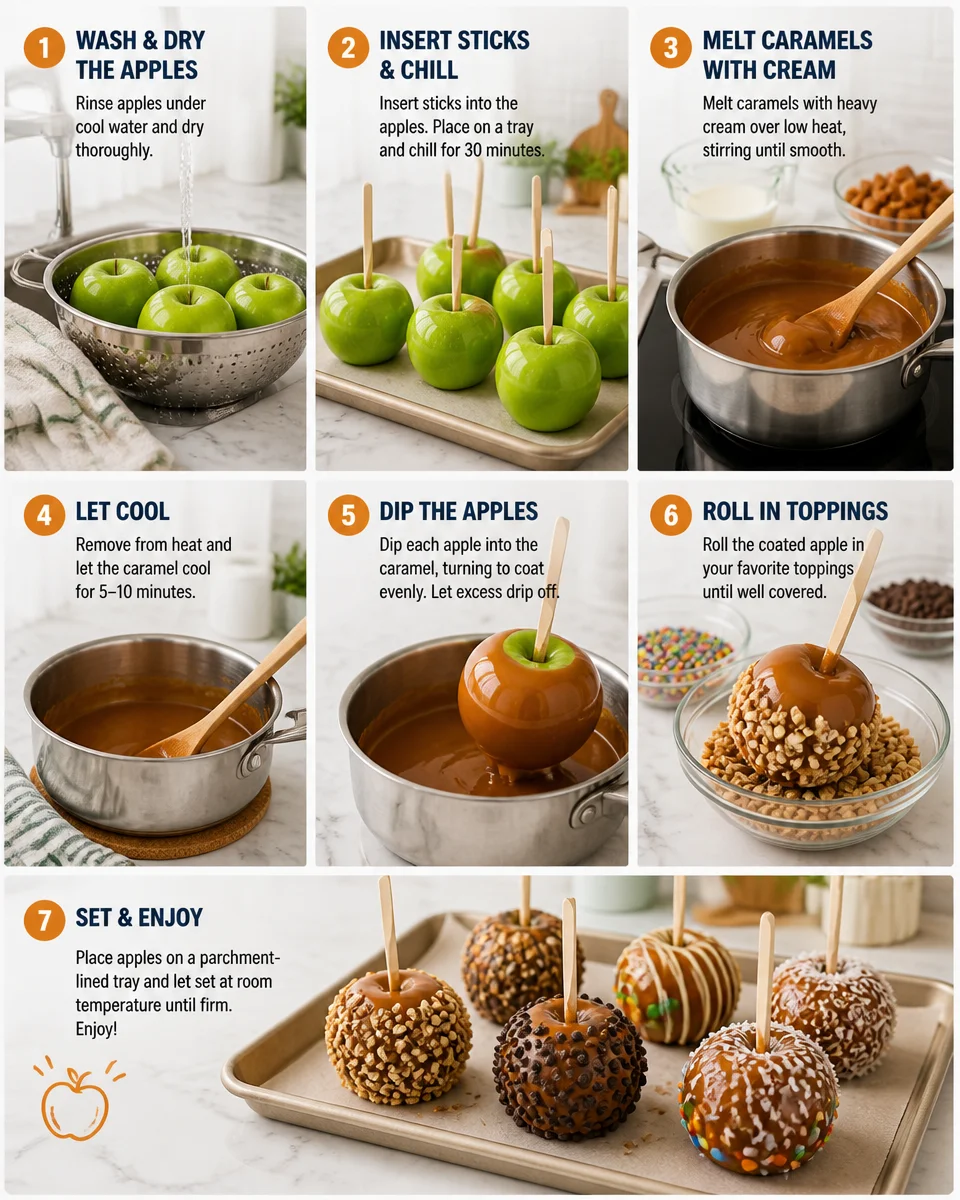
Directions
- Wash and scrub the apples well, then dry them completely. Like, seriously dry. Water makes caramel slip.
- Remove stems and push in the sticks. Chill the apples for 15 to 20 minutes if your kitchen is warm.
- Melt caramels with cream and a pinch of salt on low heat, stirring until smooth.
- Let caramel cool for about 2 minutes so it thickens slightly.
- Dip each apple, tilt the pot, and use a spoon to help coat if needed.
- Let excess drip off, then roll in toppings if you want.
- Set on a parchment lined tray and chill until set, about 20 to 30 minutes.
Extra tips that save the day
- If your caramel is too thick, add a tiny splash more cream and warm it gently.
- If your caramel is too runny, let it cool a bit before dipping the next apple.
- Use parchment paper, not wax paper. Wax paper can stick.
- For clean slicing, chill first, then cut with a sharp knife you warmed under hot water and dried.
When these are done right, the first bite is the best part: crisp apple, buttery caramel, and whatever crunch you added. That is the whole reason Easy Halloween Caramel Apples Classic Dipped keep showing up at my place every October.
Common Questions
Why is my caramel sliding off the apples?
Most of the time it is moisture or wax. Scrub the apples well and dry them completely. Chilling the apples before dipping also helps.
How far ahead can I make them?
I like them best within 24 hours. You can make them the day before, keep them chilled, and unwrap right before serving.
Do I have to use heavy cream?
No. Milk works. Heavy cream makes the caramel a bit smoother and richer, but use what you have.
How do I store leftovers?
Wrap each apple loosely and keep in the fridge. They will stay good for a couple of days, but the texture is best early.
Can I make them without sticks?
Yes. You can dip apple slices instead. Just know slices are messier and need to be eaten sooner.
A sweet little wrap up before you start dipping
If you want a festive treat that actually feels doable, Easy Halloween Caramel Apples Classic Dipped are it. Pick crisp apples, keep them dry, and do not rush the dipping, and you will get that pretty, smooth caramel coat. Once you make a batch, you will start dreaming up your own topping combos, and that is half the fun. If you want another simple take, I like the tips over at Easy Caramel Apples – Eazy Peazy Mealz for extra inspiration. Now go make a batch, pop them in the fridge to set, and enjoy that first crunchy caramel bite. 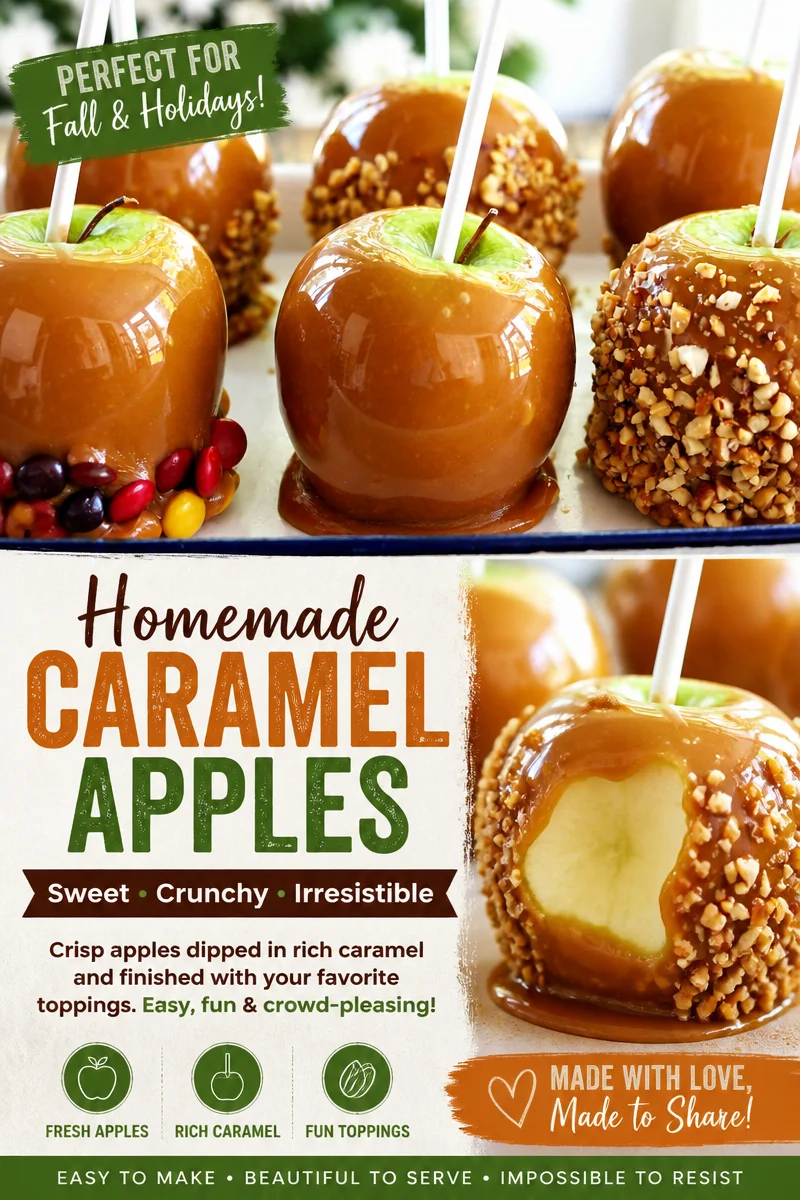

Easy Halloween Caramel Apples Classic Dipped
Ingredients
Method
- Wash and scrub the apples well, then dry them completely. Make sure they are dry since water will make the caramel slip.
- Remove stems and push in the sticks. If the kitchen is warm, chill the apples for 15 to 20 minutes.
- Melt caramels with cream and a pinch of salt on low heat, stirring until smooth.
- Let caramel cool for about 2 minutes so it thickens slightly.
- Dip each apple into the caramel, tilting the pot and using a spoon to help coat if needed.
- Let excess caramel drip off, then roll the apple in toppings if desired.
- Set the coated apples on a parchment-lined tray and chill until set, about 20 to 30 minutes.