
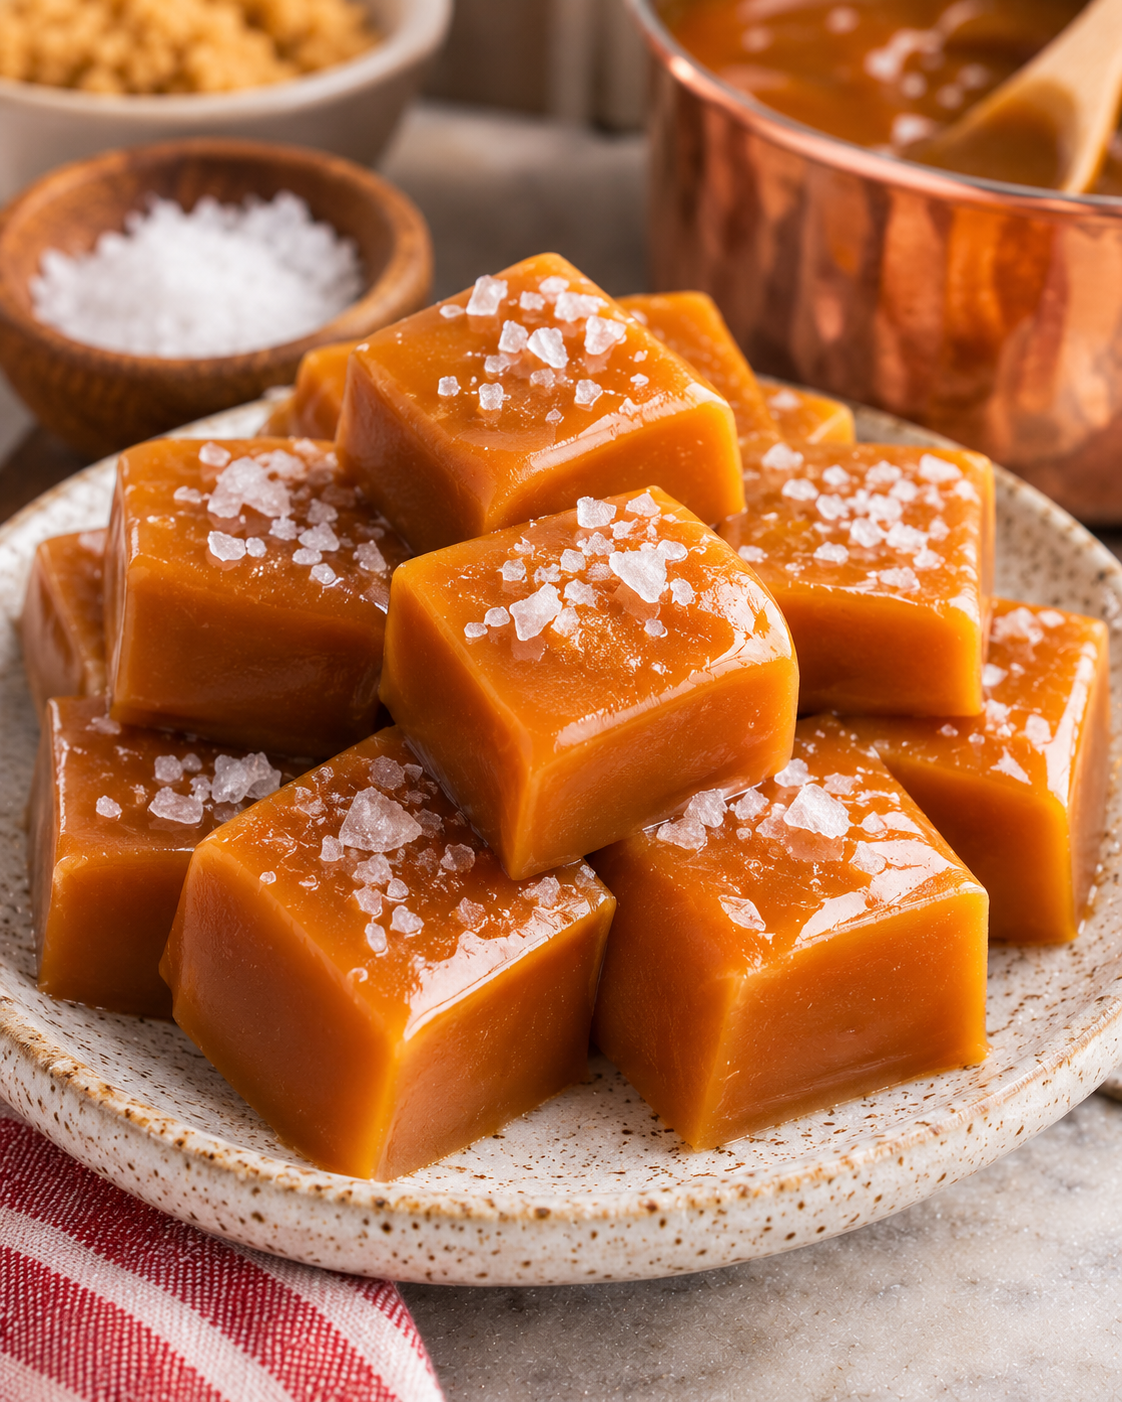
Homemade Caramels are one of those things that sound fussy until you actually make them once and realize it is mostly about paying attention. If you have ever unwrapped a caramel that was either too hard to bite or so sticky it glued itself to the wrapper, you are not alone. I am sharing my go to approach for soft, buttery candy that feels like a little reward at the end of the day. We are keeping the method simple and the tips practical, so you can feel confident even if candy making is new to you. And yes, these are the kind that make your kitchen smell like warm sugar and vanilla for hours.
What Makes Homemade Caramels Soft and Chewy?
Softness comes down to a few small choices that add up. You are basically guiding hot sugar into a smooth candy, then stopping at the right moment so it stays chewy instead of turning into a jawbreaker.
Here is what usually makes the difference with homemade caramels:
- Steady heat instead of cranking the burner up and down. Big heat swings can make texture unpredictable.
- Clean sides of the pot. Stray sugar crystals stuck up the sides can encourage graininess later.
- Good stirring habits. Stir enough to keep things moving, but do not aggressively beat air into the mixture.
- Patience at the end. That final stage is where you decide soft and chewy versus firm and snappy.
Also, use a reliable thermometer if you have one. It does not need to be fancy, just accurate. If you are the type who likes cozy kitchen projects, you might also enjoy making a mug of something spiced while you work, like this easy chai latte iced spiced homemade. It makes the whole candy making vibe feel extra comforting.
Understanding Caramel Texture
Caramel texture is really a balance between how much water has cooked out and how the candy cools down. The less moisture left, the firmer the result. The more moisture left, the softer and more bendy it will be.
Even if you follow the same recipe, a couple of real life things can nudge your results, like the size of your pot, how wide the surface area is, or how humid your kitchen feels. I am not saying you need to obsess over it, just know it is normal if your first batch teaches you a few things.
Why temperature and cooling affect firmness
When the mixture cooks, it slowly concentrates. The temperature climbs as moisture evaporates, and that is why candy recipes pay so much attention to the final temperature. Then cooling locks in the texture. If you cool too quickly in a very cold spot, you can end up with edges that set faster than the middle. If you cool in a warm spot, it may take longer to firm up.
A simple tip is to let the pan cool at room temperature where it is not getting blasted by a cold draft or sitting on top of a hot appliance. If you are the snacky type, this is a great time to make something crunchy to munch while you wait. I have a soft spot for easy caramel popcorn homemade crunchy when I want a sweet and salty break.
Troubleshooting Grainy, Sticky or Hard Caramels
Let me save you some frustration. Most caramel problems fall into a few common buckets, and the fixes are usually straightforward for the next batch.
Grainy caramels often happen when sugar crystals sneak into the party. That can come from undissolved sugar, splashes on the side of the pot, or stirring in a way that encourages crystallization. If your batch turns grainy, it is still edible, but the texture will feel sandy instead of silky.
Sticky caramels are usually undercooked, meaning too much moisture stayed in. They may taste amazing but refuse to hold their shape, especially if your kitchen is warm.
Hard caramels tend to be cooked a bit too long. They might still be tasty, but they will pull at your teeth and feel more like a caramelized sugar candy than a chewy caramel.
How to recognize a caramel that did not set
If the caramel stays slumpy for hours and never firms up enough to cut cleanly, it probably did not cook long enough. Another clue is if it sticks to the knife like glue and stretches into strings instead of making tidy squares. In that case, you can usually chill it to make cutting possible, but the texture may still be stickier than you wanted.
For what it is worth, I once brought slightly sticky homemade caramels to a family get together and people still hovered near the plate until they were gone. You can always call them “soft chews” and nobody argues.
“I made these for teacher gifts and they disappeared fast. The texture was soft, not stiff, and the flavor tasted like a fancy candy shop.”
Cutting, Wrapping and Gift Packaging
This part is oddly relaxing. Once the caramel is fully cool, lift it out using the liner. Then cut into pieces. If your knife drags, lightly oil the blade or use a piece of parchment between your hand and the caramel to keep things neat.
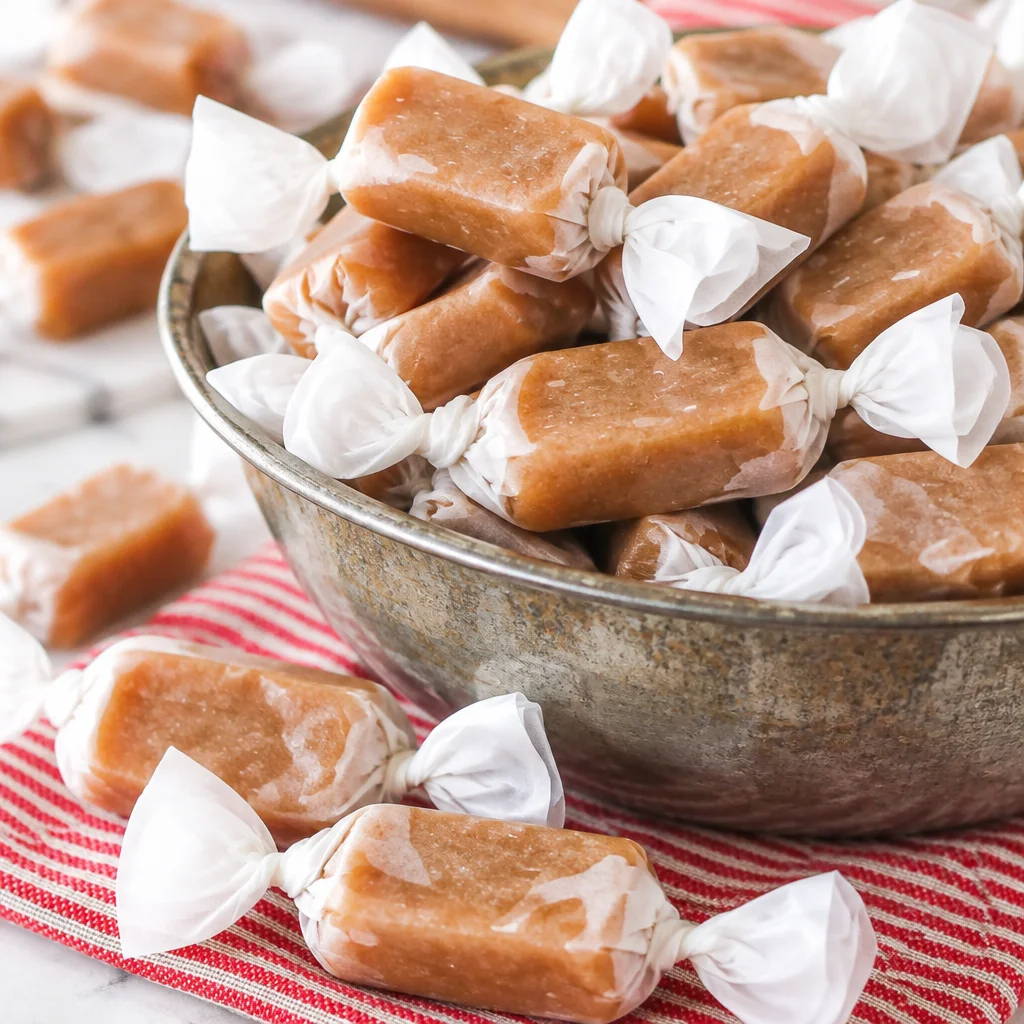
Wrapping is worth the small effort because it keeps each piece from sticking to its neighbors. Little squares of wax paper or candy wrappers work great. Twist the ends like old school candies and suddenly you look like the kind of person who has their life together.
For gifting, I like simple packaging:
Easy gift ideas that look cute without being complicated:
- Small cellophane bags tied with a ribbon
- A jar with a tight lid and a handwritten label
- A bakery box lined with parchment
If you are building a homemade treat basket, caramels pair well with wholesome breakfast style goodies too. Toss in something fruity like this easy acai bowl homemade superfood topped mix idea for balance, or just to make the basket feel fun and varied.
Storage and Shelf-Life Considerations
Caramels are sensitive to heat and humidity, so storage is mostly about keeping them comfortable. A cool, dry spot is your friend. If they are wrapped individually, they stay nicer because they are not rubbing together and melting into one big caramel brick.
I cannot promise an exact shelf life because kitchens vary a lot, but here is a practical way to think about it:
If your home is warm or humid, you may prefer storing them in an airtight container in a cooler area. If you do refrigerate, know that they can firm up in the cold. Let a few pieces sit out for a bit before eating so the texture turns soft again.
One more thing, keep them away from strongly scented foods. Sugar absorbs odors easier than you would expect, and nobody wants a caramel that mysteriously tastes like last night’s garlic dinner.
Flavor Variations That Suit the Base Recipe
Once you are comfortable with the base method, you can have a lot of fun. The nice thing about homemade caramels is that small add ins make them feel totally different without changing the whole process.
Here are a few easy directions that usually play nicely with a classic caramel base:
- Vanilla and sea salt for that sweet salty bite
- Espresso powder for a gentle coffee note
- Cinnamon for a warm holiday feel
- Toasted nuts for crunch, just make sure they are fully cool and dry
If you are serving a cozy movie night spread, caramels are great next to salty snacks. If you are doing a dinner and want an easy follow up sweet, they also fit right in as a little after dinner candy. And if dinner is something comforting like this easy chicken ramen homemade broth bowl, having a caramel at the end feels like the perfect tiny dessert.
Frequently Asked Questions
Why are my homemade caramels too hard?
Usually they cooked a bit too long, so more moisture evaporated and the candy set firmer. Next time, stop the cook a little earlier and keep your heat steady so you do not overshoot at the end.
How do you keep caramels from getting grainy?
Keep sugar crystals off the sides of the pot, avoid scraping down dried sugar, and do not stir aggressively once things are really bubbling. A clean pot and steady heat help a lot too.
Do homemade caramels need refrigeration?
Not always. In a cool, dry kitchen they usually do fine wrapped and stored airtight. If your home is warm or humid, refrigeration can help, but let them come to room temperature before eating so they are soft again.
What is the easiest way to cut them neatly?
Wait until fully cool, then use a lightly oiled knife and wipe the blade between cuts. If the caramel is extra soft, chilling it briefly can make cleaner cuts, then you can wrap right away.
Can I double the batch?
You often can, but it may take longer to cook and the timing can change. If it is your first time, I would make a single batch first so you learn how it behaves in your kitchen.
A sweet little reason to make these soon
Making homemade caramels at home is one of those kitchen projects that feels special without being complicated once you know what to look for. Keep your heat steady, pay attention near the end, and give them the time they need to cool before cutting. Wrap them up and you have the easiest homemade gift or a treat to stash for later. If you try them, I hope you enjoy that soft, buttery chew and the fact that you made real candy in your own kitchen.
Homemade Caramels
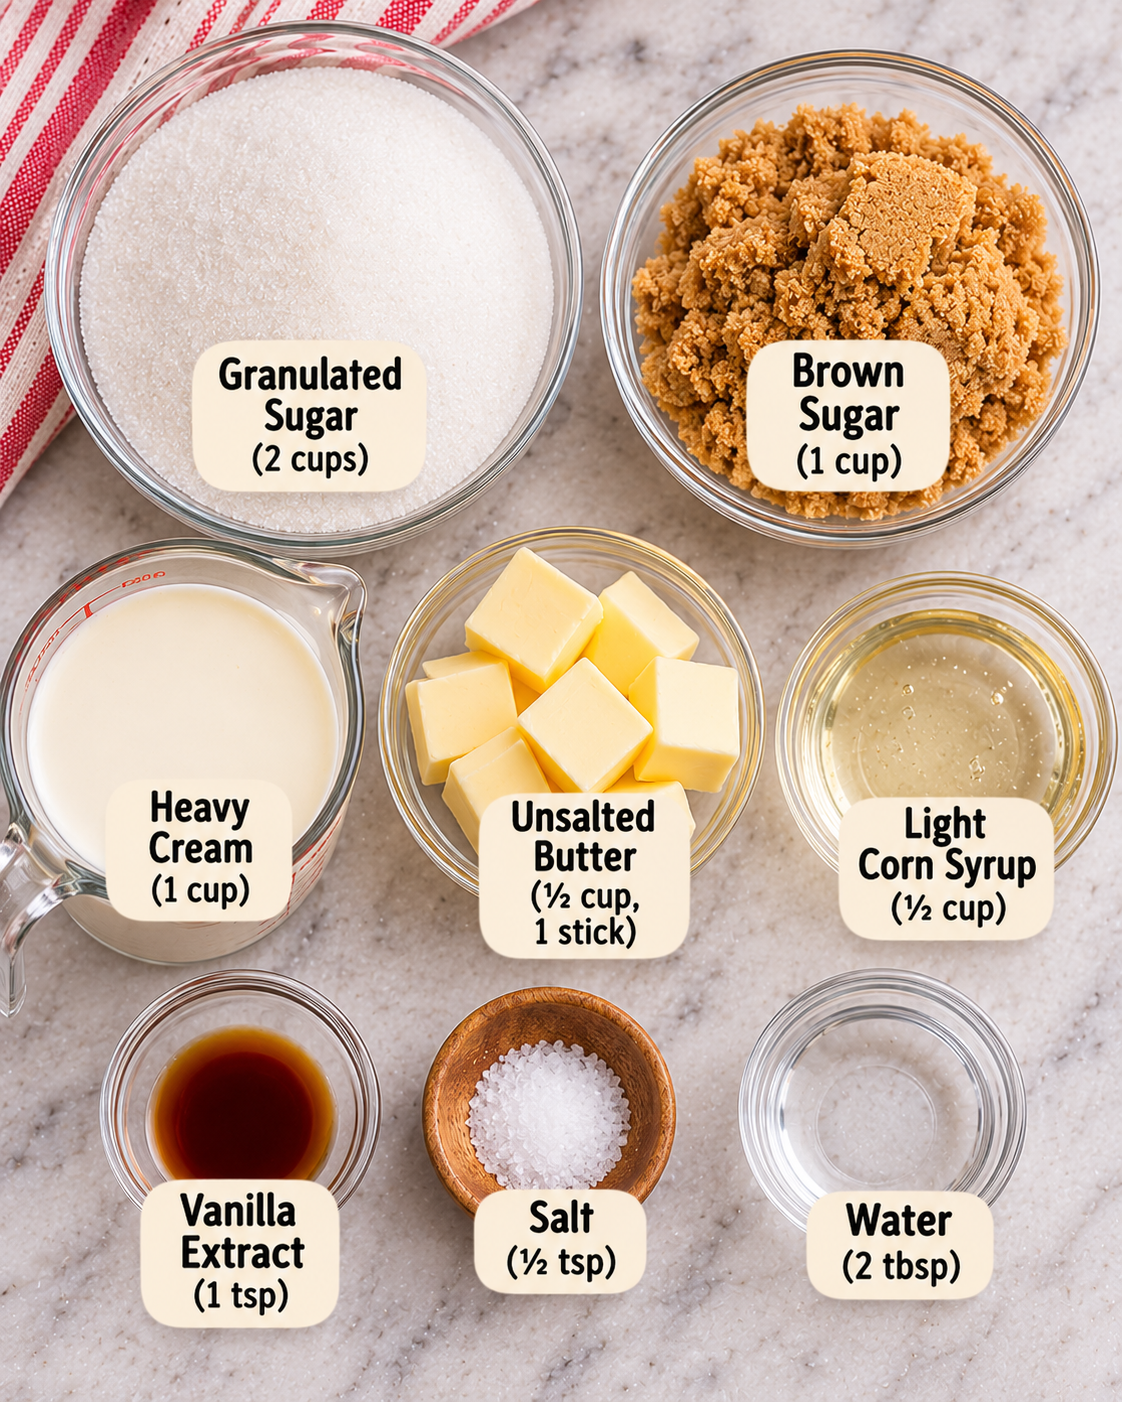
Ingredients
Method
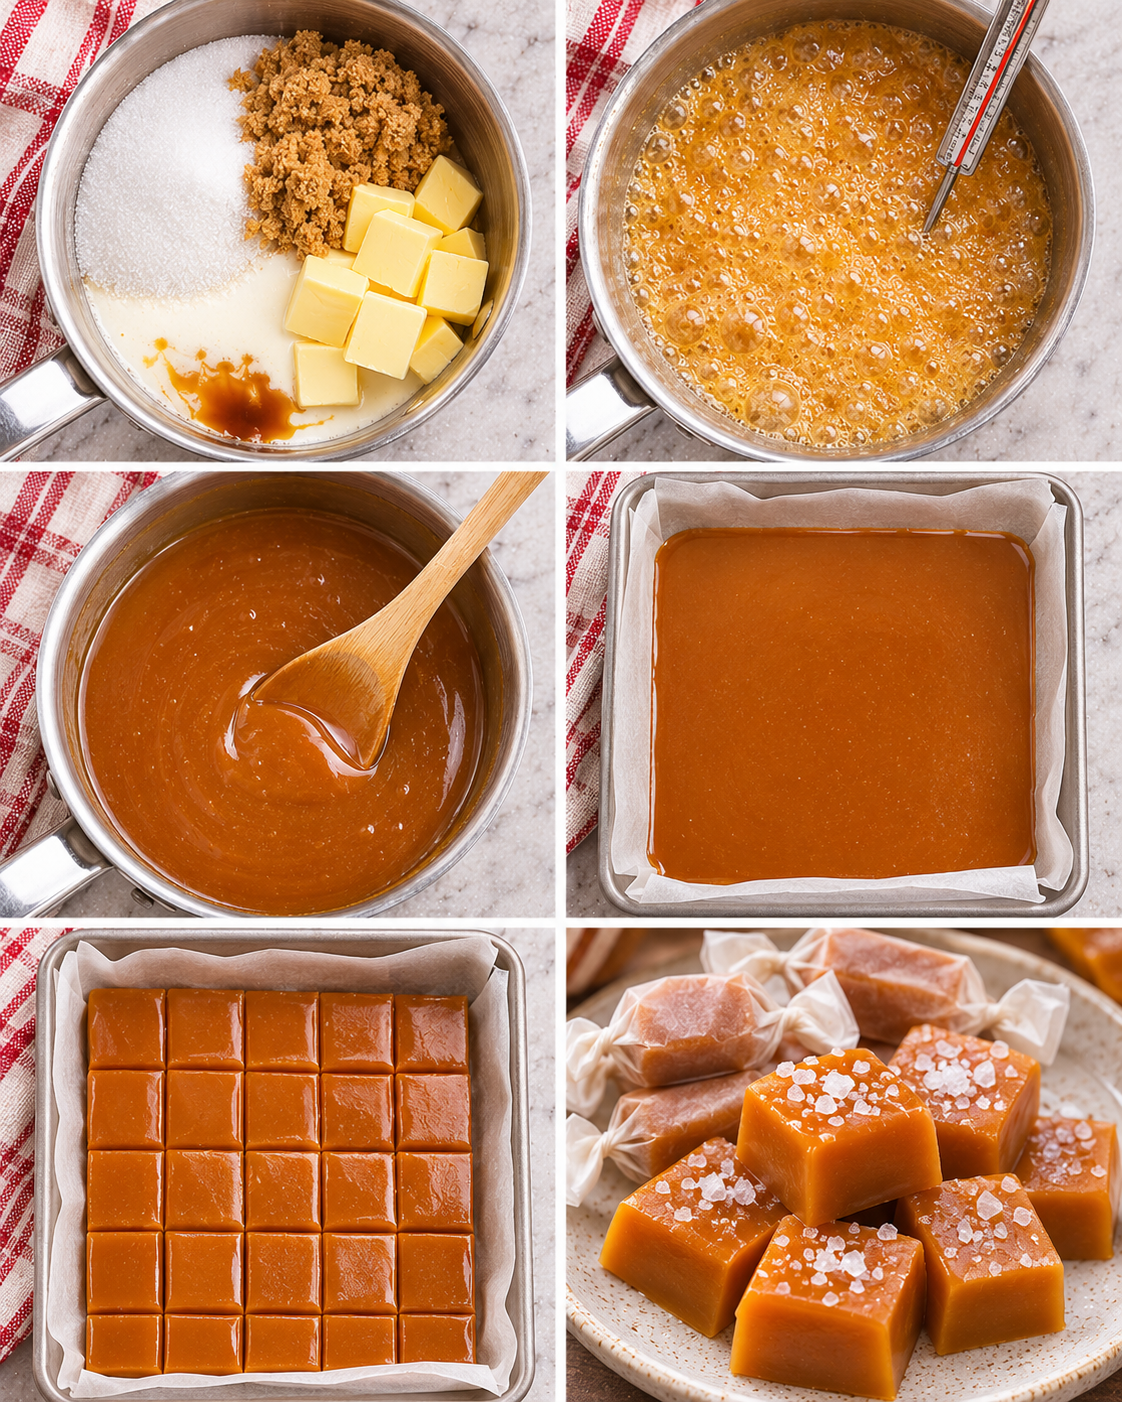
- Prepare a 9×9 inch baking dish by lining it with parchment paper.
- In a large saucepan over medium heat, combine butter, sugar, corn syrup, and sweetened condensed milk.
- Stir the mixture consistently until the butter has melted and the sugar is dissolved.
- Once boiling, reduce the heat to medium-low and continue stirring constantly, using a reliable thermometer to monitor the temperature.
- Cook until the mixture reaches 240°F (soft-ball stage). Pay attention to prevent burning.
- Remove from heat and stir in vanilla extract and sea salt.
- Pour the hot caramel into the prepared baking dish and allow it to cool at room temperature until set.
- Once cooled, use a sharp knife to cut the caramel into squares.
- Wrap each piece in wax paper or candy wrappers to prevent sticking.