

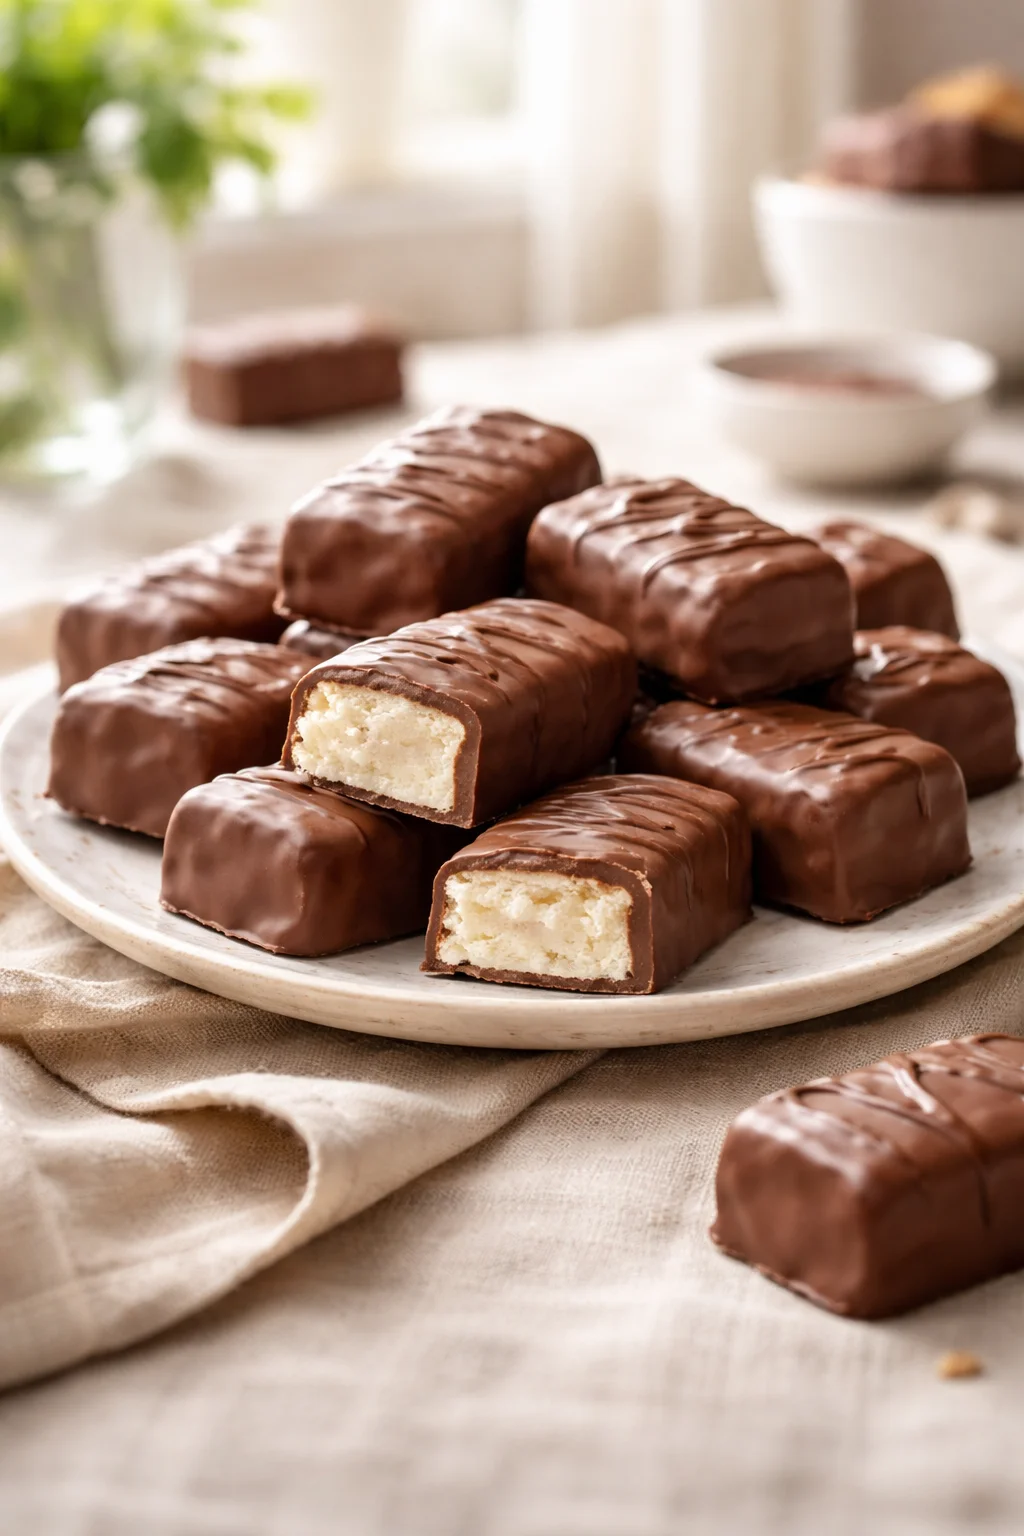
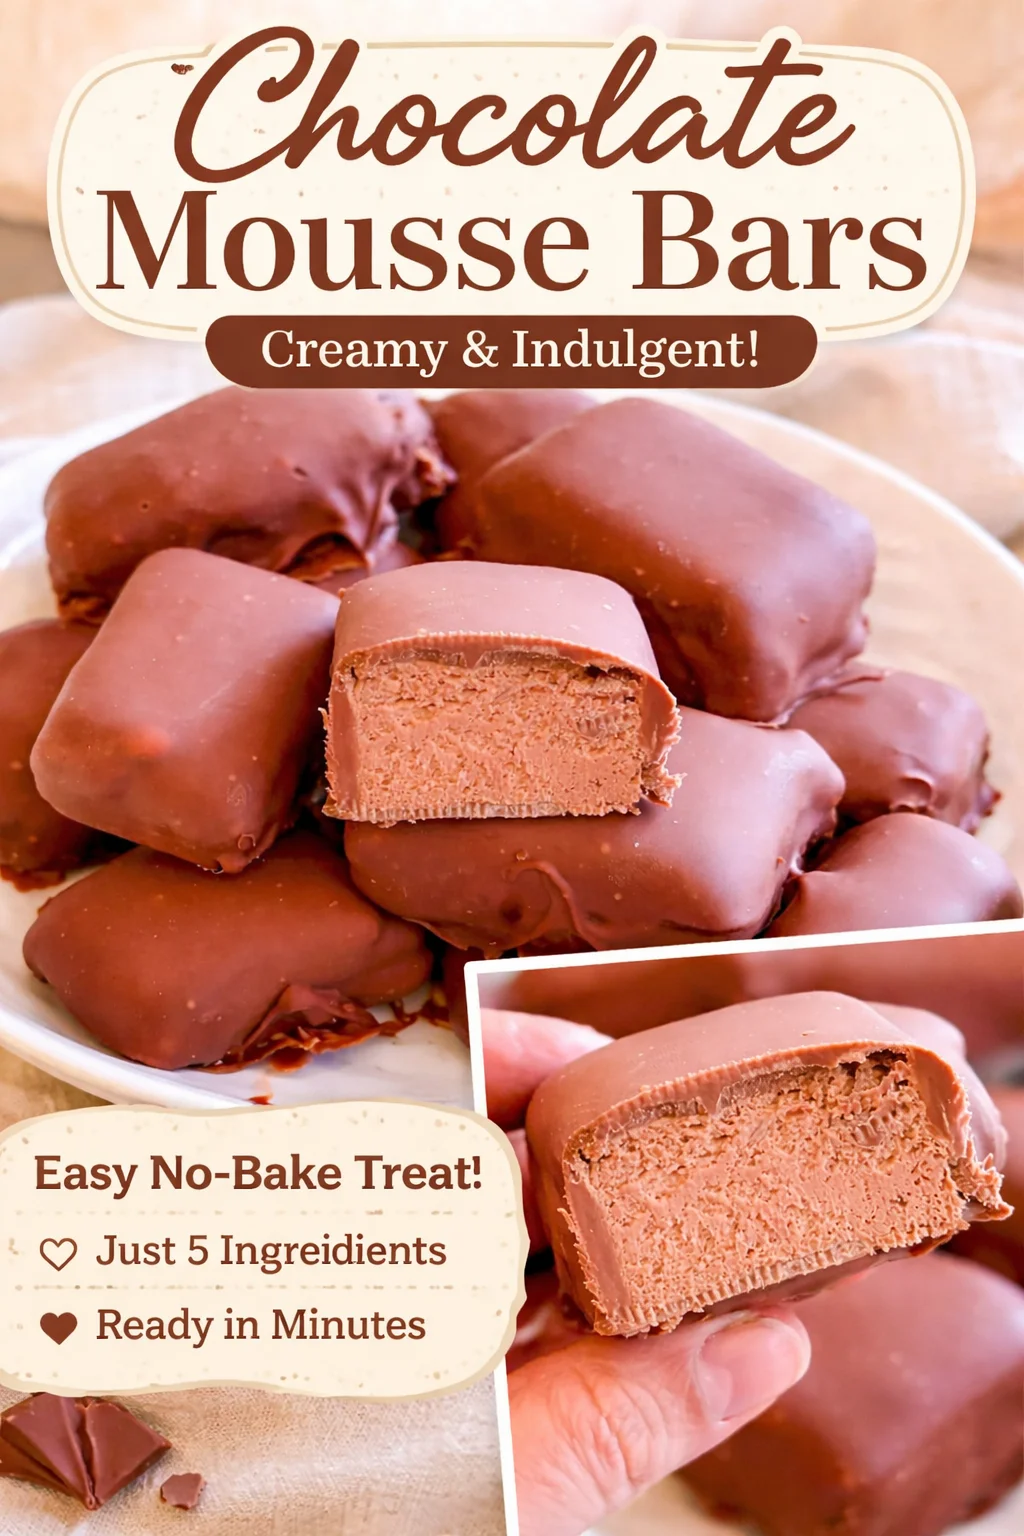
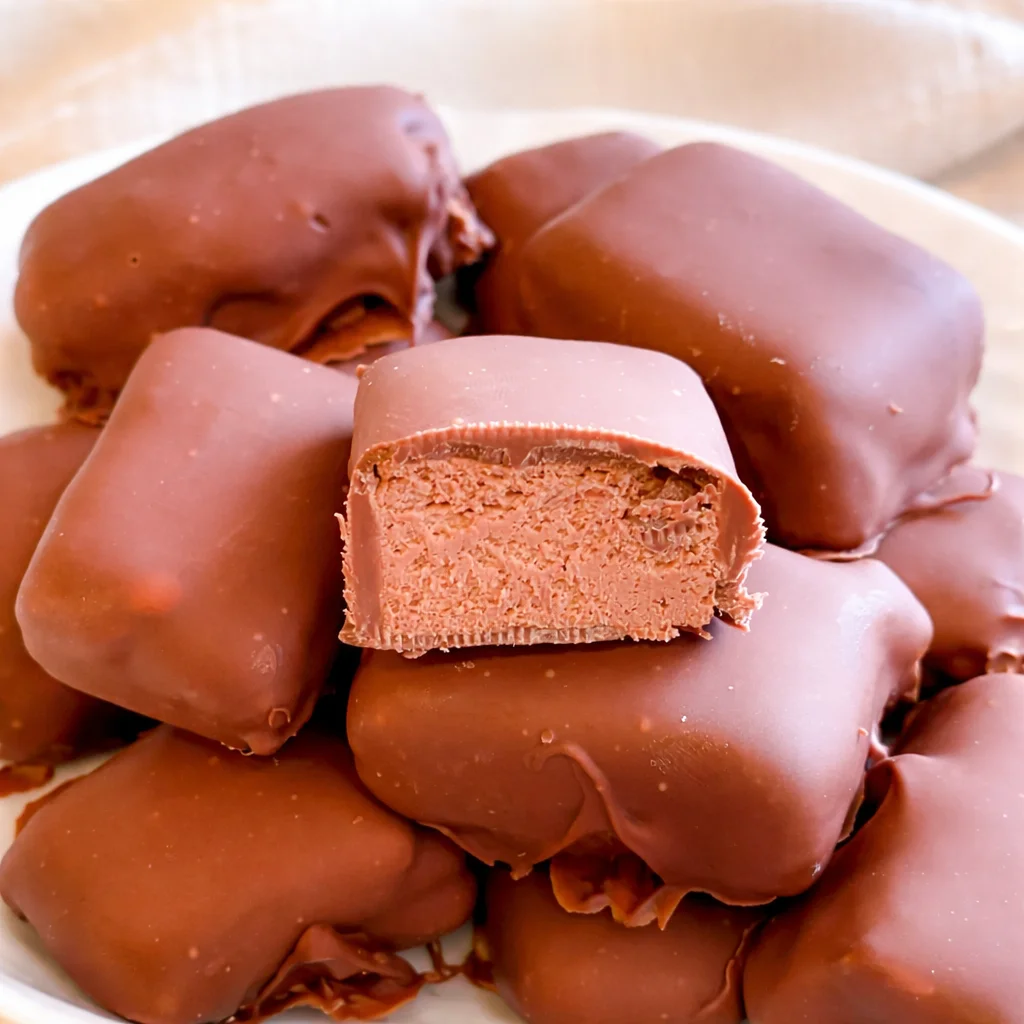
HOMEMADE 3-MUSKETEERS BARS are my favorite fix for that late night candy craving when the store is closed and the sweet tooth is loud. If you love the classic bar with its fluffy center and silky chocolate shell, you’re going to be shocked at how easy it is to make at home. No fancy skills, just a few basic ingredients and some time in the fridge. The texture is light, the chocolate is smooth, and the whole thing tastes like childhood in the best way. I’ll walk you through every detail and share a few tricks I’ve learned after many batches. Let’s do this.
Ingredients You’ll Need
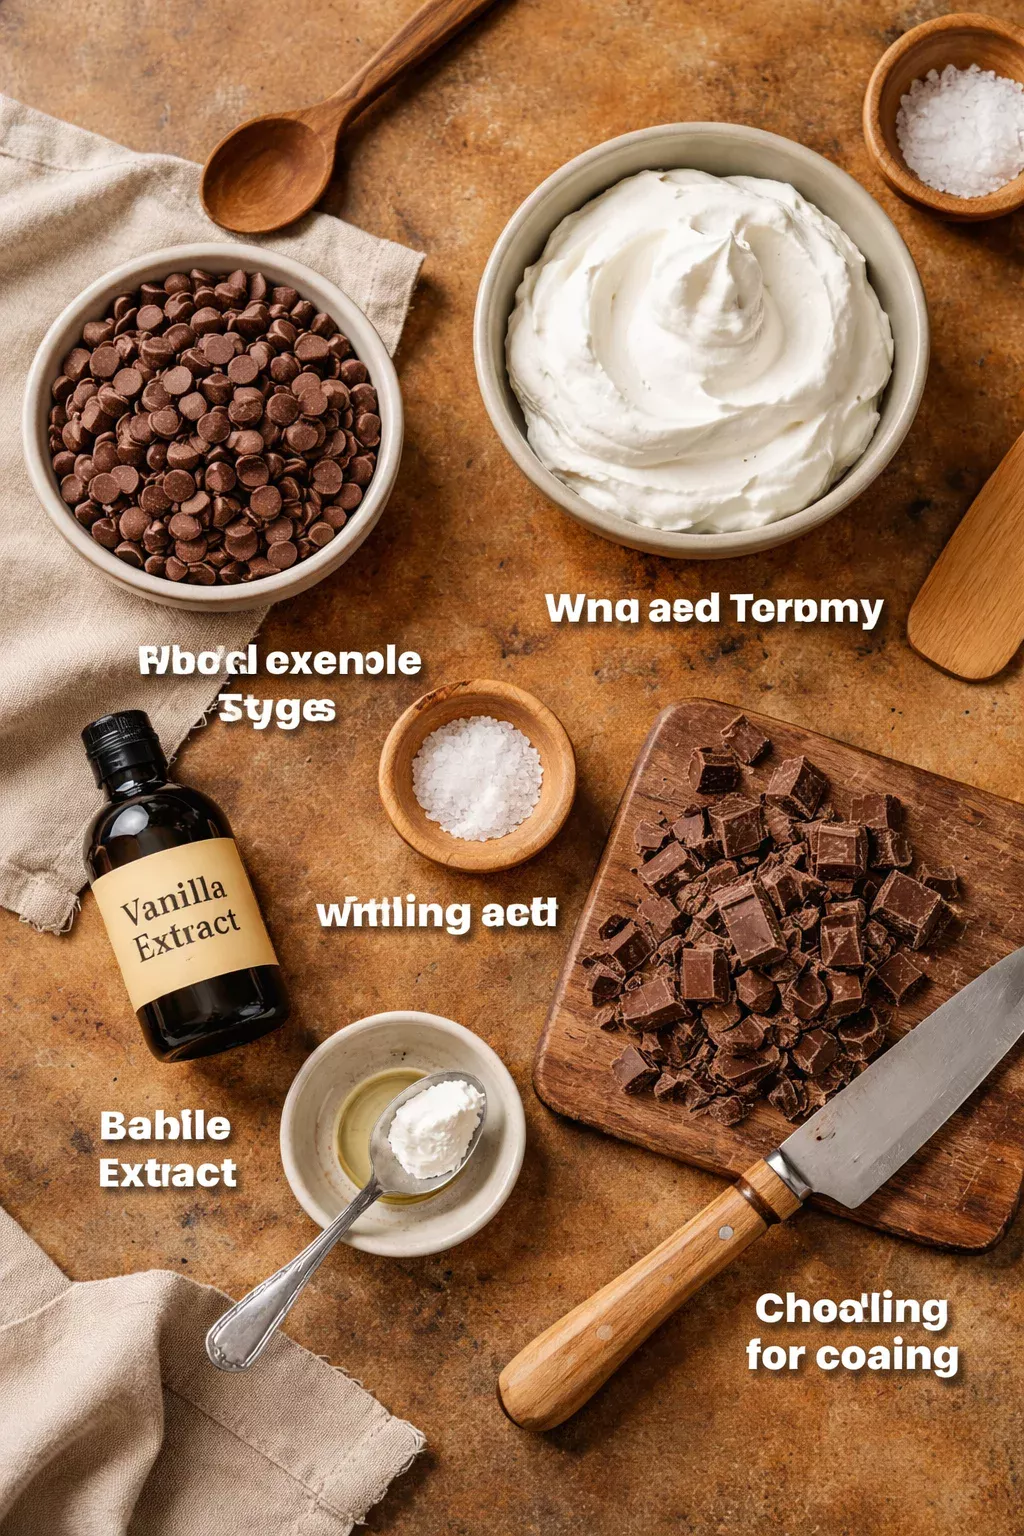
Here’s the beautiful part about making HOMEMADE 3-MUSKETEERS BARS at home. You only need a handful of easy ingredients. We’re talking about simple pantry and freezer items that team up to create that signature fluffy center and glossy chocolate dip.
- Milk chocolate chips: This builds the classic flavor of the center. You can use semi sweet if you like a deeper chocolate vibe.
- Whipped topping: The tub kind works best because it’s stable and consistent. Keep it cold.
- Vanilla extract: Just a little for roundness.
- Pinch of fine salt: Helps the chocolate pop.
- Chocolate for coating: Use milk chocolate or a combo of milk chocolate and chocolate candy coating for easy dipping.
- 1 teaspoon neutral oil or shortening: Optional, but it makes the coating smoother and easier to dip.
Helpful tools: a hand mixer or sturdy spatula, parchment paper, a loaf pan or 8 inch pan, and a microwave safe bowl. If you have a thermometer, great, but not required. Keep the whipped topping chilled until the moment you fold it in. Cold equals fluffy.
Want to pair your bars with something cozy? A mug of this rich homemade drinking chocolate makes these little squares feel extra special.
How to Make 3 Musketeers Bars
Here’s the simple method that unlocks that signature airy center. The key is gentle folding and keeping it all cold so the texture stays light.
Make the fluffy filling
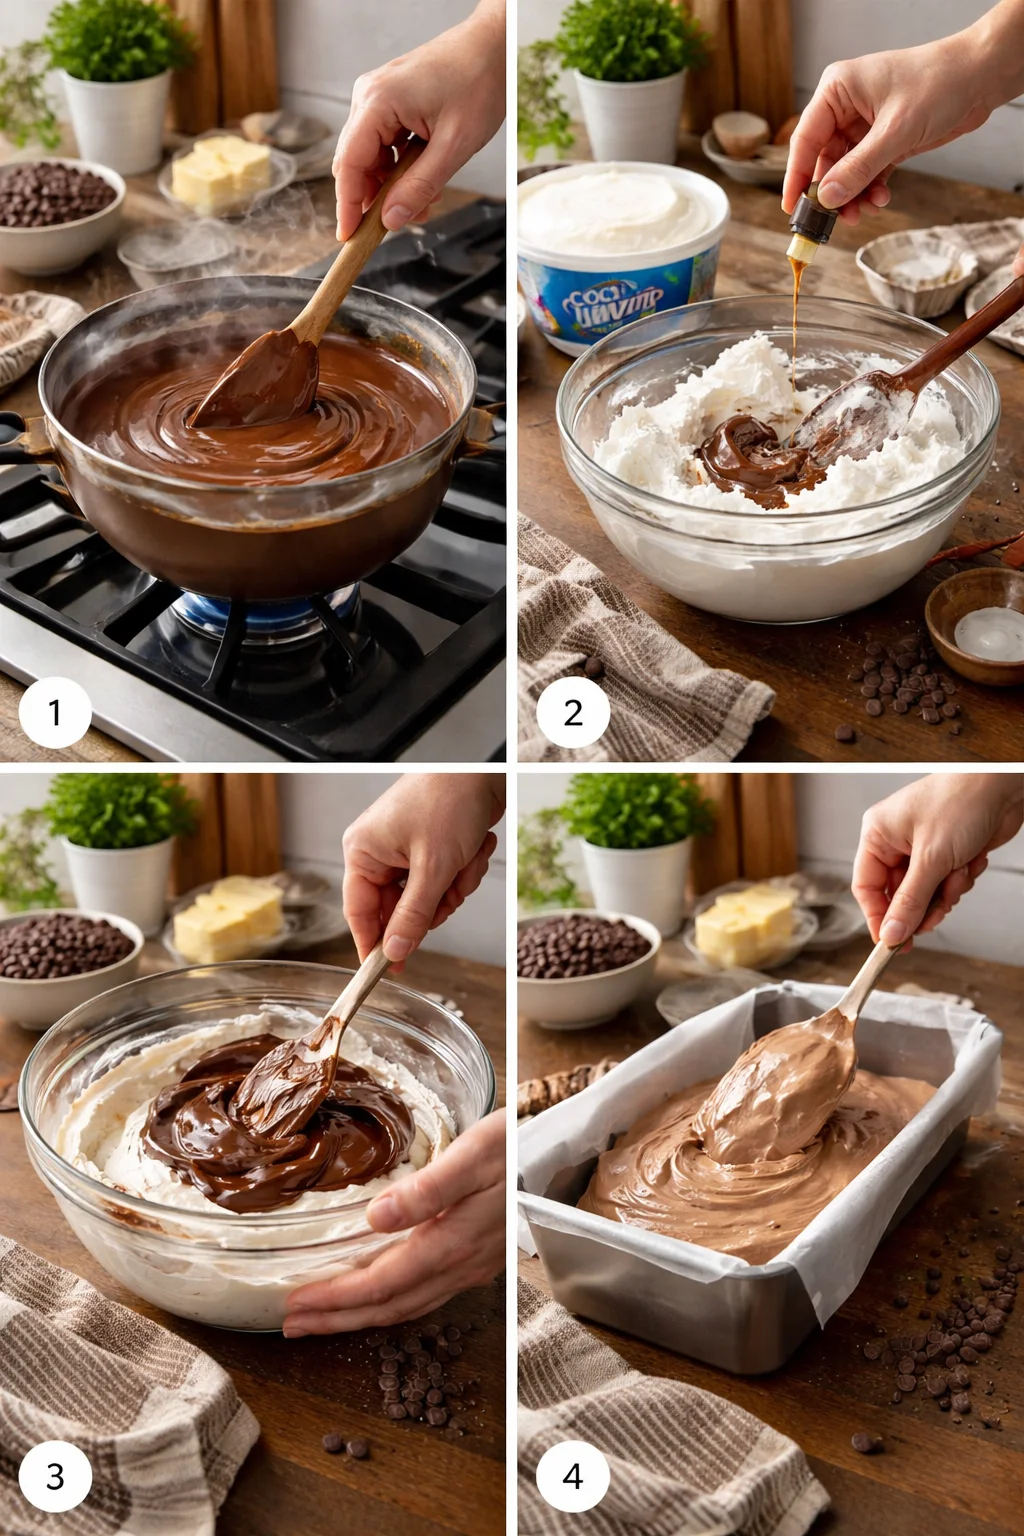
Start by melting the milk chocolate chips in short bursts in the microwave. Do 20 to 30 seconds at a time, stirring well between each round. When the chocolate is mostly melted, keep stirring to finish it off without overheating. Let it cool to just warm. You want it fluid but not hot.
In a medium bowl, add the cold whipped topping, vanilla, and a pinch of salt. Pour the melted chocolate over the whipped topping. Use a spatula to fold the mixture together with gentle strokes. Do not stir hard or the filling will deflate. Fold until you no longer see streaks. The mixture will look fluffy and smooth.
Shape and chill
Line a loaf pan or 8 inch pan with parchment, leaving a little overhang so you can lift it out later. Spread the filling evenly into the pan, smoothing the top. Freeze for about 2 hours, or until very firm. Firm filling makes clean cuts and easy dipping.
Dip in chocolate
Melt your coating chocolate with a splash of oil or shortening. Stir until glossy. Lift the chilled filling out of the pan by the parchment, then cut into bars or squares. I like bite size squares for easy dipping. Work in small batches, keeping the rest in the freezer so they stay firm. Drop a piece into the melted chocolate, flip to coat, then lift out with a fork and tap off the excess. Set on parchment to set. Repeat until you have a tray of shiny little bars.
Let the coating set at room temperature or pop the tray into the fridge for 10 to 15 minutes. Once set, trim any little feet of chocolate if you like a clean look. That’s it. You just made HOMEMADE 3-MUSKETEERS BARS.

Tips and Tricks
- Use cold whipped topping: Cold keeps the filling airy and easy to cut.
- Let melted chocolate cool slightly: Warm is good, hot will flatten the filling.
- Freeze before cutting: Firm filling makes neat squares and less mess during dipping.
- Thin the coating: A teaspoon of neutral oil or shortening makes the dip smoother.
- Work in small batches: Keep uncoated squares in the freezer so they do not melt while you dip.
- Tap off excess: Lift each piece with a fork, tap the handle on the bowl’s edge to remove extra chocolate. Clean bottom edges by dragging along the bowl rim.
Storage: Keep the bars in an airtight container in the fridge for up to a week. They also freeze well for up to two months. Let them sit a few minutes at room temp before eating for the best bite.
If you love a nostalgic candy vibe, you might also enjoy these soft and chewy homemade caramels. Different texture, same cozy feeling.
I thought making a candy bar at home would be hard, but this was shockingly simple and tasted just like the original. My kids asked me to hide some in the freezer so we do not run out.
Variations
Dark chocolate lovers, swap the coating for dark chocolate. It balances the sweet, fluffy center with a nice hint of bitter. If you prefer a stronger milk chocolate flavor, use milk chocolate for both the filling and the coating.
Go mini with bite size squares. They’re great for parties and make dipping less fussy. Or make fun size bars in a loaf pan cut into long strips. You can even drizzle a second chocolate on top for a bakery finish.
Flavor fun: Stir a little peppermint extract into the filling for a winter spin, or add a swirl of peanut butter in the center for a different twist. If coconut is your thing, roll the freshly dipped bars in fine coconut before they set. And for another nostalgic treat, check out these chocolate coconut bars that I love as a weekend project: Almond Joy Bars.
Want a dessert tray with a little mix and match? Pair these bars with something crunchy and layered like Magic Cookie Bars for a sweet spread that hits all the textures.
Related Recipes
If your heart beats for retro bars and simple candy bakes, you’ll feel right at home here. Keep the no stress vibe going with school bakery style Lunch Lady Peanut Butter Bars. They’re rich, chewy, and a total crowd pleaser.
For a salty sweet twist that travels well, I’m obsessed with these Salted Nut Roll Bars. They’re great for game night and balance beautifully with chocolatey treats like our HOMEMADE 3-MUSKETEERS BARS.
Common Questions
Q: Can I use homemade whipped cream instead of whipped topping?
A: Yes, but stabilize it. Beat heavy cream with a little powdered sugar until stiff peaks so it holds up during folding and chilling.
Q: My filling seems too soft to cut. What did I do wrong?
A: It likely needed more chill time. Pop the pan back in the freezer for 30 more minutes. Also make sure the chocolate was not hot when you folded it in.
Q: How do I keep the chocolate coating from getting thick and clumpy?
A: Add a small splash of oil or shortening to thin it. Also melt in short bursts and stir often. Keep moisture away from the bowl so the chocolate does not seize.
Q: Can I make these ahead for a party?
A: Absolutely. Freeze the finished bars in a single layer, then move to a container with parchment between layers. Thaw in the fridge a few hours before serving.
Q: How long do they last?
A: Up to a week in the fridge, or two months in the freezer. For best texture, let them sit at room temp for 5 to 10 minutes before eating.
A sweet little wrap up
There’s something oddly joyful about making HOMEMADE 3-MUSKETEERS BARS with your own hands. You get that airy center, the shiny shell, and the comfort of a classic with a short ingredient list. If you want a second opinion or a slightly different method, I also like this 3 Musketeers Bar Copycat Recipe – An Alli Event, and I’ve tried the whipped topping twist from Cool Whip Candy {3 Musketeers} with great results. Whichever path you try, keep it cold, fold gently, and have fun. Now go treat yourself to a small square, then maybe another.
3-Musketeers Bars
Ingredients
Method
- Melt the milk chocolate chips in a microwave, doing 20 to 30 second bursts and stirring in between.
- Once almost melted, stir until smooth and let cool until it is just warm.
- In a medium bowl, combine cold whipped topping, vanilla, and salt.
- Pour the melted chocolate over the whipped topping and gently fold together until no streaks remain.
- Line a loaf pan or 8-inch pan with parchment, ensuring some overhang for lifting later.
- Spread the filling evenly in the pan and smooth the top. Freeze for about 2 hours, or till very firm.
- Melt coating chocolate with a splash of oil or shortening until glossy.
- Lift the chilled filling from the pan using the parchment, and cut into bars or squares.
- Dip each piece into the melted chocolate, flipping to coat, then tap off excess.
- Set on parchment to allow the coating to set at room temperature or refrigerate for 10 to 15 minutes.