
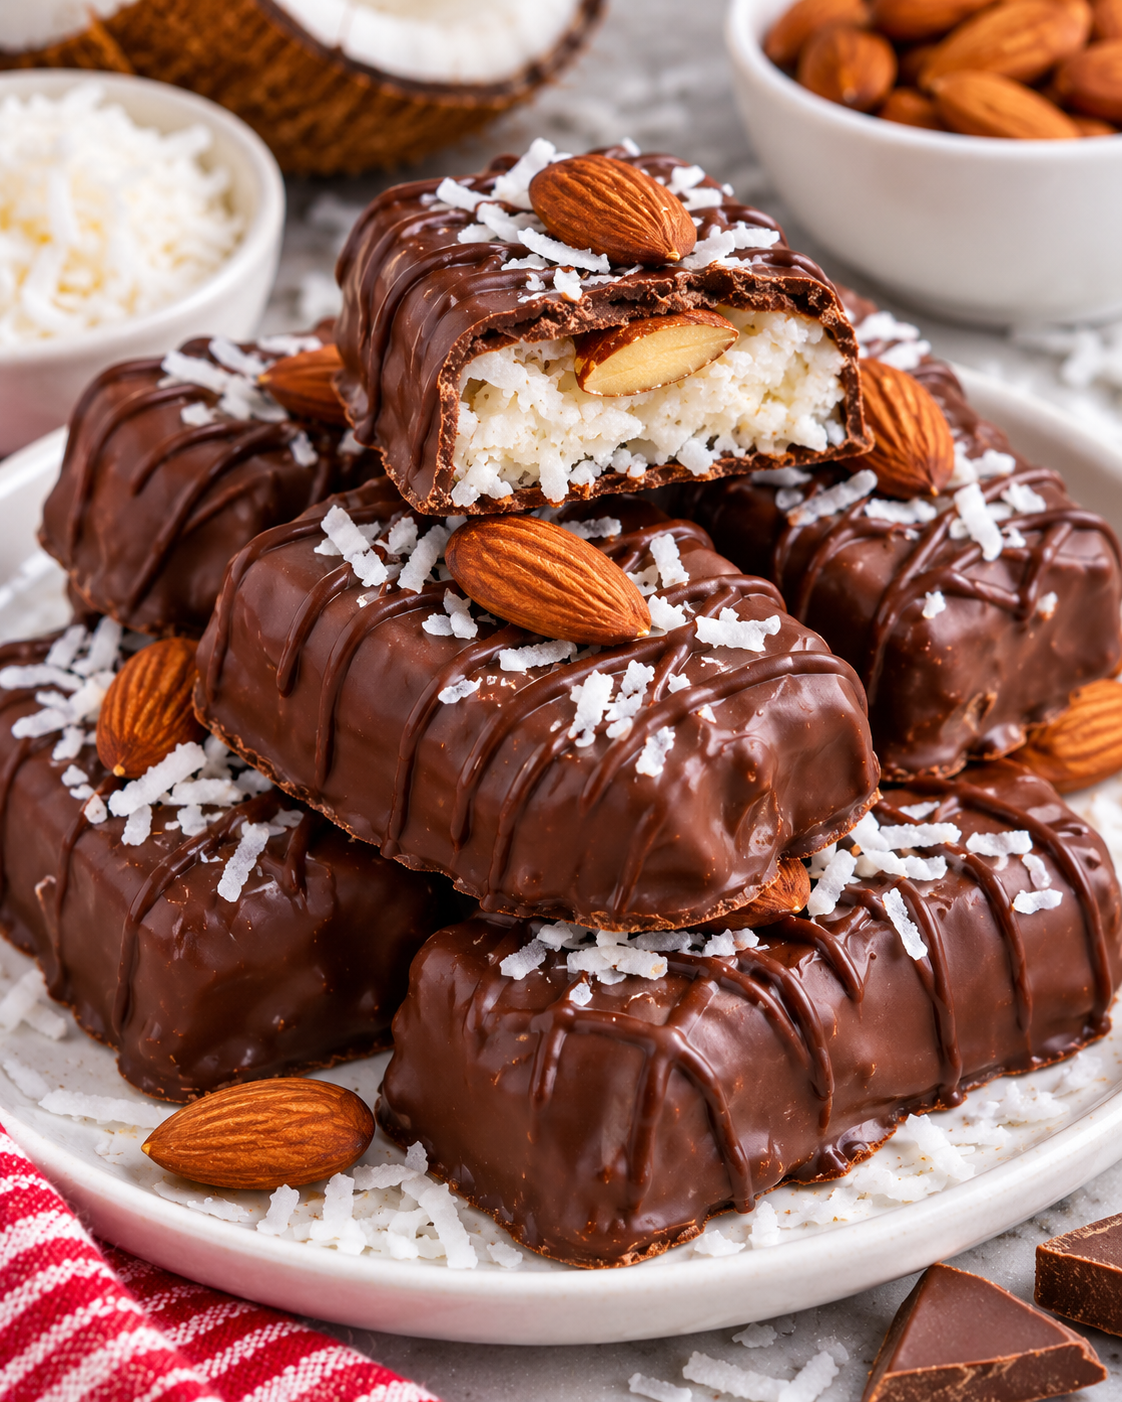
Almond Joy Bars are one of those treats I crave right when I want something sweet but also a little “snack-y” and satisfying. You know the feeling, you want candy vibes, but you also want it to feel a bit more homemade and real. These hit that spot with coconut, chocolate, and that little almond surprise that makes the whole thing feel special. If you have a soft spot for store-bought candy bars but like making things in your own kitchen, you are in the right place. I’m walking you through what makes these bars work, how to slice them cleanly, and how to keep them fresh.
What Are Almond Joy Bars?
Think of these as a homemade way to capture that classic candy bar flavor without needing a factory line in your kitchen. They’re sweet, chocolatey, and coconut-forward, with almonds tucked in for crunch and that signature nutty bite. When I say almond joy bars, I mean a bar that tastes like the candy inspiration, but made with simple ingredients and a little patience while things set.
Chocolate, coconut and almond flavor profile
The magic is in the contrast. Coconut brings a chewy sweetness, chocolate adds richness, and almonds keep it from being one-note. The best versions have:
- Deep chocolate flavor that snaps a little when you bite in
- Moist, chewy coconut that holds together instead of scattering everywhere
- Whole or chopped almonds for that clean nutty finish
If you’re the kind of person who keeps a stash of snack bars around, you might also like something a little more grown-up and salty like these dark chocolate sea salt nut bars on days when you want less candy energy and more “desk snack that feels fancy.”
Candy-Style Bars vs Baked Cookie Bars Identify This Version
There’s some confusion online because people use the same name for different things. Some recipes are baked and more like a cookie base with coconut on top. This version is candy-style, meaning it’s meant to set up into firm bars you can slice and pick up with your fingers.
So what should you expect here? A bar that feels like a homemade candy bar, not a dessert square. The coconut layer is the main event, and the chocolate layer acts like a shell or coating depending on how you assemble it. If you are looking for something more like a baked dessert bar, bookmark these apple pie bars for a totally different vibe that’s still super shareable.
Also, quick note: you do not need any special candy-making skills. You just need to keep an eye on temperature when melting chocolate and give the bars enough time to chill and firm up.
Texture Tips for a Firm, Sliceable Bar
The number one complaint I hear with homemade coconut bars is that they fall apart the second you cut them. You want that tidy, candy-shop slice, not a pile of crumbs and loose coconut.
Here’s what helps the most with almond joy bars texture:
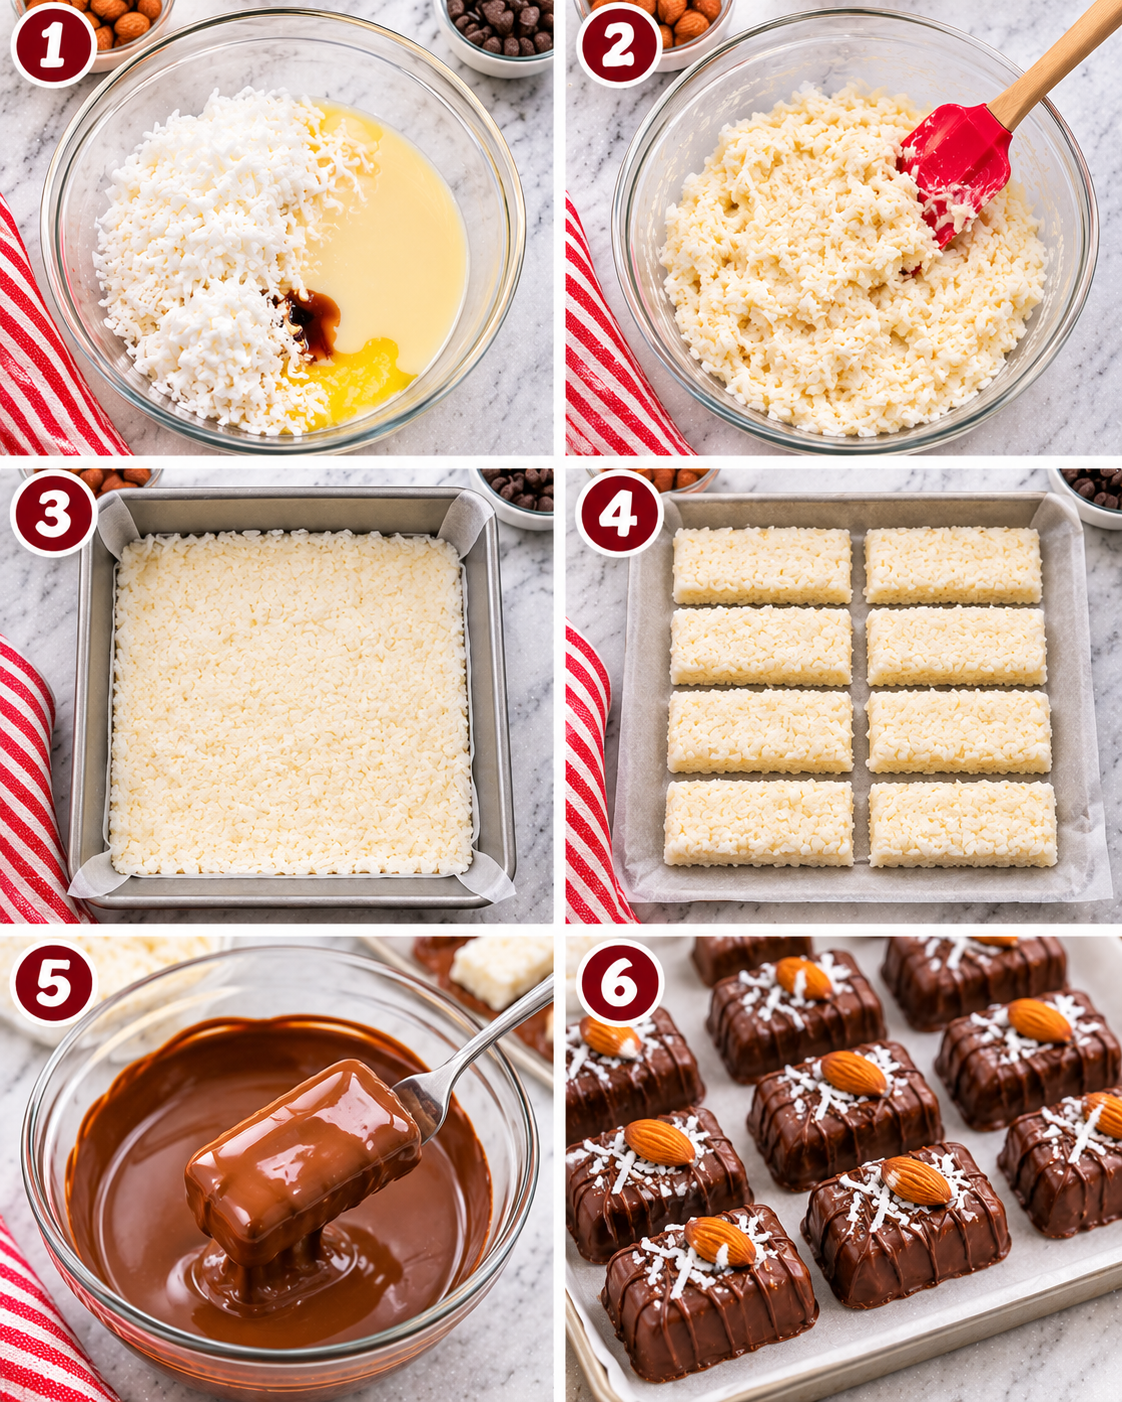
- Pack the coconut mixture firmly into the pan. Use the bottom of a measuring cup and really press it in.
- Chill long enough before adding chocolate or slicing. If the center is still soft, the knife will drag and crumble it.
- Let melted chocolate cool slightly before pouring or dipping. If it’s screaming hot, it can soften the coconut layer and make it slippery.
- Use parchment paper so you can lift the whole slab out and slice on a cutting board.
Sometimes it’s the little tools that make everything feel easier. I keep a running page of helpful kitchen and site extras like these progress bars to stay on track when I’m juggling chilling time and other prep. It sounds silly, but anything that keeps me from poking the fridge every five minutes helps.
One more practical tip: if your bars seem a little too soft after chilling, give them another 20 to 30 minutes. Coconut mixtures often firm up more than you think, they just need time.
How to Cut and Serve Without Crumbling
Slicing is where a lot of homemade bars go sideways, so let’s make it simple. First, make sure the bars are fully chilled. Second, use a large sharp knife and wipe it clean between cuts. That tiny bit of cleanup makes your slices look so much neater.
My favorite serving styles:
- Small squares for dessert platters and potlucks
- Skinny rectangles for lunchbox treats
- Bigger bars when you want that true candy bar feel
And if you are serving them at a party, put them on a plate straight from the fridge, then let them sit out for about 5 minutes. They’re easier to bite once the chocolate isn’t ice-cold, but they still hold their shape.
“I made these for a family movie night and they disappeared faster than the popcorn. The coconut stayed together and the chocolate layer actually looked smooth. I’m making a double batch next time.”
If you like the idea of snackable bars for sharing, the vibe is similar to these salted nut roll bars which are also great when you want something sturdy that travels well.
Storage, Freezing and Make-Ahead Tips
Homemade treats are way more fun when they fit into real life, meaning you can make them ahead and not stress about it. The good news is almond joy bars store beautifully.
Storage tips that keep them tasting fresh:
- Fridge: Store in an airtight container, with parchment between layers so they do not stick.
- Room temp: If your kitchen is cool, they can sit out briefly for serving, but I would not leave them out all day.
- Freezer: Freeze in a sealed container or freezer bag. I like wrapping individual pieces so I can grab one whenever the craving hits.
Make-ahead idea: make the bars the day before you need them, slice them once they are fully set, then keep them chilled until serving time. They’re one of those desserts that actually benefits from a little rest.
When I’m doing a make-ahead dessert spread, I pair something chocolatey with something bright. These lemon cranberry bars are a nice tart option to balance out all the sweet.
Variations That Fit the Existing Recipe
I’m not going to rewrite your recipe card in the article, but I will say this: once you get the basic method down, you can tweak the personality of these bars without making them complicated. Keep the same general structure and just switch small things.
Easy variation ideas that usually work well:
- Toast the coconut lightly before mixing for a deeper flavor. Let it cool first.
- Use chopped almonds if you prefer a little crunch in every bite instead of one big nut.
- Add a tiny pinch of salt to the coconut layer if your ingredients are very sweet. It makes the chocolate pop.
- Drizzle extra chocolate over the top if you want them to look bakery-style with almost no extra effort.
If you are a texture person, chopped nuts in the chocolate layer can also be fun. Just keep it balanced so the bars still slice cleanly.
Frequently Asked Questions
Are Almond Joy bars baked or no-bake?
It depends on the specific recipe. This version is candy-style and sets up by chilling, so it’s not baked like a cookie bar. If your recipe card does not mention oven time, you’re usually chilling and setting instead.
Can you freeze Almond Joy bars?
Yes, they freeze really well. Freeze them in layers with parchment paper, and thaw in the fridge so the chocolate does not get messy from condensation.
How long do homemade coconut almond bars keep?
In the fridge, they typically stay in great shape for about a week if stored airtight. In the freezer, they can last a couple of months, though the texture is best earlier rather than later.
Why is my chocolate layer cracking when I cut?
That usually means the bars are very cold and the chocolate is very firm. Let them sit at room temperature for 5 to 10 minutes, then slice with a warm dry knife.
How do I stop the coconut layer from falling apart?
Pack it firmly into the pan and chill long enough before cutting. Also, use a sharp knife and clean it between slices.
A sweet little treat you will want to make again
If you love the classic candy combo, these almond joy bars are such a satisfying homemade project that doesn’t feel fussy. Focus on packing the coconut layer well, chilling until firm, and slicing with a sharp knife, and you’ll be in great shape. I also love how easy they are to store, because it means you can keep a few in the fridge for surprise sweet cravings. If you try them, make a batch for sharing and stash a few just for you too.
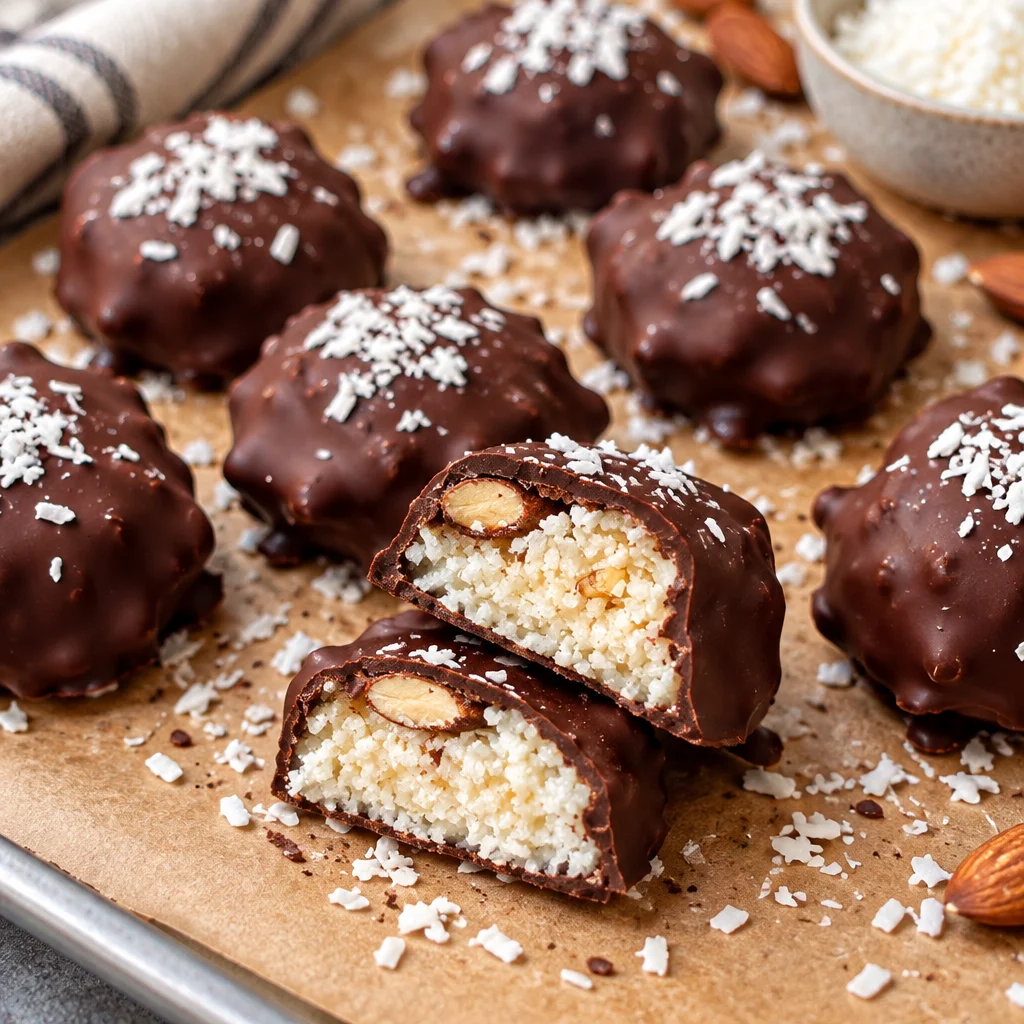
Almond Joy Bars
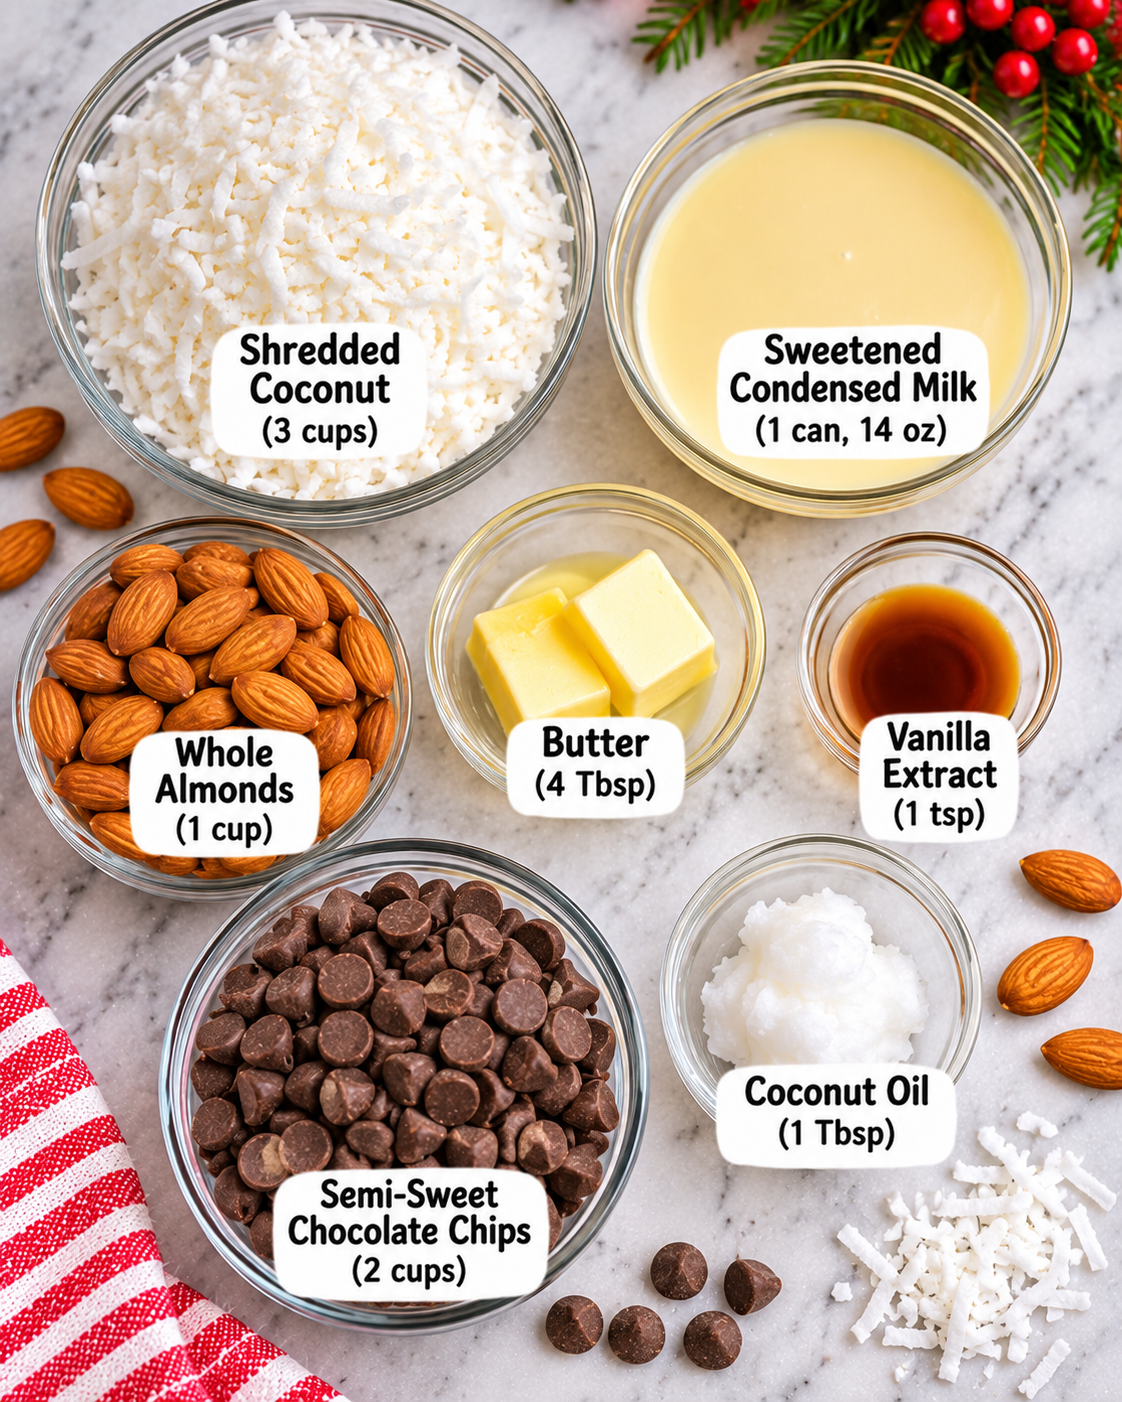
Ingredients
Method
- In a bowl, combine sweetened shredded coconut, sweetened condensed milk, vanilla extract, and salt.
- Press the coconut mixture firmly into an 8×8 inch pan lined with parchment paper.
- Chill the coconut layer in the fridge for about 30 minutes until firm.
- Melt dark chocolate chips in a microwave or double boiler until smooth.
- Pour the melted chocolate over the chilled coconut layer, spreading evenly.
- Sprinkle chopped almonds on top of the chocolate layer.
- Chill again for 15 more minutes until the chocolate is set.
- Use a sharp knife to cut into bars, cleaning the knife between cuts for neat slices.
- Serve cold or at room temperature.