
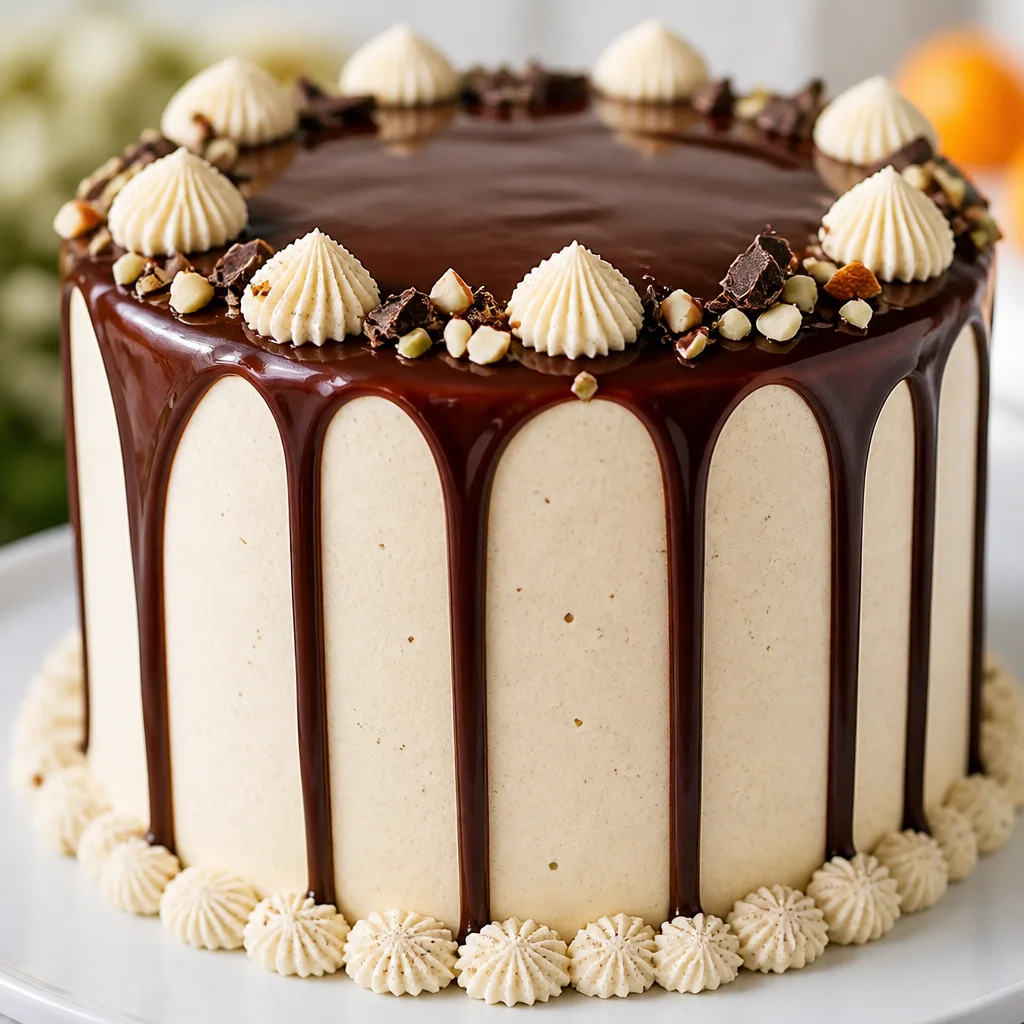
Easy Cannoli Cake — Italian Cream Filling Layers is what I make when I want that classic cannoli vibe but I do not feel like piping tiny shells and stressing out. You know those nights when you need a dessert that feels special, but you also want it to be doable in your own kitchen? This is that cake. It is soft, creamy, lightly sweet, and filled with that cozy ricotta flavor that makes cannoli so lovable. I have made it for birthdays, dinner parties, and random weekends when I just wanted something fun in the fridge. Let’s get into it.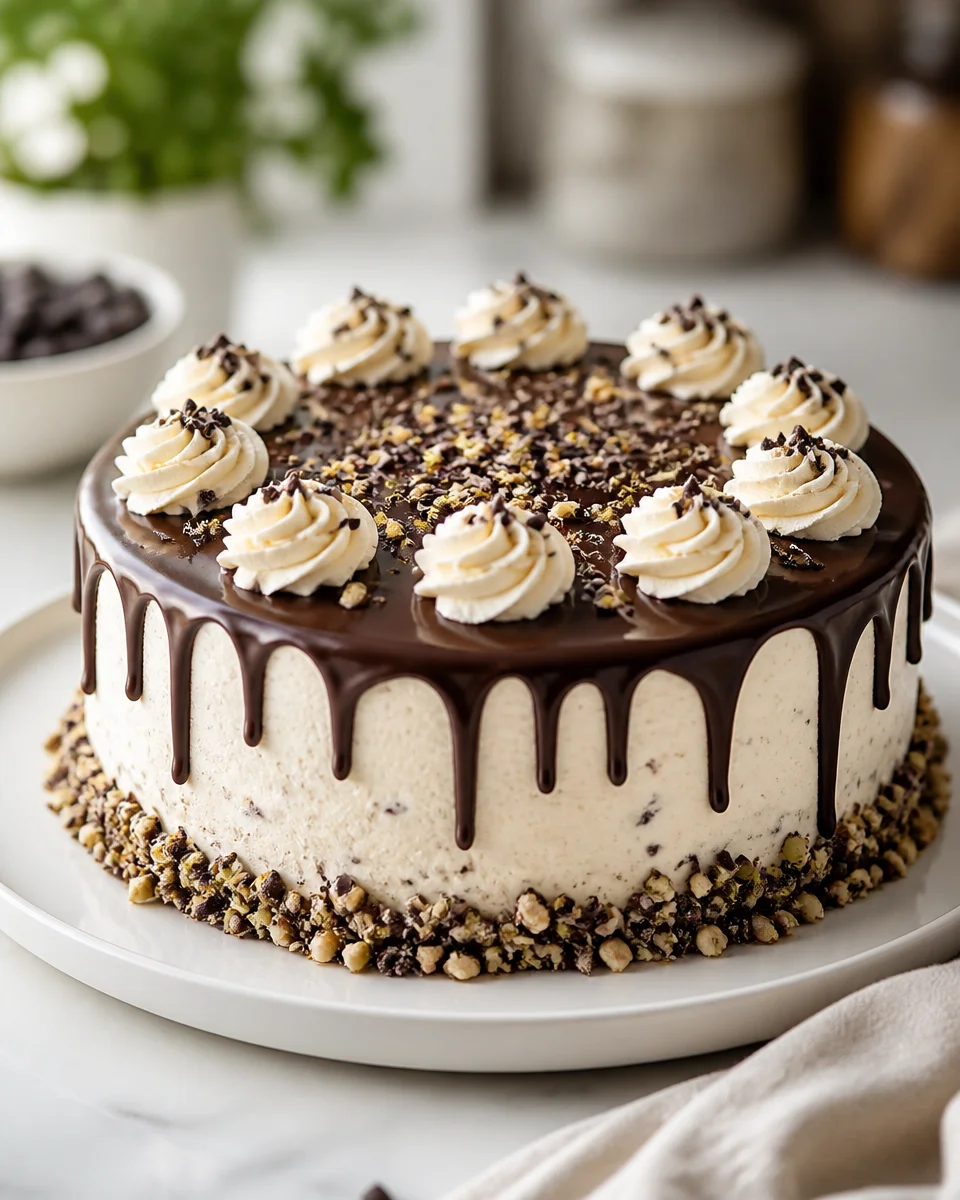
Why You’ll Love This Recipe
This cake hits the sweet spot between impressive and easy. You get fluffy cake layers and a creamy filling that tastes like the inside of a cannoli, without needing any fancy equipment.
Here is why I keep coming back to this one:
- It tastes like a bakery dessert, but it is totally homemade friendly.
- The filling is no fuss if you follow a couple simple tips I share below.
- It is a great make ahead cake because chilling actually makes it better.
- You can customize it with chocolate chips, pistachios, or even a little cinnamon.
Also, if you are someone who loves a cozy classic cake moment, you might also like my go to easy carrot cake with cream cheese frosting. Different flavor, same comforting energy.
And one more thing: this is one of those desserts that makes people hover around the kitchen asking, “Is it done chilling yet?” That is always a good sign.
Key Ingredients for Cannoli Cake
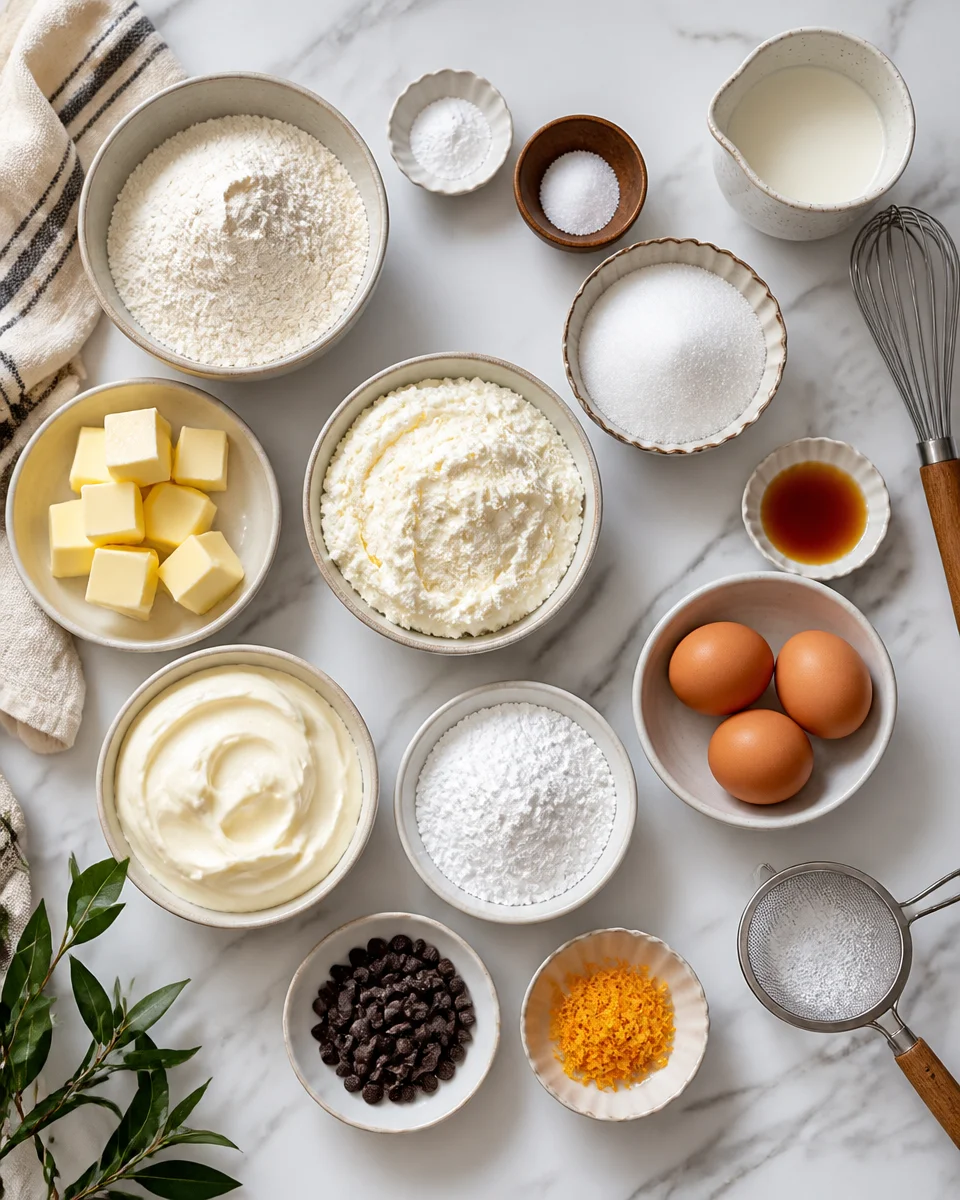
Let’s talk ingredients in plain language, because the filling is where the magic is. For Easy Cannoli Cake — Italian Cream Filling Layers, you basically want a soft cake plus a thick, creamy ricotta based filling that holds its shape.
The cake layers
You can use your favorite vanilla cake recipe, a sturdy yellow cake, or even a good quality box mix if you are short on time. I have done all three. If you go the box mix route, I recommend adding an extra egg and using melted butter instead of oil for a richer taste.
What you will need for simple homemade layers:
- All purpose flour
- Baking powder
- Salt
- Butter
- Sugar
- Eggs
- Milk or buttermilk
- Vanilla extract
The Italian cream filling
This is the reason people remember the cake. Traditional cannoli filling uses ricotta, and that is the base here too. But we are making it cake friendly so it slices clean.
Key filling ingredients:
- Whole milk ricotta, drained well so it is not watery
- Mascarpone for that creamy, rich texture
- Powdered sugar
- Vanilla and a pinch of cinnamon (optional but so good)
- Mini chocolate chips
- Orange zest (optional, but it gives that classic Italian bakery smell)
Quick note on ricotta: if it seems wet, it will make your filling loose. I usually spoon it into a fine mesh strainer lined with paper towels and let it sit for 30 to 60 minutes in the fridge.
If you are in a dessert planning mood, you might also want something chilled and creamy like this easy coconut cream pie no bake filling. It is a totally different direction, but it scratches that same cool creamy itch.
“I brought this to Sunday dinner and my uncle, who never compliments desserts, asked for a second slice and then requested it for his birthday. The filling tasted just like real cannoli.”
Step-by-Step Instructions for Making Cannoli Cake
I am going to walk you through this the way I actually do it at home. No drama, no weird techniques. Just simple steps that work.
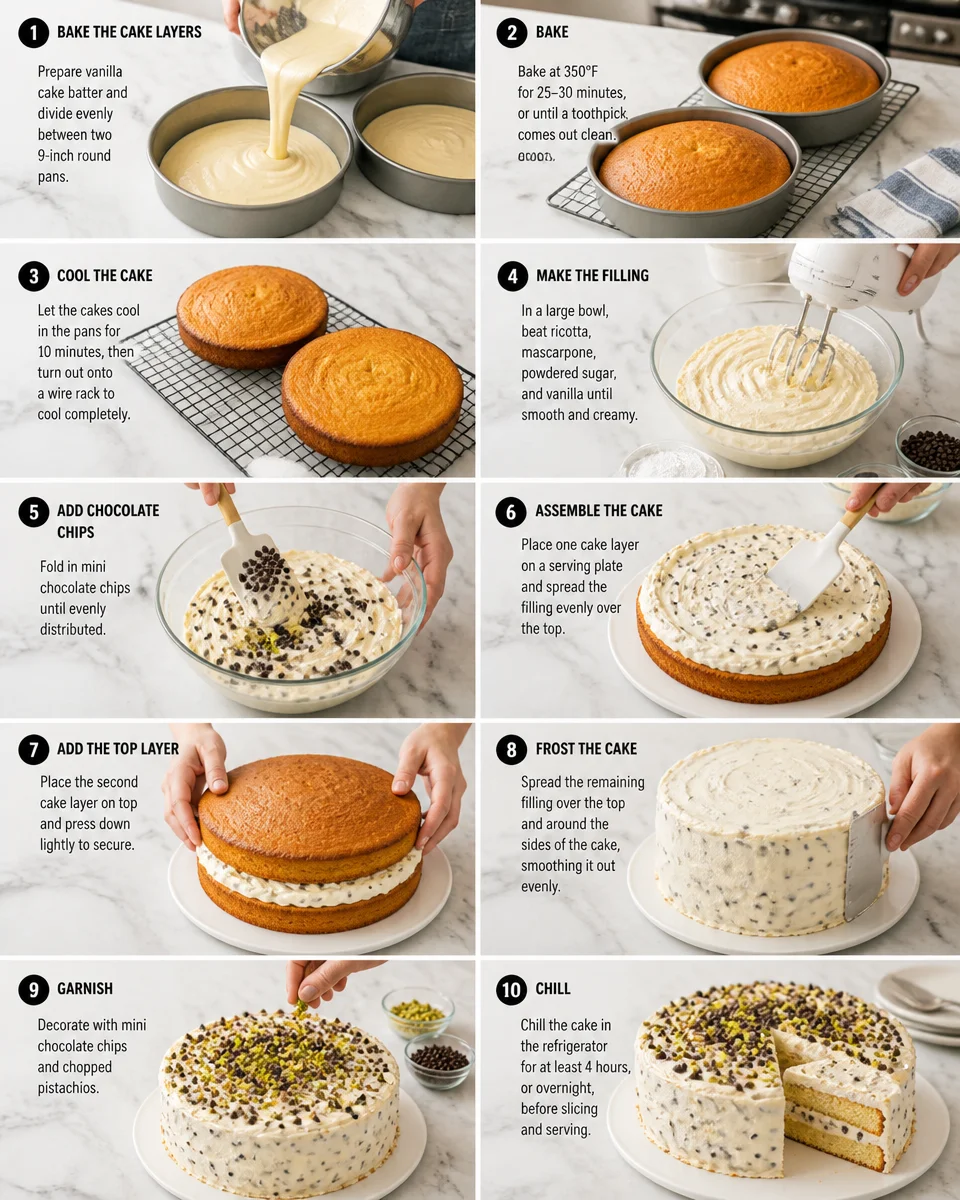
1) Bake and cool the cake layers
Bake two 8 inch or 9 inch layers. Grease your pans, add parchment if you have it, and do not overbake. You want a light golden top and a toothpick that comes out clean.
Let the cakes cool in the pans for about 10 minutes, then turn them out onto a rack. They must be fully cool before filling, or the filling will soften and slide.
2) Make the cannoli style filling
In a bowl, mix the drained ricotta, mascarpone, powdered sugar, and vanilla until smooth. I like to start slow so powdered sugar does not puff everywhere. Then fold in mini chocolate chips and any add ons like zest or cinnamon.
If you want the filling a bit firmer for super clean slices, chill it for 20 to 30 minutes before assembling.
3) Assemble the cake
Place the first layer on your cake plate. Spread a thick layer of filling all the way to the edges. Add the second layer on top and gently press to level it.
Now you can frost the outside with a light coating of the same filling, or do a simple whipped cream frosting if you prefer a lighter finish. Sometimes I leave the sides “naked” and just dust the top with powdered sugar. It looks cute and casual.
4) Chill before slicing
This is not optional if you want neat layers. Cover the cake and chill at least 4 hours, but overnight is even better. That chill time helps the Easy Cannoli Cake — Italian Cream Filling Layers set up and taste more like a real cannoli filling.
Random side note: I usually make this cake on the same weekend I am doing comfort food. If you are planning a cozy menu, this easy creamy Italian sausage and potato soup is a really nice dinner before a slice of cannoli cake.
Tips for the Perfect Cannoli Cake
These are the little things that make a big difference. Nothing complicated, just the stuff you learn after making it a couple times.
- Drain the ricotta. I know I already said it, but it is the main trick.
- Use mini chocolate chips. Regular size chips make slicing messy and feel heavy.
- Chill the layers before assembling if your kitchen is warm. Cold cake is easier to stack.
- Do not overmix the filling. Smooth is good, but beating it too much can make it looser.
- Add a pinch of salt to the filling if it tastes flat. It wakes up the sweetness.
For topping ideas, I love a sprinkle of chopped pistachios, a dusting of powdered sugar, or a drizzle of melted chocolate. If you want to lean extra “cannoli shop,” add a few candied orange peel bits on top.
Also, if you are the kind of person who loves layered desserts with that fun party vibe, this easy ice cream cake homemade Oreo layer is another crowd pleaser. Totally different texture, but it is also a make ahead win.
Common Mistakes to Avoid When Baking Cannoli Cake
I have made every single one of these mistakes at least once, so let me save you the trouble.
- Not draining ricotta enough: this leads to runny filling that slides out when you cut.
- Assembling while the cake is warm: the filling melts and you lose those pretty layers.
- Overbaking the cake: dry cake plus creamy filling is not the vibe. Keep it soft.
- Skipping chill time: the flavor gets better after resting, and the slices look cleaner.
- Using low fat dairy: you can, but it is less rich and the texture is not as satisfying.
If you end up with slightly soft filling anyway, do not panic. Chill it longer and serve it cold. It still tastes amazing.
And if you are building an Italian comfort food night, this easy creamy parmesan Italian sausage ditalini soup is another cozy option that pairs nicely with a sweet dessert after.
Common Questions
Can I make Easy Cannoli Cake — Italian Cream Filling Layers ahead of time?
Yes, and it is honestly better that way. Make it the day before, chill overnight, then slice and serve.
How do I store leftovers?
Keep it covered in the fridge. It is best within 3 days. The filling stays freshest and the cake stays soft.
Can I freeze this cake?
You can, but I prefer freezing the cake layers only. The ricotta mascarpone filling can change texture after freezing and thawing. If you do freeze it assembled, wrap it very well and thaw overnight in the fridge.
What if I cannot find mascarpone?
Cream cheese works in a pinch. The flavor will be a little tangier, but still delicious. Use full fat cream cheese and make sure it is softened.
Do I need a stand mixer?
Nope. A hand mixer is fine, and you can even mix the filling by hand if you are patient. Just make sure the ricotta is smooth and not watery.
Ready to Bake Something Fun This Week?
If you want a dessert that feels like a treat but still fits into real life, Easy Cannoli Cake — Italian Cream Filling Layers is the one. Keep the cake soft, drain the ricotta, and give it that chill time so the layers look pretty when you slice. If you want extra inspiration, check out Italian Cannoli Cake with Rum and Chocolate Ganache for another delicious take with a bolder, chocolatey finish. Now go grab that ricotta and make it happen, because future you with a cold slice in the fridge is going to be very happy.
Easy Cannoli Cake
Ingredients
Method
- Preheat oven and grease the pans. Bake two 8 or 9 inch layers until golden and toothpick comes out clean.
- Let cakes cool in pans for about 10 minutes, then turn onto a rack. Ensure cakes are fully cool before filling.
- In a bowl, mix drained ricotta, mascarpone, powdered sugar, and vanilla until smooth. Fold in mini chocolate chips and any add-ons like zest or cinnamon.
- If firmer filling is desired, chill for 20 to 30 minutes before assembling.
- Place the first layer on your cake plate and spread a thick layer of filling all the way to the edges.
- Add the second layer on top and gently press to level it.
- Frost the outside with a light coating of the same filling or a simple whipped cream frosting, optionally leaving the sides ‘naked’ and dusting the top with powdered sugar.
- Cover and chill the assembled cake for at least 4 hours, preferably overnight, for best flavor and neat layers.
