
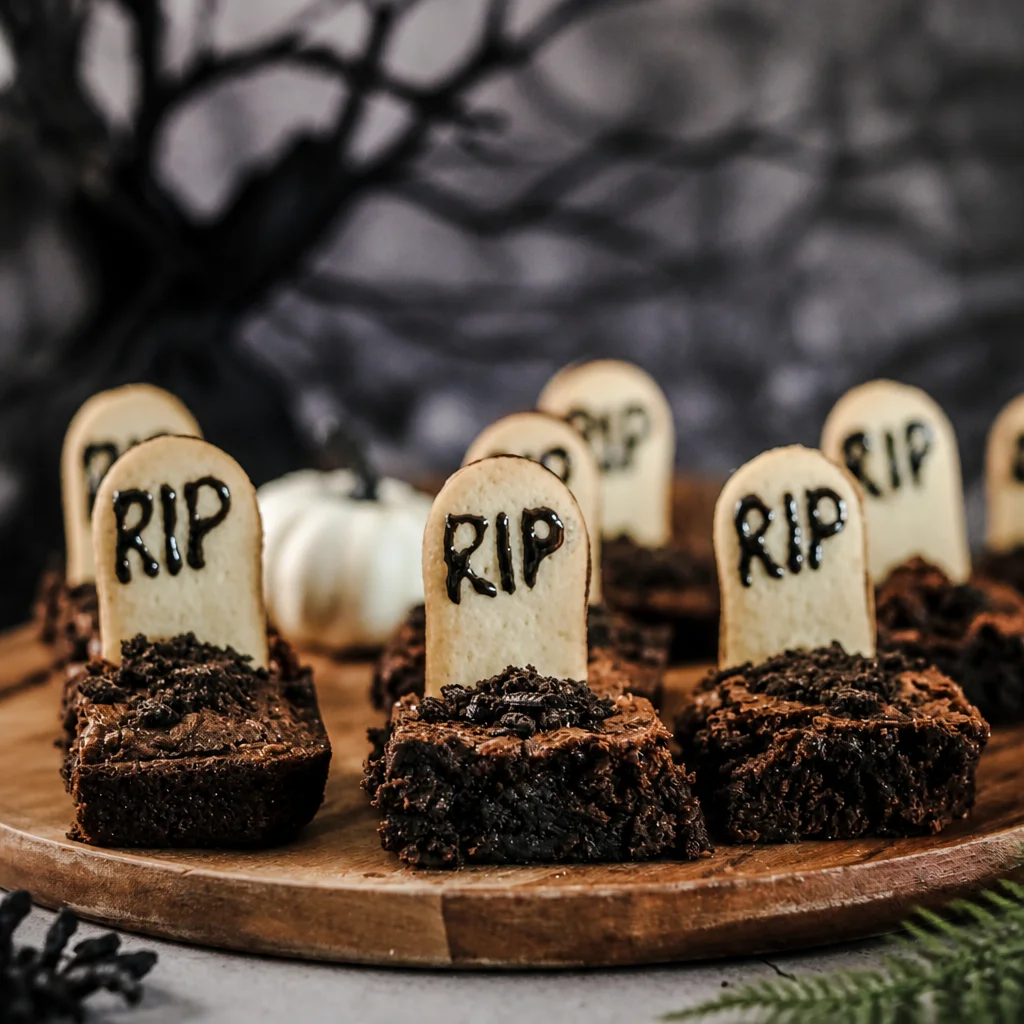
Easy Halloween Graveyard Brownies Spooky are my go to fix when it is the night before a school party, the kids want something fun, and I do not have the energy for a complicated dessert. You know that moment when you promised you would bring a treat and suddenly it is 8 pm and your kitchen is a mess? Yep, this is for that moment. These brownies look like you spent hours on them, but it is really just a few smart decorations and a little imagination. The best part is everyone recognizes the graveyard vibe right away, so you get big reactions with minimal stress. Let me walk you through my favorite way to make them, plus a few shortcuts I use every single time.
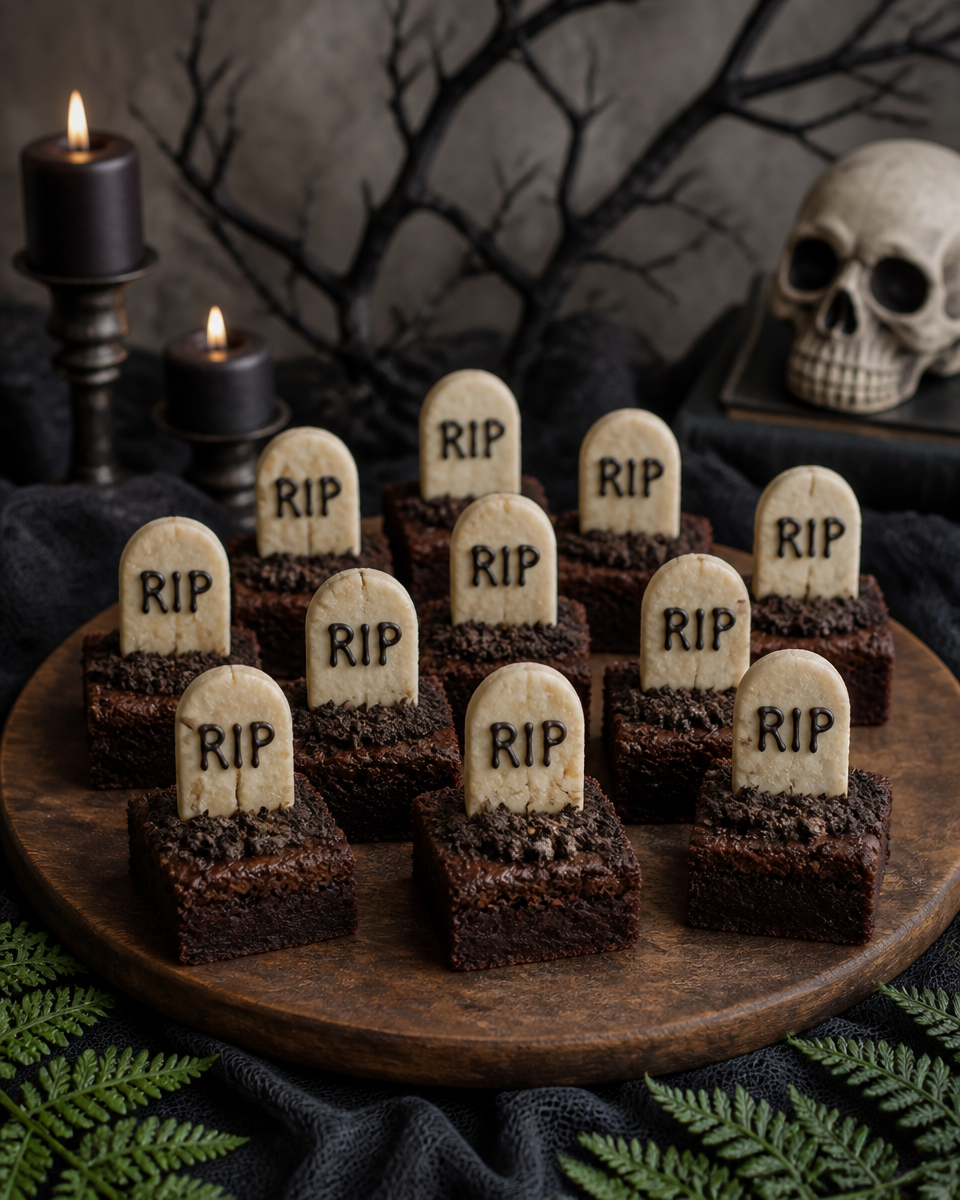
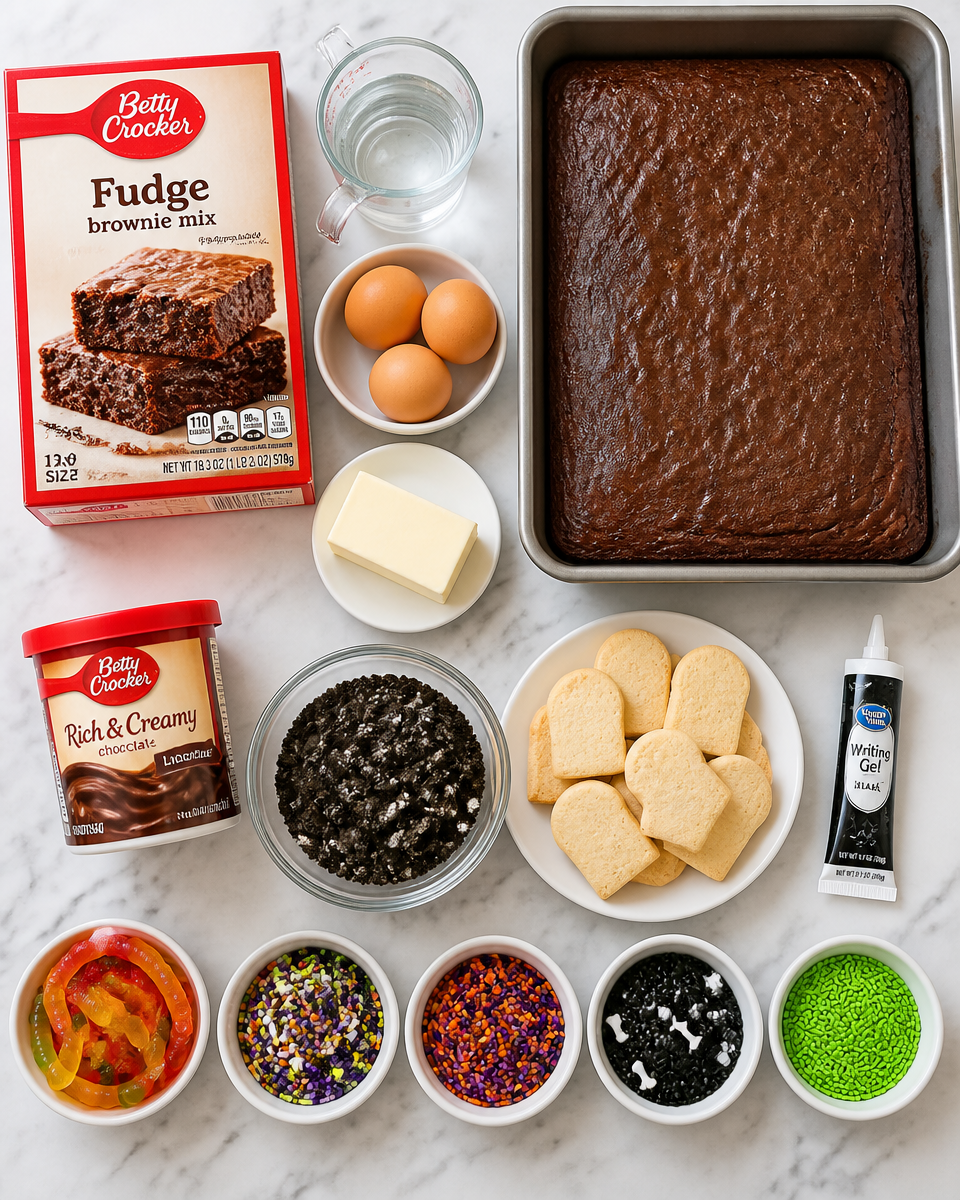
Essential Ingredients for Graveyard Halloween Brownies
I am not here to judge if you use a box mix or your favorite homemade brownie batter. I have done both. When life is busy, I grab a box and put my energy into the decorations. When I have time, I make my fudgy version and lean into that rich chocolate flavor. Either way, the decorations are what sell the graveyard look.
Here is what I usually use. I am listing the basics plus the spooky extras, so you can shop once and be done.
- Brownie base: one boxed mix plus ingredients on the box, or a 9×13 pan batch of homemade brownies
- Chocolate frosting: store bought is totally fine, or homemade buttercream
- Chocolate cookie crumbs: crushed chocolate sandwich cookies make the perfect dirt
- Tombstones: rectangular cookies, shortbread cookies, or graham crackers cut into shapes
- Writing gel or melted chocolate: for RIP and little details
- Gummy worms: because the dirt should look a little suspicious
- Optional spooky add ons: candy bones, candy pumpkins, sprinkles, mini marshmallows
If you are into themed brownies in general, you should also peek at these French silk brownies recipes sometime. They are not Halloween, but they are a total crowd pleaser when you want something extra creamy on top.
One quick note on the “dirt” layer. Try to crush the cookies pretty fine, because big chunks can look more like a cookie accident than graveyard soil. I toss cookies into a zip bag and roll them with a mug. Easy, no food processor needed.
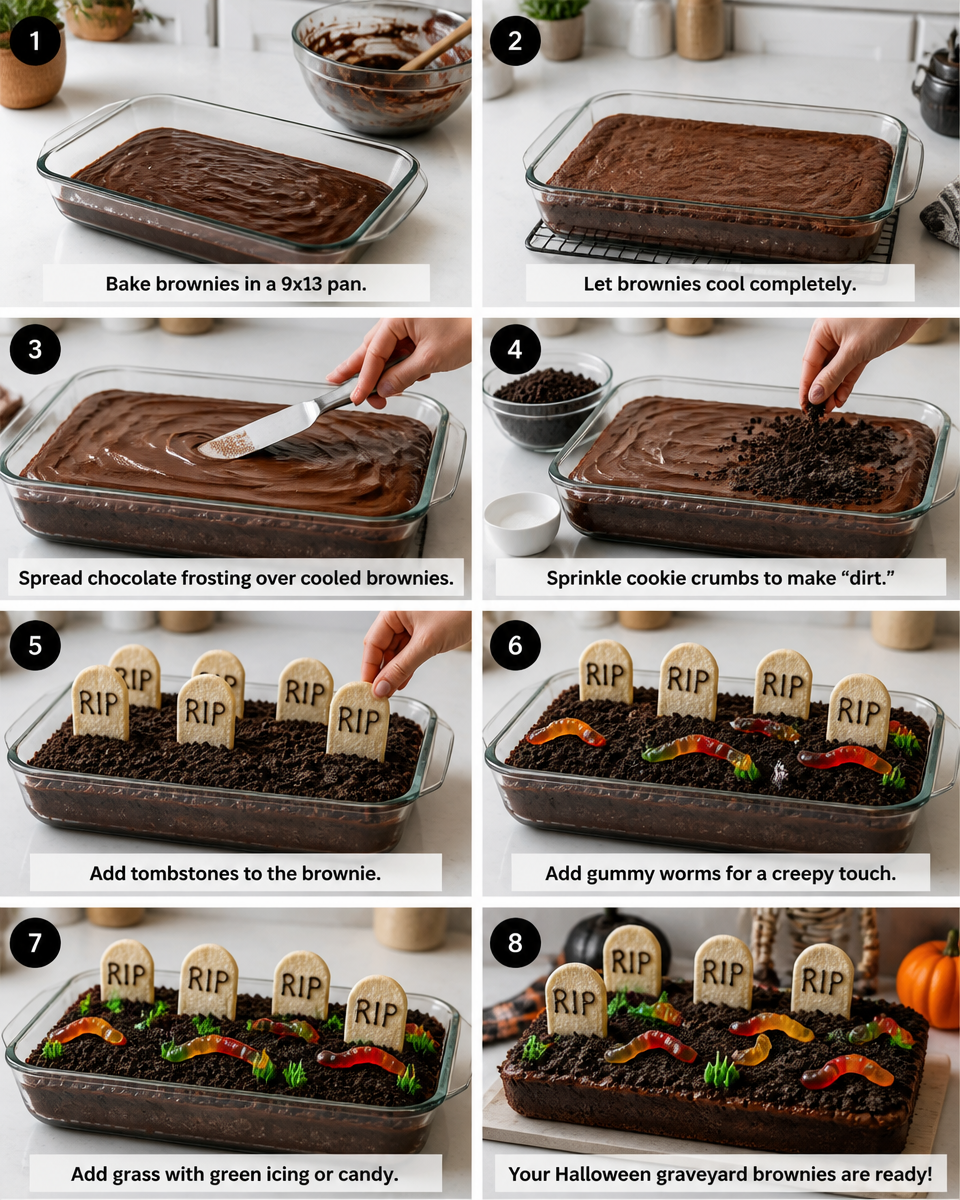
Step-by-Step Instructions for Making and Decorating
Let us get right into it. This is the part where people think it is hard, but it is honestly just a few simple steps. I like doing this recipe in two phases: bake first, decorate later. It keeps things calm.
Make the brownies
Bake your brownies in a 9×13 pan so you have lots of space for tombstones and worms. Follow your recipe or the box directions. The main thing is this: do not overbake. Graveyard Halloween Brownies are way better when they are a little fudgy, because they stay soft even after chilling.
Let the brownies cool completely. Not kind of cool. Fully cool. If you frost warm brownies, your frosting turns into a slippery mess, and the dirt will sink like quicksand.
Decorate like a graveyard
Once cooled, spread chocolate frosting over the top in an even layer. Then sprinkle the cookie crumbs all over to make your dirt. I press them down gently with clean hands so they stick.
Now place your tombstones. If you are using cookies, push them in about a half inch. If you are using graham crackers, be gentle because they can snap. Write RIP on the tombstones with gel icing or a toothpick dipped in melted chocolate. Add gummy worms halfway “buried” in the dirt. This is the moment kids will hover and try to steal decorations, so I usually shoo everyone away until I finish.
If you want to make this even more festive for a Halloween table, I love pairing it with something bite sized like spooky and fun Halloween cake pops. They look adorable next to the brownie graveyard, and you get that nice mix of textures.
;
I made these for my daughter’s class party and the kids gasped when they saw the worms. The teacher asked for the “dirt” trick, and I felt like a total baking genius even though it was just crushed cookies.
Creative Variations to Enhance Your Brownies
The classic version is already a hit, but sometimes it is fun to switch things up, especially if you are making these more than once in October. I have made these for family movie night, and again for a neighborhood potluck, so I like having options.
Simple ways to change the flavor
If you are using boxed mix, choose a darker chocolate version, or add a handful of chocolate chips for extra gooey pockets. For homemade batter, a pinch of espresso powder makes the chocolate taste deeper without making it taste like coffee.
Here are a few of my favorite twists:
- Peanut butter graveyard: swirl peanut butter into the batter before baking
- Minty graveyard: use mint chocolate cookies for the dirt and add a few drops of mint extract to frosting
- Rocky road graveyard: sprinkle mini marshmallows and chopped nuts under the dirt layer
You can also play with the tombstones. I have used Milano style cookies, thick shortbread, even homemade chocolate slabs cut into rounded rectangles. If you want a little holiday crossover idea for later in the year, these deliciously easy Christmas present brownies show how much you can do with a simple topping and a cute theme.
And if you have that one friend who claims they “do not like chocolate desserts” (I know, I do not understand it either), I have had good luck winning them over with something more comforting like easy banana bread brownies on a different day. Not spooky, but super cozy.
Tips for Proper Storage and Serving
These brownies are pretty forgiving, but the decorations do better when you store them the right way. The frosting and cookie dirt can dry out if left uncovered, and gummy worms can get weirdly stiff in the fridge if you leave them too long.
How I store them
If you are serving within 24 hours, I keep the pan covered tightly at room temperature. If your kitchen is warm or humid, pop them in the fridge, but let them sit out for 15 to 20 minutes before serving so the brownies soften up again.
For longer storage, slice them and put pieces in an airtight container. I like placing parchment between layers to keep the dirt from sticking everywhere. You can freeze the plain brownies too, then thaw and decorate later, which is honestly a lifesaver for busy weeks.
Serving suggestions that actually work at parties
If this is for a party table, I recommend cutting smaller squares than you think. These are rich, and people like to grab a piece and still have room for other snacks. I also like putting out a small spoon or napkins because the cookie crumbs can get messy fast.
Another little trick: keep extra cookie crumbs on the side. After you slice, you can sprinkle a pinch on any spots that look “bald.” It takes two seconds and makes the tray look fresh again.
Additional Halloween Themed Recipes for Inspiration
If you are building a whole Halloween spread, brownies are a great anchor dessert, but it is nice to have something savory too, especially for kids who are running around hyped on costumes and excitement.
For an easy dinner that feels like a party, I love spooky fun Halloween mini pizzas your kids will love. They are simple, customizable, and they buy you time while dessert chills.
For the dessert table, you can do a fun mix like graveyard brownies plus cake pops, and maybe a bowl of candy. If you are going all in on the theme, you can even label things with silly names like “witch bait” or “monster munch.” It sounds cheesy, but people smile, and that is the whole point.
Also, if you are looking for more takes on Easy Halloween Graveyard Brownies Spooky, it is always helpful to see how other home cooks decorate them. I like comparing ideas and then stealing the easiest parts.
Common Questions
Can I make Easy Halloween Graveyard Brownies Spooky with a box mix?
Absolutely. Use a boxed mix and focus your effort on the frosting, dirt, and tombstones. Nobody will complain, I promise.
What can I use for tombstones if I do not have cookies?
Cut thick pieces of graham cracker, or even slice a chocolate bar into rectangles. You can also pipe tombstones with melted chocolate on parchment, chill, and peel them off.
Do I have to use frosting, or can I skip it?
You can skip it, but frosting helps the cookie dirt stick and makes the top look finished. If you really do not want frosting, brush the top lightly with a thin layer of melted chocolate instead.
How far ahead can I decorate them?
I like decorating them the day of or the night before. If you do it too early, the gummy worms can dry out and the cookie crumbs can soften a bit.
How do I cut them cleanly without wrecking the decorations?
Chill the pan for 20 to 30 minutes, then use a sharp knife wiped clean between cuts. Try cutting around tombstones instead of straight through them.
A sweet spooky send off
If you need a Halloween treat that looks impressive but feels totally doable, Easy Halloween Graveyard Brownies Spooky are the answer. You bake a simple brownie base, add frosting, sprinkle cookie dirt, and then let the tombstones and worms do the talking. If you want even more decorating ideas, check out Graveyard Halloween Brownies – Dish ‘n’ the Kitchen and Graveyard Halloween Brownies – Tastes Better From Scratch for extra inspiration. Now go make a pan, take a picture before everyone attacks it, and enjoy the spooky little chaos that comes with Halloween baking.
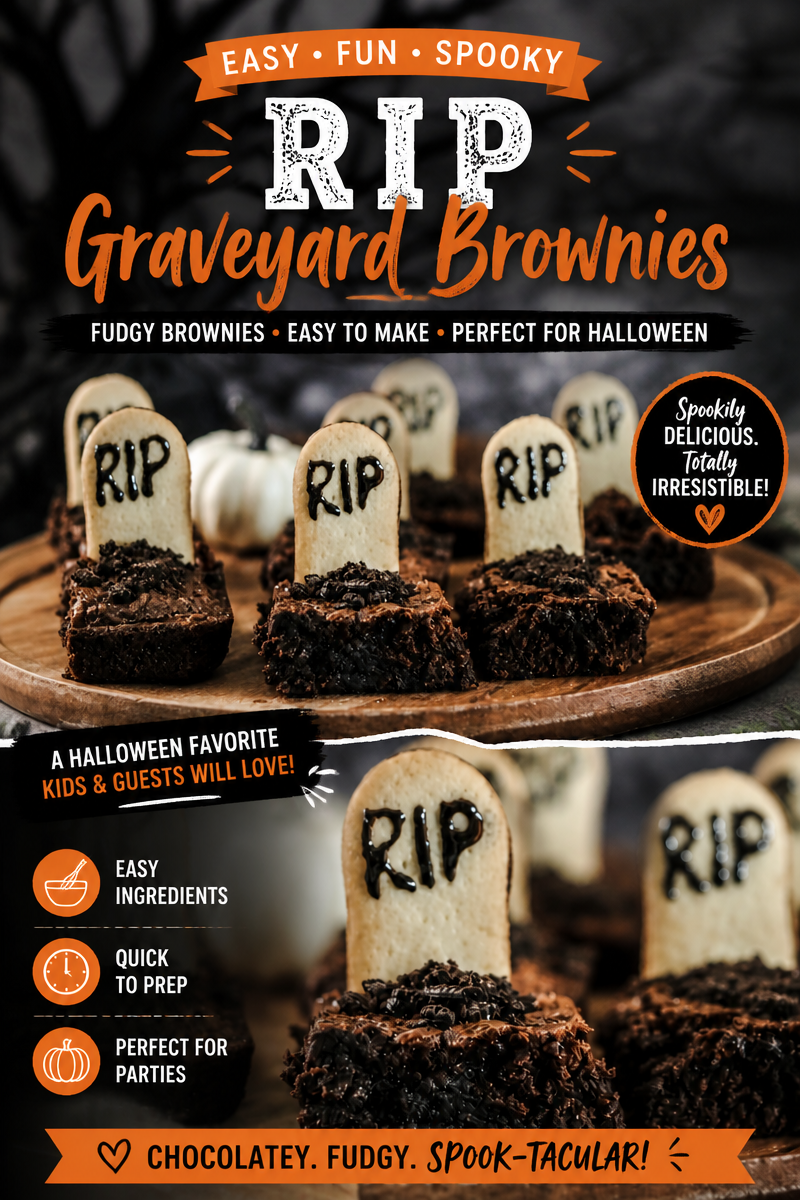
Easy Halloween Graveyard Brownies Spooky
Ingredients
Method
- Bake your brownies in a 9×13 pan according to the box or homemade recipe instructions, being careful not to overbake.
- Allow the brownies to cool completely before decorating.
- Spread chocolate frosting over the cooled brownies in an even layer.
- Sprinkle cookie crumbs over the frosting to make the dirt, pressing down gently so they stick.
- Insert tombstones into the brownie, pushing them in about half an inch.
- Write RIP on the tombstones using the writing gel or melted chocolate.
- Add gummy worms, placing them halfway buried in the dirt.
