
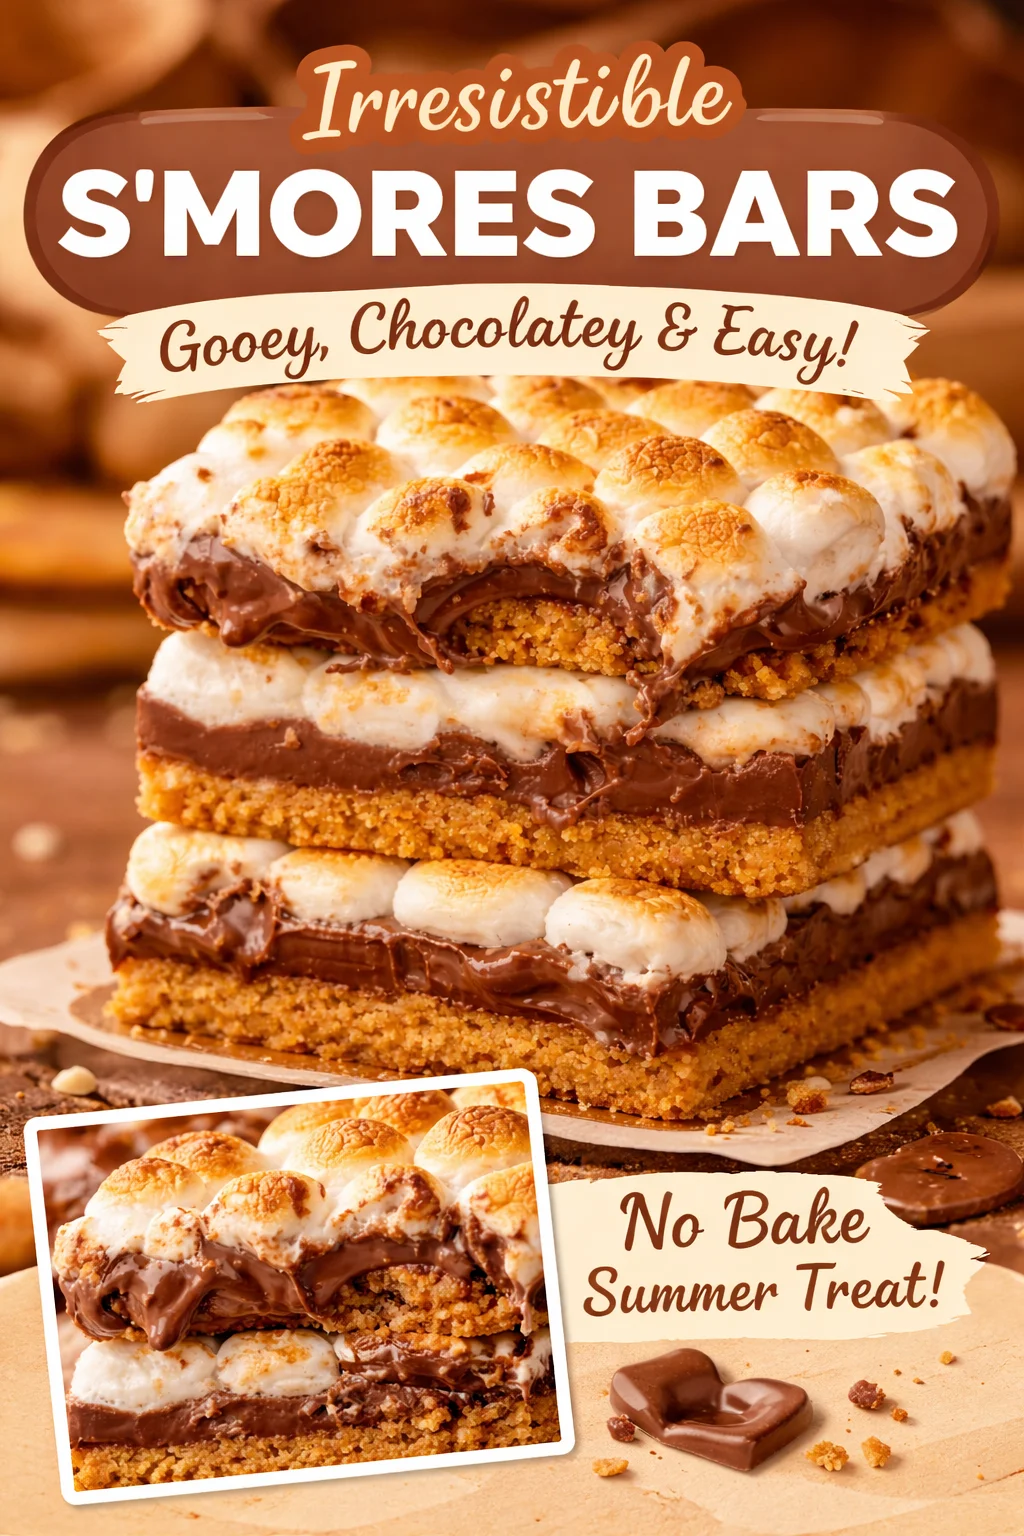
S’MORES BARS Recipe cravings always hit me at the worst times, like when I want something cozy and sweet but I do not want to deal with a campfire, sticky skewers, or a pile of dishes. If you have ever tried to make classic smores indoors, you already know the struggle: marshmallows slide off, chocolate melts unevenly, and somehow everything ends up on your counter. These bars fix all of that. You get the same gooey, toasty, chocolatey vibe in neat little squares that feel party ready and weeknight friendly. I make them when friends pop by, when my kids want a treat, or when I just need a little comfort bite after a long day. Let us get into it.
Our Favorite Smores Bars Recipe
I have tried a few versions over the years, and this one is the sweet spot: simple ingredients, no fancy tools, and the layers actually stay together when you slice. Think of it as a soft graham crust, a thick chocolate layer, then marshmallows that get golden on top. It tastes like summer, even if it is raining outside.
Before we jump in, if you love dessert bars as much as I do, you should peek at these magic cookie bars recipes. Same easy vibe, totally different flavor lane, and it is fun to have options for bake sales and potlucks.
Ingredients you will need
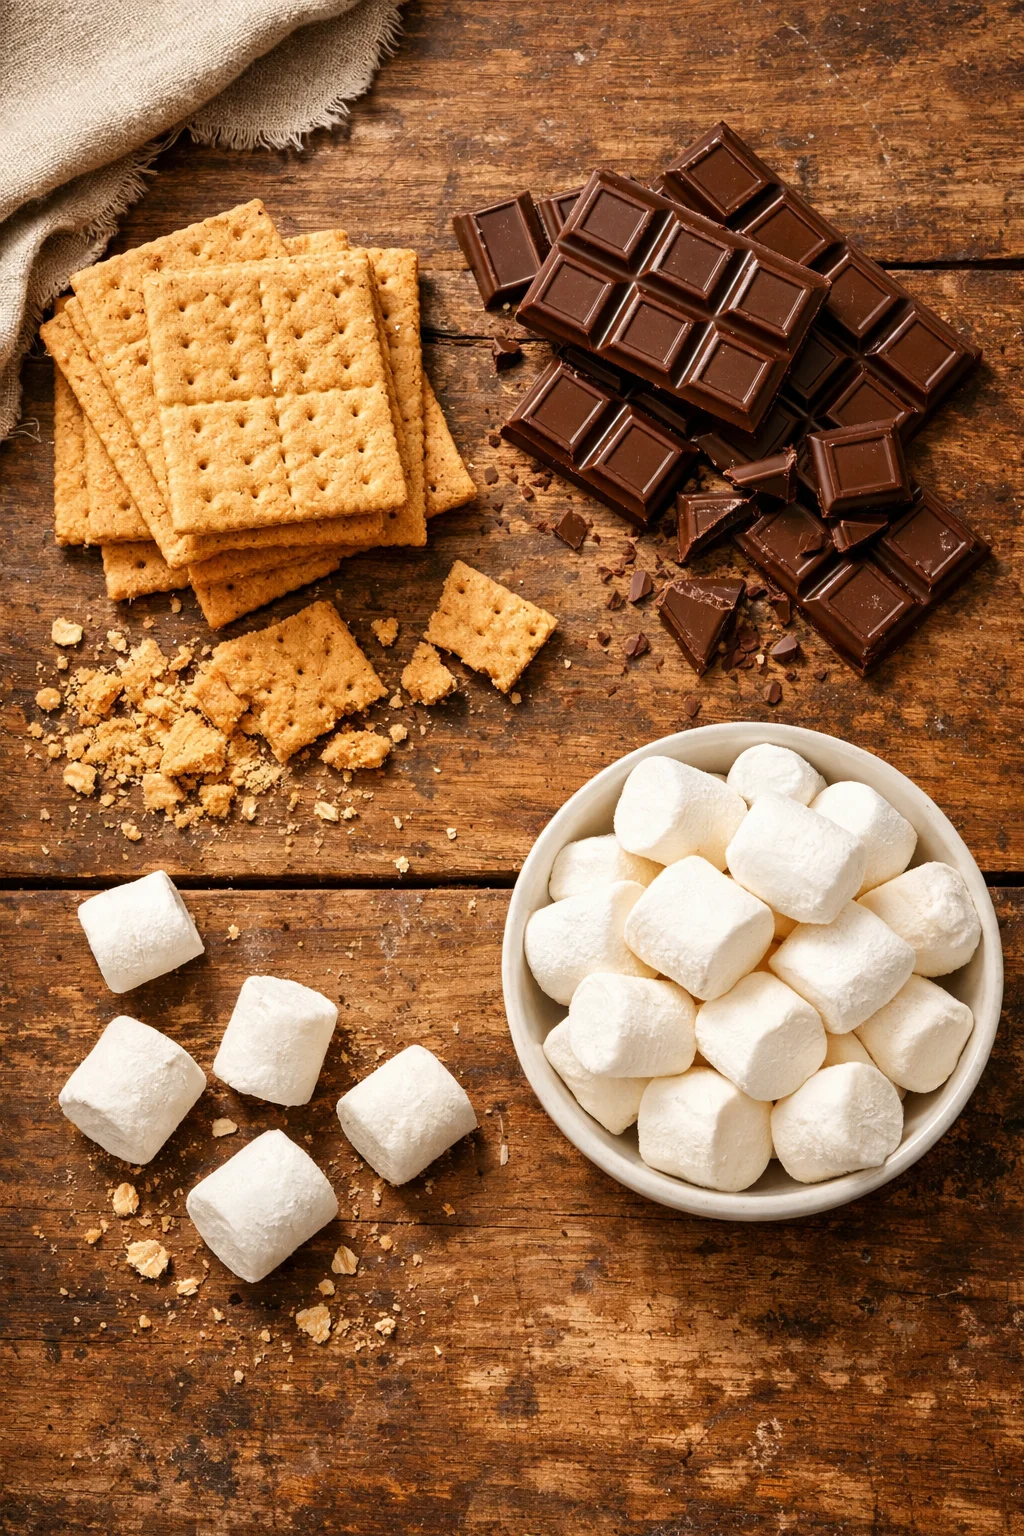
- Graham cracker crumbs (about 2 cups, or crush around 14 full sheets)
- Brown sugar (1/3 cup)
- Salt (a small pinch, it wakes up the sweetness)
- Butter, melted (1/2 cup, unsalted or salted is fine)
- Sweetened condensed milk (1 can, 14 ounces)
- Milk chocolate (2 to 2 1/2 cups chips, or chopped bars)
- Mini marshmallows (3 to 4 cups)
- Optional: 1 teaspoon vanilla
I usually use milk chocolate because it screams classic smores, but you can mix in semi sweet if you like a deeper chocolate punch.
How I make them (step by step)
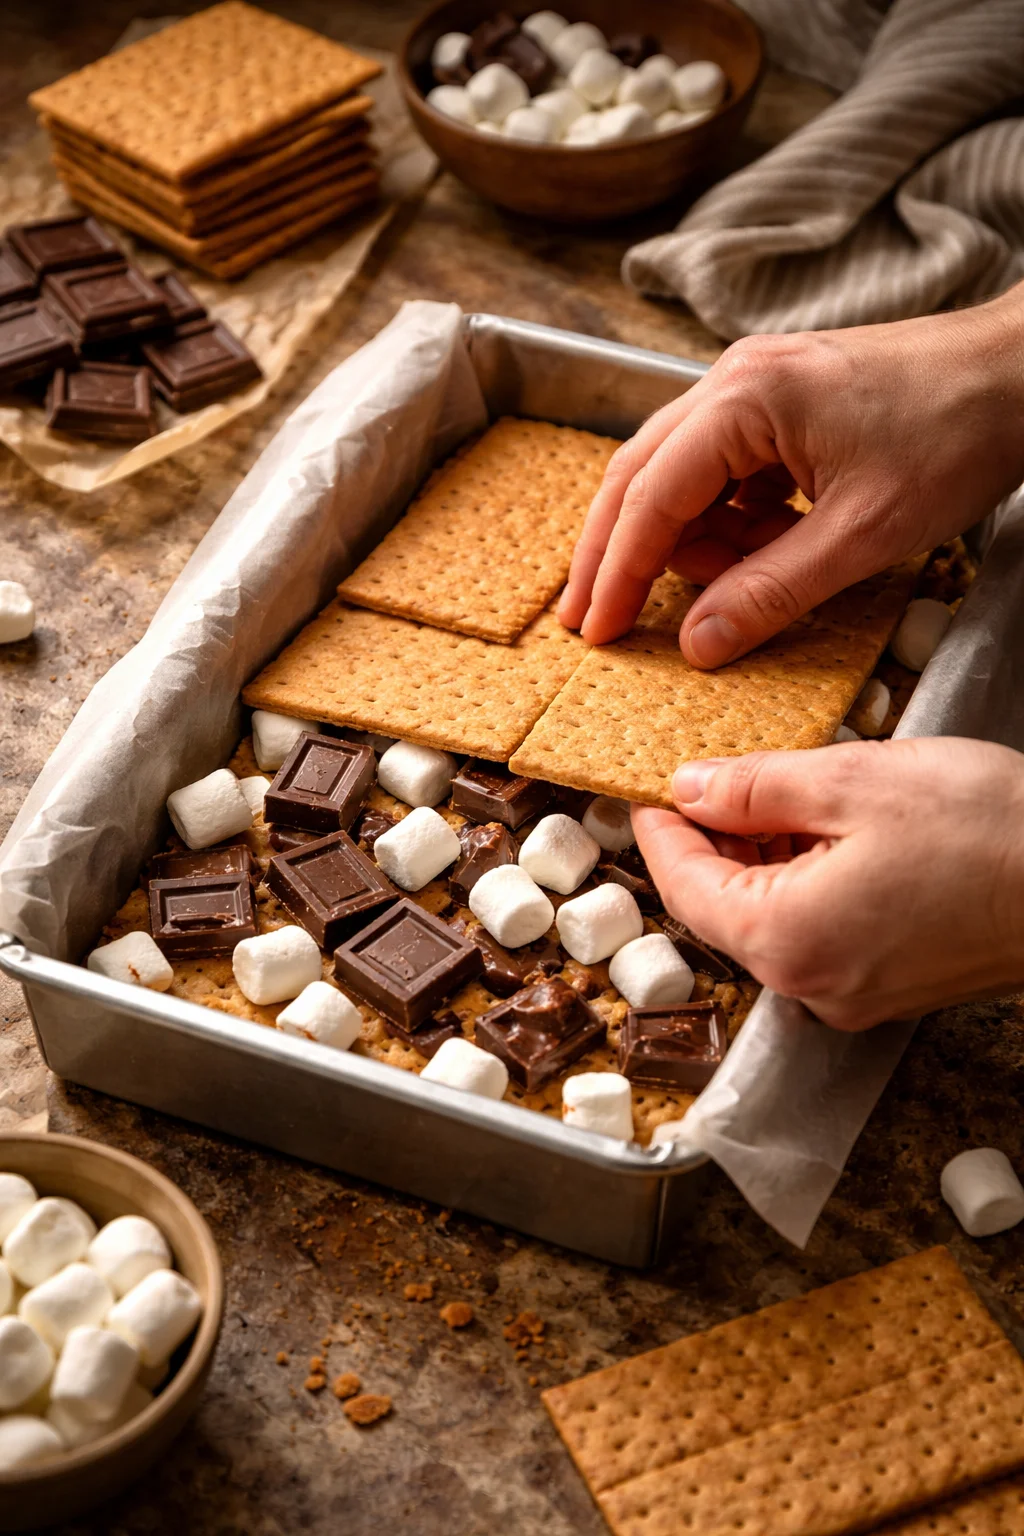
- Heat oven to 350 F. Line a 9×13 pan with parchment so you can lift the bars out later.
- Mix graham crumbs, brown sugar, pinch of salt, and melted butter until it looks like wet sand.
- Press that mixture firmly into the pan. I use the bottom of a measuring cup to really pack it in.
- Bake the crust for 8 to 10 minutes. This helps it hold up under the gooey layers.
- While the crust is warm, sprinkle chocolate evenly over the top.
- Drizzle sweetened condensed milk all over. I go slow so it spreads around instead of pooling in one spot.
- Top with mini marshmallows. Cover the surface pretty well, but do not mound them too high.
- Bake 12 to 15 minutes until the marshmallows are puffy and lightly golden.
- Cool at least 1 hour before slicing. If you can chill them for cleaner cuts, even better.
That is it. Seriously. This is why I make these when I want a guaranteed win without spending my whole evening baking. If you are browsing for more homey comfort food to balance out dessert night, I also love this comforting southern cornbread dressing recipe around the holidays. Not related to smores, but related to happiness.
Tips for the Best Smores Bars
I have made these enough times to learn a few small tricks that make a big difference. Nothing complicated, just the stuff you only learn after you have cut a few messy squares and still eaten them anyway.
Press the crust like you mean it. If the crust is loosely packed, it crumbles when you lift a bar. I press it down firmly into the corners.
Use parchment paper. It saves your sanity. You can lift the whole slab out and slice on a cutting board.
Watch the marshmallows closely. The line between golden and too dark is short. If you want extra toastiness, you can pop the pan under the broiler for 20 to 40 seconds, but do not walk away.
Let them cool. Warm bars taste amazing, yes, but they cut like lava. For neat squares, cool at room temp, then chill 30 minutes.
Chocolate choices matter. Milk chocolate is classic. A mix of milk and semi sweet tastes a little more grown up. If you want something different, try chocolate chunks for pockets of melt.
“I brought these to our family movie night and everyone thought they were from a bakery. The layers stayed together and the top was perfectly gooey.”
Also, if you are the snacky type (I am), these pair so well with salty bites on a party table. I have made this bacon crackers recipe for game nights and it disappears fast next to dessert bars.
How to store Smores Bars
These bars are pretty forgiving, but the marshmallow top does better with a little care. Here is what works in my kitchen.
Room temperature: Store in an airtight container for up to 2 days. Put parchment between layers so they do not stick. If your kitchen is warm, they can get extra soft.
Fridge: My favorite option. They stay firm and sliceable for about 5 days. Let a piece sit out for 10 minutes before eating if you want it gooier.
Freezer: Yes, you can freeze them. Wrap bars individually, then store in a freezer bag for up to 2 months. Thaw in the fridge overnight. The marshmallow top will not look quite as fluffy after freezing, but the flavor is still very good.
Clean slicing tip: Use a sharp knife and wipe it between cuts. If the chocolate layer is being stubborn, warm the knife under hot water, dry it, then slice.
If you are on a dessert bar kick, I would also point you to buckeye bars. Peanut butter and chocolate fans, it is a whole situation.
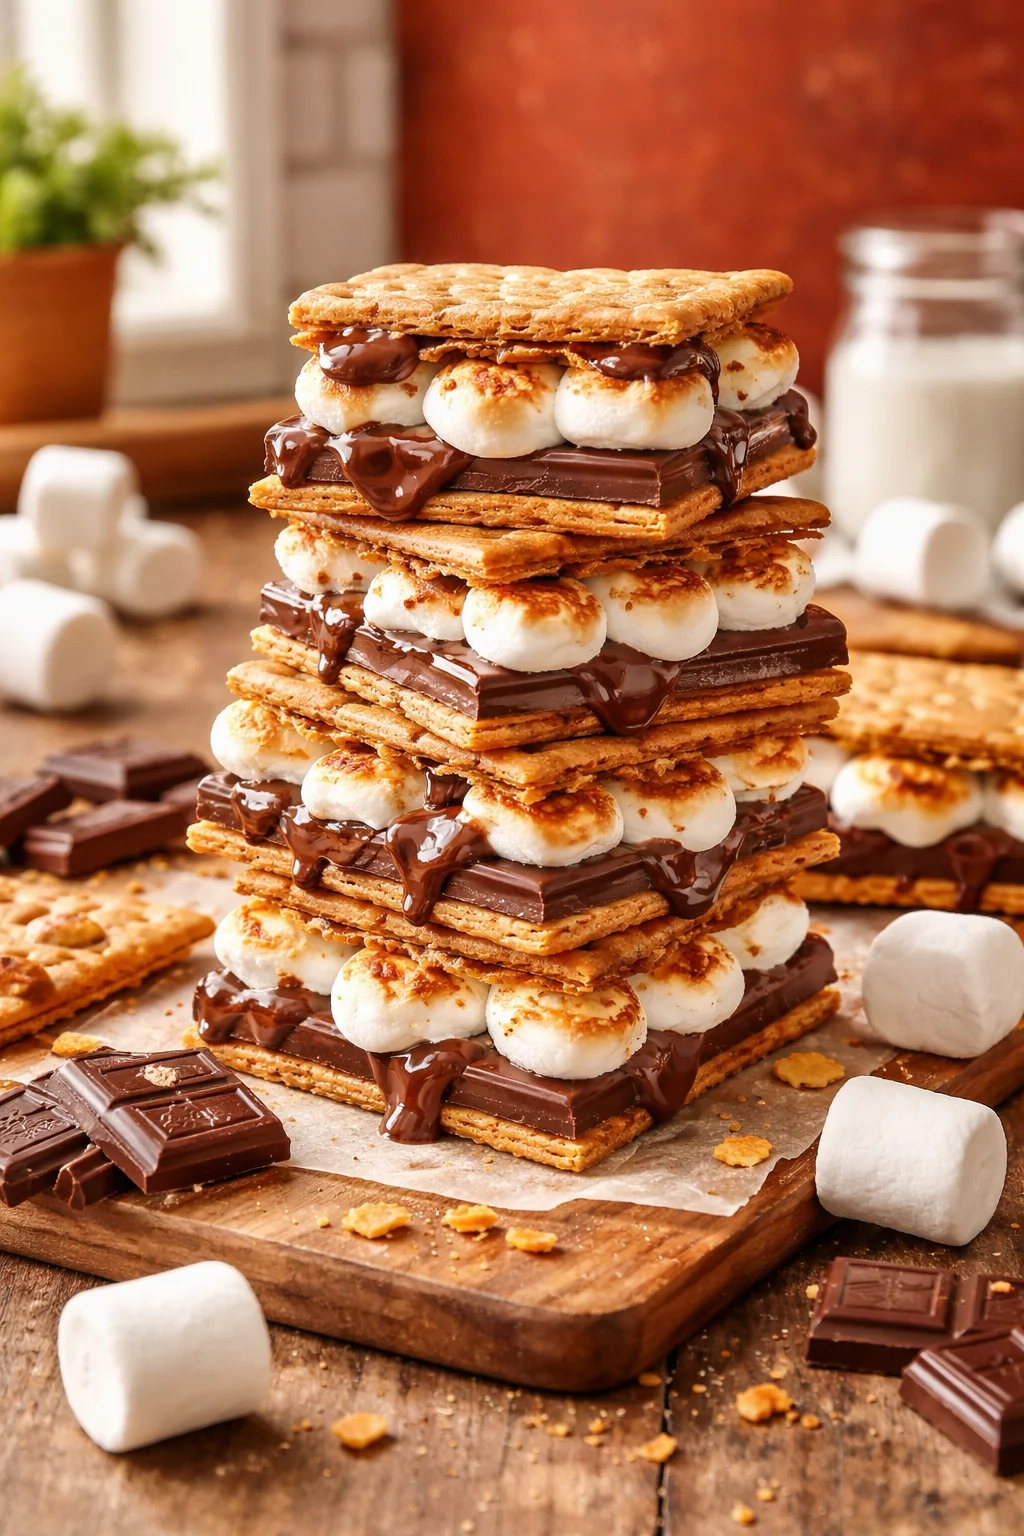
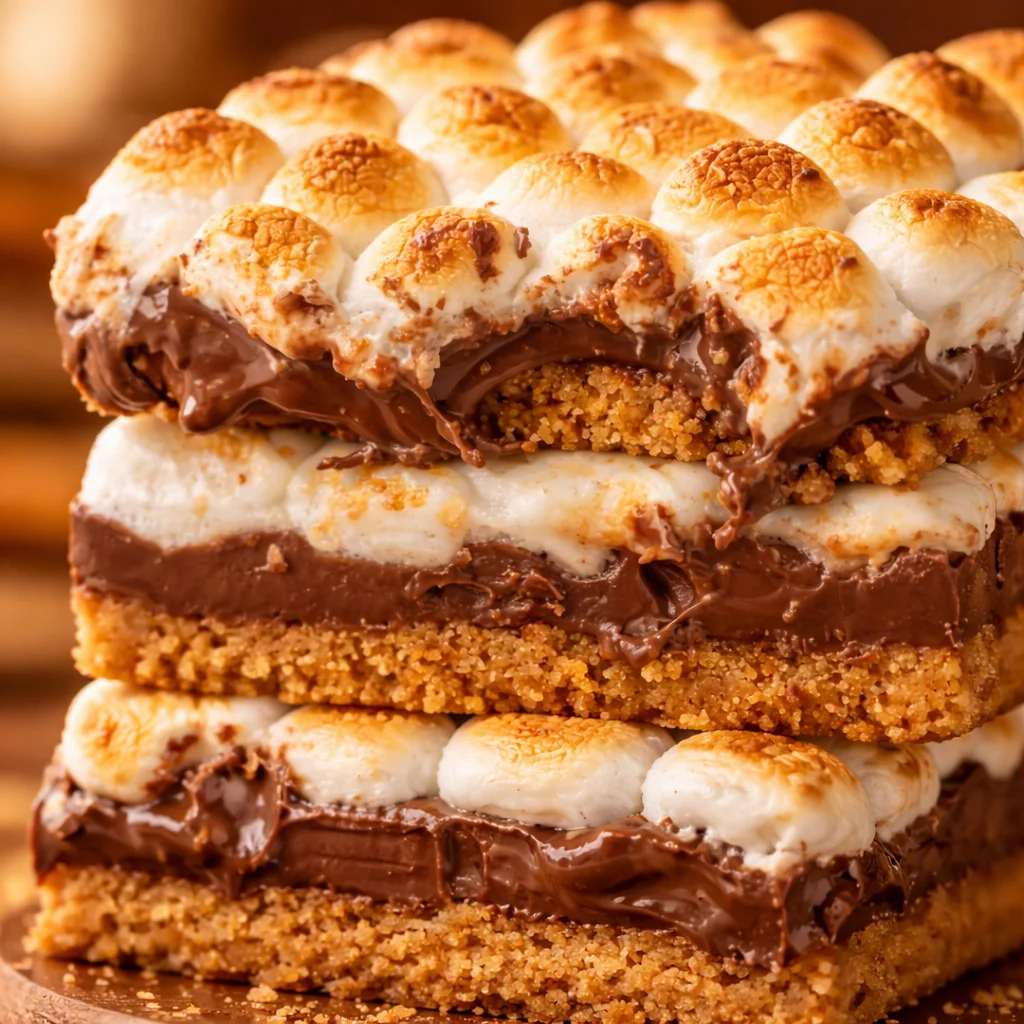
4 Layers to Love in These Smores Bars
This is the part that makes me want to bake them again the second the pan is gone. Each layer is doing its job, and together they hit that true smores feeling without the chaos.
1) The graham layer: Sweet, buttery, and a little crunchy around the edges. Baking it first keeps it from turning soggy.
2) The chocolate layer: Rich and melty, like the chocolate square you press onto a hot marshmallow. Using chips makes it easy, but chopped bars melt into that classic bite too.
3) The creamy glue: That is the sweetened condensed milk. It sounds simple, but it is the reason the chocolate turns into a soft fudge layer and holds everything together.
4) The marshmallow top: Puffy, golden, sticky in the best way. Mini marshmallows cover more evenly than big ones, and they toast faster.
When I am serving these at a gathering, I like to cut smaller squares because they are rich. But if you are having a day, a big square is between you and your business.
Here are a few items you can buy on Amazon that you can use for this recipe
I am not fancy in the kitchen, but a couple basics make this recipe smoother. If you already have these, you are set. If you do not, they are the kind of tools you will keep using.
- 9×13 baking pan for the perfect thickness
- Parchment paper rolls so you can lift the bars out easily
- Mixing bowl and a sturdy spoon or spatula
- Measuring cups and spoons for quick, consistent results
- Offset spatula (optional) to nudge layers into an even spread
If you are baking with kids, I also recommend a simple bench scraper for cutting. It makes straight lines easier and feels safer than sawing with a dull knife.
Common Questions
Can I make S’MORES BARS Recipe ahead of time?
Yes. I actually think they are easier the next day because the layers set. Bake, cool, refrigerate, then slice when you are ready.
What if I only have large marshmallows?
You can use them. Just cut them in half and place them cut side down. Minis toast more evenly, but big ones still work.
Why did my chocolate look grainy?
This can happen if the chocolate gets too hot too fast. Keep the oven temp steady and do not overbake. Also, good quality chocolate chips help.
Can I use a different crust?
Totally. Crushed vanilla wafers or chocolate cookies are great. If you go the cookie route, you may want to reduce the sugar a bit.
How do I keep the marshmallows from sticking to the knife?
Chill the bars first, then use a sharp knife. A tiny bit of cooking spray on the knife can help too, and wiping between slices makes a big difference.
A sweet little send off (and a couple extra ideas)
If you want a no fuss treat that tastes like the best part of a campfire night, this S’MORES BARS Recipe is the one I keep coming back to. Remember to bake the crust first, do not rush the cooling time, and go easy on the broiler if you use it. For more inspiration, you can compare my version with this Easy Smores Bars Recipe (Starbucks Copycat) – Princess Pinky Girl or check out these S’mores Cookie Bars (Recipe + Video) – Sally’s Baking Addiction if you are in the mood to experiment. However you make them, I hope you pull a warm pan out of the oven soon and sneak that first gooey bite while nobody is looking.
S’MORES BARS
Ingredients
Method
- Heat oven to 350°F. Line a 9×13 pan with parchment paper.
- Mix graham cracker crumbs, brown sugar, salt, and melted butter until it looks like wet sand.
- Press the mixture firmly into the pan.
- Bake the crust for 8 to 10 minutes.
- While the crust is warm, sprinkle chocolate evenly over the top.
- Drizzle sweetened condensed milk all over the chocolate.
- Top with mini marshmallows.
- Bake for 12 to 15 minutes until the marshmallows are puffy and lightly golden.
- Cool for at least 1 hour before slicing.