
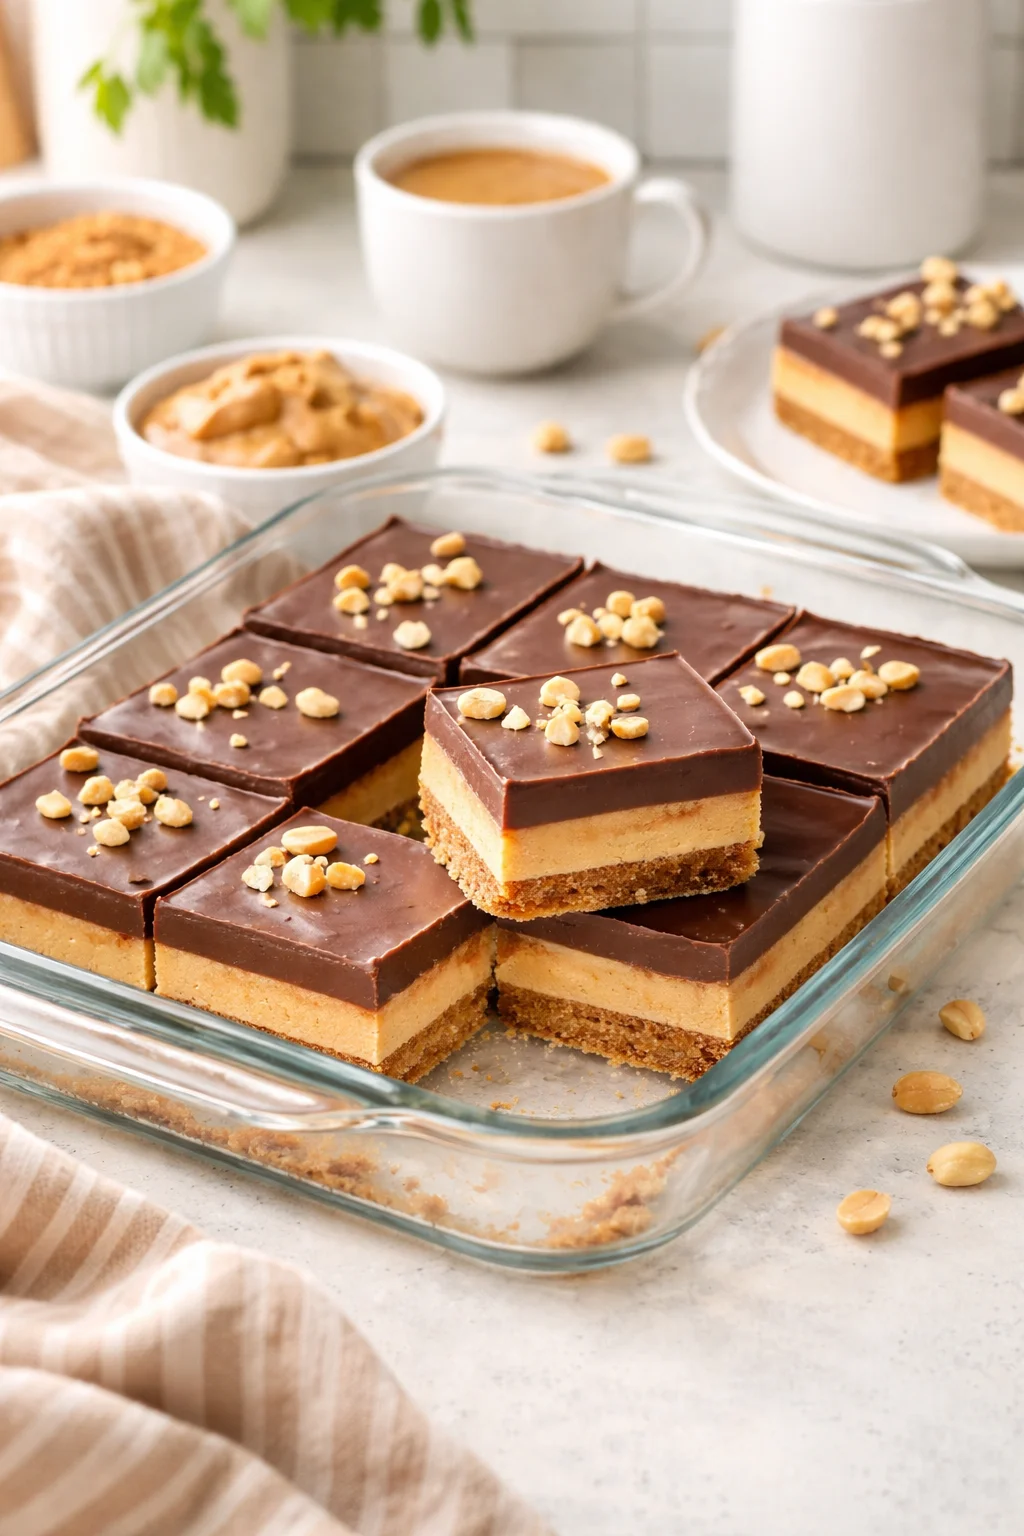
Peanut Butter Dream Bars are what I make when I want a dessert that feels like a treat from the mall food court, but I do not want to leave my house. You know those days when you are tired, the sink is full, and you still promised to bring something sweet to share? This is my little rescue recipe. They are rich, soft in the middle, and topped with a smooth chocolate layer that makes people hover near the pan for just one more sliver. I have made these for lazy weekends, potlucks, and those random Tuesday nights when I just need something comforting. If you love peanut butter and chocolate together, you are in the right place.
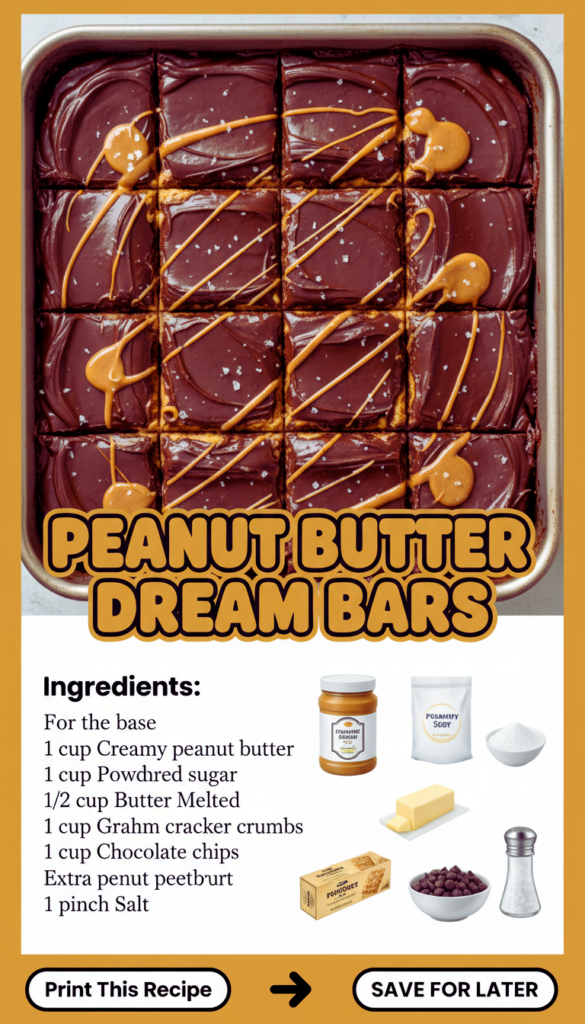
Ingredients for Peanut Butter Dream Bars
Let us talk about what you actually need, because this is one of those recipes that looks fancy but uses super basic pantry stuff. I am also including small notes because the tiny choices are what make the bars taste like the ones you remember.
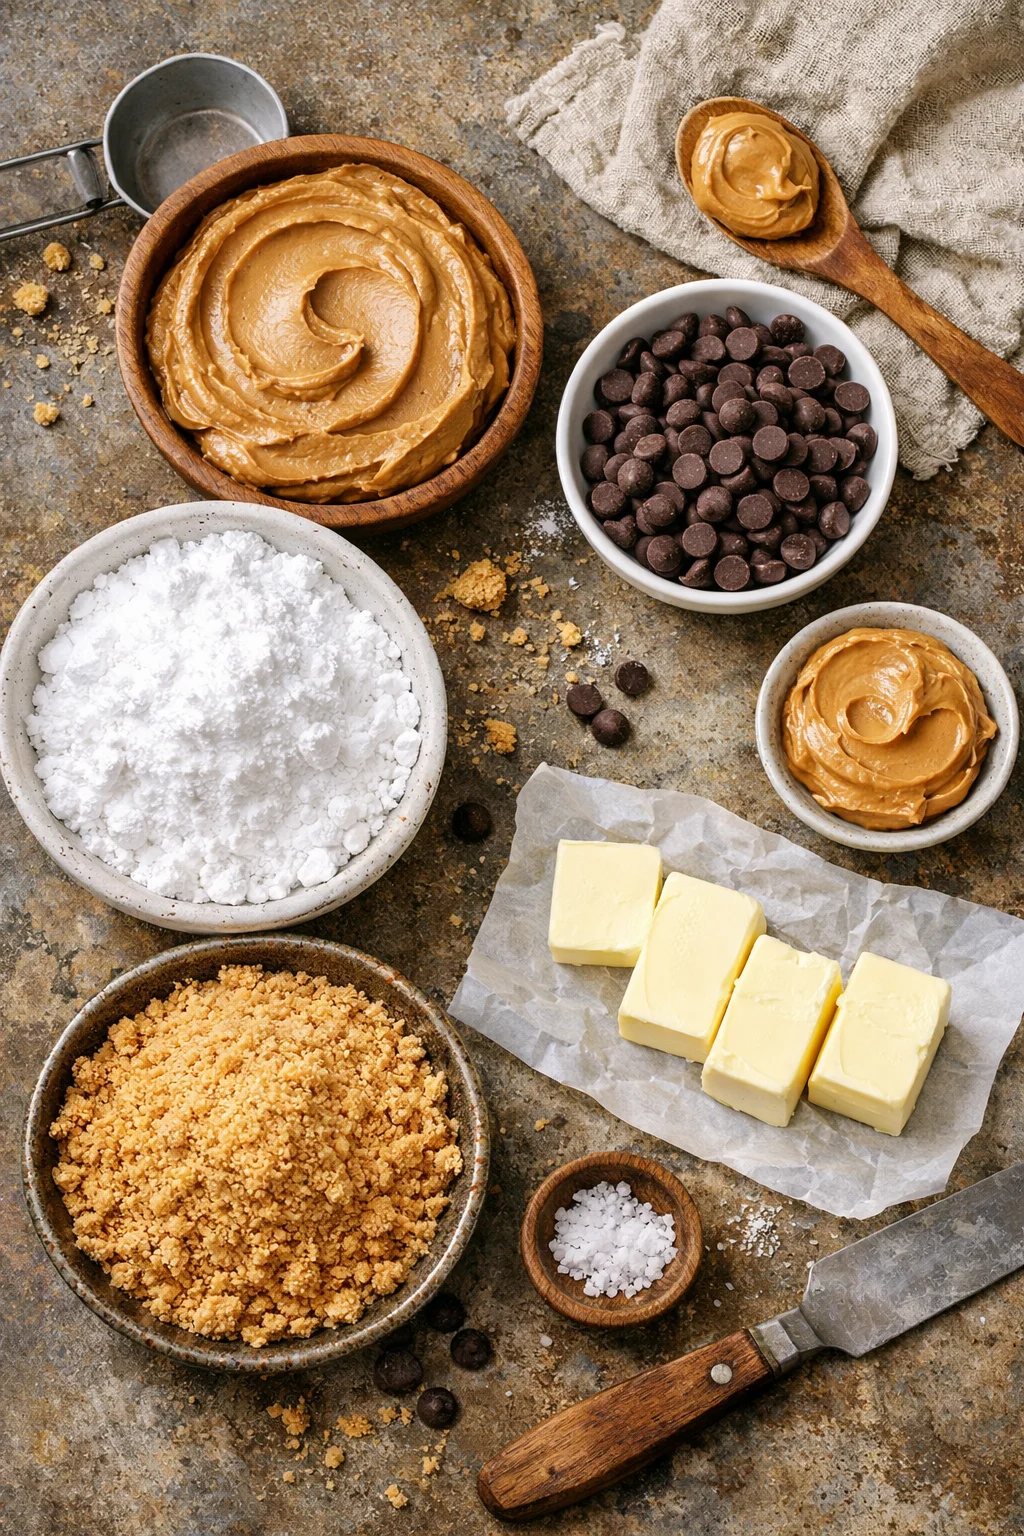
- Creamy peanut butter: This is the main flavor, so use one you genuinely like. I usually go with a classic shelf stable brand for the smoothest texture.
- Powdered sugar: This sweetens the base and helps it set up firm enough to slice cleanly.
- Butter: Melted. It brings everything together and gives the base that soft, fudgy bite.
- Graham cracker crumbs: These give structure without turning it into a dry crust. You can crush your own or buy a box of crumbs.
- Chocolate chips: Semi sweet is my go to. Milk chocolate works too if you want it sweeter.
- A little extra peanut butter for the topping: Optional, but it makes the chocolate layer softer and easier to slice.
- Pinch of salt: Not a lot. Just enough to make the peanut butter taste louder.
That is it. No weird ingredients, no complicated steps. If you love peanut butter desserts as much as I do, you should also peek at this Nanny’s peanut butter cream pie sometime. It has the same cozy vibe, just in pie form.
One quick tip before you start: line your pan with parchment paper so you can lift the whole slab out. This makes slicing way less stressful and your bars look instantly neater. I use an 8 by 8 pan for thicker bars, but a 9 by 9 works if you want them a bit thinner and easier to share.
Customize Peanut Butter Dream Bars
I love the classic version, but I also love giving you options because not everyone likes desserts the same way. The base recipe is forgiving, so you can tweak it without ruining the whole thing.
Here are my favorite ways to customize Peanut Butter Dream Bars without overthinking it:
Make it extra chocolatey
Add a thin layer of mini chocolate chips on top of the peanut butter base before you pour on the melted chocolate. It adds a little crunch and makes people say, “Wait, what is in this?”
Swap the crumbs
If you do not have graham crackers, crushed vanilla wafers work. Even crushed pretzels can be fun if you like a sweet salty bite, just do not overdo it or it gets too salty.
Add a topping
A sprinkle of flaky salt on the chocolate is simple and so good. Chopped peanuts are great too, especially if you want that candy bar look.
Try a different peanut butter vibe
If you are using natural peanut butter, stir it really well first. The oil separation can make the base a little oily, so you might need a bit more crumbs to balance it.
Sometimes when I am in a “make everything peanut butter” mood, I also bake a batch of these deliciously soft cake mix peanut butter cookies to go with the bars. They are ridiculously easy and the textures together are so satisfying.
“I made these for my daughter’s school bake sale and people asked if they were from a bakery. The chocolate layer sliced perfectly and the peanut butter base tasted like a candy bar.”
No-Bake Peanut Butter Dream Bars
This is the section for anyone who does not want to turn on the oven, or maybe you are making dessert in the middle of summer and your kitchen is already hot enough. The good news is that Peanut Butter Dream Bars are naturally no bake, which is part of why I keep coming back to them.
Step by step directions that actually work
I am going to explain it the same way I do when a friend texts me from their kitchen, slightly panicked.
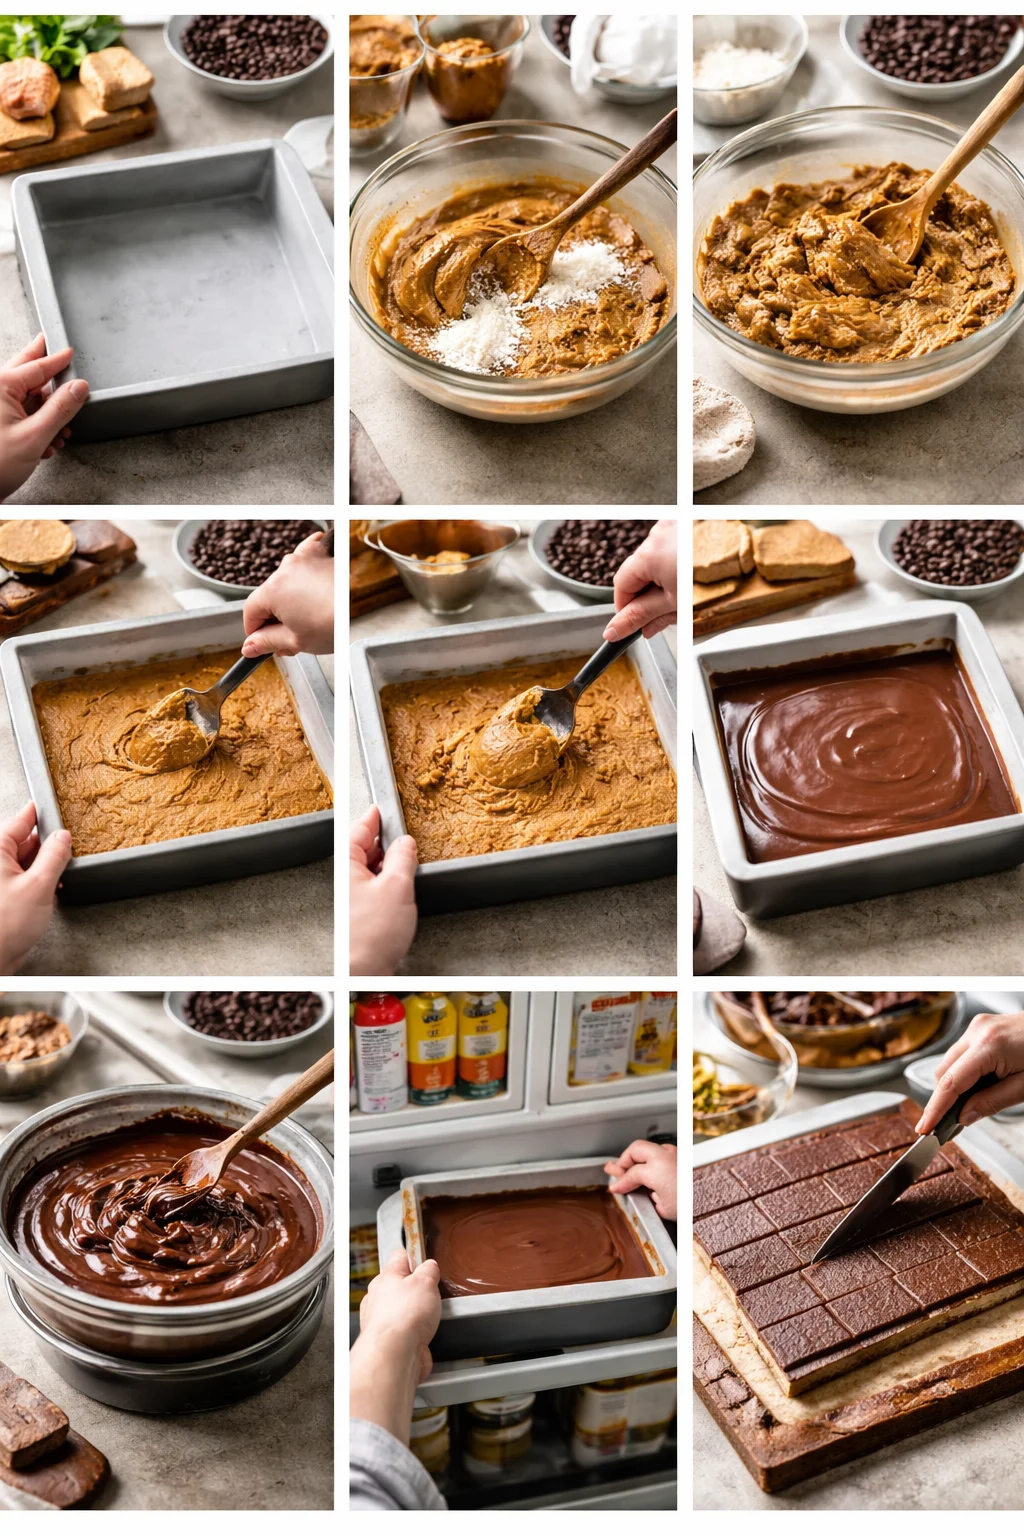
1. Prep the pan
Line an 8 by 8 pan with parchment paper. Leave a bit hanging over the sides so you can lift the bars out later.
2. Mix the base
In a bowl, stir together melted butter, peanut butter, powdered sugar, graham cracker crumbs, and a pinch of salt. It should look like a thick dough and hold together when you press it with a spoon.
3. Press it in
Press the mixture firmly into your prepared pan. I use the bottom of a measuring cup to pack it down evenly.
4. Melt the topping
Melt chocolate chips with a spoonful of peanut butter. Microwave in short bursts and stir each time so it does not scorch. The peanut butter makes the chocolate layer less brittle.
5. Spread and chill
Pour the chocolate over the base and spread it smooth. Chill in the fridge for about 1 to 2 hours, or until set.
6. Slice like a pro
Lift the bars out using the parchment. Let them sit at room temp for 5 to 10 minutes, then slice with a sharp knife. Wipe the knife between cuts for clean lines.
To make this even more useful, here is a quick SEO friendly snapshot of timing and storage that you can screenshot if you are mid recipe.
Quick info: Prep time about 15 minutes. Chill time 1 to 2 hours. Store in the fridge up to 1 week. Freeze up to 2 months, wrapped well.
If you like the peanut butter and chocolate combo but want a snappier, more snacky vibe, you should try this irresistible dark chocolate peanut butter bark. It is the kind of thing you break into shards and mysteriously “sample” all day.
Also, if you ever want to take these bars into full dessert lasagna territory, I have to mention this chocolate peanut butter lasagna. It is layered, creamy, and basically made for parties.
More Copycat Recipes from #OurFamilyTable
I am a big fan of copycat recipes because they feel like a little win. You get that familiar flavor without the price tag, and you can make it whenever the craving hits. Peanut Butter Dream Bars totally fit that theme for me because they taste like something you would buy, but they are made from everyday ingredients.
Here are a few other ideas that match the same easy, cozy, family table vibe:
Try more peanut butter bar style treats
If you like the slice and share thing, you might also love buckeye style flavors. I have a soft spot for buckeye bars because they have that classic chocolate peanut butter combo in a neat little square.
Mix it up for lunchboxes and casual get togethers
Some weeks I want bars, some weeks I want cookies. And some weeks I want both. That is just real life.
If you make these for a family night, I suggest serving them slightly chilled with a big glass of milk or a hot cup of coffee. They are rich, so small squares go a long way, but somehow people still come back for seconds.
Recipe Ratings without Comment
I always think it is helpful to know how a recipe lands with different types of eaters, especially if you are making it for a group. Here is how Peanut Butter Dream Bars tend to score in my house and with friends, keeping it simple and straight to the point.
Sweet tooth level: 9 out of 10
Ease: 10 out of 10
Kid friendly: 10 out of 10
Party friendly: 9 out of 10
Make ahead friendly: 10 out of 10
If you want a less sweet version, use dark chocolate chips for the topping and add that pinch of salt. It helps balance everything out without making it taste “healthy,” because that is not what we are doing here.
Common Questions
1. Do Peanut Butter Dream Bars need to stay refrigerated?
They are best in the fridge so the chocolate stays set and the base stays firm. You can leave them out for a couple hours for serving, but I would not store them on the counter long term.
2. Can I use crunchy peanut butter?
Yes. It adds texture, which is fun. Just know the bars may be a little more crumbly when slicing, so chill them well first.
3. Why did my chocolate topping crack when I cut it?
Usually it is because the chocolate is too cold and too firm. Let the bars sit out 5 to 10 minutes before slicing, and add a spoonful of peanut butter to the chocolate when melting.
4. Can I freeze these bars?
Absolutely. Wrap tightly and freeze up to 2 months. Thaw in the fridge overnight for best texture.
5. What is the best way to get clean slices?
Use parchment paper to lift the bars out. Then use a sharp knife, warm it under hot water, wipe it dry, and slice. Repeat as needed.
A little pep talk before you make them
If you have been wanting an easy win in the dessert department, Peanut Butter Dream Bars are it. They are quick, familiar, and honestly kind of impossible to mess up if you follow the basic ratios and chill them long enough. If you want to compare versions for fun, I like reading other home cook takes like Peanut Butter Dream Bars: Copycat Mrs. Field’s Recipe and this sweet, nostalgic spin from Peanut Butter Dream Bars – Sweet Potato Chronicles. Now go grab your peanut butter, clear a little fridge space, and make a batch. Then cut yourself a square, take a bite, and enjoy that tiny moment of “yes, I made this.”
Peanut Butter Dream Bars
Ingredients
Method
- Line an 8 by 8 pan with parchment paper, leaving some overhang to lift the bars later.
- In a bowl, mix together melted butter, peanut butter, powdered sugar, graham cracker crumbs, and a pinch of salt until it forms a thick dough.
- Press the mixture firmly into the base of the prepared pan using the bottom of a measuring cup.
- Melt the chocolate chips with the extra peanut butter in short bursts in the microwave, stirring each time.
- Pour the melted chocolate over the base and spread it smooth.
- Chill the bars in the fridge for 1 to 2 hours or until set.
- Lift the bars out using the parchment paper. Let sit at room temperature for 5 to 10 minutes before slicing with a sharp knife.
- Wipe the knife between cuts for clean lines.