
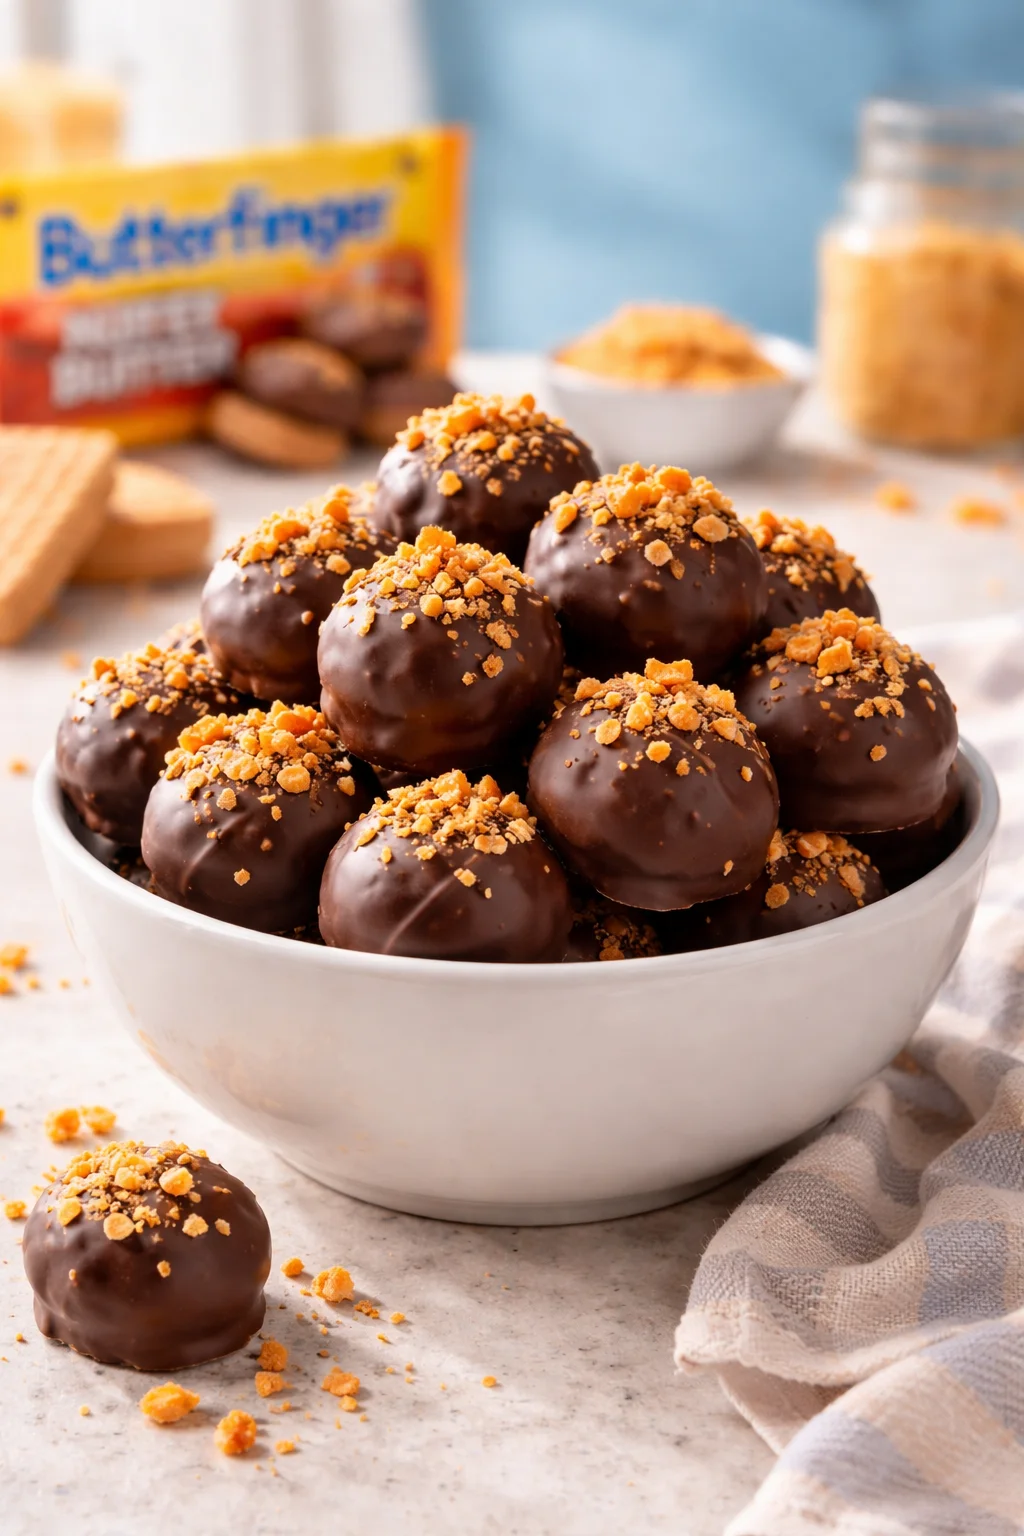
Butterfinger Nutter Butter Truffles are my go to treat for those days when you want something homemade, but you also do not want to babysit an oven. You know the feeling: you promised to bring dessert, you forgot until the last minute, and suddenly you are staring into the pantry like it owes you answers. Been there. These truffles save me every time because they taste like you tried really hard, even if you basically just mixed, rolled, and dipped. They are sweet, peanut buttery, a little crunchy, and honestly kind of addictive.
Recipe Variations for Nutter Butter Butterfinger Truffles
Once you make Butterfinger Nutter Butter Truffles the first time, you will immediately start thinking about what else you can do with them. The base idea is simple: crushed cookies plus candy bar bits plus a creamy binder, then dunked in chocolate. That means you can tweak them without ruining the vibe.
My favorite base recipe (so you know what we are varying)
I am keeping this easy and realistic, like how I actually make them at home.
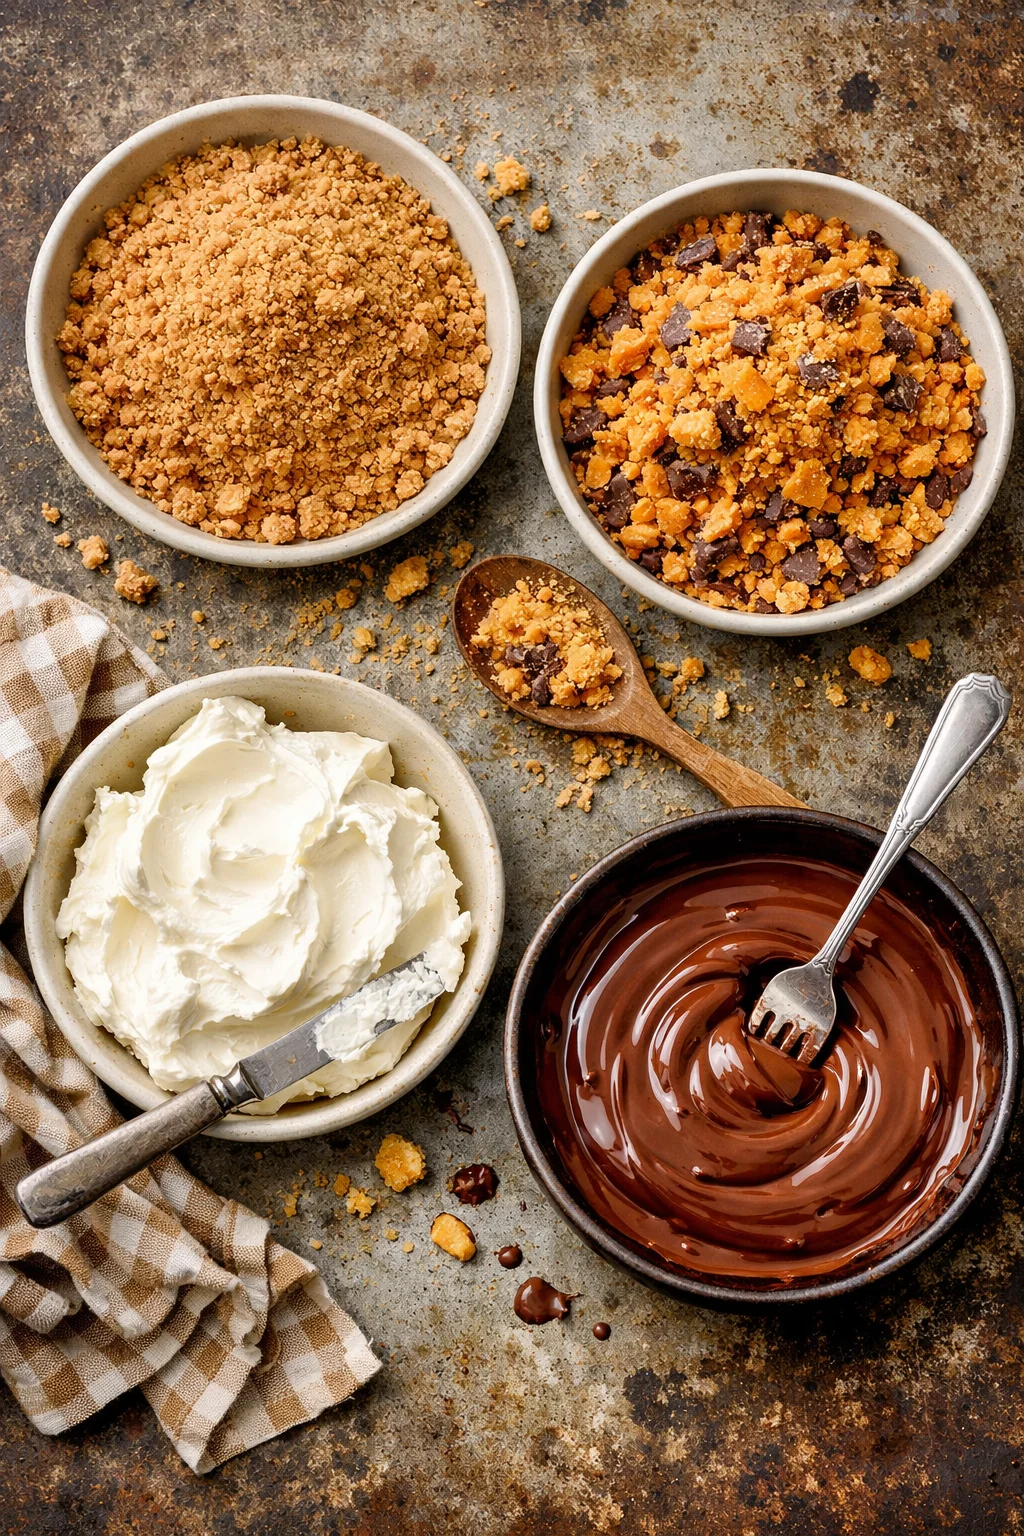
- Nutter Butter cookies, crushed into fine crumbs
- Butterfinger bars, crushed (I like some bigger bits for crunch)
- Cream cheese, softened so it mixes without a workout
- Chocolate for dipping (melting wafers or chocolate chips with a tiny bit of coconut oil)
Mix the crumbs and candy bits with cream cheese until it turns into a dough. Roll into little balls. Chill. Dip in melted chocolate. Chill again until set. That is it.
Now for the fun part. Here are variations I have tested (and yes, I have opinions):
- Dark chocolate dip: Cuts some sweetness and makes the peanut butter flavor pop.
- White chocolate dip: Super sweet, super cute, and perfect if you want a more “bakery case” look.
- Peanut butter drizzle: Melt a spoonful of peanut butter with a little coconut oil and drizzle over the top once the chocolate sets.
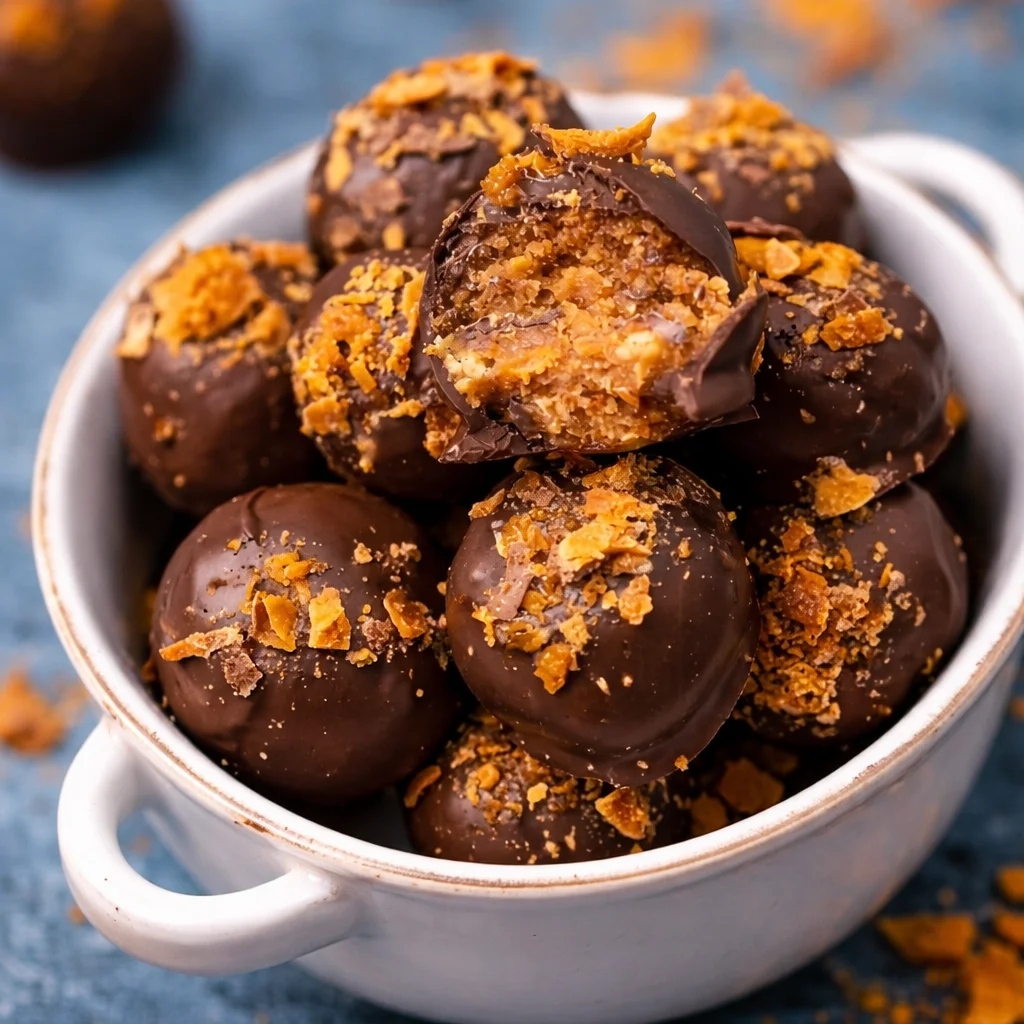
- Extra crunch topping: Sprinkle more crushed Butterfinger on top right after dipping, before the chocolate sets.
- Salted finish: A tiny pinch of flaky salt on top makes these taste expensive.
If you are the kind of person who loves layered peanut butter desserts, you would probably also love this chocolate peanut butter lasagna. It scratches the same sweet salty peanut butter itch.
Tips for Perfecting Your Truffles
I have made these enough times to know where things can go sideways. The good news is that every “mistake” is still edible. But if you want them to look neat and feel smooth, these tips help a lot.
Start with soft cream cheese. If it is cold, it will not blend well and you will end up with little lumps. I leave it out for about 30 minutes, or I microwave it for a few seconds. Just do not melt it into soup.
Crush the cookies finely. I use a zip bag and a rolling pin because it is oddly satisfying, but a food processor works too. Fine crumbs hold together better and make the truffle texture less gritty.
Do not over crush the Butterfinger. I like a mix of small and medium bits. If it turns to dust, you lose that signature crunch.
Chill before dipping. This is the step people skip when they are impatient, and I get it. But chilling makes the balls firm, so they do not fall apart in warm chocolate. I chill them for at least 30 minutes in the fridge, or 15 minutes in the freezer.
Make dipping easier. Use a fork, tap it gently on the bowl, then slide the truffle off onto parchment paper. If you want fewer chocolate puddles at the bottom, let it drip a couple extra seconds.
Also, if you are planning a cookie tray for the holidays, I keep a few reliable recipes bookmarked. This one for buttery Christmas spritz cookies is a classic and pairs nicely with truffles because it is lighter and crisp.
Creative Serving Suggestions
These are the treats I bring when I want people to light up a little. Butterfinger Nutter Butter Truffles are small, shareable, and they look fancy with almost zero effort. Here are some serving ideas that make them feel extra fun.
- Party platter: Pile them on a plate with extra crushed Butterfinger around the edges for sparkle and crunch.
- Mini cupcake liners: This instantly makes them look like a candy shop display and keeps fingers clean.
- Hot cocoa topping: Serve one on the side of a mug of cocoa, or drop a truffle next to the whipped cream like a garnish.
- Ice cream buddy: Chop one up and sprinkle it over vanilla ice cream. It tastes like a peanut butter candy blizzard situation.
- Gift box: Put a few in a small box with parchment between layers. Add a note that says “store in the fridge” so nobody blames you for melted chocolate.
When I make a dessert spread, I like mixing textures. Something creamy, something crunchy, something buttery. If you want another sweet option that is smooth and comforting, this butterscotch pudding is a cozy one, especially for family dinners.
“I made these for my office potluck and people kept asking where I bought them. I told them they were homemade and nobody believed me until I showed a photo of the mixing bowl. They disappeared in ten minutes.”
Common Mistakes to Avoid
This is the section that saves your sanity. I have done every one of these at least once, usually while multitasking and pretending I could totally pull it off.
Mistake 1: Skipping the chill time. If the truffle centers are soft, they will get messy in the chocolate. Chill them. Your future self will thank you.
Mistake 2: Using wet hands without meaning to. If you rinse your hands and do not dry them well, the mixture can get weird and slippery. Dry hands work best. If the dough sticks, lightly oil your palms or dust them with cookie crumbs.
Mistake 3: Overheating the chocolate. Melt it slowly. If it seizes up, it turns thick and clumpy. Short bursts in the microwave and stir in between, or use a double boiler style setup. Gentle heat is the goal.
Mistake 4: Making them huge. I know, bigger seems better. But giant truffles are harder to dip and they feel too rich after two bites. Aim for about 1 inch to 1.25 inches wide.
Mistake 5: Storing them wrong. These truffles like the fridge. If your kitchen is warm, the chocolate can get soft. I store them in an airtight container in the fridge, with parchment between layers.
And if you are in a full “no bake sweets” mood, you might want to check out these easy Christmas truffles too. Same low stress energy, different flavors.
Nutritional Information and Serving Size
Let us keep this real: Butterfinger Nutter Butter Truffles are a treat. They are rich, sweet, and meant to be enjoyed like candy, not like breakfast. But it still helps to have a basic idea of portions, especially if you are serving a crowd.
Serving size: I count 1 truffle as 1 serving. If I am putting them out with other desserts, I assume most people will take 1 to 2.
Yield: Depending on how big you roll them, you will usually get about 20 to 30 truffles from a typical batch.
Here is a simple overview. This is an estimate, because brands and sizes vary.
Allergen note: These include peanuts, dairy, and likely gluten depending on the cookie brand. If you are serving guests, it is worth mentioning that upfront.
Common Questions
Can I make these ahead of time?
Yes, and they are actually better that way. I like making them the day before, then keeping them chilled until serving.
Do I have to use cream cheese?
Cream cheese gives the best texture. If you swap it, you may need to adjust amounts a lot. I would stick with cream cheese for the first try.
How do I keep the chocolate coating smooth?
Melt slowly and stir often. If you are using chocolate chips, add a small spoon of coconut oil to help it dip more smoothly.
Can I freeze Butterfinger Nutter Butter Truffles?
Yep. Freeze them in a sealed container. Thaw in the fridge so you do not get condensation on the chocolate.
What if my mixture is too sticky to roll?
Chill the dough for 15 to 20 minutes, then try again. You can also add a bit more cookie crumbs to firm it up.
A sweet little wrap up
If you need a fast dessert that tastes like a candy shop treat, Butterfinger Nutter Butter Truffles are the answer. They are easy to customize, forgiving if you are not perfect at dipping, and always a crowd pleaser. If you want to see another simple version, I have browsed Butterfinger Nutter Butter Truffles – 4 Ingredients! | Tastes of Lizzy T and it is a great reminder that simple ingredients can still bring big flavor. I also like the twist on Nutter Butter Butterfinger Truffles | The Domestic Rebel when I am looking for extra inspiration. Make a batch, stash them in the fridge, and the next time a craving hits, you will be very glad you did. 
Butterfinger Nutter Butter Truffles
Ingredients
Method
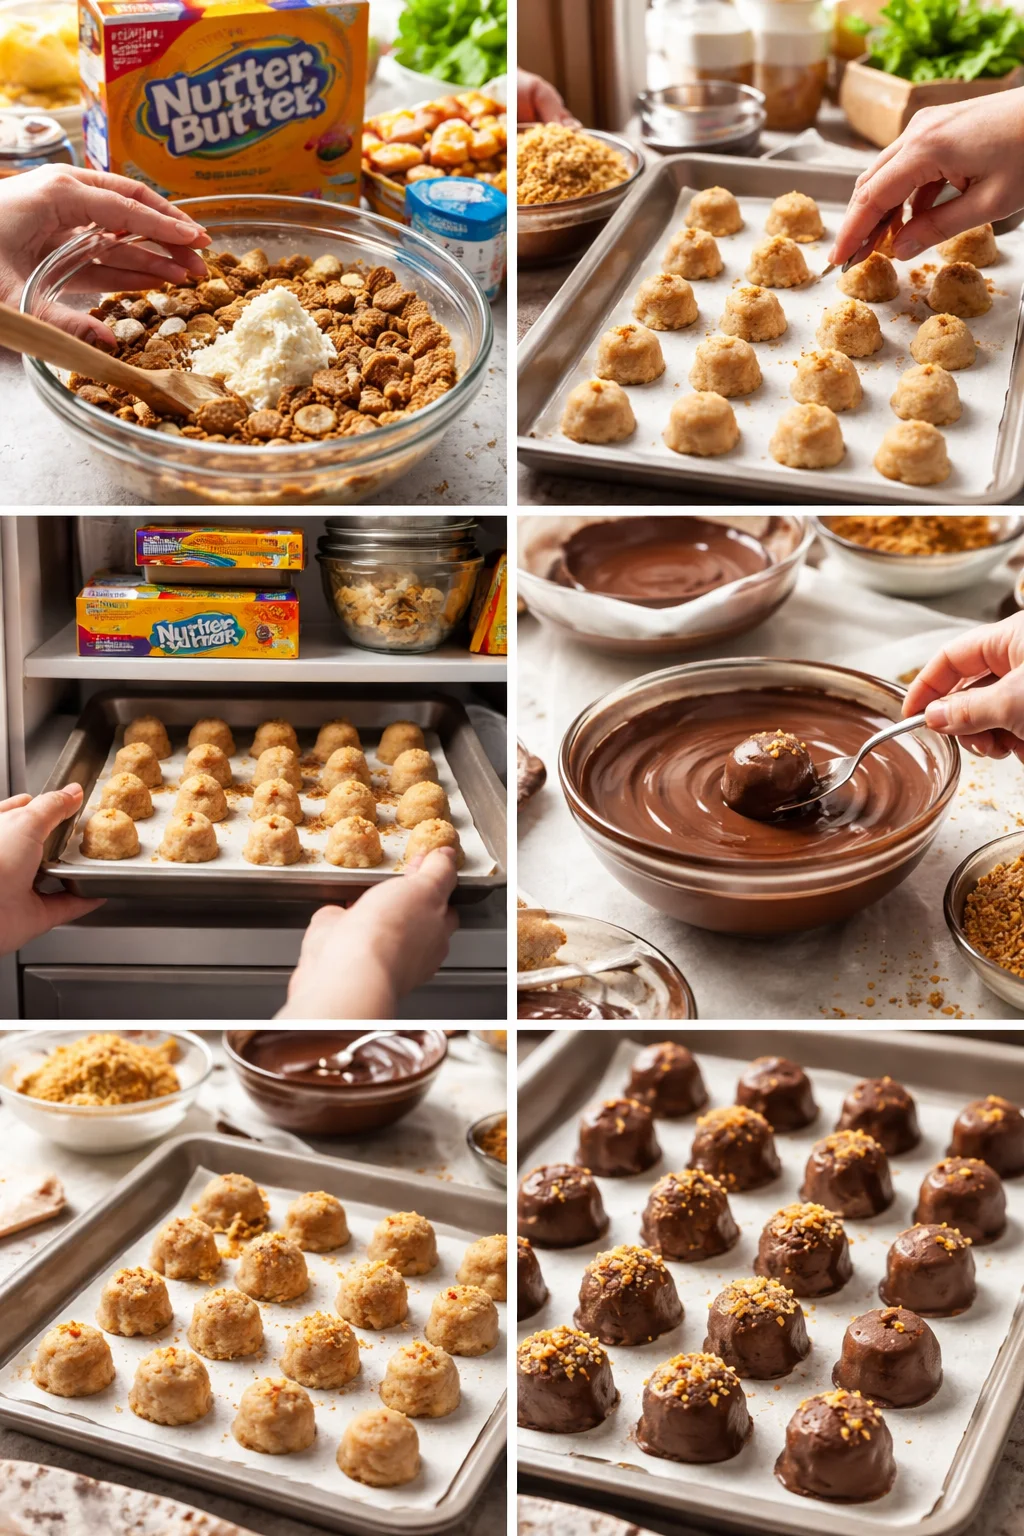
- In a mixing bowl, combine the crushed Nutter Butter cookies and crushed Butterfinger bars.
- Add in the softened cream cheese and mix until it forms a dough.
- Roll the mixture into small balls, about 1 inch in diameter.
- Chill the truffle balls in the fridge for at least 30 minutes or in the freezer for 15 minutes.
- Melt the chocolate in a microwave-safe bowl, stirring frequently to prevent overheating.
- Dip each truffle into the melted chocolate and let excess chocolate drip off.
- Place the dipped truffles on parchment paper and chill again until chocolate is set.