

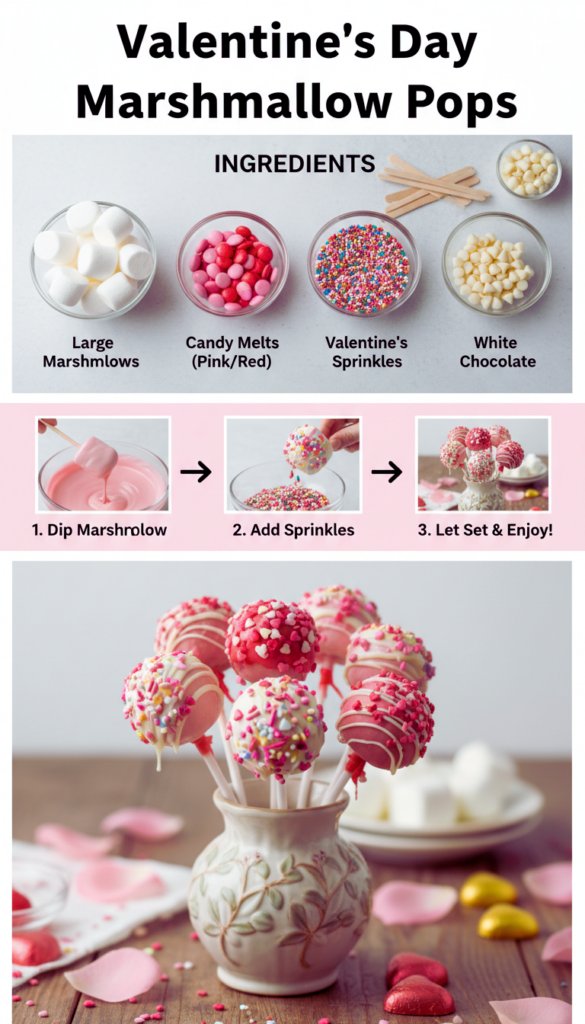
Valentine’s Day Marshmallow Pops are the kind of treat that saves me when I want something fun and festive without spending hours in the kitchen. Maybe you forgot the class party is tomorrow, or you want a sweet surprise for someone after dinner. These are quick, cute, and honestly hard to mess up. The best part is you can customize them with whatever colors and sprinkles you’ve got. If you can melt chocolate and dip a marshmallow, you’re already winning. Let’s make something adorable together.

How to Prepare the Marshmallows
What you’ll need
- Large, fresh marshmallows
- Lollipop sticks or sturdy paper straws
- Parchment paper or a silicone mat
- Assorted sprinkles, sanding sugar, or mini chocolate chips
- Optional: styrofoam block or an upside-down egg carton for drying
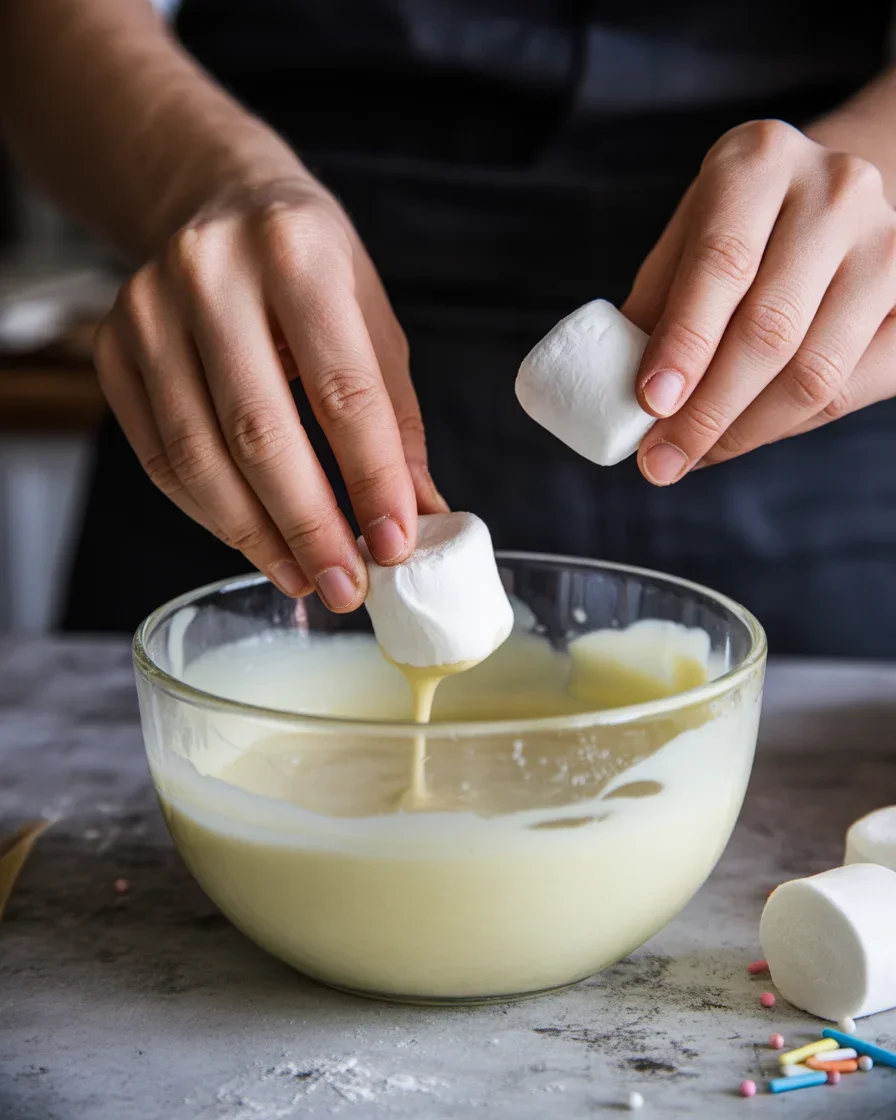
Start by checking your marshmallows. You want them soft and springy, not dry. If the bag has been open too long and they feel tough, grab a fresh bag. Fresh marshmallows hold the stick better and the chocolate sets smoother.
Insert a lollipop stick into each marshmallow, going about three quarters of the way in. Don’t poke through the top. If a marshmallow cracks, just snack on it and grab another. I like to line mine up on a tray covered with parchment paper so they don’t stick.
If your kitchen is warm, pop the tray in the fridge for 10 minutes. Slightly chilled marshmallows make dipping easier because they firm up the chocolate faster, but don’t freeze them. Frozen marshmallows expand as they thaw and can crack the coating.
If you’re gathering ideas for a whole party spread, you’ll find more pretty sweets on my Valentine’s Day recipes page. These pops look awesome next to cookies or chocolate-dipped strawberries.
How to Prepare the Chocolate
Pick your chocolate
You can use white chocolate, milk, dark, or candy melts. White is the most dramatic for color, since you can tint it light pink or red with oil-based candy coloring. If you only have gel food color, use a tiny amount to avoid seizing. For the smoothest finish, try a baking bar or couverture callets. Chocolate chips work too in a pinch, but they’re a little thicker after melting.
Melt it gently
My favorite method is the microwave because it’s fast. Put your chocolate in a microwave-safe bowl and heat in 20 to 30 second bursts, stirring well between each. Stop when most of it is melted, then keep stirring until the last bits disappear. If it seems thick, add 1 teaspoon of coconut oil or shortening per 8 ounces of chocolate and stir again. Aim for a pourable but not watery texture.
If the microwave makes you nervous, use a simple double boiler with a heat-safe bowl set over a pot of steaming water. Keep the bowl from touching the water and stir often. Either way, keep moisture out of the bowl. Even a drop of water can turn your chocolate grainy.
If you love working with chocolate, you might also enjoy my easy method in this Marshmallow Swirl Fudge tutorial. The same gentle heat and patience apply to Valentine’s Day Marshmallow Pops too.

How to Cover the Marshmallows in Chocolate
Dip, tap, and spin
Pour your melted chocolate into a cup or a narrow bowl. A tall cup makes dipping cleaner and helps you get full coverage. Hold a pop by the stick and dip the marshmallow straight down, then pull it up and let the extra drip off. Gently tap the stick on the rim and rotate the pop so the coating settles evenly. If a ridge forms at the base, keep spinning while the chocolate sets a bit.
If you like a thicker coat, dip once, let it set for a minute, and dip again. Keep in mind a double dip adds weight, so if the stick feels loose, twist it back into place while the chocolate is still soft.
Set the dipped pops upright in a foam block to dry or lay them on parchment paper for a flat side. Upright drying is prettier, but both ways taste the same. If you’re doing a big batch, work in small groups so the chocolate doesn’t harden before you add decorations.
For more cute decorating inspo, I love these fun ideas in Valentine’s Day cookies you’ll love to bake. Think hearts, polka dots, and lots of sparkle. The same patterns look adorable on marshmallow pops.
How to Decorate the Marshmallow Pops
Easy ways to make them festive
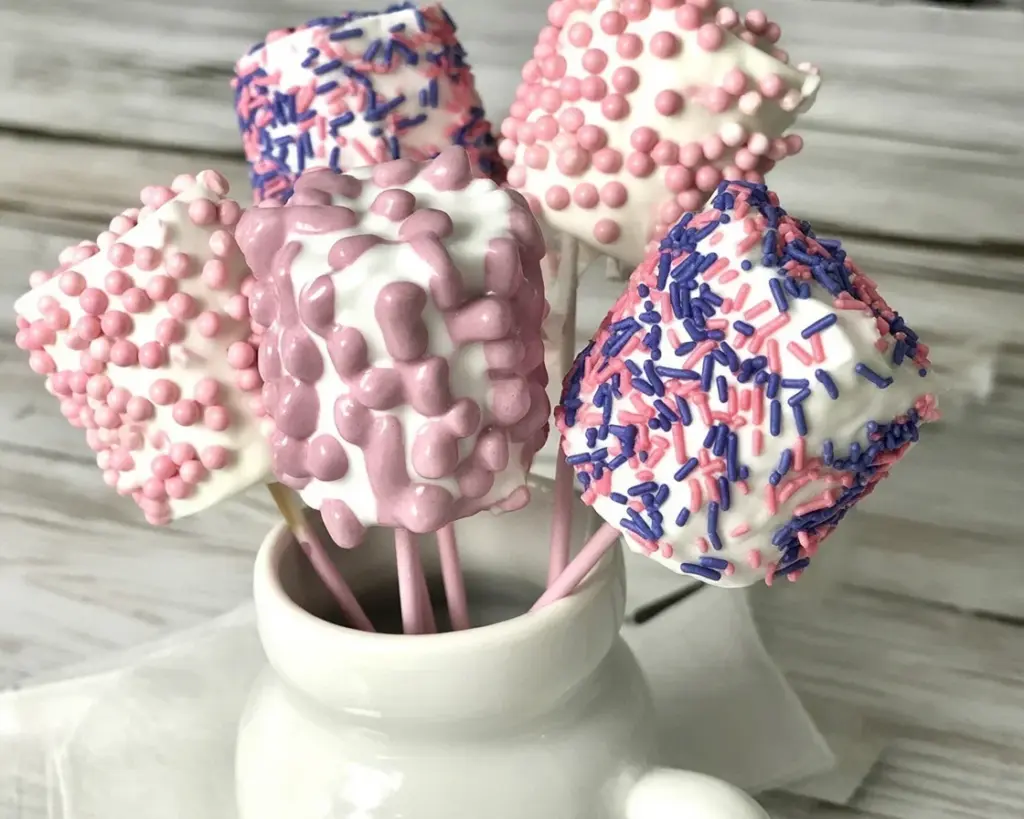
Time to play. Sprinkle the pops while the coating is still wet. Go for red, pink, or white sprinkles, tiny hearts, or a dusting of sanding sugar for sparkle. If the chocolate set too fast, do a light second dip or a quick drizzle and sprinkle over that.
To add stripes, melt a little contrasting chocolate and spoon it into a zip-top bag. Snip a tiny corner and zigzag across the pops. Keep your hand moving for thin, clean lines. For a bakery look, combine two or three finishes on one pop. Sprinkles on top, drizzle across the middle, then a pinch of edible glitter to finish.
You can also roll the bottom half in crushed freeze-dried strawberries for a tart pop of flavor. Or add mini chocolate chips around the sides for some texture. If it’s for kids, let them pick their toppings. They’ll surprise you with combos you never would have tried.
“I made these with my kindergartener and we both had so much fun. We used pink sprinkles and some rainbow ones too. They looked store-bought and tasted better.”
If you want a cookie pairing that matches the theme, these sparkly treats are adorable: Sparkle Sweetheart Cookies. They look cute next to a plate of pops and make the whole table feel festive. Together they turn a simple dessert into a full-on Valentine’s party.
Expert Tips for Making Perfect Marshmallow Pops
- Work at room temperature: Cold kitchens are fine, but very cold pops can cause the coating to crack as it sets. Lightly chill, don’t freeze.
- Melt slowly: Rushing the melt leads to thick or seized chocolate. Small bursts, lots of stirring.
- Use the right stick: Lollipop sticks grip better than paper straws. If you want the look of a straw, slide it over the stick after the chocolate sets.
- Mind the cleanup: Line everything with parchment. When you’re done, gather and toss. Easy.
- Flavor boost: Add a drop of strawberry, cherry, or vanilla extract to white chocolate. Oil-based flavor works best.
- Plan the order: Dip 3 to 4 pops, then decorate, then dip the next batch. That way the chocolate doesn’t set before the sprinkles go on.
- Storage: Let pops dry completely before wrapping. Keep at cool room temp for 2 days. Avoid the fridge to prevent condensation.
If you’re into pop-style treats beyond Valentine’s Day, you’ll also like this technique-forward recipe for cookie pops. The dipping and drying tips are almost the same, which makes it easy to switch up designs for any holiday.
Common Questions
Can I make Valentine’s Day Marshmallow Pops ahead of time?
Yes. Make them up to 2 days ahead. Store in a cool, dry place, not the fridge. Once fully set, you can bag them individually.
My chocolate is too thick. What should I do?
Stir in a little coconut oil or shortening until it’s smooth and dippable. Heat 10 seconds more if needed and stir again.
How do I keep the marshmallow from slipping off the stick?
Insert the stick first, then dip just the tip in chocolate and push it back into the marshmallow. Let that “glue” set before the full dip.
What decorations work best?
Any small sprinkles, sanding sugar, or finely crushed candy. Heavy toppings slide off, so press them gently while the coating is still tacky.
Can I use candy melts instead of chocolate for Valentine’s Day Marshmallow Pops?
Absolutely. Candy melts are easy and come in pretty colors. If too thick, add a little shortening and mix well.
A sweet little wrap up
That’s it. Simple steps, a handful of ingredients, and you’ve got Valentine’s Day Marshmallow Pops that look bright and happy on any dessert table. I love how flexible they are, whether you’re doing pink stripes, heart sprinkles, or a fancy drizzle. If you want more romantic kitchen ideas, take a peek at these cute cookies too: Valentine’s Day cookies. And if you’re craving more inspiration, I found helpful walkthroughs from other creators, like Valentine’s Marshmallow Pops | Serving Up Southern and Valentine’s Day Marshmallow Pops. Go make a batch, share a few, and keep one for yourself.

Valentine’s Day Marshmallow Pops
Ingredients
Method
- Check marshmallows to ensure they are soft and springy; use fresh ones for best results.
- Insert a lollipop stick into each marshmallow about three-quarters of the way in, avoiding poking through the top.
- Line marshmallows on a tray covered with parchment paper. Chill in the fridge for 10 minutes if the kitchen is warm.
- Melt the chocolate in a microwave-safe bowl in 20-30 second bursts, stirring well in between.
- If chocolate seems thick, add 1 teaspoon of coconut oil or shortening per 8 ounces and stir until smooth.
- Pour melted chocolate into a cup for easy dipping.
- Dip marshmallow pops straight down into the chocolate, let excess drip off, and gently tap the stick on the rim.
- If desired, dip again for a thicker coat, remembering that a double dip will add weight.
- Set pops upright in a foam block or lay them on parchment paper to dry.
- Sprinkle pops with decorations while coating is still wet.
- For stripes, melt contrasting chocolate, spoon into a zip-top bag, snip a corner, and drizzle over pops.
- Let kids choose their toppings for fun combinations.