

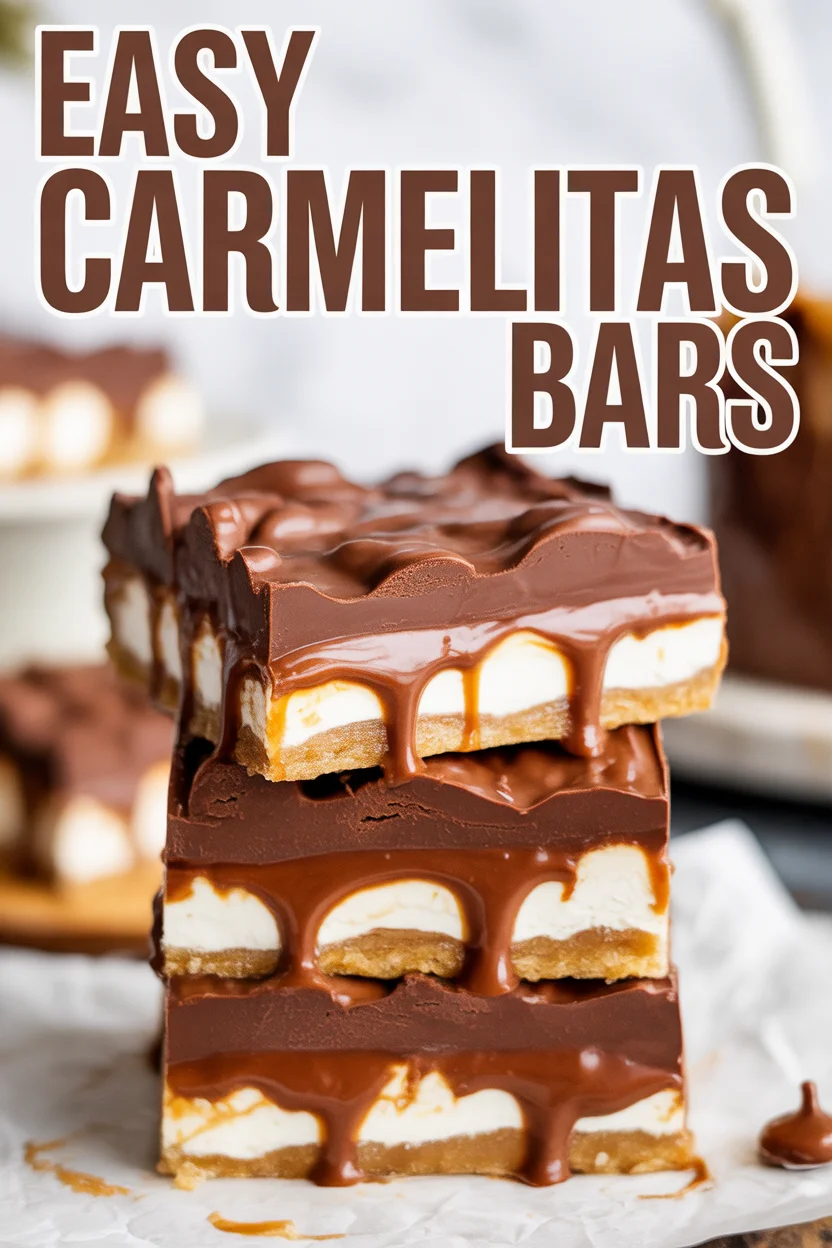
Easy Carmelitas Bars are the kind of dessert you make when you want something gooey, chocolatey, and impressive, but you do not want to work for it all afternoon. I have been there on a weeknight, staring at my pantry, wanting a sweet treat that brings little bakery vibes with big payoff. These bars are my answer. They are soft in the middle, a touch chewy at the edges, and packed with melty chocolate and ribbons of caramel. If you have oats, flour, brown sugar, butter, caramels, and chocolate chips, you are halfway there. Let me show you how I make them so they come out perfect every time.
The Best Carmelitas Recipe
I tried my first Carmelita at a coffee shop years ago and practically floated home to recreate it. The version I make now is simple, consistent, and honestly hard to mess up. The crust and topping are the same mixture, so you are only mixing once. The filling is just caramel and chocolate chips. That is it.
Here is what makes these the best to me. The bottom crust bakes a little first so it sets. The caramel layer stays gooey but not runny, and a sprinkle of flaky salt on top pulls the whole thing together. The top layer browns just enough to get that homemade, toasty cookie flavor. Every time I cut into a pan, I get that shiny caramel swirl and a sweet chocolate streak, and it never fails to make me smile.
If you are into layered cookie bars like I am, you might also love these classic magic cookie bars for another quick, crowd-pleasing bake. Same cozy mood, minimal hassle.
“I baked these with my 10 year old, and we both agreed they taste like a bakery special. The caramel layer is insane and the oats make it feel comforting. Five stars.”
Whats in Carmelitas?
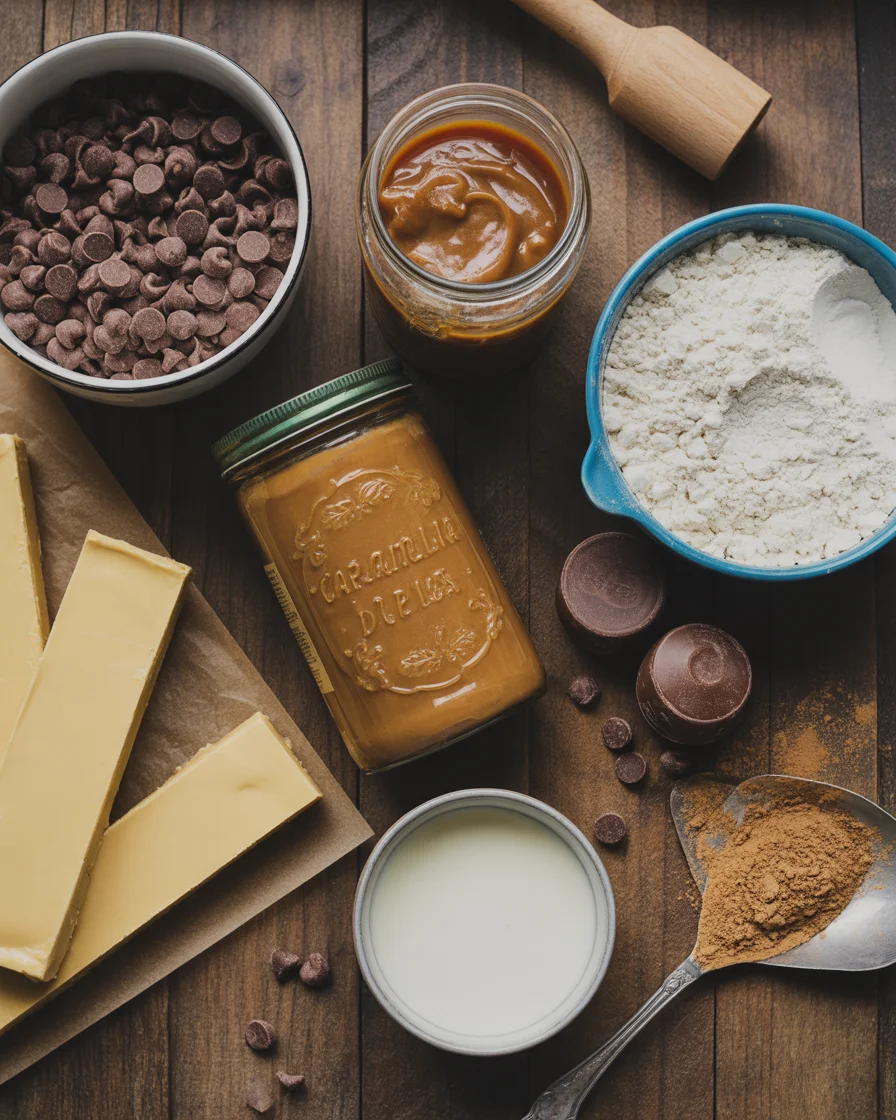
You will find everything for this recipe in a regular grocery store. Here is the ingredient lineup I rely on:
- All-purpose flour for structure
- Old-fashioned rolled oats for that chewy, rustic bite
- Brown sugar for sweetness and a gentle molasses note
- Butter for richness and to help the oat mixture hold together
- Vanilla and a pinch of salt to round out flavors
- Caramel: soft caramels melted with cream until smooth
- Chocolate chips: semi-sweet is my pick, but milk or dark works
- Optional: chopped pecans or walnuts, and flaky sea salt to finish
A couple quick tips on ingredients. Use old-fashioned oats, not quick oats. Quick oats can make the crust too soft. If your butter is cool, cut it into small cubes so it blends faster. For the caramel, use soft caramel candies and a splash of heavy cream. You can also use a high-quality jarred caramel sauce if it is thick enough to hold in layers.
Want to fill the dessert table with easy bar cookies? These snickerdoodle cookie bars bring a cinnamon-sugar twist that pairs perfectly with something chocolatey like Carmelitas. Or go a little nostalgic with salty-sweet salted nut roll bars for a fun spread.
How to Make Carmelitas
Make the crust and topping
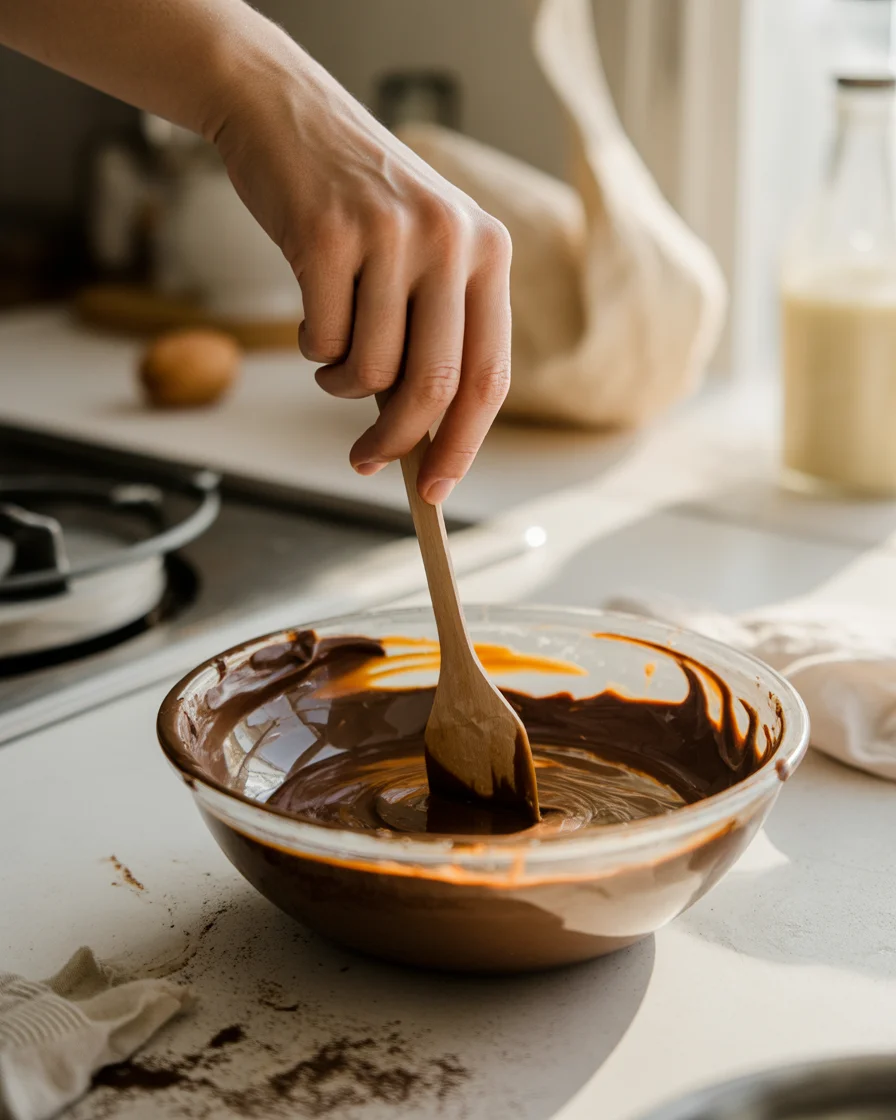
Mix flour, oats, brown sugar, salt, and melted butter in a bowl until clumpy. You want a sandy, moist mixture that presses together when squeezed. Press about half into a lined 8-inch square pan. I like to leave a tiny rim around the edge so caramel does not sneak under the crust.
Layer and bake
- Par-bake the crust until lightly set. This helps it hold the caramel later.
- Melt the caramels with cream over low heat, stirring until smooth.
- Sprinkle chocolate chips over the warm crust. Pour the warm caramel evenly over the chocolate.
- Crumble the remaining oat mixture on top. Do not pack it tight. Leave some gaps so the caramel bubbles up a little.
- Bake until the top is golden and you can see the caramel gently bubbling at the edges.
- Cool completely before slicing. If you rush, they will taste great but might fall apart.
If you love the caramel-chocolate combo, I bet you will enjoy these easy turtle bars too. They have that same gooey appeal with a nutty crunch.
Tips for Making Carmelita Bars
These are simple, but a few small habits make a big difference.
Line the pan. Use parchment with a sling so you can lift the whole slab out for clean cuts.
Do not overbake. Pull them when the top looks set and lightly golden. They will firm up as they cool. If you bake until completely firm, the bars will be hard instead of chewy.
Cool to room temp, then chill 30 minutes. This is my favorite trick. The chill makes neat slices, then you can let them soften back to room temp for serving.
Salt is your friend. A pinch in the oat mixture and a tiny sprinkle of flaky salt on top heightens the caramel and chocolate.
Check caramel thickness. If your caramel is thin, cook it a little longer to reduce. It should flow, not drip like water.
Upgrade the chocolate. If you have a nice bar of chocolate, chop it and use that instead of chips for prettier pools of chocolate.
Mix-ins. A handful of toasted pecans or coconut is nice. Or swirl a spoonful of peanut butter into the caramel for a fun twist. If peanut butter is calling your name, these school-cafeteria style lunch lady peanut butter bars are comfort baking at its best.
Batch size. You can double everything and bake in a 9-by-13 pan. Keep a close eye on timing. The middle may need a couple extra minutes.
How to Store Carmelita Bars
Here is how I keep them fresh without losing that soft, chewy center.
Room temperature: Store in an airtight container for up to 3 days. Separate layers with parchment so they do not stick.
Fridge: They last 1 week. The caramel will firm up, so bring them to room temp before serving or warm for 10 to 15 seconds in the microwave.
Freezer: Freeze cut bars in a single layer until solid, then transfer to a zip-top bag for up to 3 months. Thaw at room temp. The texture holds up surprisingly well.
Travel tip: If taking these to a picnic or party, chill them first so they stack neatly in your container. I slip a tiny square of parchment between bars to prevent sticking.
In the mood for another cozy bake that travels well? Try this easy blackberry cobbler next time you need a dessert that feeds a crowd and brings the comfort.
Common Questions
Do I have to use wrapped caramels?
No, but they are the easiest. Use soft caramels melted with a bit of heavy cream. A thick, high-quality jarred caramel can work if it is not too thin. If it pours like syrup, simmer it to reduce before layering.
Can I use quick oats?
I recommend old-fashioned rolled oats for the best texture. Quick oats make the crust softer and less chewy. If that is what you have, they will still taste good, just expect a softer bite.
Why did my bars fall apart when slicing?
They were probably too warm. Let the pan cool to room temp, then chill for 30 minutes. Use a sharp knife and wipe it between cuts. Lining the pan with a parchment sling helps too.
What size pan works best?
An 8-inch square pan gives you a nice thick bar. A 9-inch square or 9-by-13 pan also works if you scale the recipe. Watch your bake time and pull them when the top looks set and lightly golden.
How do I prevent the caramel from seeping under the crust?
Press the bottom crust firmly and par-bake as directed. When you pour the caramel, avoid the edges if possible. Leaving a tiny raised rim of crust around the edge helps keep the caramel contained.
Ready to Bake a Pan You Will Make Again and Again
When I want a no-fuss dessert that makes everyone happy, I go straight for Easy Carmelitas Bars. They are quick to throw together, forgiving, and absolutely loaded with chocolate and caramel. If you are planning a little dessert lineup, pair them with something crunchy like Almond Joy bars or keep it cozy with a warm casserole night followed by sweets. For more inspiration and variations, I love how Carmelitas by Averie Cooks walks through each step, and these Quick and Easy Carmelitas from Mom On Timeout are great for busy weeks. Take a pan of Easy Carmelitas Bars to your next get-together and watch them disappear. You have got this, and you will probably end up with a new signature dessert.
Carmelitas Bars
Ingredients
Method
- In a bowl, mix flour, oats, brown sugar, salt, and melted butter until clumpy. The mixture should be sandy and moist.
- Press about half of the mixture into a lined 8-inch square pan, leaving a tiny rim around the edges.
- Par-bake the crust until lightly set.
- Melt the caramels with cream over low heat, stirring until smooth.
- Sprinkle chocolate chips evenly over the warm crust.
- Pour the warm caramel evenly over the chocolate layer.
- Crumble the remaining oat mixture on top, leaving gaps for caramel to bubble up.
- Bake until the top is golden and caramel bubbles at the edges.
- Cool completely before slicing to ensure neat bars.