

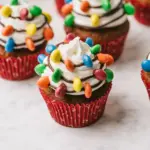
Christmas Light Cupcakes are the answer when your calendar is packed, your kids want to help, and you still want something that looks festive on the dessert table. I make these every December because the decorations are simple, bright, and kid approved. They are fun to bake on a Sunday afternoon, and they double as a quick party dessert. No fancy skills needed, just a good swirl of frosting and a string of candy lights. If you can draw a squiggle, you can decorate these.
How To Make The Steps
Let’s walk through this in a way that makes your kitchen feel calm and cozy. You can use your favorite vanilla or chocolate cupcake base. I keep it super practical with a reliable vanilla batter and a frosting that pipes smoothly. The secret to neat decorations is letting the cupcakes cool fully before you frost. Warm cake melts frosting, and melted frosting will not hold those pretty lights in place.
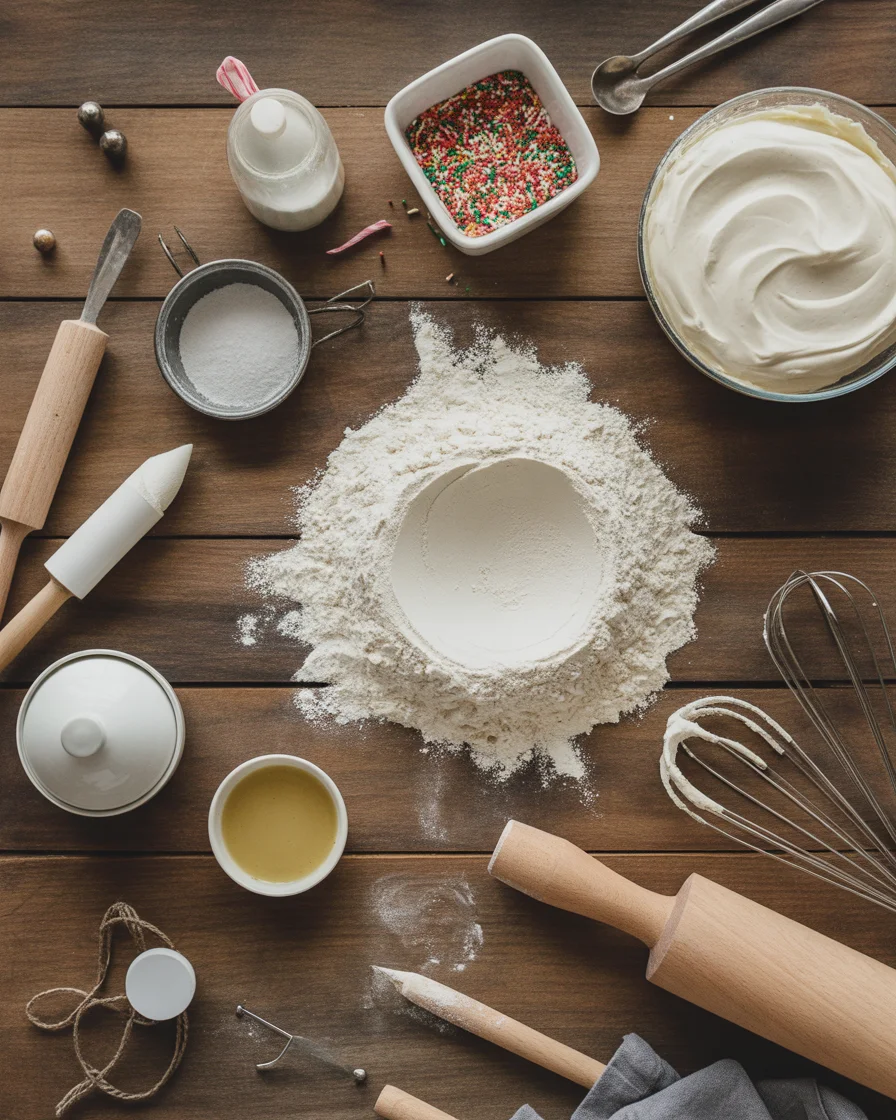
Ingredients
- 12 to 14 cupcakes, baked and fully cooled
- 1 cup unsalted butter, softened
- 3 to 3.5 cups powdered sugar, sifted
- 2 to 3 tablespoons heavy cream or milk
- 1 teaspoon vanilla extract
- Pinch of salt
- Black gel food coloring
- Mini M&M candies or small colorful chocolate-coated candies
- Optional: white sanding sugar for sparkle
Directions
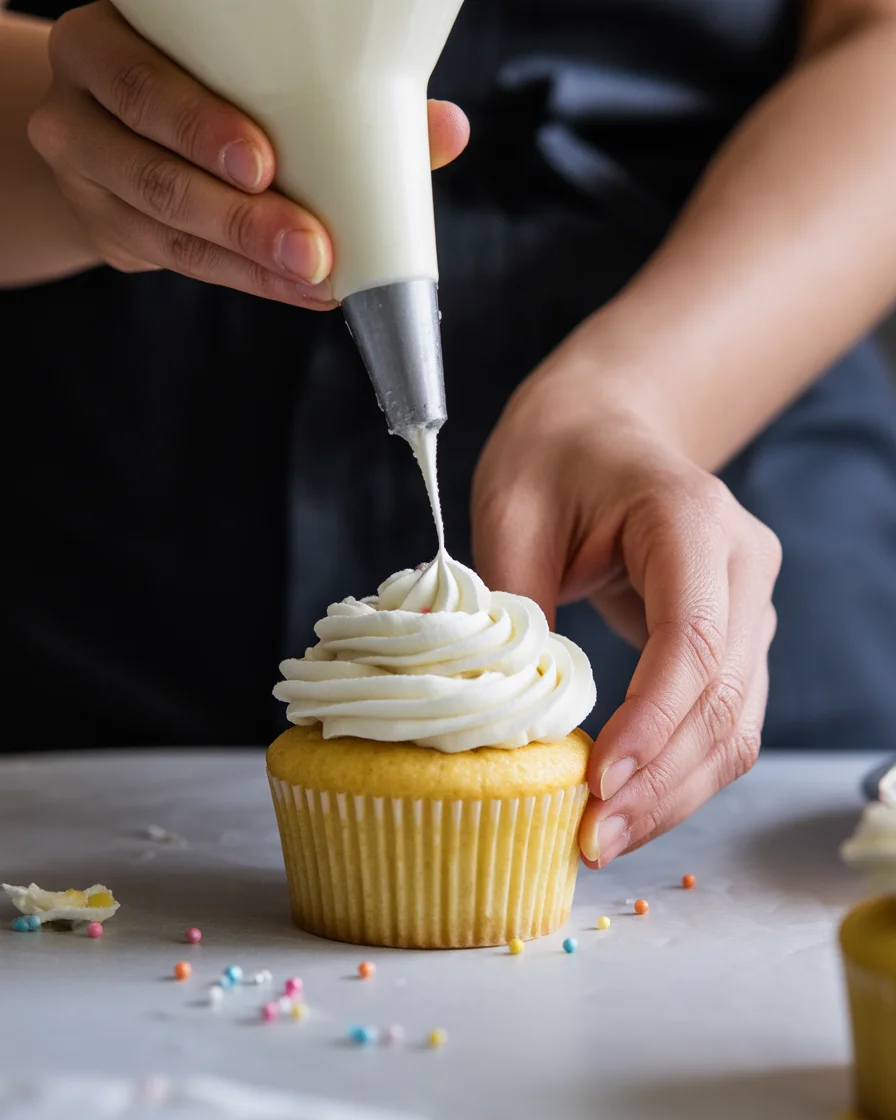
- Beat butter with a mixer until fluffy. Add powdered sugar in two batches with salt and vanilla. Beat until smooth, then add cream a little at a time until you get a creamy, spreadable frosting.
- Set aside 2 to 3 tablespoons of frosting in a small bowl and tint it black using gel food coloring. The rest stays white for snowy backgrounds.
- Frost the cupcakes with the white frosting. I like a simple swoop using an offset spatula. Sprinkle a little sanding sugar if you want that fresh snow look.
- Spoon the black frosting into a small piping bag fitted with a tiny round tip or snip a tiny corner from a zip-top bag. Pipe a loose swirl or zigzag across each cupcake to create your string of lights.
- Press colorful candies along the black line as light bulbs. Press gently so they stick but do not sink into the frosting.
- Chill for 10 minutes to set if you plan to pack or transport.
That is truly it. Simple steps, bright results, and a whimsical finish. If you want even more holiday inspiration for your dessert table, take a quick peek at my seasonal section here: Christmas recipes and ideas. It is a treasure trove when you are planning a full menu. For consistency and quick reference, I organized key details in the little helper below.
Pro tip: Cupcakes are best at room temperature, so let them sit out for 30 minutes before serving after chilling.
Christmas Cupcake Ideas
Want to put your own spin on these? Great. These cupcakes are a blank canvas and any little tweak can make them feel special to your family. I have tried a few flavor twists and decorating swaps that always get oohs and ahhs. The goal is easy, festive, and not fussy.
Flavor Twists to Try
Make the cake batter vanilla with a hint of almond, or go full hot chocolate vibe with a cocoa base and a marshmallow fluff swirl. A tiny pinch of peppermint extract in the frosting makes the whole kitchen smell like the North Pole. I also love adding a spoon of sour cream to the batter for extra moisture.
For a fun theme party, pair these with cheerful snowman treats. My family goes straight for these adorable cupcakes when we do a mix-and-match dessert bar: vanilla snowman cupcakes. The combo looks like a winter wonderland on a tray and keeps everyone smiling. You can also swap the white frosting for pale blue and dust with a little shredded coconut to create a snowy scene around the lights.
Another small change with big impact is to use gel food coloring for the black frosting. It stays dark without making the icing runny.
Decorative, Festive & Kid-Friendly Recipe
Let’s be honest. Decorating with kids can be messy and sweet, sometimes both in one minute. These cupcakes are perfect for tiny hands because the steps are simple and forgiving. You do the piping, they do the lights. If the line is wobbly, it still looks like a charming string of lights.
Set up a small decorating station. Give each child a bowl of colorful candies and one cupcake at a time. The black line gives a clear target, and the candies stick right away. Kids love patterns, so I encourage red-green-red-green, or let them go wild with rainbow patterns. If you want cleaner results, set one rule: the lights should touch the line. It keeps them from rolling all over the frosting.
We made these for our family night and my eight-year-old did most of the decorating. The cupcakes looked festive and tasted amazing. Big win for zero stress and a lot of giggles.
If you want more easy holiday treats for little helpers, try these fun, no-bake favorites: Christmas marshmallow pops. They go hand in hand with this decorating style and are perfect for a quick classroom party snack.
Safety note: keep the piping bag for adults or older kids. Little decorators can press candies on top. It gives them a job they can master and keeps the mess under control.
Package for School Bake Sales
Bake sales can be a juggling act. You want the treats to look neat, transport safely, and still taste fresh hours later. These cupcakes shine for that. The frosting sets just enough to hold the lights, and the decorations do not smear easily.
- Use tall clamshell containers or cupcake boxes with inserts to keep each cupcake steady.
- Chill the cupcakes 15 minutes before packing so the frosting is slightly firm.
- Label with flavor, and note any allergens like nuts or dairy.
- Add a simple ribbon for a festive touch without blocking the view.
If you want to offer a second item at your table, go for something crunchier that travels well, like easy Christmas chocolate bark. It pairs perfectly with the soft, fluffy cupcakes and gives shoppers a mix of textures. A variety is always good for sales, and simple packaging keeps everything clean and inviting.
For portion control and presentation, I sometimes pop the cupcakes into clear cups and then slide the cup into a small treat bag. It keeps fingers off the frosting, and the colorful lights still show through the clear plastic. Add a small sticker with the price and a short description like Bright vanilla cupcakes with candy lights. Easy and cute.
Top Tips for Christmas Light Cupcakes
Start with room temperature butter. It creams better, giving you smooth frosting that holds its shape. Cold butter makes lumpy frosting, and warm butter melts fast. Room temp is the sweet spot.
Use gel coloring for the black line. A few drops make a deep color without thinning the frosting. Liquid coloring can make it runny and messy.
Pipe the light string in a loose pattern. Think lazy S-shapes or gentle zigzags. Tight loops are harder to fill with candies and can look crowded.
Press candies lightly. If you push too hard, they sink. Aim for just enough pressure so they sit on top and hold fast.
Let the cupcakes rest before moving. Ten minutes in the fridge is enough to set the frosting so decorations do not slide during transport.
Flavor smart. If you add peppermint to the frosting, keep it light so it does not overpower the vanilla base. A little goes a long way.
Match your menu. Serving a whole spread? Pair these with something creamy like a trifle or cheesecake bar. I love including a vintage favorite like classic Christmas toffee so guests can choose chewy or crunchy after their cupcake. Balanced textures make dessert tables feel more thoughtful.
Common Questions
Can I make the cupcakes ahead?
Yes. Bake the cupcakes up to two days ahead and store them unfrosted in an airtight container at room temp. Frost and decorate the day you plan to serve for the freshest look.
What if I do not have a piping tip?
Use a small zip-top bag and snip a tiny corner. Smaller is better. You can practice the squiggle on parchment first.
How do I keep the black food coloring from staining teeth?
Use gel coloring and keep the black line thin. It minimizes color transfer, and no one ends up with a dark smile in the holiday photos.
Which candies work best for the lights?
Mini M&Ms are classic, but any small, flat, colorful candy works. Jelly beans cut in half can look adorable too.
Can I freeze decorated cupcakes?
I do not recommend it. The colors can bleed once thawed. If needed, freeze the unfrosted cupcakes, thaw overnight, then frost and decorate the day of.
A Sweet Sign-Off for Your Holiday Bakes
There you have it, a festive dessert that earns compliments without taking up your whole day. These Christmas Light Cupcakes fit right into busy December schedules and still look like a party on a plate. If you want a different but equally fun holiday treat to round out your menu, check out my Christmas cutout cookies or pour a pitcher of easy Christmas punch for a little sparkle in your cups. For more technique ideas, I also love the approach in Christmas Light Cupcakes with Vanilla Buttercream Frosting, which offers a clean, simple method that works every time. Now it is your turn to bake, decorate, and enjoy every sweet bite with the people you love.
Christmas Light Cupcakes
Ingredients
Method
- Beat the butter with a mixer until fluffy.
- Add powdered sugar in two batches along with salt and vanilla. Beat until smooth.
- Add cream a little at a time until you achieve a creamy, spreadable frosting.
- Set aside 2 to 3 tablespoons of frosting in a small bowl and tint it black using gel food coloring.
- Keep the rest of the frosting white for snowy backgrounds.
- Frost the cupcakes with the white frosting using an offset spatula.
- Sprinkle a little sanding sugar on top if desired.
- Spoon the black frosting into a piping bag fitted with a tiny round tip or snip a tiny corner from a zip-top bag.
- Pipe a loose swirl or zigzag across each cupcake to create the string of lights.
- Press colorful candies along the black line as light bulbs, pressing gently so they stick but do not sink into the frosting.
- Chill the cupcakes for 10 minutes to set if packing or transporting.