
Easy Homemade Thanksgiving Gravy Make Ahead is my little holiday security blanket. You know that moment when the turkey is resting, everyone is hungry, and you are trying to whisk gravy while also answering twelve questions at once? I have been there, and it is not fun. Making gravy ahead takes the pressure off and still gives you that cozy, savory flavor that makes the whole plate taste like Thanksgiving. Plus, you can fix it, taste it, and tweak it days before the big meal. 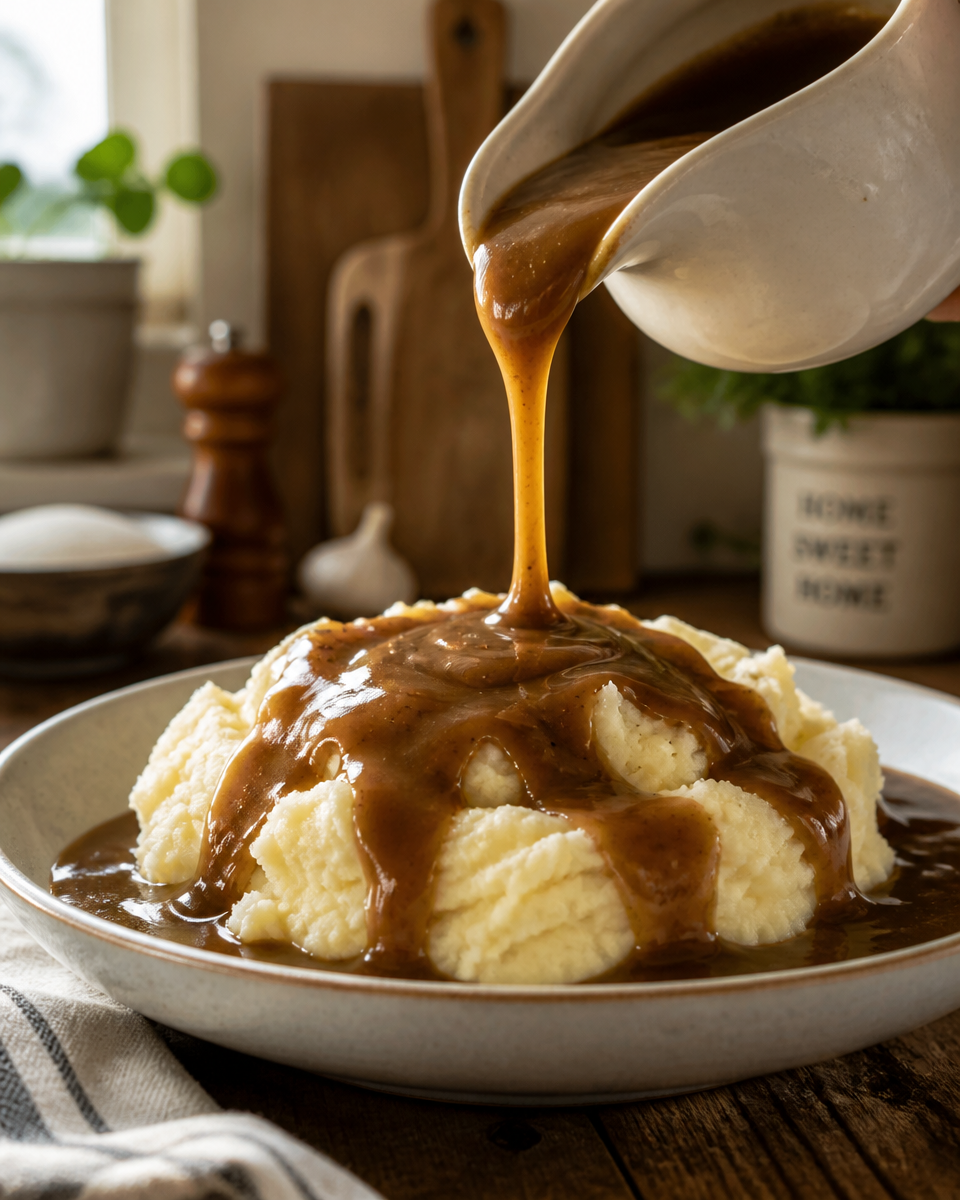
Why You Might Want to Make Gravy Ahead
I used to think gravy had to be a last minute thing, like it only counted if you made it in the roasting pan with drippings. But after hosting a few Thanksgivings, I learned that the best gift you can give yourself is less chaos right at dinner time. Making Easy Homemade Thanksgiving Gravy Make Ahead means you are not stuck staring at a lumpy pot while everyone is already sitting down.
Here is what changes when your gravy is already done:
- You can taste calmly and adjust salt, pepper, and richness without rushing.
- No panic if the turkey drippings are weird, too salty, too dark, or just not enough.
- Stove space is freed up for green beans, mashed potatoes, and whatever else is bubbling.
- It is more consistent because you control the flavor from the start.
Also, gravy is one of those foods that actually gets better after it sits a bit. The flavors settle in and taste more “together” the next day. If you love gravy on other comfort foods too, you might also like this cozy dinner situation: easy Salisbury steak with mushroom gravy. It is a totally different vibe than Thanksgiving, but it scratches the same savory itch.
How To Make Turkey Gravy (Without Roasting a Bird)
Let’s say you are not roasting a turkey at home, or you just want a backup gravy that does not depend on drippings. You can still make something that tastes like the real deal. The trick is building flavor in layers, using broth and a few simple add ins.
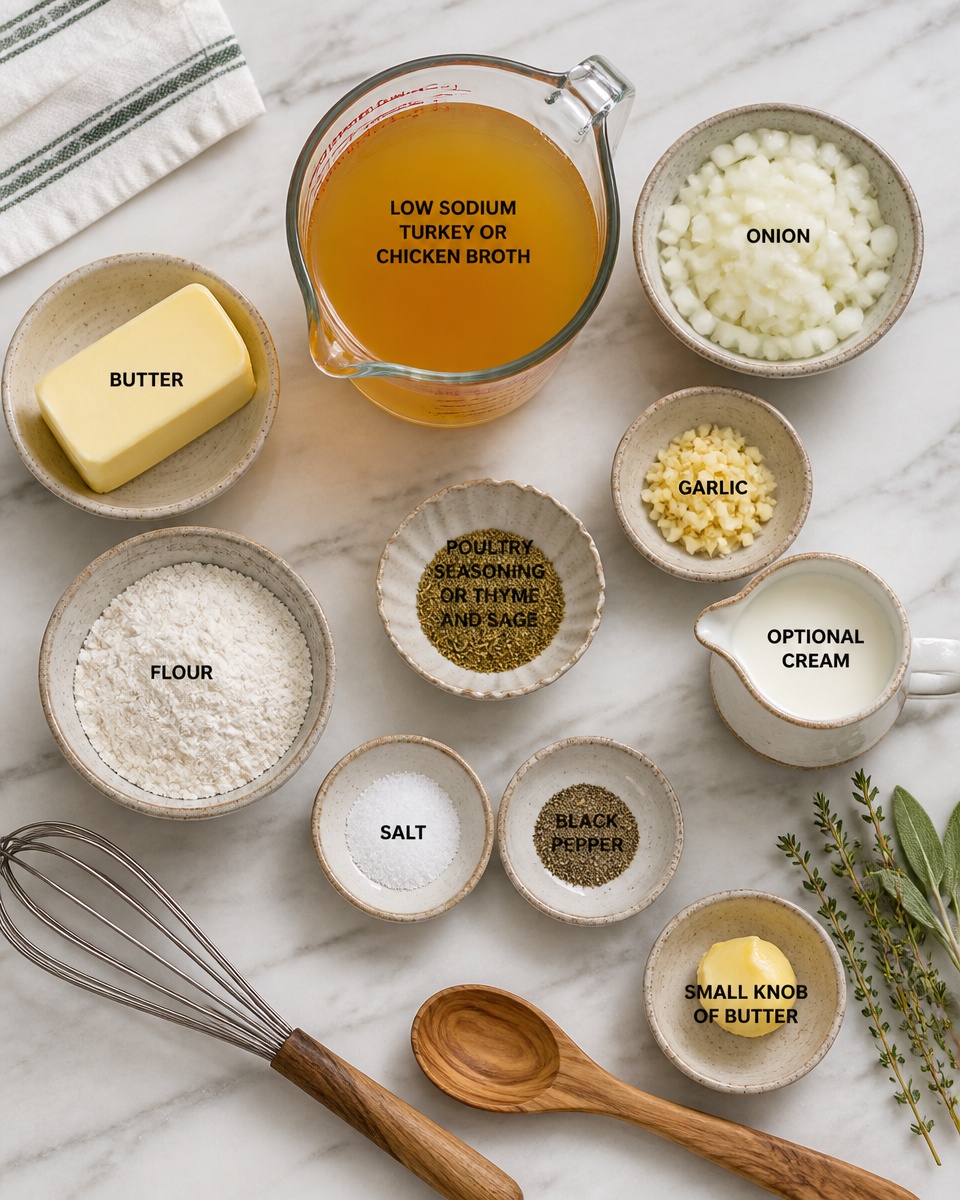
What you will need
I keep this pretty basic. No fancy steps, no weird ingredients you will never use again.
- Butter
- Flour
- Turkey broth or chicken broth (low sodium helps you control salt)
- Onion and garlic (optional, but nice)
- A little poultry seasoning or thyme and sage
- Salt and black pepper
- A splash of cream or a small knob of butter at the end (optional, for richness)
My simple method
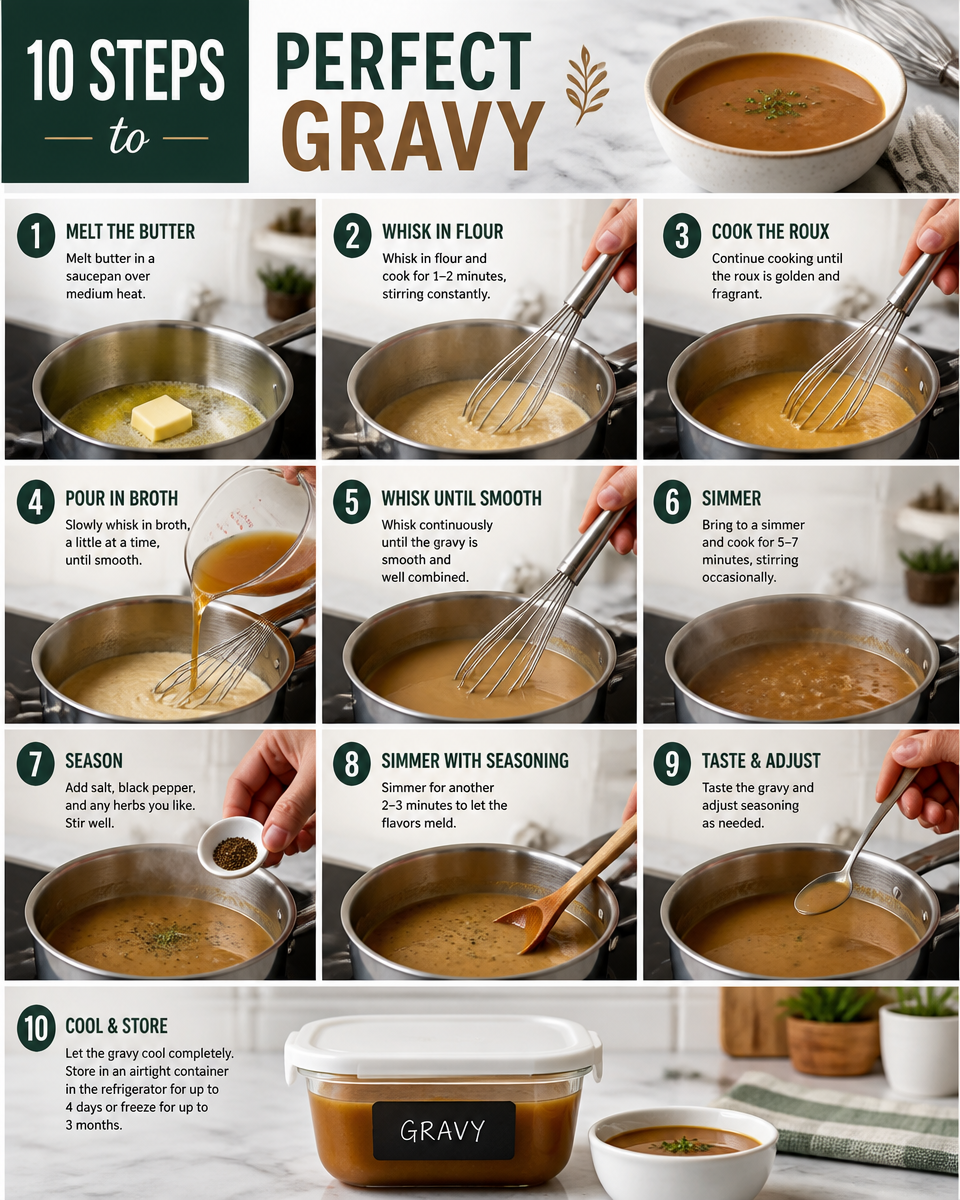
Start with a medium pot. Melt butter over medium heat, then whisk in flour. Keep whisking for about 2 minutes so it smells a little nutty and not raw. That is your base and it is what makes gravy thick and smooth.
Slowly pour in your broth while whisking. Do not dump it in all at once. I do it in a few splashes at first so it stays smooth, then I pour more once it loosens up. When it starts to simmer, it will thicken. That is when I add seasoning, a pinch of salt, and a few grinds of pepper.
If you want that classic holiday vibe, simmer it for 10 to 15 minutes on low. Taste again. Adjust. If it feels a little flat, add a tiny pinch more salt or a little extra herb. If it is too thick, add more broth. Too thin, let it simmer a bit longer.
I know some people love using pan drippings for extra depth, and you still can do that later. Think of this as your base gravy. On Thanksgiving Day, you can whisk in a few spoonfuls of drippings and suddenly it tastes like you have been working on it all day.
On busy mornings, I also love having make ahead food ready to go, and this one is a lifesaver: easy breakfast burritos you can make ahead and freeze. Not gravy related, but very holiday weekend related when family is camped in your kitchen.
Freezing and Reheating the Gravy
This is the part people worry about, but gravy freezes better than you would expect. The main thing is giving it room in the container and reheating gently so it comes back smooth.
;
My freezing routine is simple:
- Cool the gravy completely in the fridge first.
- Pour into freezer containers or zip top bags laid flat.
- Label it with the date and what it is, because mystery frozen blocks are a real problem.
To reheat, I like a small pot on low heat. Add the gravy and whisk as it warms. If it looks separated at first, keep whisking. Most of the time it comes right back together. If it is too thick after freezing, splash in broth a little at a time until it pours how you like.
If you are reheating in the microwave, do it in short bursts, stirring between each one. Microwaves can heat unevenly and you do not want gravy volcano popping all over your kitchen.
I made this gravy two days before Thanksgiving and reheated it while the turkey rested. It was smooth, flavorful, and I actually got to sit down with my family instead of stressing at the stove.
One more note from experience: if you add cream, it still freezes fine, but it can sometimes look a little grainy until you whisk it well while reheating. If that bothers you, just leave dairy out until the day you serve it.
Procedure for Making Make-Ahead Gravy
This is the exact routine I follow when I want Easy Homemade Thanksgiving Gravy Make Ahead to be ready and waiting. I am writing it the way I actually do it, not the way a cooking show does it.
Step by step
1. Make the roux. Melt butter, whisk in flour, cook 2 minutes.
2. Add broth slowly. Whisk like you mean it, especially at the beginning.
3. Season and simmer. Add herbs, pepper, and go easy on salt until the end. Simmer 10 to 15 minutes.
4. Taste and adjust. This is where it becomes your gravy. Add more pepper, a pinch of salt, or another small pinch of herbs if needed.
5. Cool and store. Fridge up to 4 days, freezer up to 3 months.
Thanksgiving Day plan: reheat the gravy low and slow. If you have turkey drippings, skim off excess fat and whisk a few spoonfuls into your pot. Taste again because drippings can add salt fast. This is where your make ahead gravy turns into that classic holiday flavor without the stress.
If you are the kind of person who loves gravy on everything, you might want to check out this dinner too: easy Salisbury steak with mushroom gravy. It is a great way to use up extra gravy energy in the colder months.
And if your holiday house turns into a snack and breakfast marathon, I swear by these again: easy make ahead frozen breakfast burritos. It keeps everyone full so you can focus on the big meal.
Related Recipes
Gravy is obviously the star here, but Thanksgiving cooking is really about having a few smart make ahead wins so you are not exhausted before the meal even starts. If you want a sweet and crunchy treat to gift or set out for guests, this is a classic: delicious classic Christmas toffee. I make it when I want something that feels special but is still totally doable.
Also, leftover gravy is amazing on sandwiches, mashed potatoes, and even breakfast hash. I never regret making extra, especially when I already did the work ahead of time with Easy Homemade Thanksgiving Gravy Make Ahead.
Common Questions
Can I make gravy without turkey broth?
Yes. Chicken broth works great. Add a pinch of poultry seasoning or sage and thyme to give it that Thanksgiving vibe.
How far ahead can I make it?
I usually make it 2 to 3 days ahead. It keeps well in the fridge for about 4 days if cooled and stored properly.
Why is my gravy lumpy?
It usually happens when the broth is added too fast. Whisk like crazy at the beginning, and pour in slowly. If it is already lumpy, strain it or blend carefully.
How do I fix gravy that is too thick?
Add warm broth a splash at a time, whisking after each splash until it loosens up.
Can I add drippings later?
Absolutely. That is my favorite move. Just add a little at a time, whisk, then taste since drippings can be salty.
Bring it all together on Thanksgiving Day
If you take nothing else from this post, let it be this: Easy Homemade Thanksgiving Gravy Make Ahead is the easiest way to make your holiday meal feel calmer. You get smooth, flavorful gravy without trying to multitask at the most stressful moment of the day. If you want to compare another simple approach, I found 5-Ingredient Make-Ahead Gravy | Alexandra’s Kitchen super helpful, and How To Make Turkey Gravy Ahead of Thanksgiving – The Kitchn has great timing tips too. Make it once, stash it, and enjoy that feeling when you reheat it and dinner just works. You have got this.

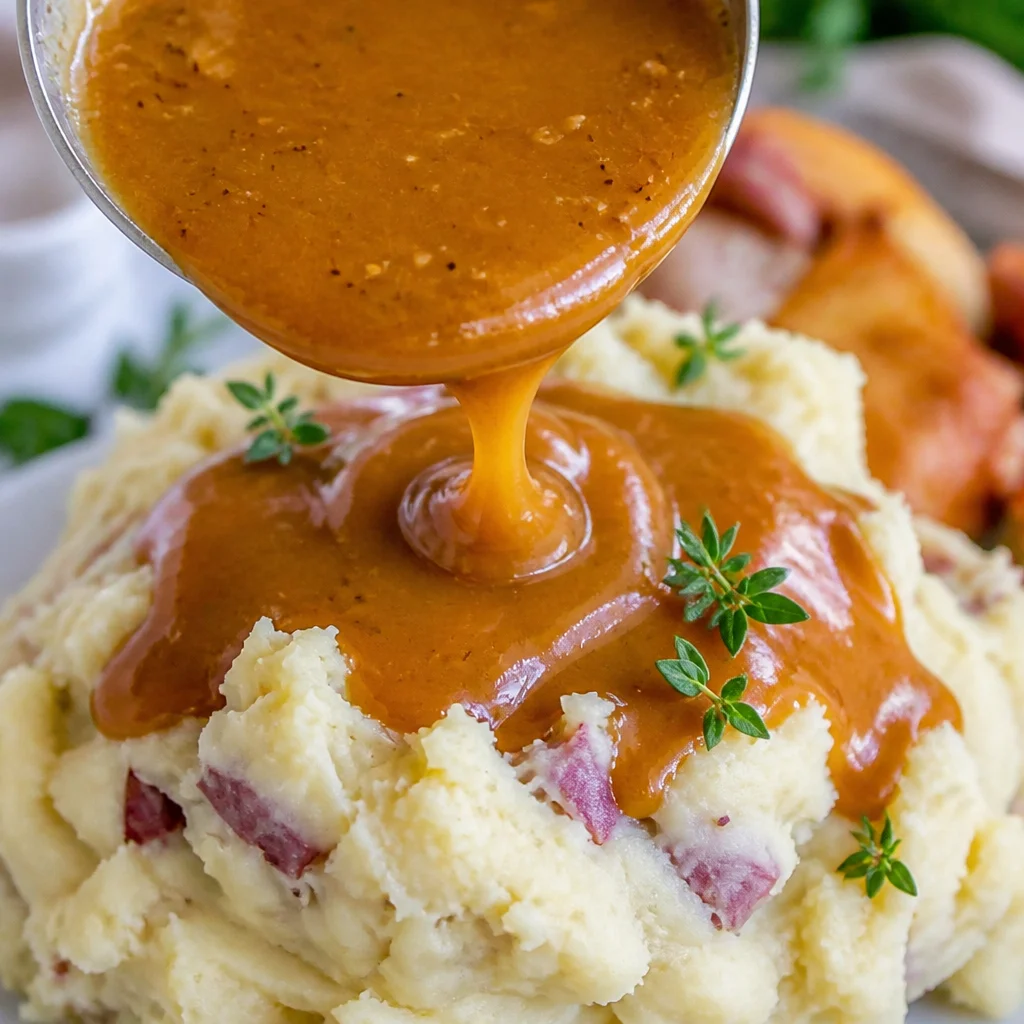
Thanksgiving Gravy
Ingredients
Method
- Melt butter in a medium pot over medium heat.
- Whisk in the flour and keep whisking for about 2 minutes to form a roux.
- Slowly pour in the broth while whisking continuously to avoid lumps.
- Bring the mixture to a simmer and add seasonings, salt, and pepper.
- Let it simmer on low for 10 to 15 minutes, stirring occasionally.
- Taste and adjust seasoning as needed.
- Cool the gravy completely, store in the fridge for up to 4 days or freeze for up to 3 months.
- To reheat, gently warm the gravy in a small pot over low heat while whisking.
- If it seems too thick, add more broth a little at a time until the desired consistency is reached.
