
Easy Halloween Candy Bark — Spooky Mix is my go to treat when I need something fun for a party, a class snack table, or just a cozy movie night at home. You know those days when you want to make something festive but you do not want to turn your kitchen upside down? That is exactly where this bark shines. It looks like you worked hard, but it is basically melt, sprinkle, and chill. Plus, it is the kind of recipe you can let kids help with, because the decorating part is the best part. If you have a sheet pan and a microwave, you are already halfway there.
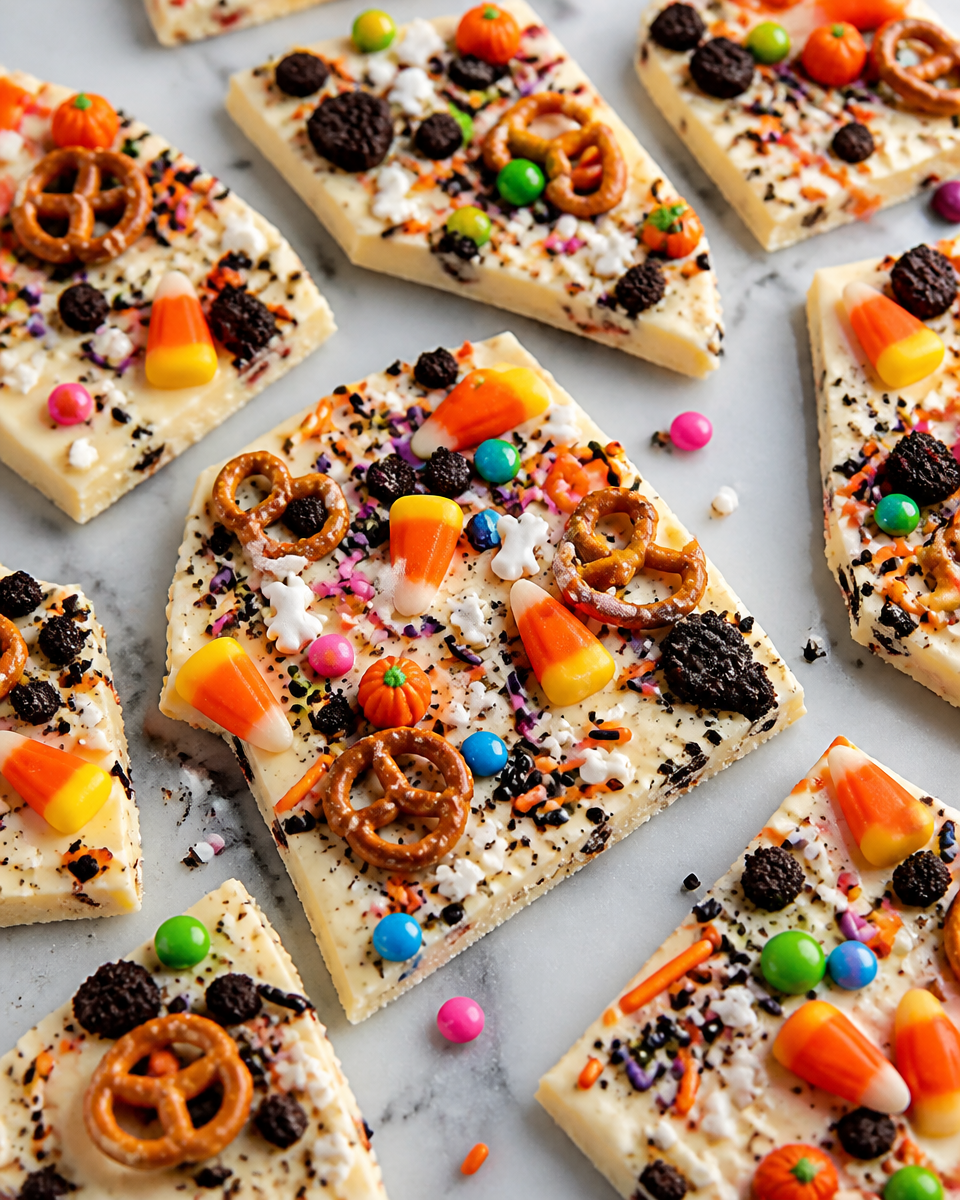
What you need to make this recipe
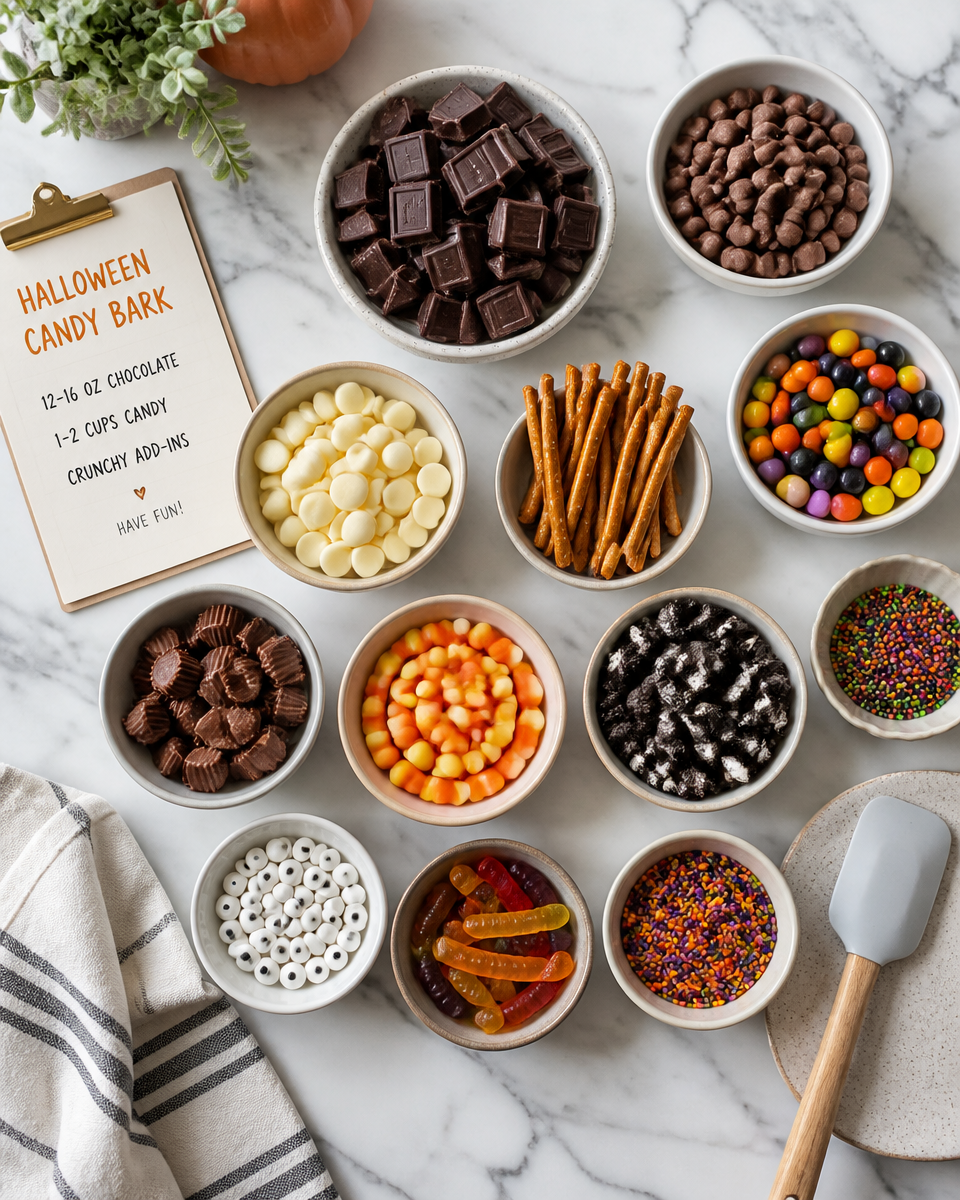
This is one of those “use what you have” recipes, but I will tell you what I normally grab so it turns out cute and crunchy every time. I like doing a mix of chocolates because it looks extra spooky once you swirl it a little.
Ingredients and tools
- Chocolate: 12 to 16 ounces total. Use milk chocolate chips, semi sweet chips, white chocolate chips, or melting wafers.
- Halloween candy: 1 to 2 cups total. Think candy corn, mini peanut butter cups, candy eyes, gummy worms, or chopped snack size bars.
- Crunchy add ins: pretzel sticks, mini pretzels, popcorn, cereal, or cookies you can crumble.
- Optional: orange gel food coloring for white chocolate, sprinkles, flaky sea salt.
- Tools: sheet pan, parchment paper, microwave safe bowls, spoon or spatula.
If you like candy bark in general, you will probably love the holiday versions too. I make a batch of Christmas chocolate bark every December, and it is the same easy idea with different toppings.
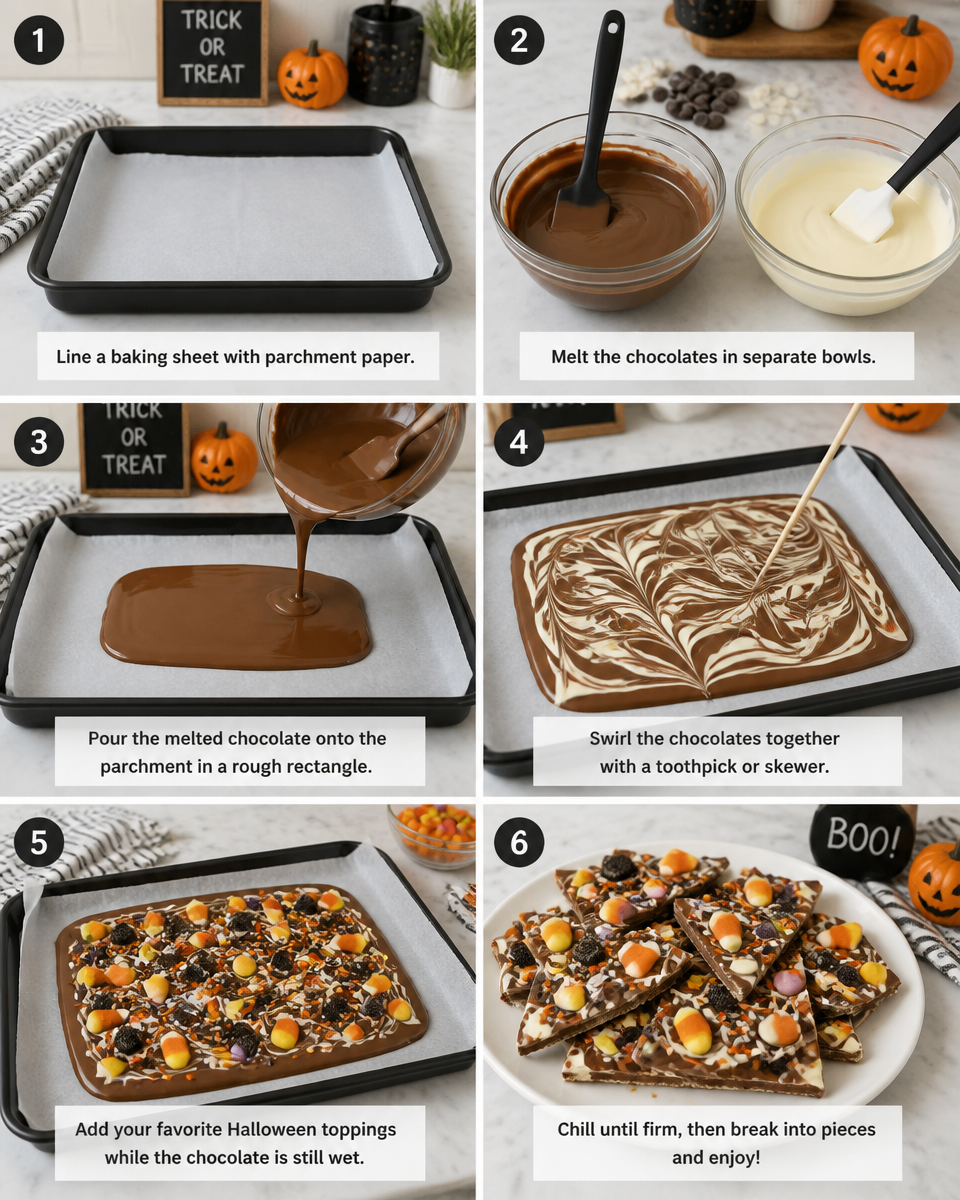
How to make Halloween Bark {video_youtube}
This is the part where you get to relax, because it is truly simple. The only thing to watch is the chocolate, since it can seize if you overheat it. Slow and steady is the vibe here.
Step by step directions
1) Prep your pan. Line a sheet pan with parchment paper. This makes lifting the bark off later ridiculously easy.
2) Melt the chocolate. Put your chocolate in a microwave safe bowl. Microwave for 30 seconds, stir, then repeat in 15 to 20 second bursts until smooth. If you are doing two or three chocolates, melt them in separate bowls.
3) Spread it out. Pour the melted chocolate onto the parchment and spread it into a rough rectangle. I aim for about 1/4 inch thick. Too thin and it shatters like crazy. Too thick and it is hard to bite.
4) Swirl if you want. If you are using white chocolate plus milk or semi sweet, spoon little puddles on top and gently swirl with a knife or skewer. Do not overdo it or it turns into one muddy color.
5) Add the spooky mix. Sprinkle your toppings on while the chocolate is still soft. Lightly press bigger pieces in, like mini cups or pretzels, so they do not fall off.
6) Chill and break. Refrigerate 20 to 30 minutes, or until firm. Then lift it off the pan and break into pieces with your hands.
I also like making bark when I need a quick dessert for potlucks. If you enjoy this vibe, check out this pecan pie bark recipe for a more cozy, caramel-ish twist.
“I made this for my daughter’s Halloween party and the tray was empty in ten minutes. The salty pretzels with the sweet candy was the perfect combo.”
Halloween Bark Toppings
This is where you can really make Easy Halloween Candy Bark — Spooky Mix feel like your own. I usually do a mix of chewy, crunchy, and chocolaty pieces so every bite is interesting.
Here are topping ideas that actually work well (meaning they stick and they taste good together):
Classic and cute: candy corn, candy eyes, Halloween sprinkles, mini marshmallows.
Chocolate heavy: chopped Kit Kats, mini peanut butter cups, crushed sandwich cookies, chocolate covered pretzels.
Salty and crunchy: pretzel twists, popcorn, roasted peanuts, crushed tortilla chips if you like that sweet salty thing.
Spooky shapes: gummy worms, gummy bats, sour patch style candies, little sugar skulls if you can find them.
One quick note from experience: gummies can get kind of stiff in the fridge. I still use them, but I keep them as a small accent instead of covering the whole bark with gummy candy.
If you like the whole chocolate plus crunch combo, you might also want to try peppermint bark when the weather cools down. It is the same satisfying snap, just more minty and wintery.
How to store
Good news, Easy Halloween Candy Bark — Spooky Mix stores really well, which is one reason I love making it ahead. The goal is to keep it cool and dry so the chocolate stays snappy and the toppings do not get weird.
Room temperature: If your kitchen is not hot, you can store bark in an airtight container for about 4 to 5 days. Put parchment between layers so pieces do not stick together.
Refrigerator: Great if your house runs warm. Store in an airtight container for up to 2 weeks. Let it sit out 5 minutes before eating if you want a softer bite.
Freezer: Yes, you can freeze it. Wrap well and store in a freezer bag for up to 2 months. Thaw in the fridge so it does not get condensation on top.
Also, if you are building a full holiday style spread (I do this for family nights), I will sometimes pair this bark with a cozy side like easy corn casserole with Jiffy mix. It sounds random, but for a fall gathering it totally works, especially if you are serving chili or soup too.
Quick tips and tricks to making the best Halloween Bark
These are the little things that keep your bark from turning into a mess, and they are all based on my own trial and error. I have burned chocolate before. I have also added toppings too late and watched them slide right off. Learn from me.
Do not overheat the chocolate. Microwave in short bursts and stir a lot. If it looks almost melted, it will finish melting as you stir.
Use parchment paper. Wax paper can stick, foil can wrinkle. Parchment is just easy.
Press toppings in gently. Especially heavier candy. A light press helps them stay put when you break the bark.
Mix textures. Soft plus crunchy is the whole magic. Think pretzels plus candy, or cookies plus sprinkles.
Keep the layer not too thin. Around 1/4 inch makes it easier to break into nice pieces without turning into crumbs.
And yes, I am saying it again because it is true: Easy Halloween Candy Bark — Spooky Mix is basically stress free baking. It is my favorite kind of recipe, the kind that makes people happy without taking over my day.
By the way, if you are planning a potluck style menu, bookmark that cheesy corn casserole again because it is a crowd pleaser and it disappears fast.
Common Questions
Can I use almond bark or candy melts instead of chocolate chips?
Yes. Almond bark and candy melts are super beginner friendly and melt smoothly. The flavor is a little different, but the texture is great for bark.
Why did my chocolate look thick and grainy?
Usually it got too hot or a tiny bit of water got in the bowl. Next time, heat in shorter bursts and make sure your bowl and spoon are totally dry.
How far ahead can I make it?
I like making it 1 to 3 days ahead for best crunch and color. You can go up to 2 weeks in the fridge if it is sealed well.
Can I make it nut free for school?
Absolutely. Use nut free toppings like pretzels, candy corn, sprinkles, and allergy friendly cookies. Just read labels since some candy is processed around nuts.
How do I get clean looking pieces?
Chill until fully firm, then lift the whole sheet and break with your hands. If you cut with a knife, it can smear the toppings.
A sweet spooky finish
If you want one easy treat that looks festive on any Halloween table, Easy Halloween Candy Bark — Spooky Mix is it. Melt your chocolate, add your favorite candy and crunch, chill, then break into snacky pieces you can grab all night. I like how flexible it is, because you can make it cute for kids or a little more grown up with dark chocolate and flaky salt. If you want more inspiration, I have read recipes like The BEST Sweet-and-Salty Halloween Bark – The Speckled Palate and this fun Easy Halloween Chocolate Bark with Candy & Cookies Recipe, and they always get me excited to try a new topping combo. Now go make a batch, stash a few pieces for yourself, and let the rest “mysteriously” disappear.
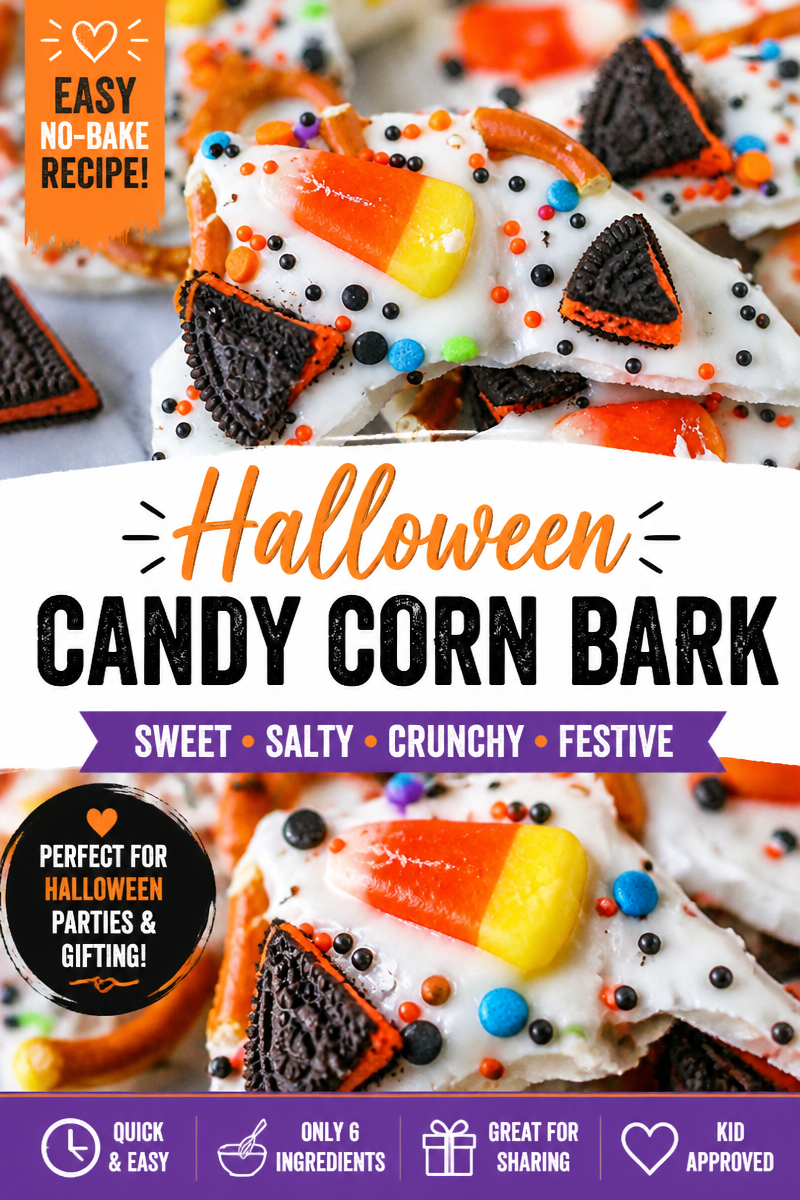
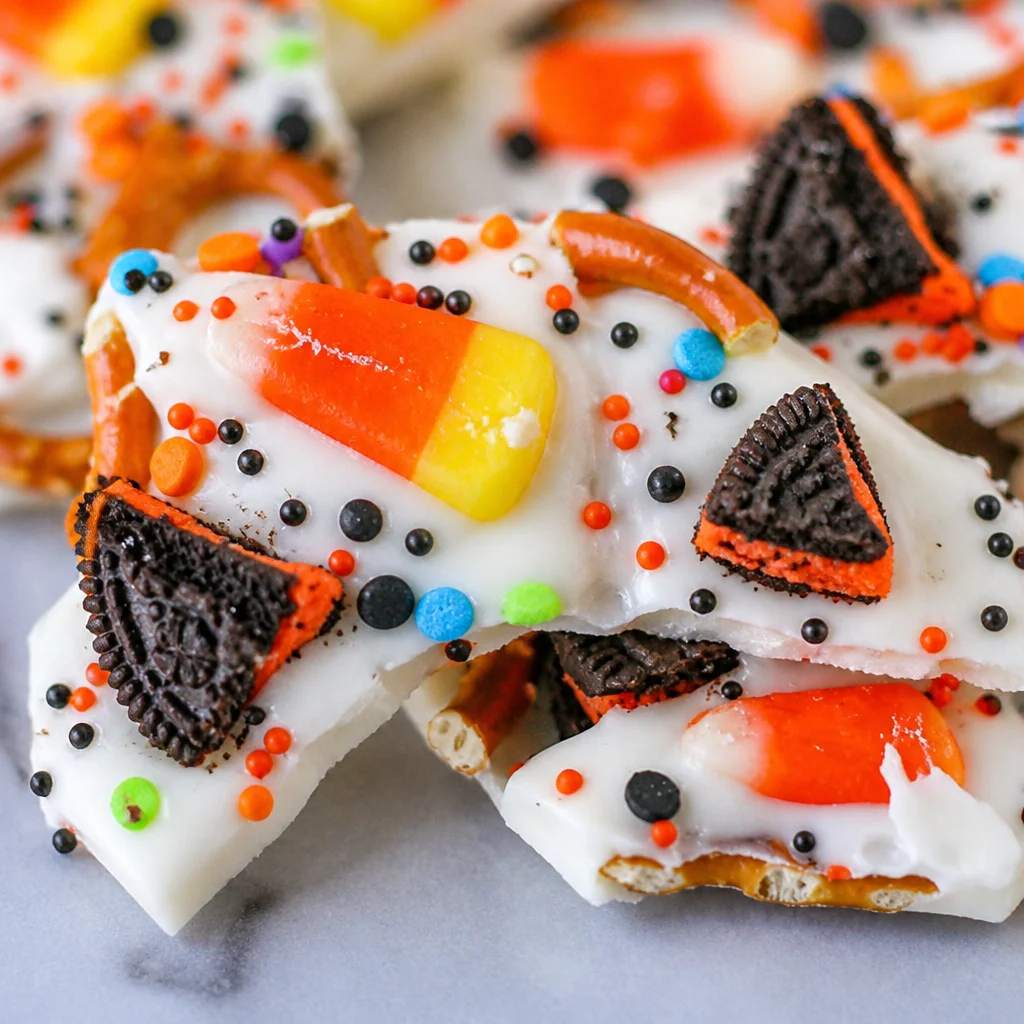
Easy Halloween Candy Bark — Spooky Mix
Ingredients
Method
- Line a sheet pan with parchment paper.
- Put your chocolate in a microwave safe bowl and microwave for 30 seconds.
- Stir and then continue to microwave in 15 to 20 second bursts until smooth.
- Pour the melted chocolate onto the parchment and spread it into a rough rectangle, aiming for about 1/4 inch thick.
- If using multiple types of chocolate, spoon little puddles of white chocolate on top and gently swirl with a knife or skewer.
- Sprinkle your toppings on while the chocolate is still soft; press larger pieces in lightly so they stay put.
- Refrigerate for 20 to 30 minutes until firm.
- Lift the bark off the pan and break into pieces with your hands.
