
Easy Ombre Cake Gradient Frosting Technique is the kind of thing I used to think required a fancy bakery kitchen and a calm, patient personality. But then I had one of those weekends where I needed a cute celebration cake fast, and I refused to pay bakery prices. If you have ever looked at a smooth gradient cake online and thought, no way I can do that, you are exactly who I wrote this for. This method is simple, forgiving, and honestly pretty fun once you get into the rhythm. You do not need perfect piping skills, just a good spatula and a little confidence. 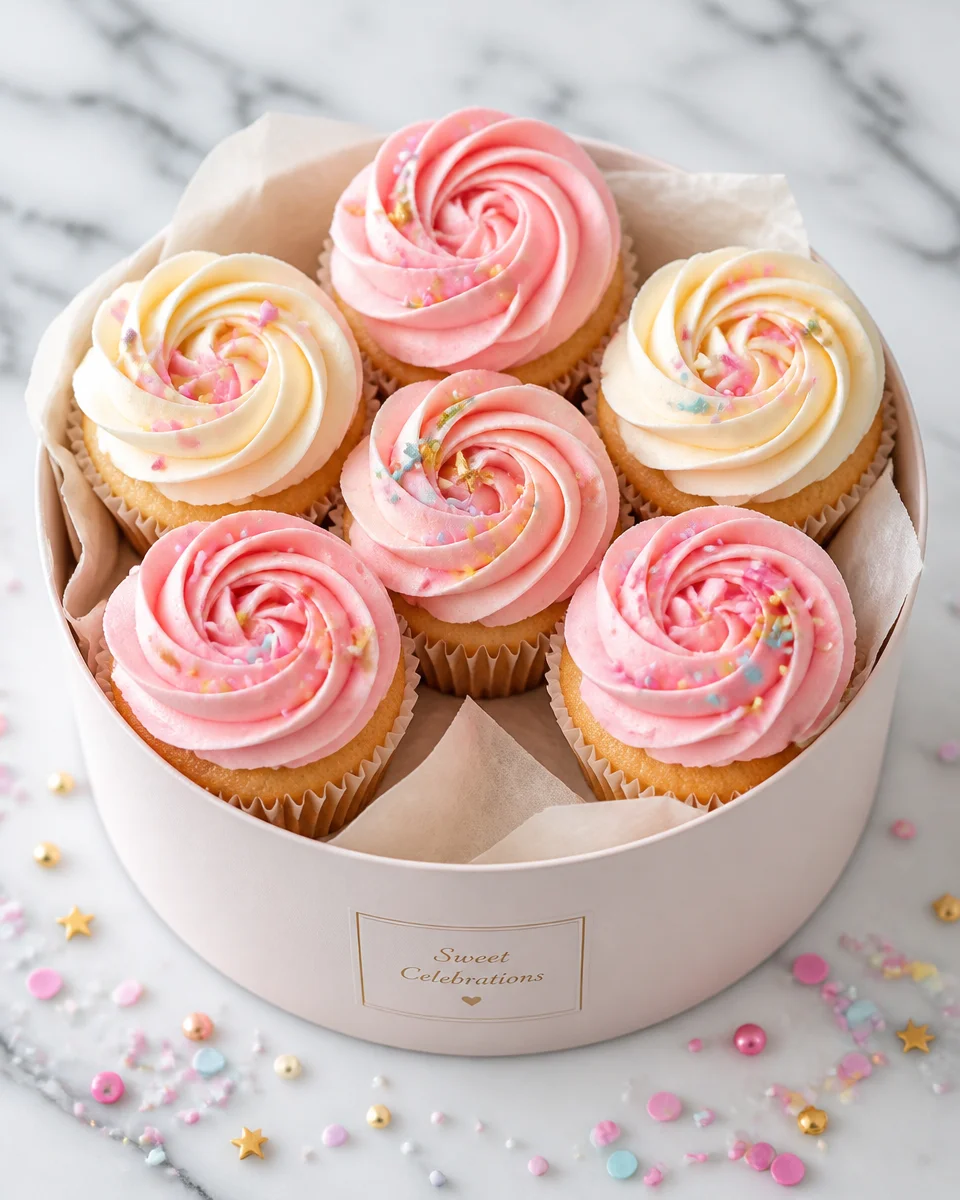
Ten simple steps to a show-stopping cake
This is my go to plan when I want the wow factor without a ton of stress. I am talking about a clean color fade that looks intentional, not like you ran out of frosting halfway through. The main trick is to keep your frosting texture consistent and build the gradient slowly.
My basic game plan before I start
First, I bake any sturdy layer cake I like. Vanilla, chocolate, even spice cake all work. If you want another cozy cake idea for later, my favorite classic is this easy carrot cake with cream cheese frosting, and yes it also looks amazing with a gentle ombre finish.
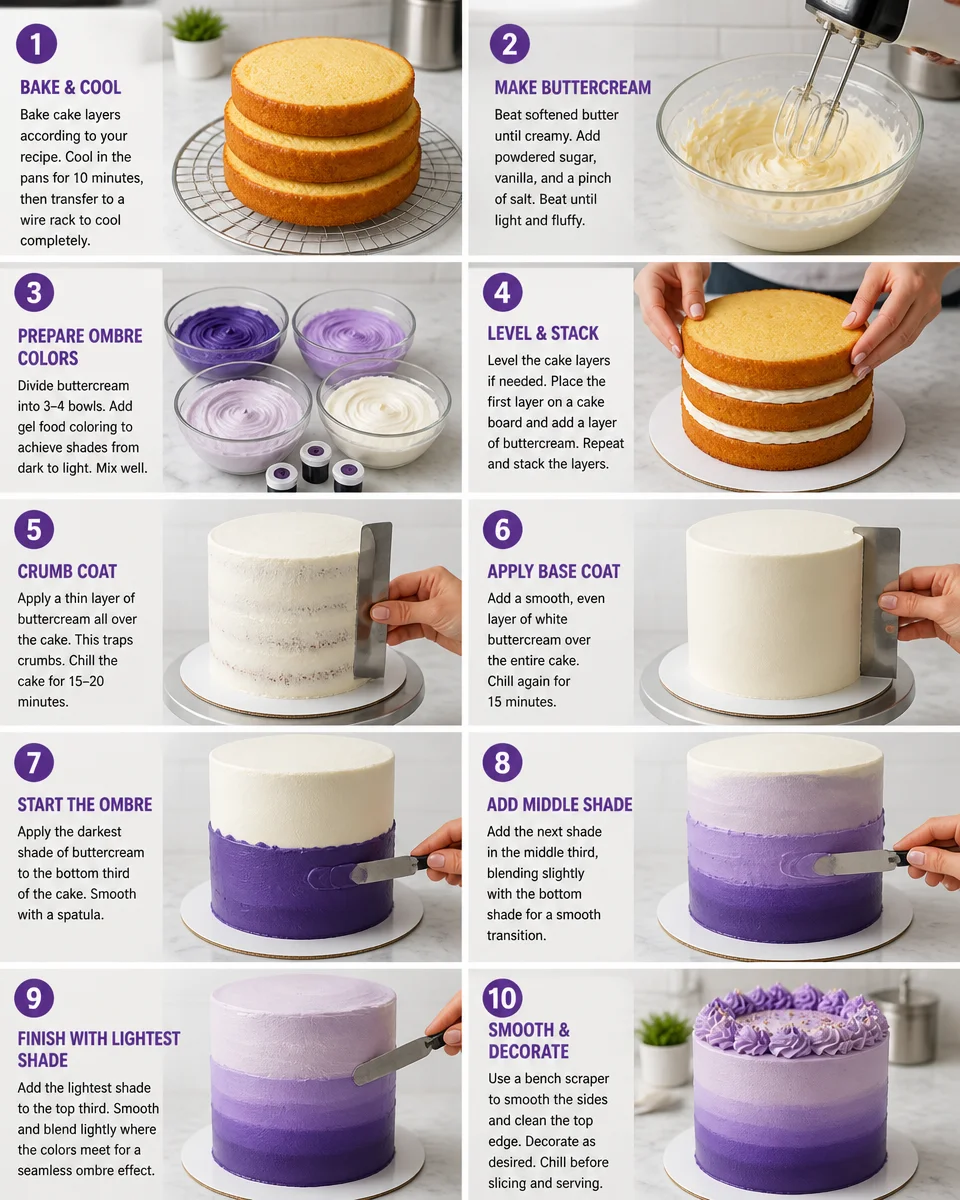
Here are my ten simple steps, and I recommend reading them once before you touch the frosting:
- Bake and cool your cake layers completely. Warm cake melts frosting and ruins the smooth look.
- Level your layers if needed so the cake stacks straight. A serrated knife is fine.
- Stack with filling, then press gently to settle the layers.
- Crumb coat with a thin layer of frosting, then chill 15 to 25 minutes.
- Make one big batch of buttercream, then divide it into 3 to 5 bowls.
- Tint each bowl the same color, just different strengths. Lightest goes on top, darkest on bottom.
- Apply horizontal bands of frosting around the cake, one color per band.
- Blend the bands together with a bench scraper, turning the cake slowly.
- Chill again, then do a final smoothing pass to sharpen the fade.
- Finish with simple decor like sprinkles, a few swirls on top, or fresh berries.
I know it sounds like a lot written out, but in real life it moves quickly. Once you start smoothing, it is oddly satisfying. And if your gradient is not perfect at first, no one but you will notice. 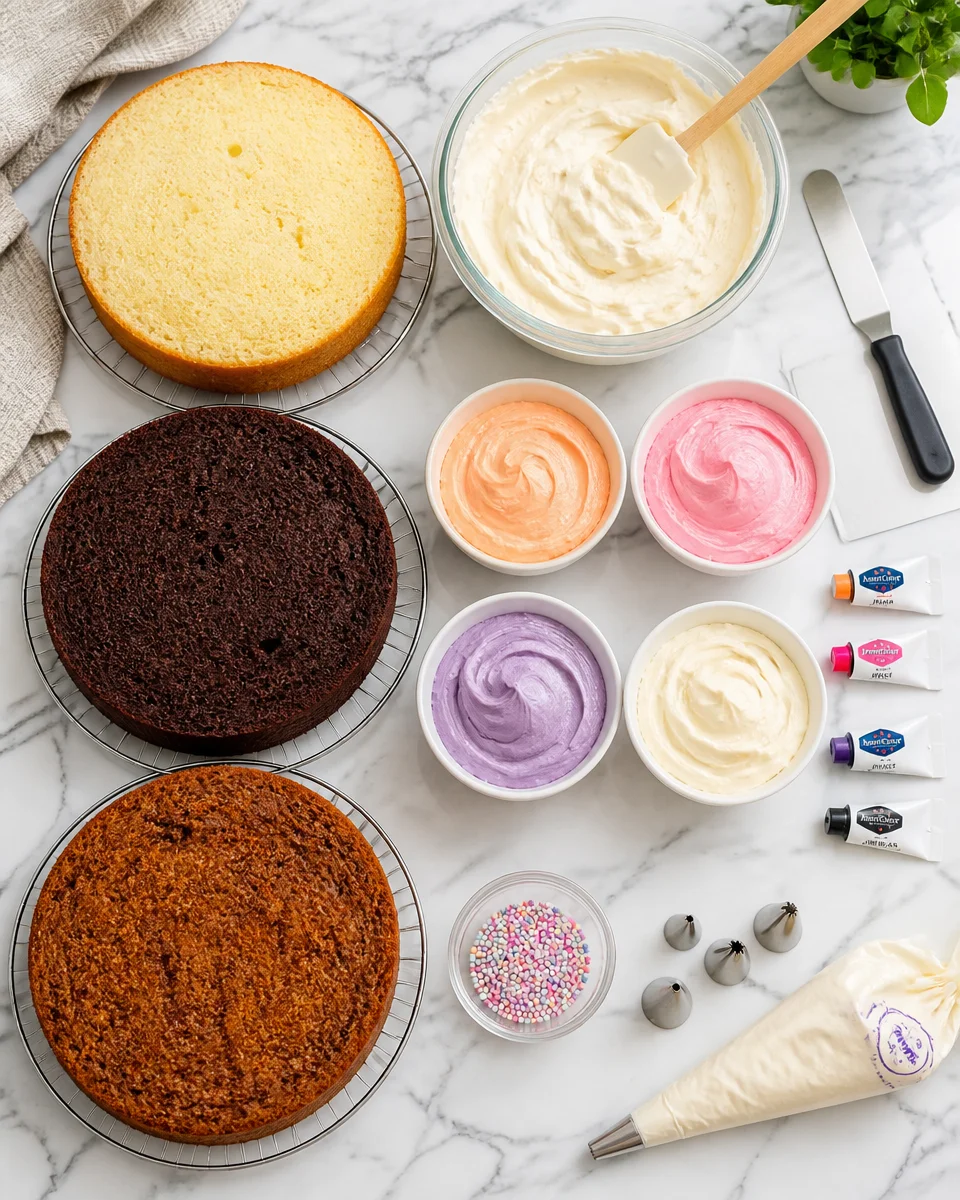
Equipment for Icing an Ombr Cake
You can absolutely do this without special tools, but a couple items make the whole process calmer. This is one of those moments where the right tool saves your patience.
Here is what I usually grab:
Must have basics
- Offset spatula or a regular butter knife in a pinch
- Bench scraper or a straight edged plastic scraper
- Turntable if you have one, but a dinner plate on a bowl works too
- Mixing bowls for tinting frosting
- Gel food coloring for strong color without thinning the frosting
Nice to have extras
Piping bags help if you want super neat bands, but I often just spoon frosting on and spread it. Paper towels are also oddly helpful for wiping your scraper clean between passes.
Also, quick frosting note from my own mistakes. If your buttercream is too stiff, it will tear and drag. If it is too soft, it will slump. You want it spreadable like soft peanut butter. If you are in a tea flavored dessert mood after this cake project, I love browsing this easy earl grey cake with lavender honey frosting because the flavors feel fancy but the steps are still doable.
I made this for my sister’s birthday and I cannot believe I pulled it off. The gradient looked bakery level in photos, and everyone thought I bought it. The scraper trick made all the difference.
How to Ice an Ombr Cake
This is the heart of the whole thing. The Easy Ombre Cake Gradient Frosting Technique works because you are not trying to frost perfectly in one go. You are building soft stripes and blending them on purpose.
Blending the gradient without overthinking it
After the crumb coat is chilled, I start with the darkest color at the bottom. I spread a band around the cake that is about 1 to 2 inches tall. Next, the medium dark, then medium, then light, then the lightest on top. You can do three colors total if you want it super simple.
Now the blending part:
Step 1 Hold your bench scraper straight up and down against the cake.
Step 2 Turn the cake slowly while keeping the scraper steady. Do not press too hard.
Step 3 Wipe the scraper clean every pass. This is the secret that keeps your colors from getting muddy.
If you see gaps, just dab a little more frosting into the low spots and scrape again. If the colors start to look streaky, chill the cake for 10 minutes and come back. Cold frosting smooths better and gives you more control.
When I want a really clean top edge, I pull the top lip inward with the spatula, little by little, all the way around. It takes an extra minute but looks so neat.
And if you are wondering, yes, you can do this with chocolate frosting too. A chocolate ombre is gorgeous, especially if you go from dark cocoa at the bottom to a lighter milk chocolate shade at the top. If you love rich desserts, you might also want this delicious easy decadent chocolate cheesecake trifle for your next party table.
Quick Steps for Making an Ombre Cake
If you are in a hurry and just want the short version, here it is. I use this checklist when I am baking while answering texts and trying not to forget the timer.
Quick checklist
1. Bake layers, cool completely.
2. Stack and fill, then crumb coat.
3. Chill 15 to 25 minutes.
4. Divide frosting into 3 to 5 bowls.
5. Tint from light to dark.
6. Add frosting bands from bottom to top.
7. Scrape and blend, wiping tool often.
8. Chill, then smooth again.
9. Decorate the top simply.
10. Slice and watch people do that little impressed pause.
One more small tip that saves a lot of frustration. Use gel coloring, not the watery kind. Watery color can make your frosting loose, and then the gradient slides around instead of staying crisp.
Also, if you want a cozy twist, I have been obsessed with tea cakes lately. This easy earl grey cake with london fog frosting has the sweetest cafe vibe, and the soft brown tint would look so pretty in an ombre cake gradient too.
More Cake Decorating Ideas to Try
Once you have the Easy Ombre Cake Gradient Frosting Technique down, you start seeing other fun options everywhere. You do not need to go overboard. Little touches can make the cake feel special without adding stress.
Here are a few easy ideas I actually use:
Simple finishes that look intentional
Fresh berries on top, a ring of sprinkles, toasted coconut, or a light dusting of powdered sugar right before serving. You can also add a drip, but only if you feel like it. Ombre is already doing a lot of the work visually.
Flavor pairings that play nice with ombre
Vanilla cake with strawberry buttercream shades, lemon cake with pale yellow to bright yellow frosting, or chocolate cake with mocha frosting shades. If you love the coconut and caramel vibe, you should peek at this easy german chocolate cake with coconut pecan frosting. It is not an ombre recipe, but it is a great reminder that texture toppings can hide small frosting imperfections in the best way.
My personal favorite look
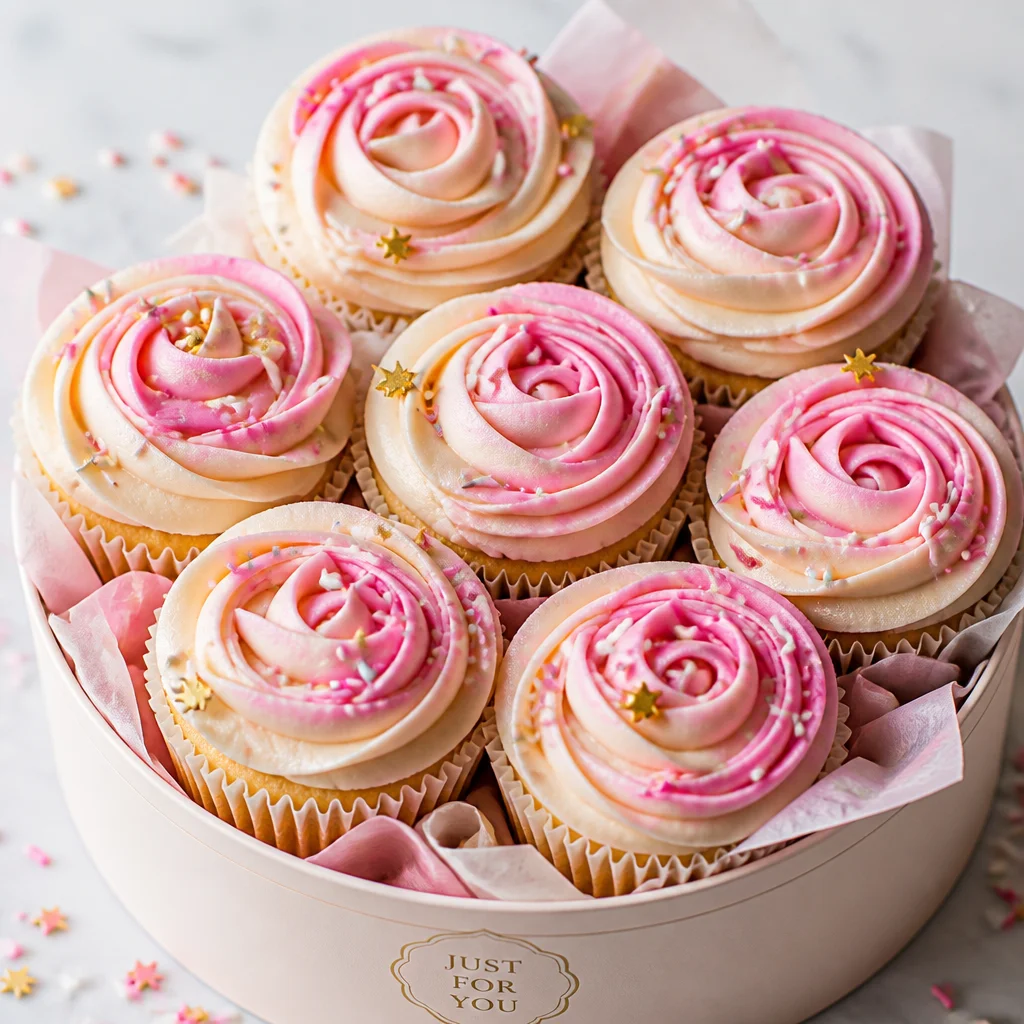
A soft pink ombre with a few buttercream swirls on top and a pinch of gold sprinkles. It feels celebratory without screaming for attention, if that makes sense.
Common Questions
Can I make an ombre cake the day before?
Yes. I actually prefer it. Chill the finished cake in the fridge, then let it sit at room temp 30 to 60 minutes before serving for the best texture.
Why are my colors turning muddy when I blend?
Usually it is because the scraper is not being wiped between passes, or you are pressing too hard. Light pressure and a clean tool keep the colors separate while still blended.
Do I need a turntable?
No, but it helps. If you do not have one, set the cake on a plate and rotate the plate carefully as you scrape.
What frosting works best for the gradient?
Buttercream is easiest because it spreads smoothly and sets up in the fridge. Cream cheese frosting can work too, but it is softer, so you will want extra chilling time.
How do I get really bright ombre colors?
Use gel coloring and start with a white frosting base. If your butter is very yellow, it can dull pastel shades, so whipping longer can help lighten it.
A sweet final pep talk before you bake
If you take one thing from this post, let it be this: Easy Ombre Cake Gradient Frosting Technique is more about patience than perfection. Chill when things feel messy, wipe your scraper often, and build your colors gradually. If you want an extra helpful visual guide, I also like this resource on How to make a colorful ombre cake | King Arthur Baking because it reinforces the same simple blending idea. Now grab your frosting bowls, pick your color, and go make the cake that makes people ask, wait, you made that?

Ombre Cake
Ingredients
Method
- Bake and cool your cake layers completely.
- Level your layers if needed for straight stacking.
- Stack the layers with filling and gently press to settle.
- Apply a crumb coat with a thin layer of frosting and chill for 15 to 25 minutes.
- Divide the buttercream into 3 to 5 bowls and tint each with gel food coloring.
- Start with the lightest shade on top and the darkest on the bottom.
- Apply horizontal bands of frosting, one color per band.
- Blend the bands with a bench scraper while turning the cake slowly.
- Chill the cake again then do a final smoothing pass for a clean finish.
- Finish with simple decor such as sprinkles, swirls, or fresh berries.
