
Easy Ombre Cake Gradient Blue to Pink is the kind of dessert I make when I want something that looks fancy, but I do not want to stress myself out. Maybe you have a birthday coming up, a baby shower, or you just promised someone you would bring a cute cake and now you are regretting it a little. I get it. The good news is this style is all about soft color blending, so tiny imperfections actually help. If you can spread frosting and spin a cake stand, you can totally do this. 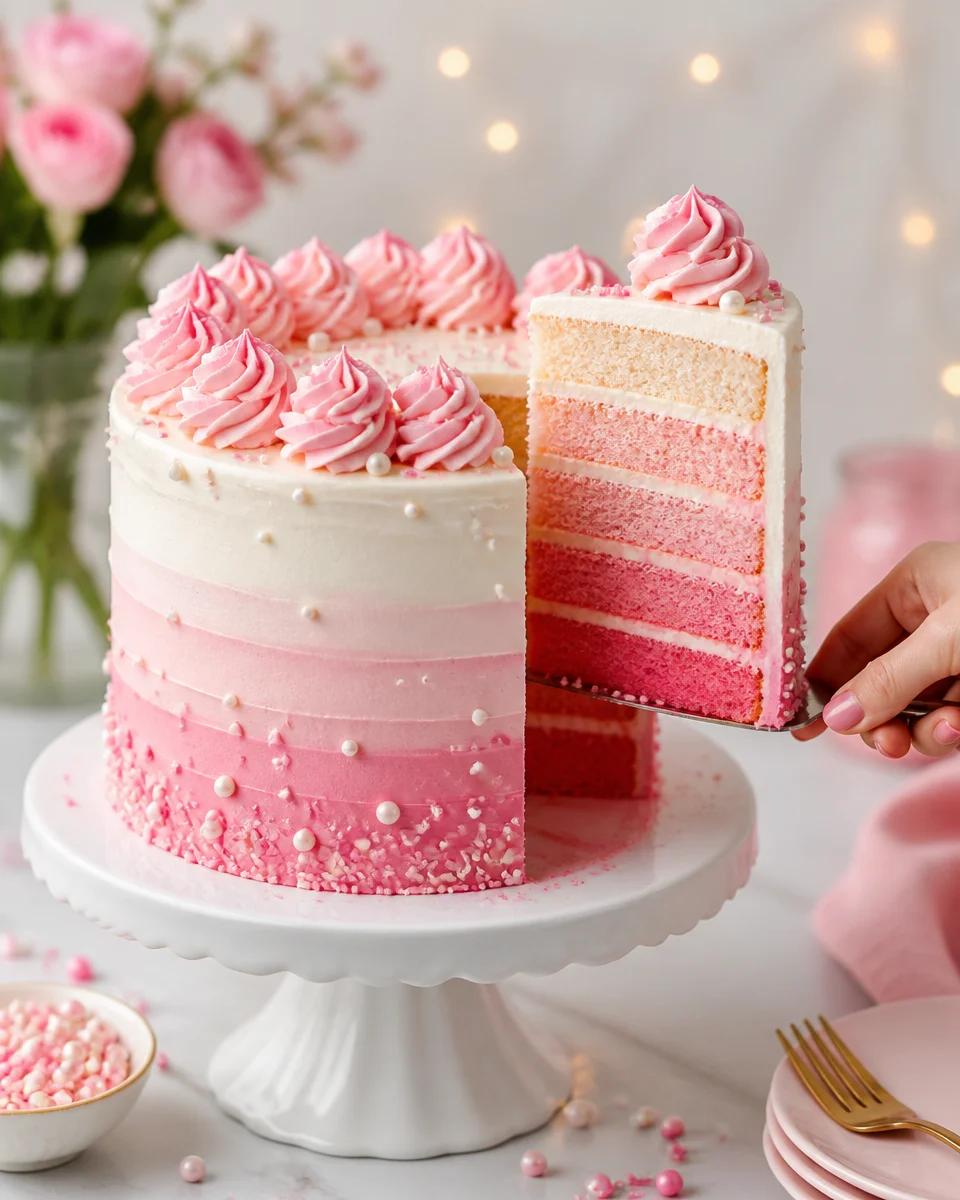
Equipment for Icing an Ombre Cake
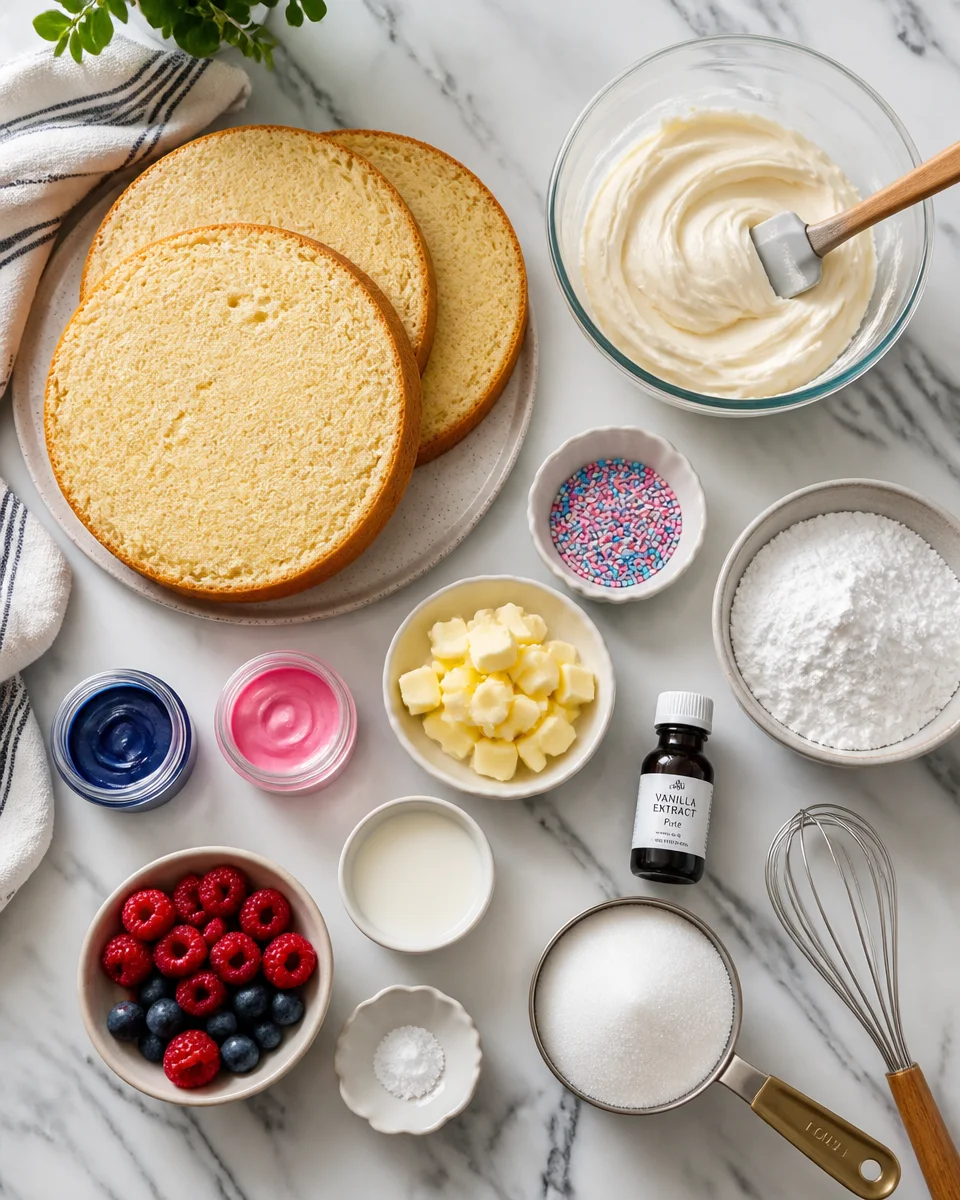
You do not need a professional kitchen to pull off an Easy Ombre Cake Gradient Blue to Pink, but a few tools make it smoother and way less messy. When I first tried ombre frosting, I used a dinner knife and a prayer. It worked, but I learned quickly that the right tools save time and give cleaner lines.
- Turntable or lazy Susan. This is the biggest helper for smooth sides.
- Bench scraper or a straight icing smoother. This is what blends the stripes into a gradient.
- Offset spatula for spreading frosting on the top and for touch ups.
- Three or four bowls for tinted frosting, plus one bowl for white.
- Gel food coloring in blue and pink. Gel is stronger and does not water down frosting.
- Piping bags are optional, but they make it easier to apply neat bands of color.
- Cardboard cake round and a little dab of frosting to stick the cake in place.
- Paper towels and a cup of warm water for cleaning the scraper between passes.
If you want a full visual technique breakdown, I also like referencing this guide on gradient frosting because it mirrors the method I use at home: easy ombre cake gradient frosting technique. It is the same basic idea, just explained in a super approachable way.
How to Ice an Ombre Cake
This is the part people overthink. The secret is to start with a chilled cake and give yourself permission to do a couple of smoothing passes. Frosting is forgiving. You can always scrape a little off and try again.
My frosting setup that keeps the colors clean
I use a simple buttercream, then split it into bowls. One bowl stays white. Two bowls get tinted for blue shades, and two bowls get tinted for pink shades. I usually do a pale blue, a deeper blue, a pale pink, and a deeper pink, with white as the blender in the middle.
For a blue to pink look, I like this order from bottom to top:
Deep blue, light blue, white, light pink, deep pink
Applying the stripes without panic
Start by doing a thin crumb coat over the whole cake. Chill it for 15 to 20 minutes. Then add your colored frosting in horizontal bands around the cake. I do not measure anything. I just eyeball it and keep the bands fairly even.
Now the magic part: hold your bench scraper straight up against the side and gently spin the cake. Do a few light passes. Clean the scraper between passes. The colors will start to blend into that soft gradient look, and it gets prettier each round.
“I tried this for my daughter’s party and it came out way better than I expected. The gradient looked so smooth after a few turns, and everyone thought I bought it from a bakery.”
If the top edge gets a little messy, do not spiral. Pull the frosting toward the center with your offset spatula, wipe it clean, repeat. That small step makes the top look crisp even if your sides are a little artsy.
Ten Simple Steps to a Show-Stopping Cake
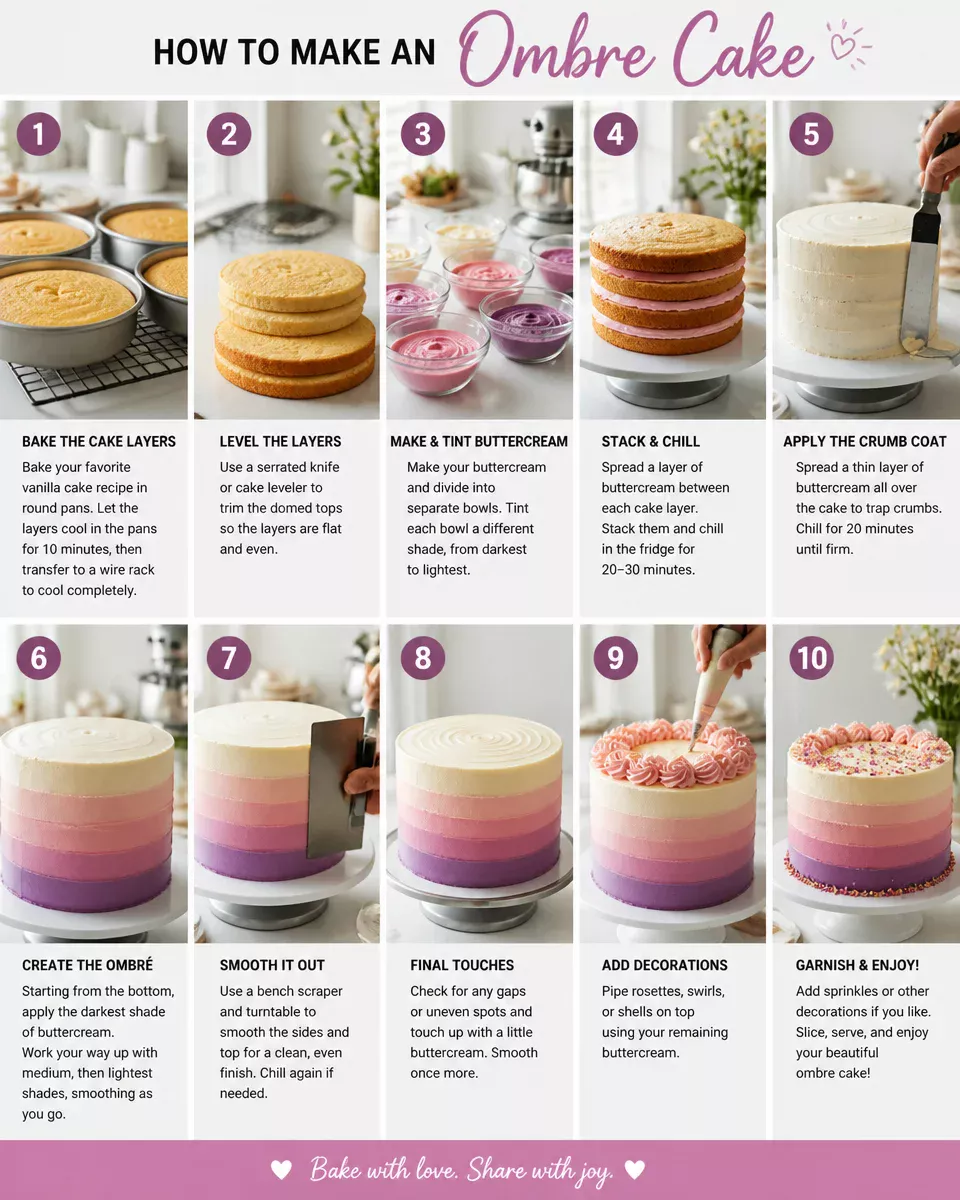
This is the exact routine I follow when I want my Easy Ombre Cake Gradient Blue to Pink to look clean but still feel doable on a normal day. No fancy tricks, just a calm checklist.
Quick step by step (the way I actually do it)
- Bake two or three cake layers and let them cool completely.
- Level the tops if they are domed, so the cake stacks straight.
- Mix your buttercream and set aside about one third as white.
- Tint the remaining frosting into your blue and pink shades.
- Stack the cake with frosting between layers and chill it for 10 minutes.
- Apply a thin crumb coat and chill again for 15 to 20 minutes.
- Spread thick horizontal bands of color around the sides.
- Smooth with a bench scraper, cleaning it often, until the gradient looks soft.
- Smooth the top by pulling frosting toward the center, then tidy the top edge.
- Add simple decorations if you want, like sprinkles, pearls, or a few rosettes.
One practical tip I wish someone told me earlier: keep your frosting texture consistent. If one bowl is stiffer than the others, it can drag and make the blend look streaky. If that happens, add a tiny splash of milk or cream and stir until it matches the rest.
Also, chill the cake if the frosting feels slippery. Warm kitchens make buttercream act dramatic, and a quick chill fixes it fast.
Recipe Pairings
Once you have a pretty cake, you might want an easy backup dessert or a fun side treat for the table. I am a big fan of having one showpiece and one low effort option, because life is busy and people love variety.
If you are doing a party spread, these are a few pairings I have actually served alongside an Easy Ombre Cake Gradient Blue to Pink:
- Warm fruit dessert for contrast. This one is ridiculously simple: 4 ingredient blueberry dump cake.
- Another blueberry option if you want a slightly different take for your crowd: easy and irresistibly delicious blueberry dump cake recipe.
- Floral and pink vibes that match the top half of the gradient. I love this for spring parties: easy hibiscus cake tart floral pink.
- If you want something airy and light next to buttercream, this is a great one: easy Japanese cotton cheesecake.
Drink wise, I usually do lemonade, iced tea, or a simple berry punch. Anything bright and not too heavy plays nice with buttercream.
More Cake Decorating Ideas to Try
After you make one ombre cake, it is hard not to want to do another. It is one of those decorating styles that looks impressive, but it is basically just spreading frosting in a smart order. Here are a few ideas if you want to keep playing.
Easy add ons that look like you tried really hard:
1) Add a tiny sprinkle fade. Put sprinkles heavier at the bottom and lighter as you go up.
2) Do a drip on top. White chocolate drip looks great on blue to pink, just let the cake chill first.
3) Add texture on the sides. After smoothing, lightly press the spatula and pull up for a soft swoosh pattern.
4) Keep the top simple. A clean top with a few pearls or one big buttercream swirl feels modern.
5) Change flavors without changing the look. Vanilla cake with strawberry filling is so good with the pink side of the frosting, and a little lemon in the cake works with the blue side in a surprising way.
One little reality check: your first Easy Ombre Cake Gradient Blue to Pink might not look like a magazine cover. Mine did not. But it will still look beautiful on a table, and people will still be impressed because it is colorful and tall and homemade.
Common Questions
Do I have to use gel coloring?
It is not required, but gel is easier because you get strong color without thinning the frosting. Liquid coloring can work, just add it slowly.
How do I keep the colors from turning purple in the middle?
Use a clear band of white frosting between the blues and pinks. That white buffer keeps the blend clean.
What if my frosting is full of air bubbles?
Stir it slowly with a spatula for a minute or two, pressing it against the bowl. That knocks out bubbles and makes smoothing easier.
Can I make this cake ahead of time?
Yes. You can decorate the cake a day ahead and keep it chilled. Let it sit at room temp 30 to 60 minutes before serving so the frosting softens a bit.
What cake flavor works best?
Vanilla is the easiest crowd pleaser, but chocolate cake with vanilla buttercream is also great. If you use a strong flavored cake like red velvet, keep the frosting shades light so the vibe stays soft.
A sweet final pep talk before you frost
If you take anything from this post, let it be this: chill the cake, apply the colors in bands, then smooth with patience. That is the whole trick behind an Easy Ombre Cake Gradient Blue to Pink, and it really does get prettier with each gentle scrape. If you want extra inspiration, I have definitely lost time scrolling through Ombre Cakes | The Cake Blog when I am planning colors. Now go make your cake, take a picture before you slice it, and enjoy the little moment when someone says, wait, you made that?
More Recipes to Try
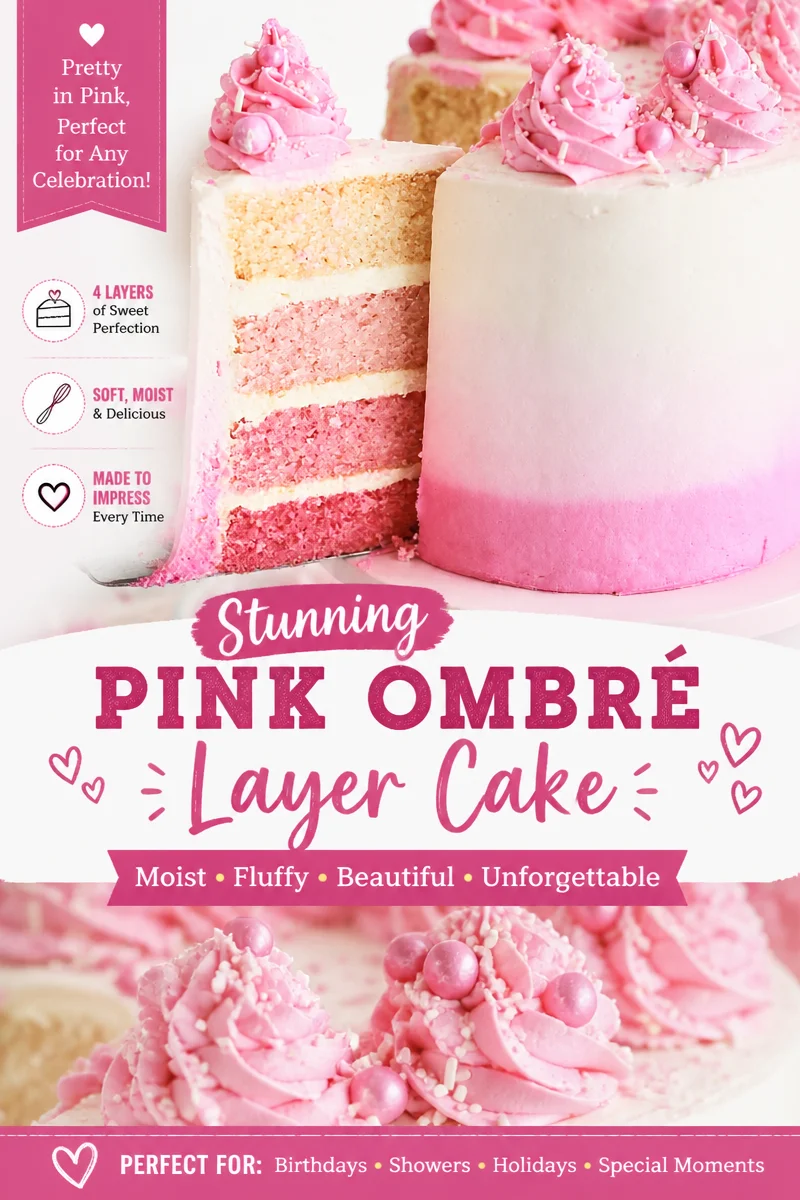
If you are planning another homemade meal, these recipes are worth exploring next: Easy Drip Cake — Chocolate Ganache Decorating, Easy Mirror Glaze Cake — Glossy Galaxy Decorating, Easy Pink Lemonade Cake — Summer Layer Dessert and Easy Naked Cake — Rustic Wedding Style.
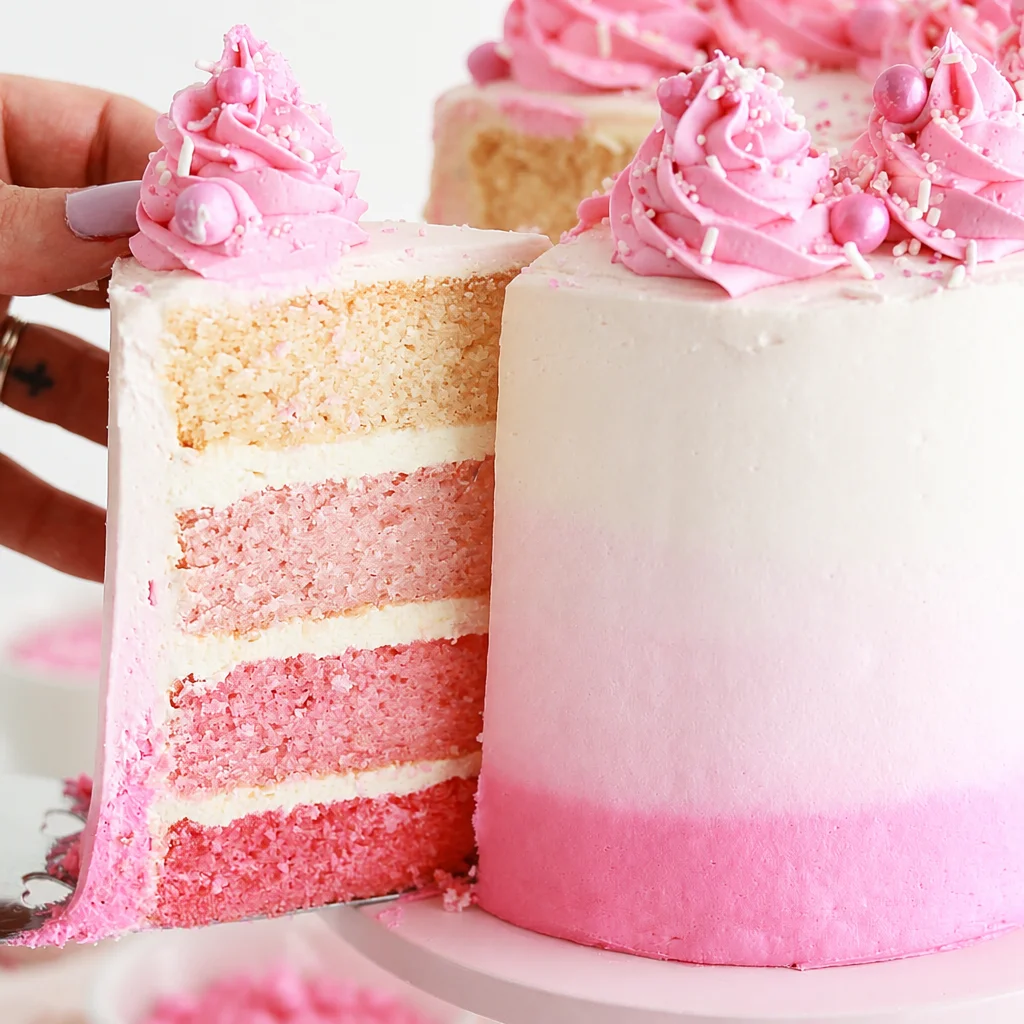
Easy Ombre Cake Gradient Blue to Pink
Ingredients
Method
- Bake two or three cake layers and let them cool completely.
- Level the tops of the cakes if they are domed, so they stack straight.
- Mix your buttercream and set aside about one third as white frosting.
- Tint the remaining frosting into blue and pink shades.
- Stack the cake with frosting between layers and chill it for 10 minutes.
- Apply a thin crumb coat and chill again for 15 to 20 minutes.
- Spread thick horizontal bands of color around the sides.
- Smooth with a bench scraper, cleaning it often, until the gradient looks soft.
- Smooth the top by pulling frosting toward the center, then tidy the top edge.
- Add decorations like sprinkles or rosettes if desired.
