

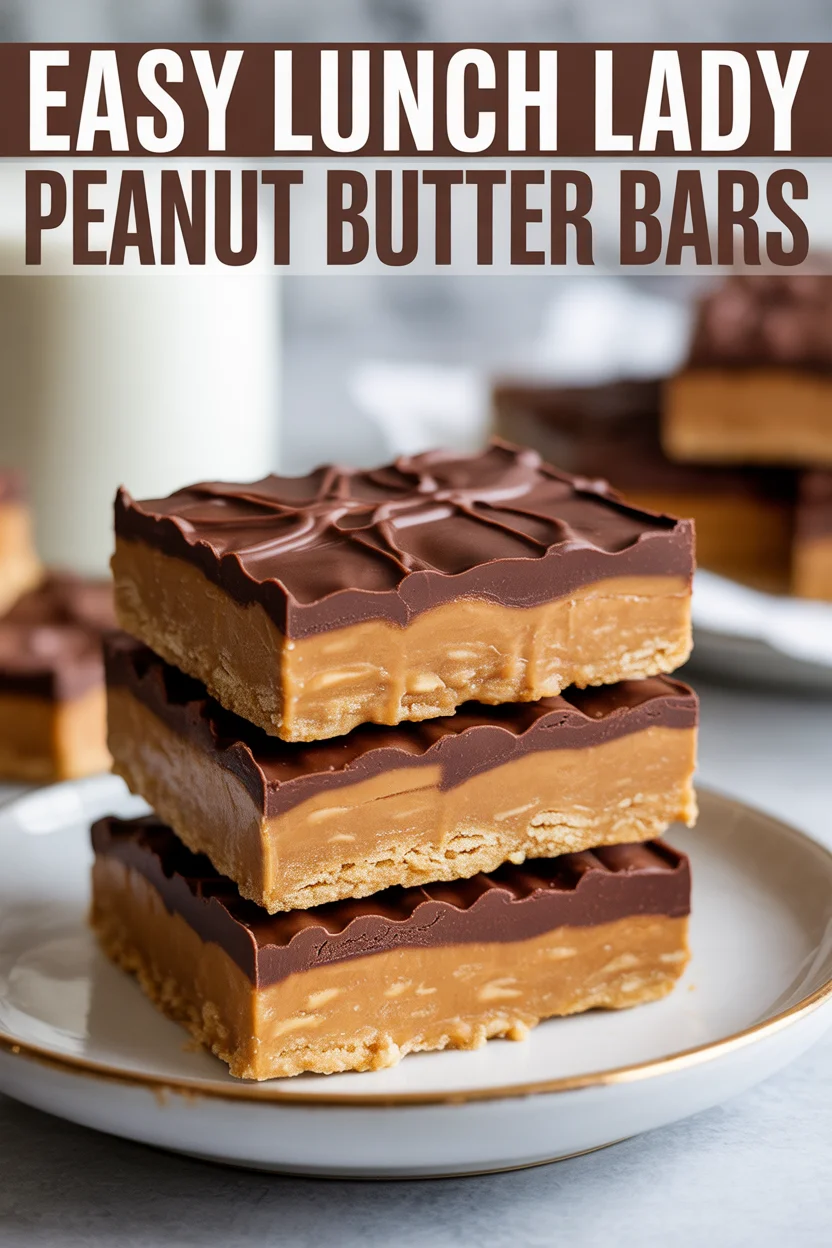
Easy Lunch Lady Peanut Butter Bars saved me more times than I can count. You know those days when you promised a treat for the school bake sale, or a friend texts that they’re stopping by, and you’ve got about 30 minutes and very little energy? These bars are my answer. They’re quick, no fancy steps, and they taste like a hug from the cafeteria days of your childhood. The layers are simple, sweet, and totally satisfying. And yes, they slice up neat and tidy, which is a small victory on a busy day.
Why You’ll Love This Recipe
These bars are the definition of easy, and that’s not just hype. No oven, no complicated batter, no special equipment. You press the peanut butter base into a pan, melt some chocolate, and let the fridge do the rest. They’re rich, creamy, and just a little salty, which balances the sweetness perfectly.
I’m partial to the nostalgic vibe. They taste like those school treats that everyone swarmed the table for. The texture is a dream too. The bottom is soft but sturdy, the top is silky and chocolatey, and together they make a clean, satisfying bite. They travel well, pack well, and they’re crowd friendly. You can keep the pan in the fridge and slice as needed, or wrap up a few pieces for lunchboxes and snack breaks.
If you’re bringing these to a potluck, expect questions and compliments. I usually set them next to other bar desserts so people can sample a little of everything. If you want more ideas for a dessert spread, try these chewy cousins: Magic Cookie Bars. They play really nicely with today’s recipe.
“I made these for a fundraiser and they were gone before the intermission. People kept asking for the recipe and were shocked when I said they were no-bake and took under 20 minutes.”
Bottom line: minimal effort, maximum payoff.
Ingredients Needed
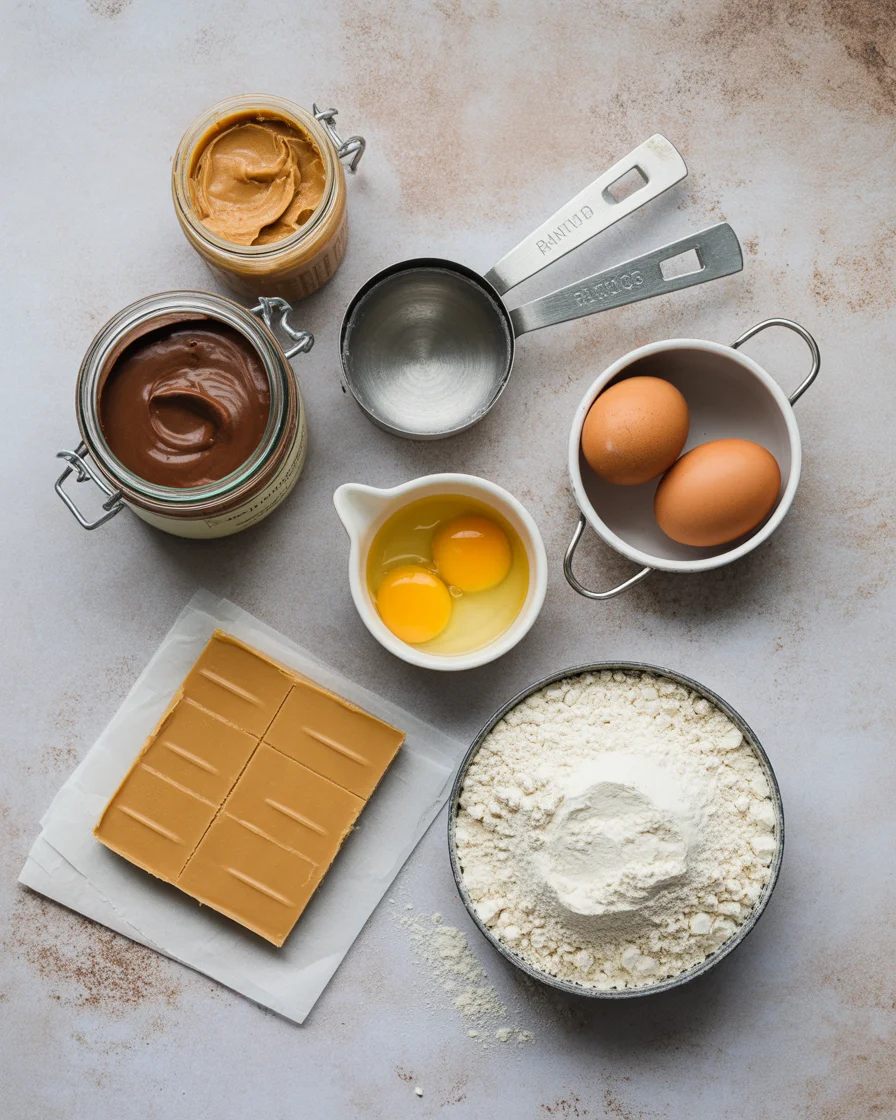
Here’s what you’ll need to make a classic 9×13 pan of bars. These are pantry staples and easy to find. I’ve included simple swaps too.
- 1 cup creamy peanut butter, plus 2 tablespoons for the chocolate topping
- 1 cup unsalted butter, melted and slightly cooled
- 2 cups powdered sugar, sifted if lumpy
- 2 cups graham cracker crumbs, very fine for a smooth base
- 1 teaspoon vanilla extract
- Pinch of fine salt, to balance the sweetness
- 2 cups semi-sweet chocolate chips
- 1 to 2 tablespoons milk, only if your chocolate needs a little loosening
Swap notes:
If you’re gluten-free, use gluten-free graham crumbs. For dairy-free, choose a plant-based butter and dairy-free chocolate chips. Crunchy peanut butter works too, but the bars slice cleaner with creamy. Natural peanut butter can be used if it’s well stirred and not overly oily. A pinch of flaky salt on top is a nice finish if you love a sweet-salty bite.
If you’re deep in your peanut butter era, I’ve also got a soft cookie shortcut I adore: Cake Mix Peanut Butter Cookies. Or go bolder with this lovely crunch-meets-creamy treat, Dark Chocolate Peanut Butter Bark. They’re great for gift boxes alongside these bars.
How to Make No-Bake Lunch Lady Peanut Butter Bars
Line a 9×13 pan with parchment so you can lift the bars out easily. Leave a little overhang on the long sides. This makes slicing cleaner and clean-up faster.
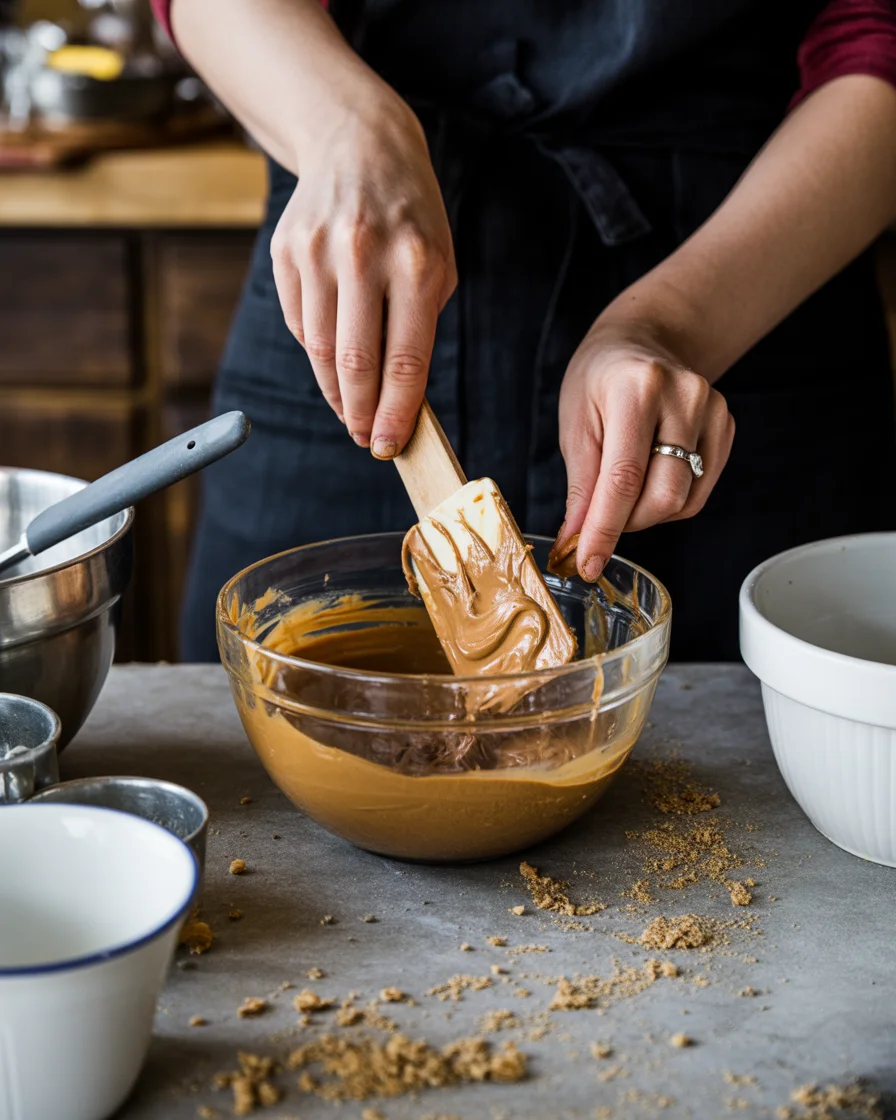
Make the base: In a large bowl, stir together melted butter, 1 cup peanut butter, vanilla, and salt until smooth. Add powdered sugar and graham crumbs. Mix until it looks like a soft, slightly crumbly dough that holds together when pressed. If it’s dry, add another tablespoon of melted butter. If it’s too soft, add a spoonful more crumbs. Press the mixture firmly and evenly into the lined pan. Use the bottom of a measuring cup to compact it so the base doesn’t crumble later.
Make the topping: In a microwave-safe bowl, melt chocolate chips in 20 to 30 second bursts, stirring in between until almost smooth. Stir in 2 tablespoons peanut butter and keep stirring until glossy. If the mixture is very thick, add 1 to 2 teaspoons milk, just enough to help it spread.
Spread the chocolate topping over the base. Work quickly and gently so you don’t disturb the crust. For a pretty finish, drag the tip of a butter knife in small, shallow swirls, or sprinkle a pinch of flaky salt on top.
Chill for 1 to 2 hours, or until the chocolate is set and the base feels firm. Lift the slab from the pan using the parchment and place on a cutting board. For clean slices, use a sharp knife warmed under hot water and wiped dry between cuts. I like to cut small squares because these are rich.
If you want to build a full dessert bar for a party, add something caramel-nutty like these Easy Turtle Bars alongside your peanut butter bars. Variety makes people happy.
Expert Tips
- Use fine crumbs for the base. Large graham chunks make the crust crumbly. A few quick pulses in a food processor fixes this fast.
- Press the crust firmly. A loose base is the number one reason bars fall apart. A flat-bottomed measuring cup is your best friend.
- Adjust sweetness to taste. Reduce powdered sugar by 2 to 4 tablespoons if you prefer less sweet. Add a pinch more salt to balance.
- Warm the knife for clean cuts. Dip in hot water, wipe dry, slice, then repeat. You’ll get tidy bakery-style edges.
- Keep chocolate shiny. Stop heating when there are a few soft chips left, then stir. Overheating makes chocolate dull and thick.
- Scale for events. Double the recipe and use an 18×13 sheet pan for big gatherings. Keep the crust thickness similar for best texture.
- Allergy aware. Sunflower seed butter can be used in place of peanut butter. Flavor is different but still totally delicious.
- Flavor add-ins. A teaspoon of espresso powder in the chocolate layer deepens the chocolate taste without making it coffee flavored.
For variety on the same snack board, I love offering something coconutty too. If that’s your vibe, try these Almond Joy Bars as a fun pairing. The contrast of coconut and chocolate with peanut butter is a hit.
Storage and Make Ahead
Fridge: Store the sliced bars in an airtight container in the refrigerator for up to 1 week. Layer with parchment to keep them from sticking together. The texture stays firm and lovely.
Freezer: Freeze for up to 2 months. For best results, freeze the slab uncut. Wrap tightly in parchment, then plastic wrap, then foil. Thaw in the fridge overnight before slicing. You can also wrap individual bars and grab them as needed for lunchboxes.
Room temp: These bars can sit out for a few hours at room temperature during parties. If your kitchen is very warm, the chocolate may soften a bit, so keep a spot in the fridge ready to stash them if needed.
Make ahead: This recipe is a gift when you need a head start. Make the day before, chill overnight, then slice just before serving. If you’re bringing them somewhere, plan to keep them cool during transport so the chocolate stays firm.
Common Questions
Do I have to use graham cracker crumbs?
No, but they help with structure. Crushed digestives or vanilla wafers also work. Keep the texture fine so the base holds together.
Can I cut back on the sugar?
Yes. Reduce the powdered sugar by a few tablespoons to taste. The bars will be a touch softer but still set nicely.
What pan size works best?
A 9×13 pan is my go-to for classic thickness. For thicker bars, use a 9×9 pan and chill them extra well before slicing.
How long do they need to chill?
Plan for at least 1 hour, but 2 hours gives the cleanest slices. If you’re in a hurry, pop the pan into the freezer for 20 minutes to jump start the set, then move to the fridge.
Can I add toppings?
Absolutely. Try crushed pretzels, mini peanut butter cups, or a drizzle of melted white chocolate. Add while the chocolate layer is still soft so they stick.
Ready to Slice and Share
There’s a reason I come back to Easy Lunch Lady Peanut Butter Bars again and again. They’re fast, familiar, and totally craveable, with that perfect creamy base under a shiny chocolate top. If you’re new to no-bake bars, this is the one to start with. For more ideas and variations, I love the simple guidance from No-Bake Lunch Lady Peanut Butter Bars – Moore or Less Cooking and the classic style from Lunch Lady Peanut Butter Bars – CenterCutCook. Now grab a pan, stir things together, and let the fridge do its magic.

No-Bake Peanut Butter Bars
Ingredients
Method
- Line a 9×13 pan with parchment paper, leaving a little overhang on the long sides for easy lifting.
- In a large bowl, stir together melted butter, 1 cup peanut butter, vanilla, and salt until smooth.
- Add powdered sugar and graham cracker crumbs and mix until it resembles a soft, slightly crumbly dough.
- Press the mixture firmly and evenly into the lined pan using a flat-bottomed measuring cup.
- In a microwave-safe bowl, melt chocolate chips in 20 to 30-second bursts, stirring in between until almost smooth.
- Stir in 2 tablespoons peanut butter until glossy. If too thick, add 1 to 2 teaspoons milk.
- Spread the chocolate topping over the base and smooth quickly without disturbing the crust.
- Chill the pan for 1 to 2 hours, or until the chocolate is set.
- Lift the bars from the pan using the parchment and cut into squares with a sharp knife warmed under hot water.