

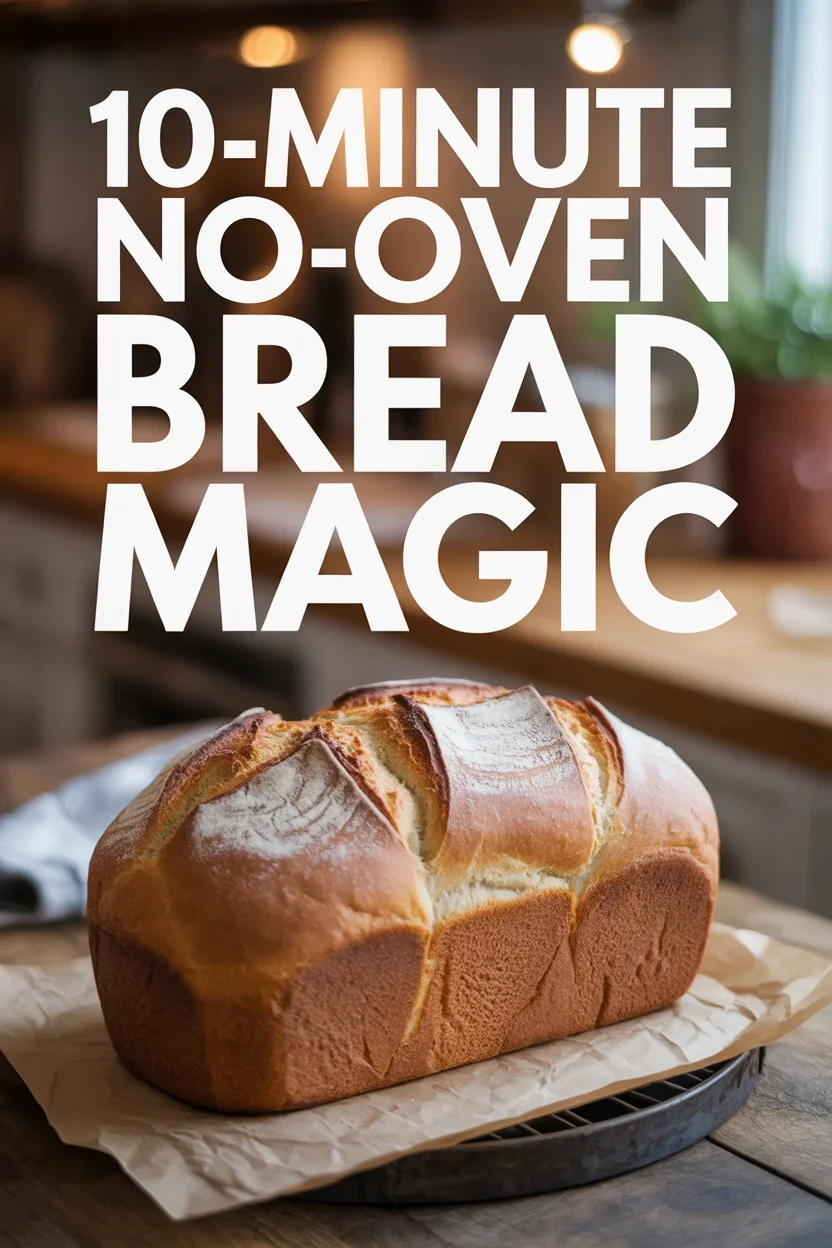
10-Minute No-Oven Bread Magic is the little trick I lean on when cravings hit and the oven is already busy or the kitchen’s too hot. It’s quick, simple, and honestly a little thrilling to pull off. Think warm, soft peasant bread with a tender crumb and a golden crust, made right on the stovetop. No fancy gear. No kneading marathons. Just a bowl, a pan with a lid, and a few pantry basics.
The Magic of the Peasant Bread
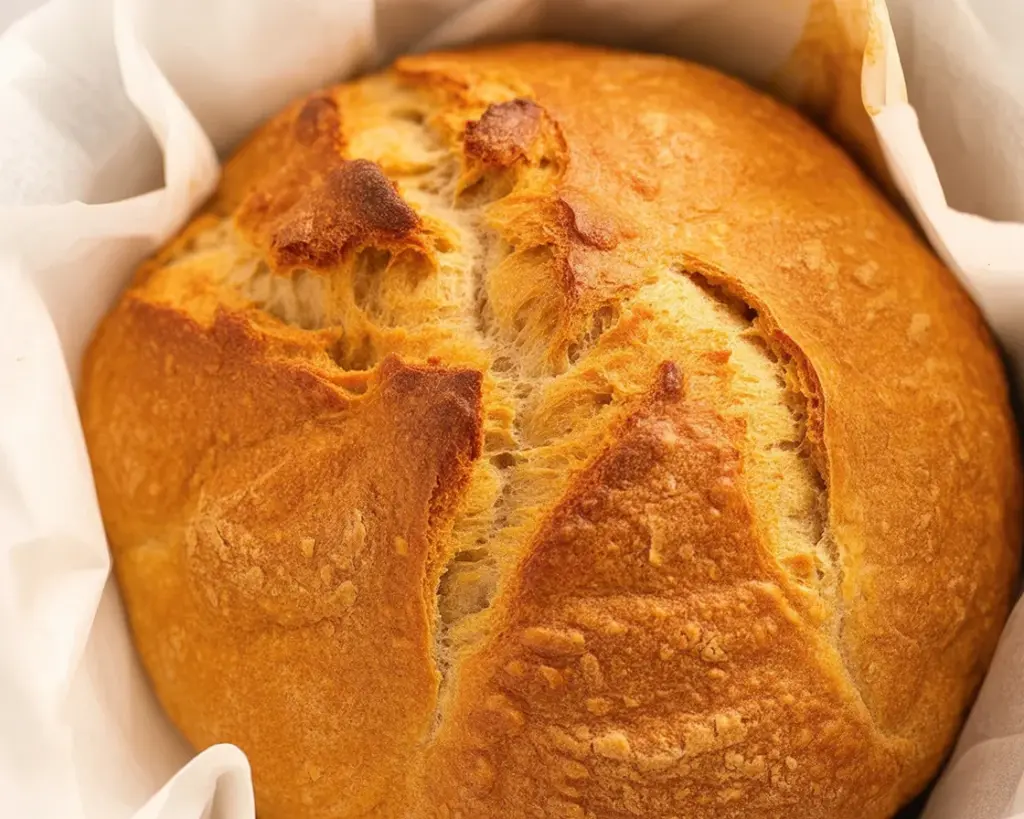
Here’s the thing about peasant bread. It’s friendly. It forgives sloppy measuring, welcomes sticky hands, and still turns out beautifully. The real magic is how it puffs up in a covered pan, trapping steam so the bread rises fast and bakes through without an oven. That’s why this method shines for small kitchens, dorm rooms, RVs, or anyone who wants fresh bread on a weeknight with zero fuss.
For me, the biggest win is the timing. This dough gets stirred together in minutes, rests briefly, then cooks in a preheated skillet or pot with the lid on. Ten minutes on one side, a few more to finish, and you’re slicing into warm bread that tastes like you put in far more effort than you did.
If you love fuss-free bakes, take a peek at all my bread recipes for more easy loaves that anyone can pull off, even on a busy day.
Below, I’ll show you how to nail 10-Minute No-Oven Bread Magic at home, with practical tips, simple steps, and a few fun twists.
Peasant Bread Variations
Once you’ve made a basic loaf, try swapping flavors. Peasant bread is like a blank canvas. Keep it savory with herbs and cheese, or go sweet with cinnamon and fruit. I like to split the dough in half and make one clean and classic, then the other with a twist for snacking later.
Easy Flavor Ideas
Here are some simple add-ins you can stir directly into the dough or scatter on top right before cooking:
Herb and garlic: Add a teaspoon of dried Italian herbs, a pinch of garlic powder, and a drizzle of olive oil.
Cheddar and chive: Fold in shredded cheddar and chopped chives for a savory loaf that pairs with soups and eggs.
Olive and rosemary: Chopped olives and fresh rosemary create little bursts of flavor in every slice.
Cinnamon sugar swirl: Sprinkle cinnamon sugar over the proofed dough and fold it once before cooking for a light swirl. If sweet bread is your thing, you’ll also love this cozy treat for later: easy banana nut bread.
Whole wheat boost: Swap in up to one third whole wheat flour. Add a splash more water if needed to keep the dough soft.
Each version still keeps the spirit of 10-Minute No-Oven Bread Magic. It’s fast, flexible, and still turns out tender and comforting.
How to Make Peasant Bread, Step by Step
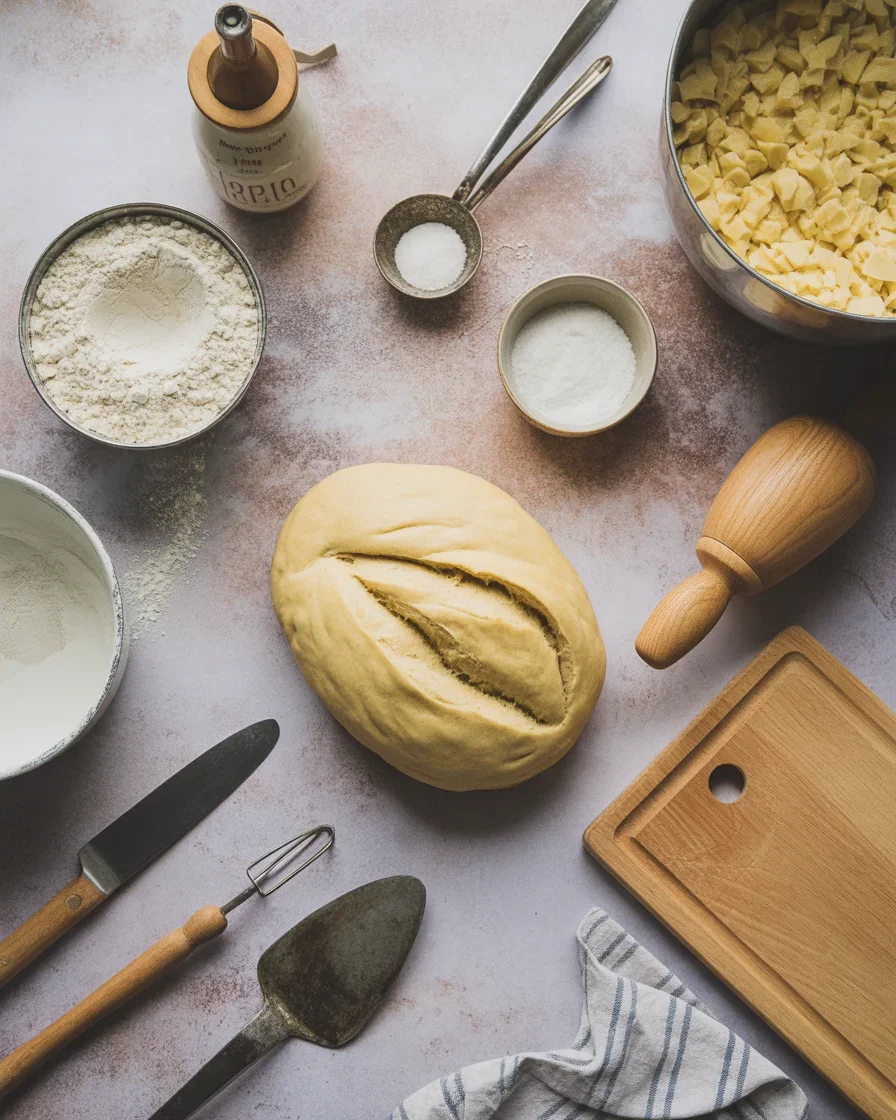
What You Need
- 2 cups all-purpose flour
- 1 teaspoon instant yeast
- 1 teaspoon sugar or honey
- 3/4 teaspoon salt
- 3/4 to 1 cup warm water
- 1 tablespoon olive oil or melted butter, plus more for the pan
- Covered skillet or pot with a lid, 9 to 10 inches wide
- Rubber spatula or spoon
- Optional: parchment circle for easier cleanup
Step-by-Step
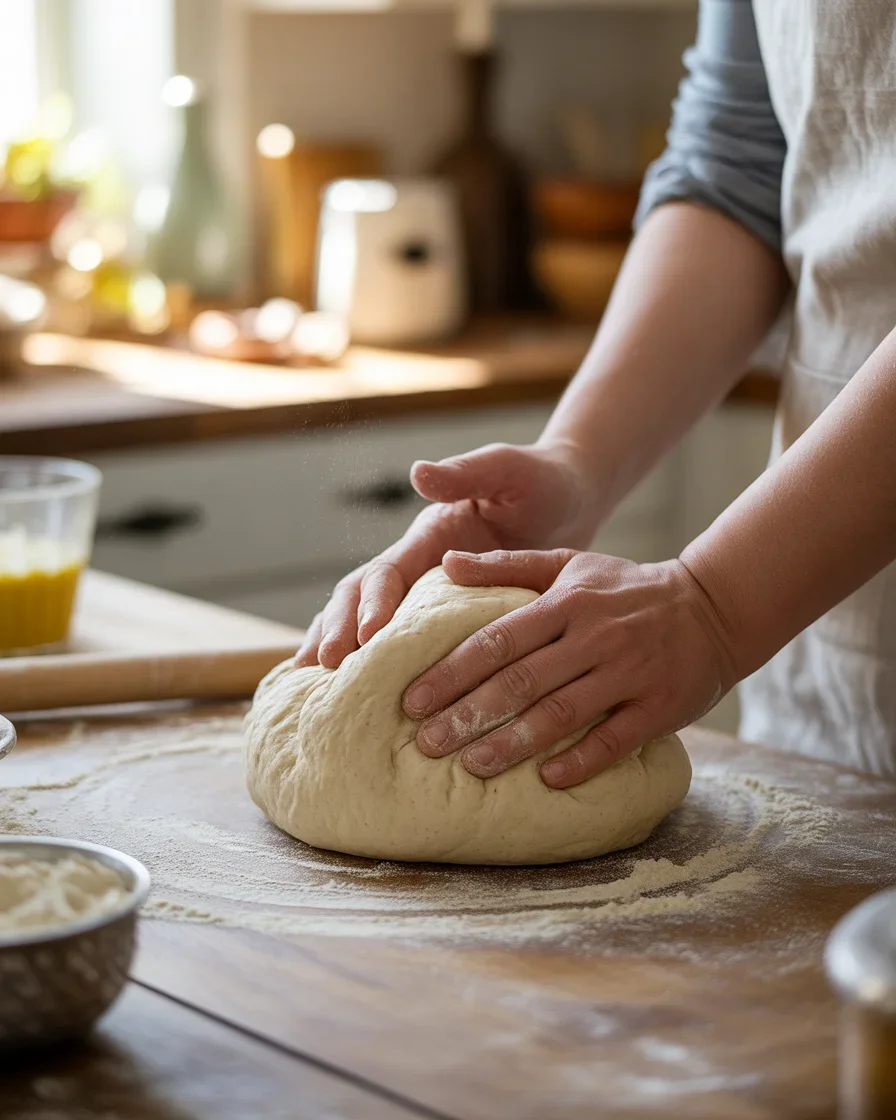
- Mix the dough: In a bowl, stir together flour, yeast, sugar, and salt. Add 3/4 cup warm water and the oil. Mix until no dry patches remain. The dough should be sticky but not soupy. If needed, add a spoonful more water until it feels soft and tacky.
- Rest briefly: Let the dough sit for 10 to 15 minutes while you heat your pan. This quick rest wakes up the yeast and relaxes the flour for a better rise.
- Preheat the pan: Warm a lightly oiled covered skillet or pot over medium heat for a couple of minutes. You want it hot, not smoking. This helps the bottom crust turn golden fast.
- Shape gently: With wet or oiled hands, scrape the dough into a rough ball. You can fold the edges toward the center a couple of times to tighten it. Don’t overwork it. Think soft and minimal.
- Cook covered: Set the dough in the pan, cover, and cook for about 10 minutes. Steam builds under the lid and helps the bread rise and set.
- Flip and finish: Use a spatula to gently flip the bread. Cook uncovered for 3 to 5 more minutes to crisp the top. If the bottom gets too dark, lower the heat slightly.
- Cool briefly: Let the bread rest for 5 minutes. Slice and serve warm with butter, olive oil, or a swipe of jam.
A covered skillet is the unsung hero here. If you like skillet recipes, my skillet cornbread with a buttery crust uses a similar idea of trapping heat for a tender crumb and crisp edges. The same “gentle heat plus lid” approach is why 10-Minute No-Oven Bread Magic delivers soft bread so fast.
Tips for Shaping Very Sticky Dough
Taming the Sticky Situation
Sticky dough is a good sign. It means the bread will be moist and tender. That said, there are a few tricks to make shaping less frustrating.
Wet your hands: Keep a small bowl of water nearby to dip your fingers. Water is your best friend when handling sticky dough.
Use oil: Lightly oil your hands or spatula when transferring the dough. A slick surface keeps things moving.
Employ a bench scraper: A simple scraper helps lift and fold without tearing. You can also use a stiff spatula if that’s what you have.
Do tiny folds: Instead of kneading, just fold the edges over the center a couple of times to form a round. Less is more.
Chill briefly: If you have time, pop the bowl in the fridge for 10 minutes. Cooler dough is easier to handle.
Parchment helps: If your pan allows, lay down a small parchment circle. It makes flipping easy and cleanup faster.
“I was sure I’d mess this up because my dough felt sticky. I followed the wet hands tip and it turned out perfect. Soft inside, crisp outside, and my family ate the whole loaf in minutes.”
Make-Ahead and Bake on Demand
One of my favorite things about this method is how well it fits real life. You can mix the dough in the morning, toss it in the fridge, and cook it fresh at dinner. Fridge time actually improves the flavor.
Plan-Ahead Options
Overnight rise: Stir the dough together, cover, and refrigerate up to 24 hours. Let it warm on the counter while your pan preheats, then cook as directed.
Par-cook: Cook covered for 8 minutes, flip, then cook 1 minute. Cool completely. Reheat later in a dry pan over low heat for a few minutes per side. This is great for brunch spreads.
Freeze dough balls: Shape into a round, coat lightly with oil, and freeze in a bag. Thaw overnight in the fridge and cook when ready.
Freeze cooked bread: Cool fully, slice, and freeze. Toast slices right from the freezer for instant breakfast.
If slow and hands-off is your speed, try a set-it-and-forget-it loaf like this slow cooker beer bread. It’s another fun way to keep bread-making simple while still getting that homemade comfort we all want. However you do it, 10-Minute No-Oven Bread Magic will give you fresh bread on your schedule, not the other way around.
Common Questions
Can I use active dry yeast instead of instant?
Yes. Stir the yeast into the warm water with the sugar and let it sit for 5 to 10 minutes until foamy, then mix with the dry ingredients. The timing stays the same.
What kind of pan works best?
A 9 to 10 inch nonstick skillet with a lid is ideal. A heavy pot or small Dutch oven works too. Just keep the heat medium so the bottom browns without burning.
How do I know it’s done?
The loaf should feel set when you press it, and the bottom should be golden brown. If in doubt, give it another minute on lower heat. You can also tap it. It should sound lightly hollow.
Can I double the recipe?
Yes. Cook one loaf at a time so each gets proper heat and space. Keep the second dough ball covered until the pan is free.
What toppings are good?
Butter and flaky salt never fail. I also like olive oil with a pinch of chili flakes and lemon zest. For soup nights, dip it straight into the bowl and call it a win.
Warm Bread, Right Now
If you’ve got flour, yeast, and a pan with a lid, you’ve got everything you need for 10-Minute No-Oven Bread Magic. It’s a true weeknight hero, and it’s even better once you start playing with flavors and make-ahead tricks. For more bread inspiration, check out the classic method that inspired so many of us, My Mother’s Best, No-Knead Peasant Bread Recipe, and if you want pillowy rolls, these Soft No Knead Dinner Rolls are a sure thing. When fresh bread is this doable, you’ll start making it for everything from soups to snack boards to late-night buttered slices. You’ve got this.
Peasant Bread
Ingredients
Method
- In a bowl, stir together flour, yeast, sugar, and salt.
- Add 3/4 cup warm water and the oil. Mix until no dry patches remain.
- Let the dough sit for 10 to 15 minutes while you heat the pan.
- Warm a lightly oiled covered skillet or pot over medium heat.
- With wet or oiled hands, scrape the dough into a rough ball.
- Set the dough in the pan, cover, and cook for about 10 minutes.
- Use a spatula to gently flip the bread and cook uncovered for 3 to 5 more minutes.
- Let the bread rest for 5 minutes before slicing.