
When you need something sweet that actually feels worth the effort
old fashioned chocolate fudge recipe is the one I pull out when I want a treat that tastes like it came from somebody’s grandma’s kitchen, in the best way. You know the moment when you are tired of store bought candy that’s fine but forgettable? This is for that moment. It is rich, chocolatey, and has that soft bite that melts instead of crumbling. Also, making it is kind of soothing, like a little kitchen reset. If you have a candy thermometer, great, but you can still do this with patience and a little attention.
What Makes Chocolate Fudge Old-Fashioned?
To me, old fashioned fudge means you are cooking it on the stove, controlling the heat, and letting the sugar do its thing the classic way. It is not the shortcut version where everything melts together in the microwave and magically becomes fudge. The old-school method gives you a deeper flavor and that signature texture that feels dense but creamy.
It also tends to use basic pantry ingredients like sugar, cocoa or chocolate, butter, milk, and vanilla. Nothing weird, nothing hard to find. Just simple ingredients handled the right way.
And if you love old school desserts in general, you might also get a kick out of this cozy pie situation: old-fashioned custard pie recipe. It has the same nostalgic vibe.
What Is the Difference Between Traditional Fudge and No-Bake Fudge?
Traditional fudge is cooked to a specific temperature, then cooled a bit, then beaten until it turns thick and glossy before you spread it into a pan. That cooking step is a big deal because it controls how the sugar crystals form. That is what gives you the classic smooth bite.
No-bake or shortcut fudge usually relies on sweetened condensed milk, marshmallows, or lots of melted chocolate chips to set up without cooking sugar properly. It is easier, and honestly it can be delicious, but it does not taste or feel the same. It is more like a soft candy bar than true old fashioned fudge.
If you want a fun shortcut style for gifting, this one is super approachable: easy Christmas fudge chocolate walnut gift.
What Gives Homemade Chocolate Fudge Its Smooth Texture?
Let’s talk texture, because that is what separates amazing fudge from the grainy stuff that makes you sad. Smooth homemade fudge comes down to a few things:
- Cooking to the right temperature so the sugar is properly dissolved and concentrated.
- Not stirring too much while it boils, because that can trigger crystals.
- Cooling a little before beating, which helps it set up without turning gritty.
- Beating at the end until it loses some shine and thickens into that perfect spreadable stage.
This is why the old fashioned chocolate fudge recipe method can feel fussy the first time. But once you do it, it clicks.
Choosing Cocoa Powder, Chocolate, and Dairy for Fudge
Ingredients matter here, but you do not need anything fancy. You just want decent cocoa, real butter, and dairy that fits the texture you like.
Can You Use Cocoa Powder Instead of Chocolate?
Yes, and it is actually common in an old fashioned chocolate fudge recipe. Cocoa powder gives a deep chocolate flavor without adding extra cocoa butter that can change texture. The key is to whisk the cocoa with sugar before adding liquids so it mixes smoothly and does not clump.
What Does Evaporated Milk Do in Fudge?
Evaporated milk is great because it has less water than regular milk, so it helps you get a creamy, rich texture with less chance of the fudge turning thin. It also brings a slight cooked milk flavor that tastes classic. You can use whole milk if that is what you have, but evaporated milk gives you a little extra insurance.
Little side note, if you ever need a cozy savory side while you are doing holiday cooking, these are comforting in a very old school way: old-fashioned stewed potatoes recipe.
Tips for Smooth, Firm Homemade Fudge
I have made every mistake possible at least once, so here’s the stuff that actually helps. This is where your old fashioned chocolate fudge recipe success really gets locked in.
Why Is My Chocolate Fudge Grainy?
Grainy fudge usually means sugar crystals formed too soon or too aggressively. Common causes are stirring while it is boiling, scraping the sides of the pan into the batch, or not fully dissolving the sugar early on.
My fixes:
- Stir gently only until everything is dissolved, then stop stirring once it boils.
- Use a clean, heavy pot and medium heat, not high.
- Let it cool a bit before beating, do not rush that part.
Why Won’t My Fudge Set?
If it stays soft, it probably did not cook long enough or did not reach the right temperature. Humid weather can also make candy act a little dramatic. A thermometer helps, but you can also use the cold water test if you are comfortable with it.
Why Is My Fudge Too Hard or Crumbly?
This usually happens if it cooked too long or got too hot. When the sugar concentration goes too far, the final fudge turns stiff and can crumble instead of slicing cleanly.
How Can You Tell When Fudge Is Ready to Set?
When you beat it after cooling, you will see it go from glossy to more matte, and it will thicken fast. It starts to hold its shape and feels like it wants to resist the spoon a little. That is your moment to spread it into the pan before it turns into a brick.
I made this for my coworkers and one of them said it tasted like the fudge her grandpa used to make every Christmas. She asked if I would make it again next week, which is basically the highest compliment in my book.
Common Chocolate Fudge Mistakes and How to Avoid Them
Here are the big ones I see people run into with an old fashioned chocolate fudge recipe, plus how to dodge them:
- Boiling too hard: Keep it at a steady boil, not a raging one. Too much heat can scorch or overcook.
- Stirring during the boil: Once it starts boiling, hands off unless your recipe tells you otherwise.
- Using a thin pan: Thin pans heat unevenly and cause hot spots. A heavier saucepan is your friend.
- Skipping the cooling step: Cooling is part of the method. If you beat it too hot, it can get grainy.
- Waiting too long to pour: When it is ready, move quickly. Fudge sets up fast.
Old-Fashioned Fudge Flavor Variations
This is the part where you can make the recipe feel like your own without messing up the texture. I keep the base the same and play around with mix ins.
Can You Add Walnuts or Pecans?
Absolutely. Stir in chopped toasted nuts right when the fudge is thickened and just before you spread it into the pan. Toasting matters because it gives better flavor and keeps nuts from tasting soggy.
Can You Add Peppermint or Peanut Butter?
Yes. For peppermint, use a tiny amount of peppermint extract, like a quarter teaspoon, because it gets strong fast. For peanut butter, swirl a few spoonfuls in the pan after you pour the fudge, or replace part of the butter with peanut butter if you know your base sets well.
If you are a peppermint person, you might also like this festive option: white chocolate peppermint fudge recipe. It is a totally different vibe, but so good for holidays.
How to Cut Fudge into Clean Squares
Clean slices make fudge feel instantly giftable. My go to method is simple:
- Line your pan with parchment and leave a little overhang so you can lift it out.
- Let it set fully before cutting, usually a few hours at cool room temp.
- Use a large knife and warm the blade under hot water, then wipe dry.
- Cut straight down, do not saw back and forth.
If the fudge is sticking, your knife is not warm enough, or the fudge is a bit too soft. Give it another hour and try again.
Is Homemade Chocolate Fudge Good for Holiday Gifts?
Yes, and it is one of my favorite edible gifts because it looks fancy but it is just a pan of candy cut into squares. Wrap pieces in wax paper, pop them in a tin, and suddenly you are the person who has their life together during the holidays.
I also like to include something crunchy in gift boxes. These cookies are a regular in my kitchen: deliciously easy chocolate spritz cookies recipe.
How to Store and Freeze Homemade Fudge
Once your old fashioned chocolate fudge recipe batch is set, storage is easy:
- Room temperature: Store in an airtight container with parchment between layers for about 1 to 2 weeks.
- Refrigerator: It lasts longer, but it can dry out faster. Let pieces sit at room temp before serving for best texture.
- Freezer: Wrap tightly in plastic wrap, then foil, then freeze in a sealed bag or container for up to 2 to 3 months.
To thaw, move it to the fridge overnight, then let it sit on the counter for a bit. The flavor and texture come back nicely.
Frequently Asked Questions About Old-Fashioned Chocolate Fudge
Does Homemade Fudge Need Refrigeration?
Not always. If your kitchen is cool, airtight room temp storage is fine for about a week or two. If your house runs warm, the fridge can help, just bring it back to room temp before eating.
Can You Fix Fudge That Didn’t Set?
Usually, yes. You can scrape it back into a pot, add a splash of milk, and reheat gently, then cook it to the right temperature and try again. It is not fun, but it works more often than you would think.
How Long Does Homemade Fudge Last?
At room temp, about 1 to 2 weeks in a sealed container. In the freezer, a couple months is realistic.
Can You Make Chocolate Fudge Ahead for Christmas?
Definitely. I like to make it 1 to 2 weeks ahead, or freeze it earlier than that. Fudge is one of those treats that makes holiday prep feel less chaotic.
Go make a batch and do not overthink it
If you follow the temperature, stop stirring once it boils, and give it that short cooling pause before beating, you are going to get a great pan of fudge. The old fashioned chocolate fudge recipe method feels a little hands on, but that is also what makes it special. Once you taste that smooth, deep chocolate bite, you will get why people still make it this way. Try it once, take notes, and next time it will feel easy. And if you end up eating a few squares straight from the pan, you are in good company.
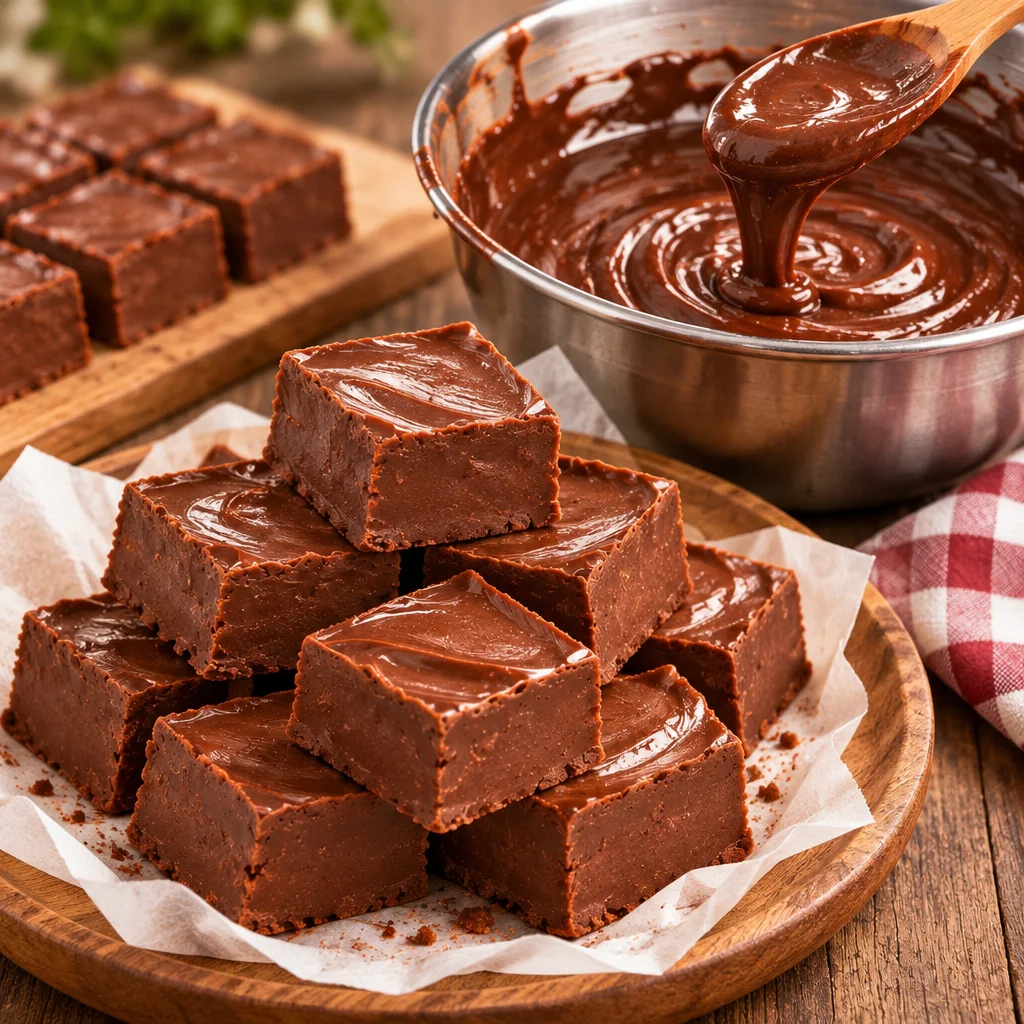
Old Fashioned Chocolate Fudge
Ingredients
Method
- In a heavy bottomed saucepan, combine granulated sugar and cocoa powder.
- Add evaporated milk and butter to the saucepan and mix well.
- Bring mixture to a boil over medium heat, stirring once until it begins to boil.
- Stop stirring and let it boil without stirring for about 5-10 minutes until the temperature reaches 234°F (soft ball stage).
- Remove the saucepan from heat and let it cool slightly for a few minutes.
- Once cooled, add vanilla extract and any optional mix-ins, then beat mixture until it thickens and loses some shine.
- Quickly spread fudge into a greased 8×8 inch pan.
- Let the fudge cool completely at room temperature before cutting into squares.