
Easy Drip Cake Chocolate Ganache Decorating is the thing I do when I want a cake that looks like it came from a bakery, but I do not want to spend all day stressing out. You know that moment when the cake is baked and frosted, and it still feels a little plain? This is the fix. The ganache drip is simple, dramatic, and honestly kind of therapeutic once you get the hang of it. I am going to walk you through the exact way I make it at home, including the little timing tricks that keep the drips pretty instead of messy.
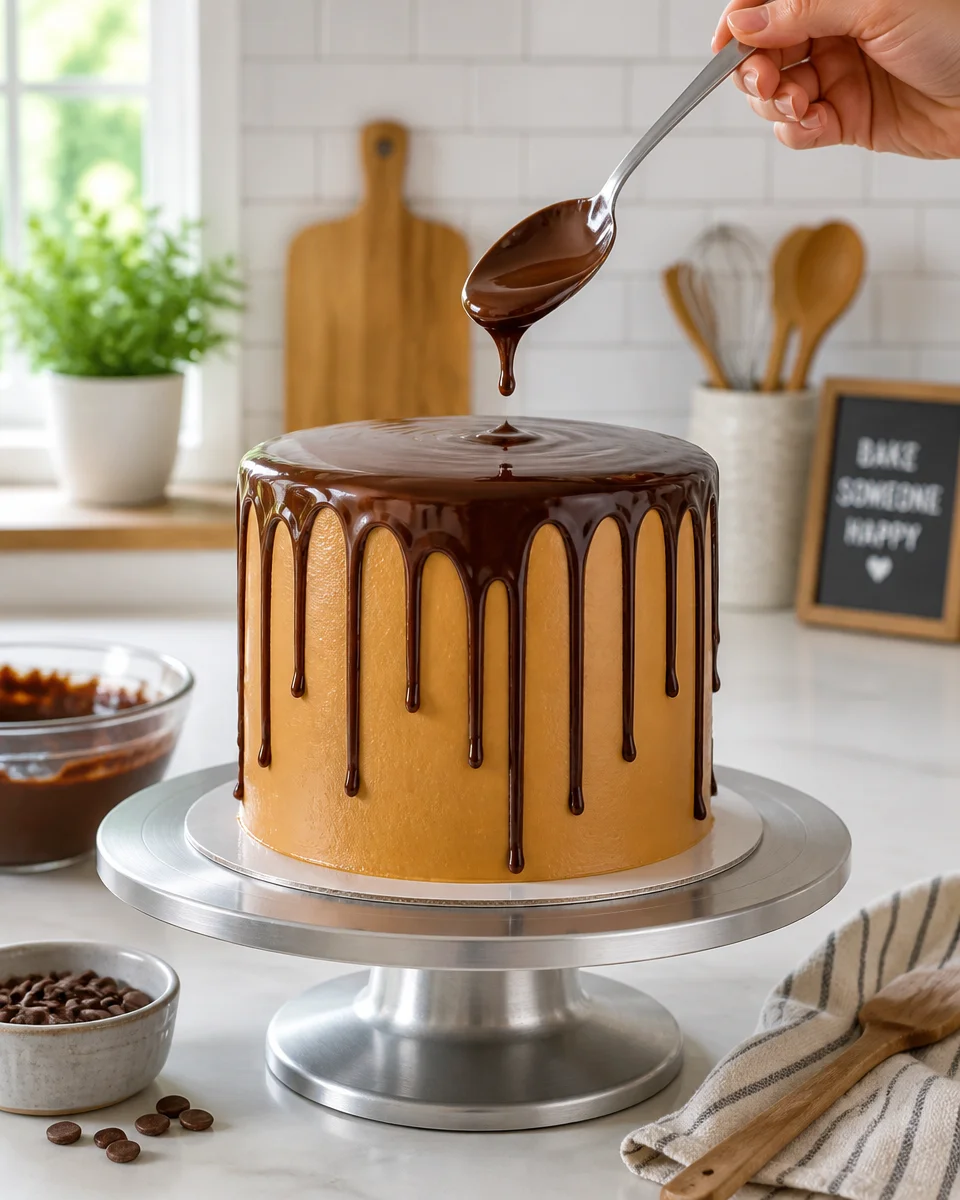
How to Make Chocolate Ganache for Drip Cakes
Ganache sounds fancy, but it is basically just chocolate plus warm cream. The biggest difference between a good drip and a sad, streaky drip is using the right ratio and giving it a few minutes to cool before you touch the cake.
My go to ganache ratio
For a classic drip that is not too thin and not too thick, I usually do 1 part cream to 1 part chocolate by weight. If you like super thick drips, go a little heavier on the chocolate. If you want a thinner, more delicate drip, add a splash more cream.
What you will need
- Chocolate: semi sweet chips or chopped bar chocolate
- Heavy cream: full fat works best for shine and smoothness
- Heatproof bowl
- Spoon or small whisk
- Squeeze bottle or spoon for dripping
How I make it
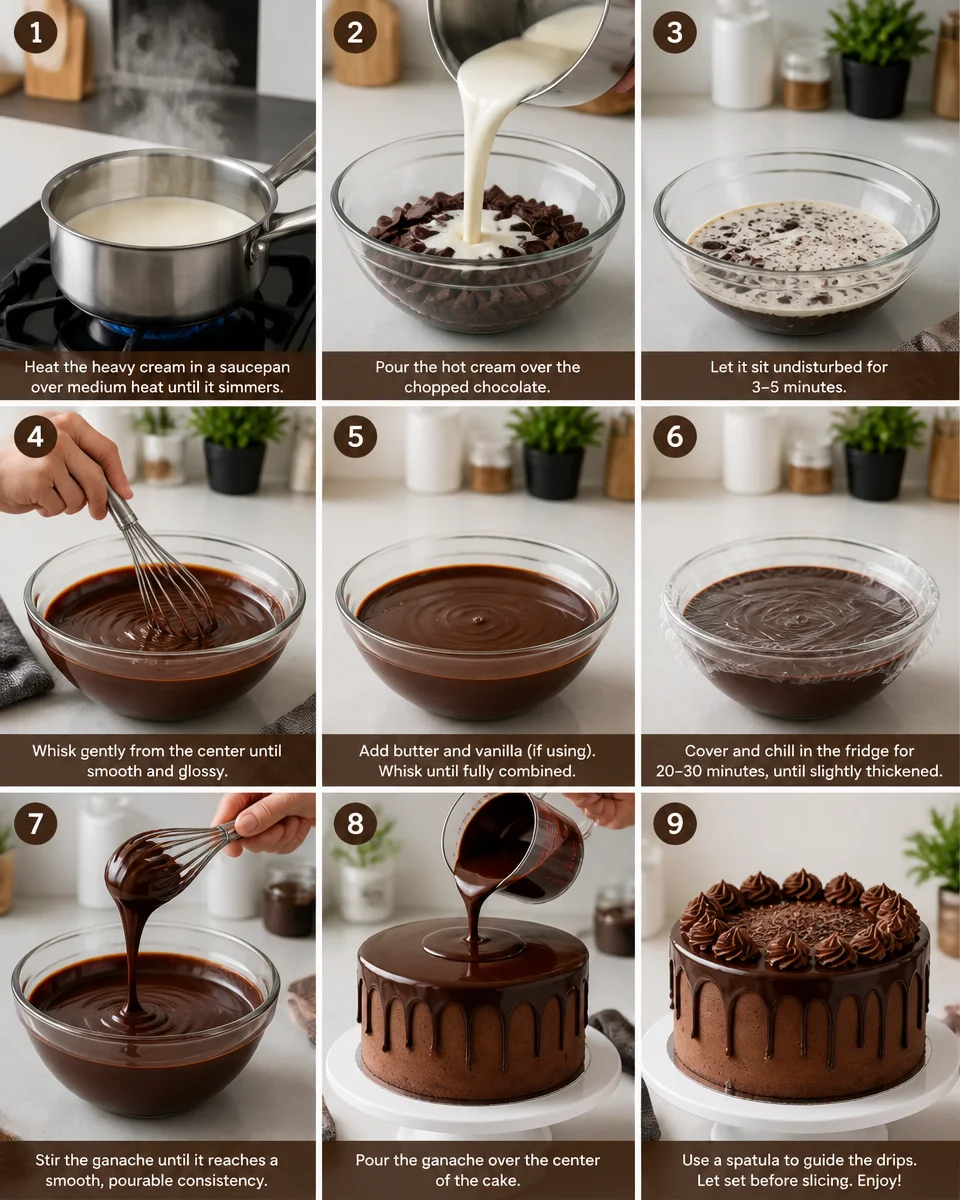
I warm the cream until it is steaming but not boiling. Then I pour it over the chocolate, cover the bowl for 2 to 3 minutes, and stir from the center outward until it turns glossy and smooth. If you still see a few lumps, give it another minute and stir again. If it is being stubborn, a quick 10 second microwave burst helps, but do not overheat it.
One little note from my kitchen: if you love rich chocolate desserts, you might also like this easy chocolate lava cake with a gooey molten center. It is a totally different vibe, but it scratches the same chocolate itch.
;
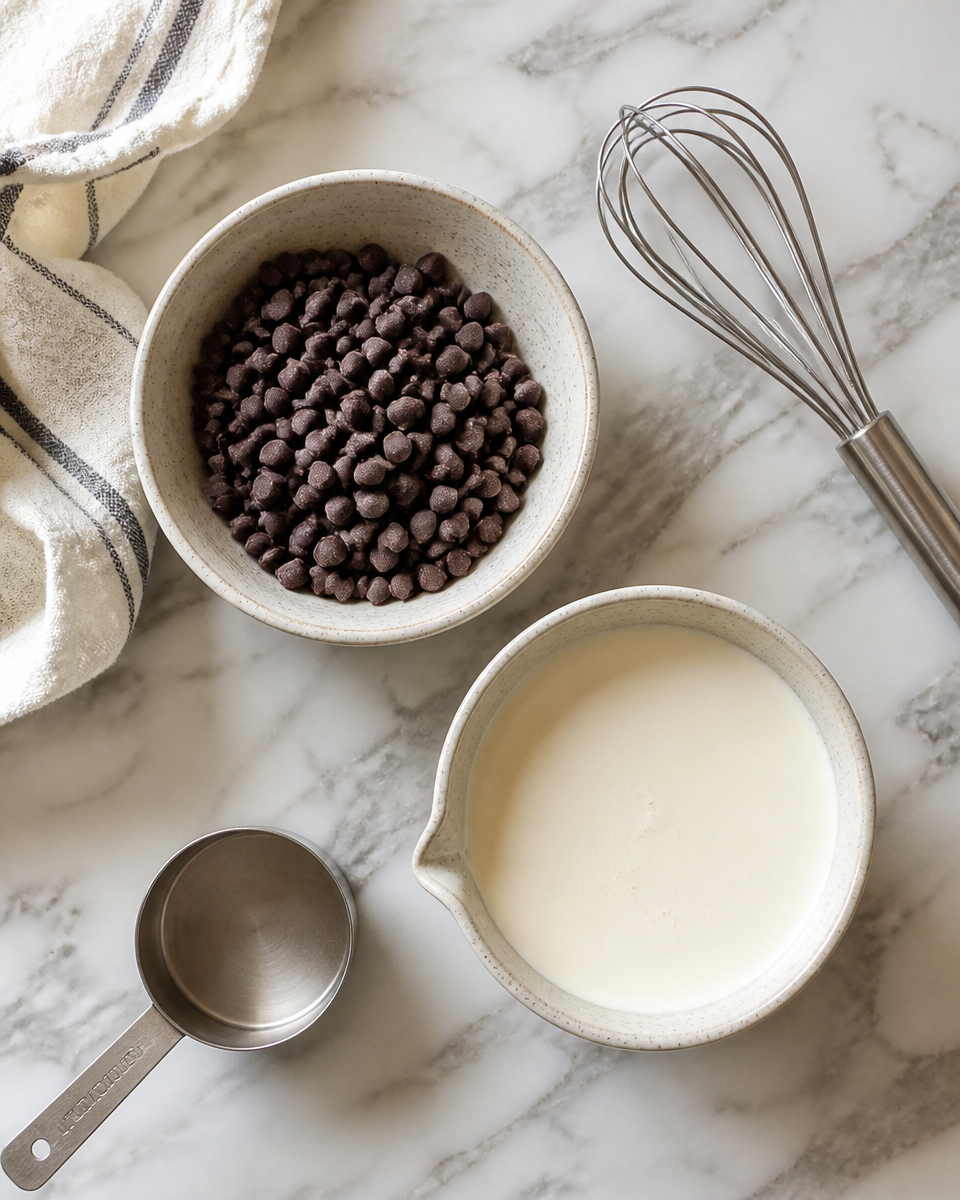
Techniques For Adding Chocolate Drips To The Cake
This is where the magic happens. The goal is controlled drips around the edge, then a smooth puddle on top. The biggest secret is temperature. Not just the ganache temperature, but your cake temperature too.
Get the cake ready first
Your cake should be frosted and chilled so the outer layer is set. I usually chill it 20 to 30 minutes in the fridge. If the frosting is soft and warm, drips can slide too far and look messy fast.
Two easy drip methods
1) Spoon method
This is the easiest if you do not have extra tools. Dip a spoon into ganache, then gently nudge small amounts over the edge of the cake. Go slow and alternate long and short drips. It looks more natural that way.
2) Squeeze bottle method
This is my favorite because it gives you control. Fill a squeeze bottle with slightly cooled ganache and apply gentle pressure right at the edge. Do a few test drips on the side of a bowl first. It sounds extra, but it saves you from panic drips.
After the drips are done, pour a bit more ganache in the center of the cake and gently spread it toward the edge with a small spoon or offset spatula. Do not push it over the edge unless you want more drips.
If you are planning a chocolate dessert table, I like pairing drip cake slices with something scoopable like this chocolate cheesecake trifle. People always go back for a second serving, so consider yourself warned.
Tips for Making the Best Chocolate Drip
This part is all the little things I wish someone told me the first time I tried a drip cake and ended up with chocolate puddles at the bottom of my cake stand.
My best practical tips
- Cool the ganache slightly: I aim for a thick but pourable texture, like warm honey.
- Do a test drip: try one drip on the back of the cake first. If it runs too far, wait a few minutes and try again.
- Chill your frosted cake: cold frosting helps the drips set faster and stay where you put them.
- Use good chocolate: the flavor matters because ganache is front and center.
- Do not rush the top: after drips, spread the top slowly so you do not accidentally push it over the sides.
Also, keep your decorations simple if you are new to this. A few berries, some shaved chocolate, or a handful of sprinkles can look so cute without making you feel like you need a pastry degree.
I tried your drip timing tip and finally got those clean drips that stop halfway down the cake. My daughter thought it was from a bakery and I did not correct her. Totally making it again.
For more chocolate cake inspiration, this easy chocolate poke cake with fudgy pudding is a crowd pleaser when I need a low effort dessert that still feels special.
Troubleshooting
If your drip cake does not look perfect, you are in good company. Here are the common issues I see, plus what actually fixes them.
My ganache is too runny
It is probably too warm or you used too much cream. Let it sit 5 to 10 minutes, stir, and test again. If it is still thin, add a little more melted chocolate and stir until smooth.
My ganache is too thick
Warm it gently in 10 second bursts, stirring each time. You can also add a teaspoon or two of warm cream to loosen it up.
My drips went all the way to the bottom
Ganache was too warm or cake was too warm. Chill the cake and cool the ganache longer next time. If it already happened, you can sometimes disguise it with extra piping or a border of sprinkles around the bottom.
My drips look bumpy
That can happen if your frosting has ridges or the ganache had tiny unmelted bits. Smooth the frosting more before dripping, and strain ganache if you see lumps.
My ganache looks dull
Overheating can do that, or using low fat cream. Heavy cream and gentle heat help keep it shiny.
If you are in the mood for a classic flavor combo that always works, I am obsessed with this easy Black Forest cake with cherry and chocolate. It is one of those desserts that feels fancy without being fussy.
Making This Chocolate Drip Recipe in Advance & Storage Tips
I love anything I can prep early because last minute dessert chaos is real. Good news, ganache is very make ahead friendly.
Make ahead
You can make ganache 2 to 3 days in advance. Let it cool, then store it in an airtight container in the fridge.
How to rewarm
Warm it slowly in the microwave in short bursts, stirring a lot. You want it just warm enough to flow, not hot. If it separates, keep stirring gently and it usually comes back together.
Storing a finished drip cake
If your cake has perishable filling or frosting, store it in the fridge. The drip will firm up nicely when chilled. For serving, I like to let slices sit at room temp for 15 to 20 minutes so the texture is softer and the chocolate flavor pops more.
Freezing
I do not love freezing a fully decorated drip cake because condensation can mess with the shine. But you can freeze the unfrosted cake layers and make your life easier later.
And if you need a no bake option for busy weeks, these no bake chocolate chip cheesecake bars are a lifesaver when the oven is already working overtime.
Common Questions
How do I know when ganache is the right temperature for dripping?
It should pour easily but not feel watery. If it runs off the spoon in a super thin stream, it is too warm. If it falls in globs, it is too cool.
Can I use milk instead of heavy cream?
I would not for drip cakes. Milk is thinner and can make the ganache less stable and less shiny. Heavy cream is more reliable.
Do I have to chill the cake before adding drips?
I strongly recommend it. A chilled, set frosting layer helps you control the drip length and keeps the edges neat.
What chocolate is best for ganache drips?
Semi sweet is my everyday choice. Dark chocolate gives a deeper flavor and thicker set. Milk chocolate is sweeter and can be softer, so you might need a bit less cream.
Can I fix a drip that looks uneven?
Yes. Add a couple extra drips in spots that look bare. If it is really uneven, you can add toppings like berries, cookies, or a piped border to draw the eye upward.
A quick pep talk before you try it
Easy Drip Cake Chocolate Ganache Decorating is one of those techniques that looks harder than it is, and it gets easier every time you do it. Chill your cake, cool your ganache a bit, and do a test drip so you feel in control. If you want extra visuals and more drip timing tips, I have learned a lot from Chocolate Ganache Drip Cake Recipe + Tutorial (with Video!) and this helpful Chocolate Ganache Drip Recipe guide too. Now go make your cake look fancy, take a picture, and then slice into it like you totally do this every weekend. 
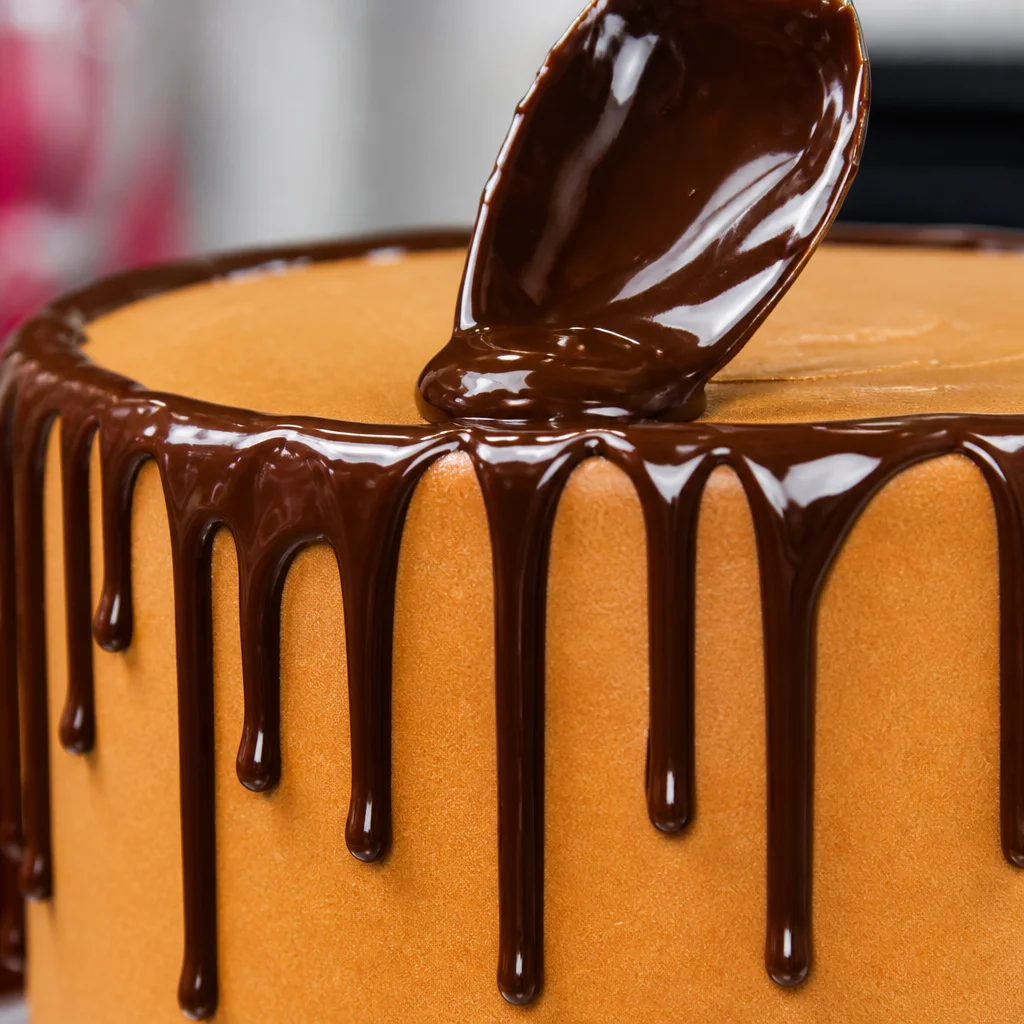
Chocolate Ganache Drip Cake
Ingredients
Method
- Warm the cream until steaming but not boiling.
- Pour the warm cream over the chocolate and cover the bowl for 2 to 3 minutes.
- Stir from the center outward until the mixture is glossy and smooth.
- If lumps remain, stir for another minute or use 10-second microwave bursts if necessary, but do not overheat.
- Chill your frosted cake in the fridge for 20 to 30 minutes until the outer layer is set.
- For the spoon method, dip a spoon into the ganache and gently nudge small amounts over the cake’s edge.
- For the squeeze bottle method, fill a bottle with slightly cooled ganache and apply gentle pressure at the edge.
- After drips, pour additional ganache onto the top and spread it gently towards the edges.
