
Easy Mirror Glaze Cake Glossy Galaxy Decorating is the kind of thing I used to scroll past and think, yeah right, that looks impossible at home. The first time I tried it, my glaze was too thick, my colors got muddy, and I still served it anyway because cake is cake. But after a few tries (and a few “oops” moments), I found a simple method that actually works in a normal kitchen. If you want a shiny galaxy look without specialty gear or chef level stress, you are in the right place. I will walk you through what mirror glaze is, what makes this version easier, and exactly how I color it so it looks like a little universe on a plate. 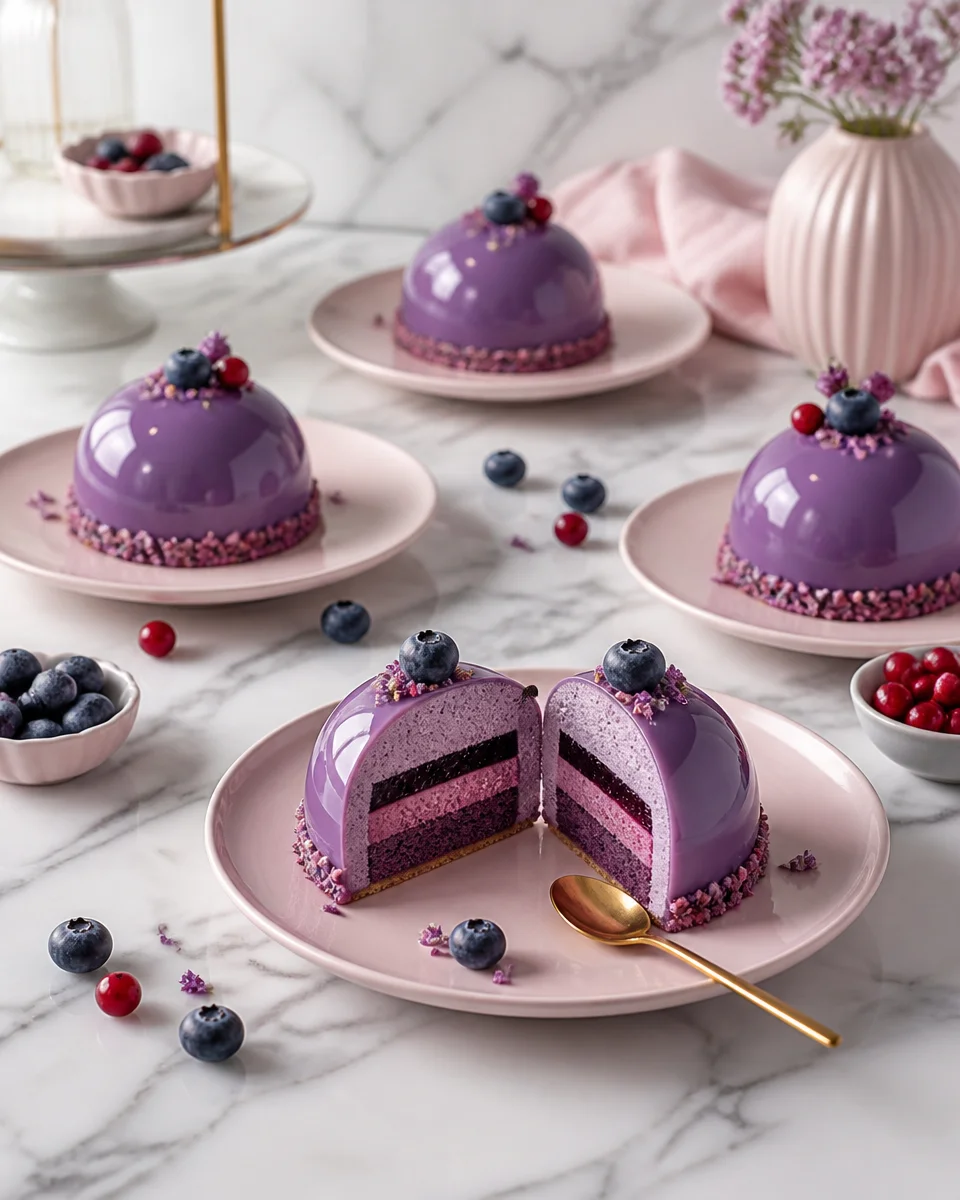
What Is Mirror Glaze?
Mirror glaze is a super glossy icing that you pour over a very cold cake. It sets into a smooth, shiny shell that reflects light, which is why it looks so dramatic in photos. The key is that the cake underneath needs to be frozen (or at least very firm and icy cold), so the glaze “grabs” and sets quickly.
Classic mirror glaze usually relies on sugar, gelatin, and something creamy like condensed milk, plus chocolate or cocoa for body. When it hits the cold cake, it becomes that sleek, glassy coat. And yes, it tastes good, but for me the best part is how it transforms a plain cake into a showstopper without piping skills.
If you are already in a dessert mood, you might also like this fun, layered treat I make for parties: decadent chocolate cheesecake trifle. It is the total opposite of mirror glaze, no fuss, just layers and joy.
One more thing people do not always mention: mirror glaze shows every bump. So the smoother your cake is before glazing, the more “professional” it will look, even if you are just in your kitchen wearing slippers.
;
How Is This Easy Mirror Glaze Recipe Different from A Classic Mirror Glaze?
My “easy” version keeps the same basic idea, but I simplify the steps and make the ingredients a little more forgiving. Traditional recipes can feel like a science project, especially when you start worrying about exact temperatures and fancy thermometers.
Here is what I focus on instead:
- Fewer ingredients and no weird extras you will never use again
- Less temperature anxiety, because we aim for a workable range, not perfection
- Small batch friendly, so you are not drowning in leftover glaze
- Galaxy coloring that looks impressive even if you are not an artist
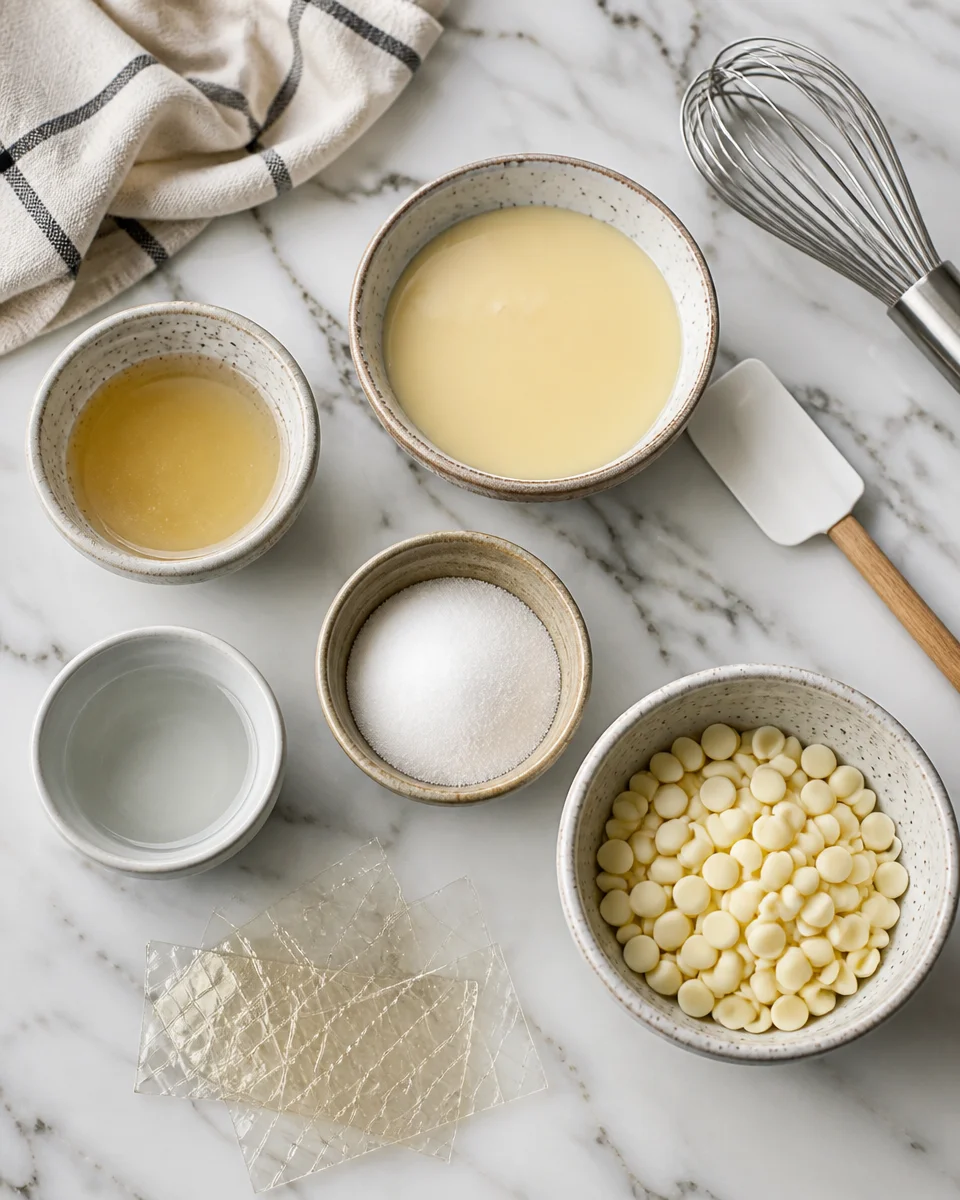
My go to base is still built around sweetened condensed milk and gelatin, because that combo gives you shine and stability. I also like using white chocolate (or good quality candy melts in a pinch) because it gives that smooth, creamy texture and helps colors pop.
And because I always get asked, yes, you can do a mirror glaze cake with a boxed cake mix. I have done it on busy weekends and nobody complained. Just make sure you frost the cake with a thin, smooth layer of buttercream or ganache first, then freeze it before pouring.
Speaking of easy desserts, if you want something you can literally stir and bake while doing laundry, I love this one: 4 ingredient blueberry dump cake. It is the “no pressure” cousin of mirror glaze.
Why Is This Recipe Easier Than a Normal Mirror Glaze?
This is the part that matters if you are nervous. A normal mirror glaze can be fussy because small mistakes show up fast, like lumps, bubbles, or glaze that slides right off the cake. My approach makes it easier because I build in a little wiggle room.
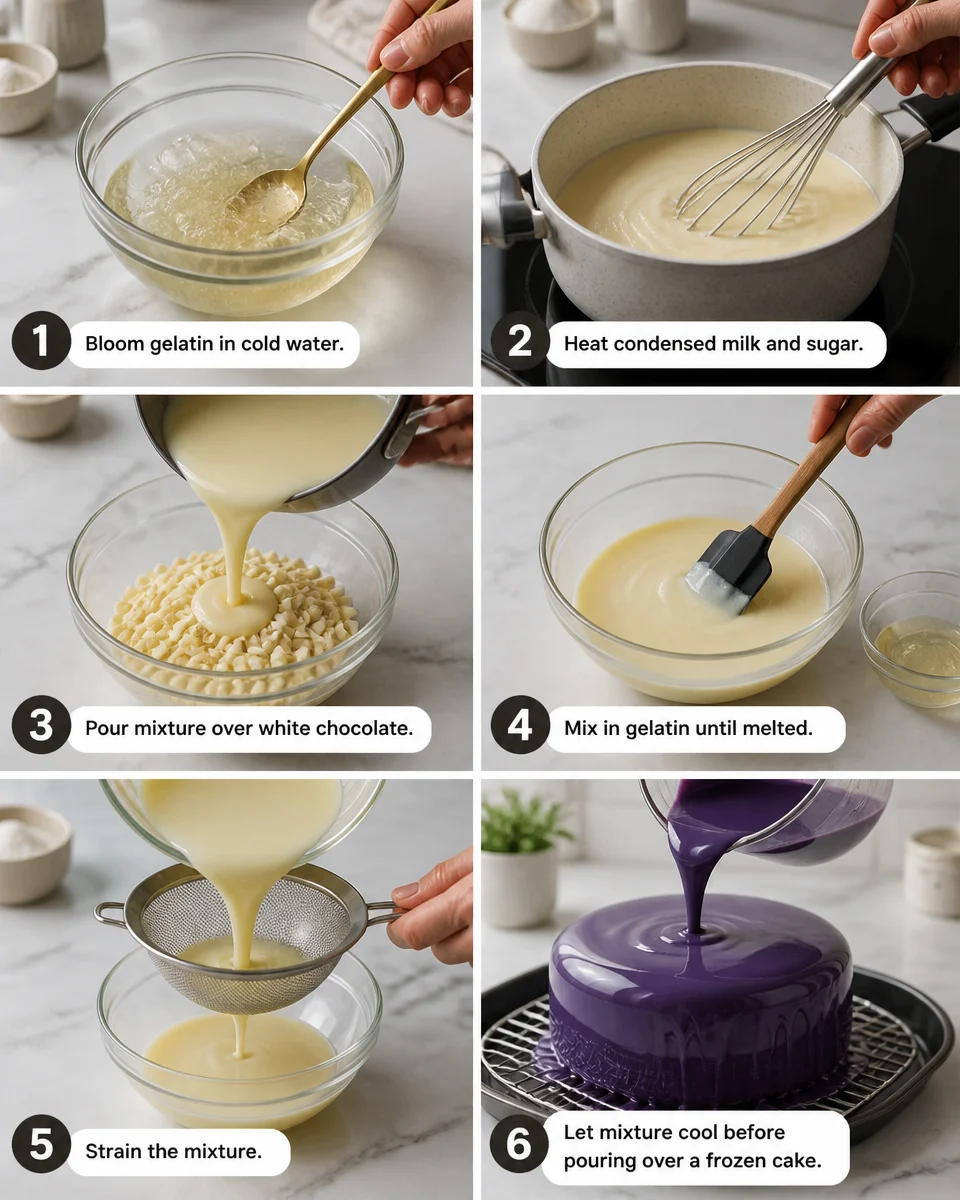
My beginner friendly method (what you will do)
- Bloom gelatin in cold water so it dissolves smoothly later
- Heat condensed milk and a little sugar until hot, not boiling
- Pour hot mixture over white chocolate and stir until smooth
- Mix in gelatin until fully melted
- Strain it (seriously, do not skip this)
- Let it cool until it is warm and pourable, then pour over a frozen cake
That’s it. No dramatic whisking, no guessing games with boiling syrup. The biggest “skill” is patience while it cools to the right pour point.
Also, straining is my little secret weapon. Even if you think your glaze is smooth, a quick strain catches tiny chocolate bits or gelatin clumps that can wreck the finish. I use a fine mesh sieve and a bowl, nothing fancy.
“I tried this for my daughter’s birthday and the shine was unreal. I was shocked it actually looked like the photos. Your tip about freezing the cake first saved me.”
Random side note, when I am making party desserts, I like to add a quick bite alongside the fancy cake. These are always a hit and they travel well: easy Oreo cake balls.
How To Color This Mirror Glaze Recipe
This is where the galaxy magic happens. You do not need to be an artist. You just need a few colors, a light hand, and the willingness to stop stirring before everything turns into one dull shade.
My favorite galaxy color combo
I usually do black, deep navy, purple, and a little teal. Then I keep some glaze white for contrast. For coloring, gel food coloring works best because it is concentrated and does not water down the glaze.
How I swirl it without making mud
- Divide glaze into separate bowls (one for each color)
- Color each bowl, starting with a tiny amount and building up
- Pour the colors back into one big measuring jug in layers
- Do 1 to 2 gentle stirs only, like a lazy figure eight
- Pour in one steady stream over the center of the frozen cake
If you overmix in the jug, you lose the galaxy look. If you pour too slowly, the glaze can set in thick ribbons. I aim for confident and steady, even if my hands are shaking a little.
Want tiny “stars”? Dip a clean toothbrush in white glaze and flick lightly over the cake (do this after the glaze sets a bit). Or just splatter a few dots with a spoon. Either way, it looks cute and nobody knows how easy it was.
I also like serving this cake with coffee, and if you are a coffee dessert person, this one is so cozy: date coffee loaf cake with walnuts and espresso glaze.
Tips for Making the Best Mirror Glaze Cake
These are the practical tips that make the difference between “pretty glossy” and “wow, did you buy that?” I have learned them the hard way, so you do not have to.
- Freeze the cake: at least 6 hours, overnight is even better
- Smooth the sides first: use buttercream or ganache and scrape it as clean as you can
- Strain the glaze: this helps avoid lumps and surprise bits
- Avoid bubbles: stir slowly, and tap the bowl to bring bubbles up
- Pour at the right temp: warm and pourable, not hot, not thick like pudding
- Use a drip setup: place cake on a rack over a tray so extra glaze can run off
- Do not touch it: fingerprints on mirror glaze are forever
When you move the glazed cake, use two offset spatulas or a big flat lifter. I slide it onto the serving plate once it has stopped dripping, usually after 10 to 15 minutes.
If you are planning a full holiday spread and want something savory to balance all this sweetness, I have made this more than once and it never fails: Christmas maple glazed ham.
Common Questions
Do I have to use gelatin?
Yes, for the classic shiny set, gelatin is what makes mirror glaze behave. If you need a vegetarian option, agar agar can work, but it sets differently and takes testing.
Can I pour mirror glaze on a refrigerated cake instead of frozen?
You can, but you will get a thinner coat and it may not set as smooth. For a true mirror glaze cake finish, frozen is best.
Why did my glaze look dull?
Usually it was poured too cool and thick, or it had lots of bubbles. Strain it, stir gently, and pour when it is warm and fluid.
How far ahead can I make it?
I like glazing the day before serving. Keep it in the fridge uncovered for 30 minutes to set, then cover lightly so it does not pick up fridge smells.
Can I save leftover glaze?
Yes. Store it in the fridge, then rewarm gently in short bursts and stir slowly. Strain again if needed.
Ready to make your own glossy galaxy?
If you take anything from this post, let it be this: a frozen cake plus a smooth, strained glaze gets you most of the way there. Easy Mirror Glaze Cake Glossy Galaxy Decorating is totally doable at home, even if you have never made a fancy cake before. Keep your colors simple, do not overmix, and let the glaze do the work. If you want to compare techniques, I found this helpful guide and it is worth a read: Easy Mirror Glaze: 5-Ingredient Recipe and Tutorial – Chelsweets. Now go make that shiny galaxy cake and please do not stress, because even the “imperfect” ones still make people gasp when you slice into them.
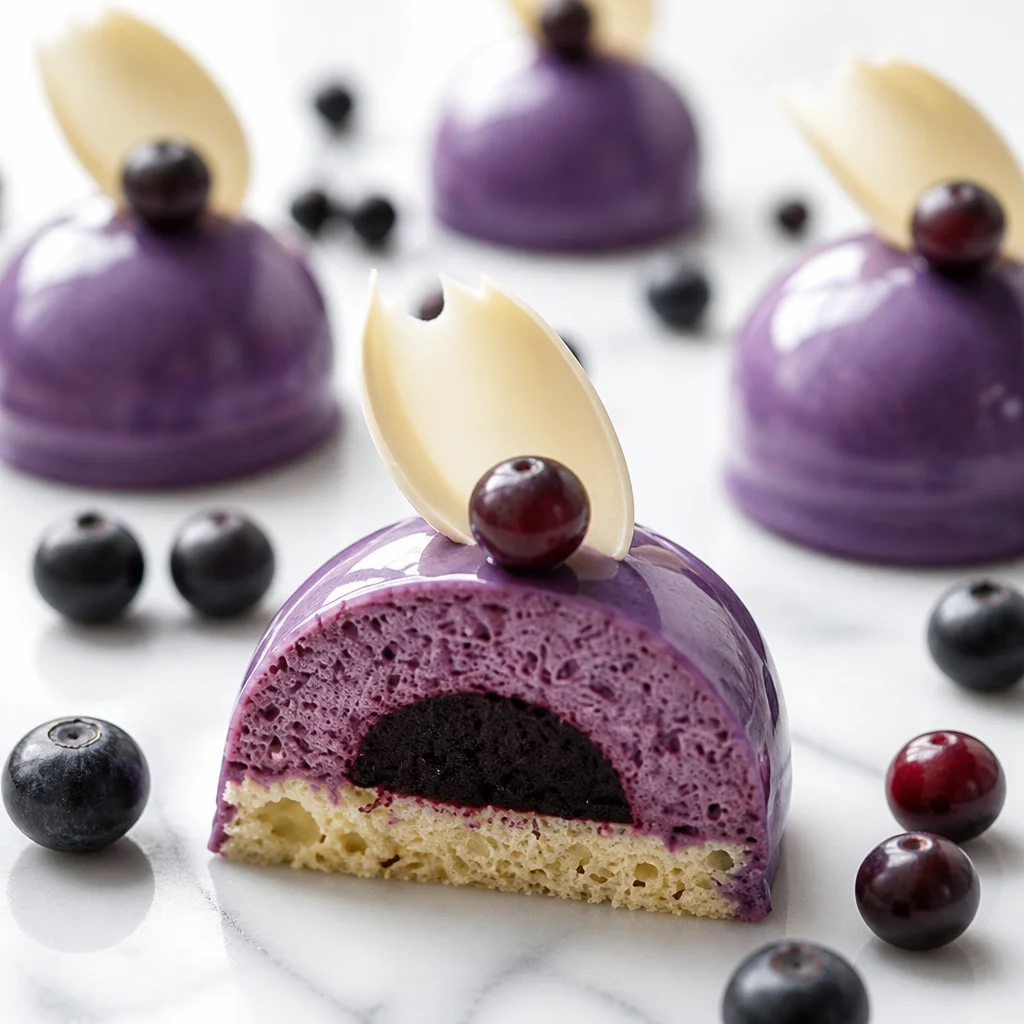
Easy Mirror Glaze Cake
Ingredients
Method
- Bloom the gelatin in cold water and set aside.
- Heat the sweetened condensed milk and granulated sugar in a saucepan until hot (but not boiling).
- Pour the hot mixture over the white chocolate and stir until smooth.
- Mix in the bloomed gelatin until fully melted.
- Strain the mixture through a fine mesh sieve to ensure it’s smooth.
- Let the glaze cool until it is warm and pourable.
- Divide the glaze into separate bowls for each color.
- Color each bowl with gel food coloring, starting with a small amount.
- Layer the colored glazes back into one measuring jug.
- Gently stir once or twice to create a marbled effect.
- Pour the glaze in a steady stream over the center of the frozen cake.
