
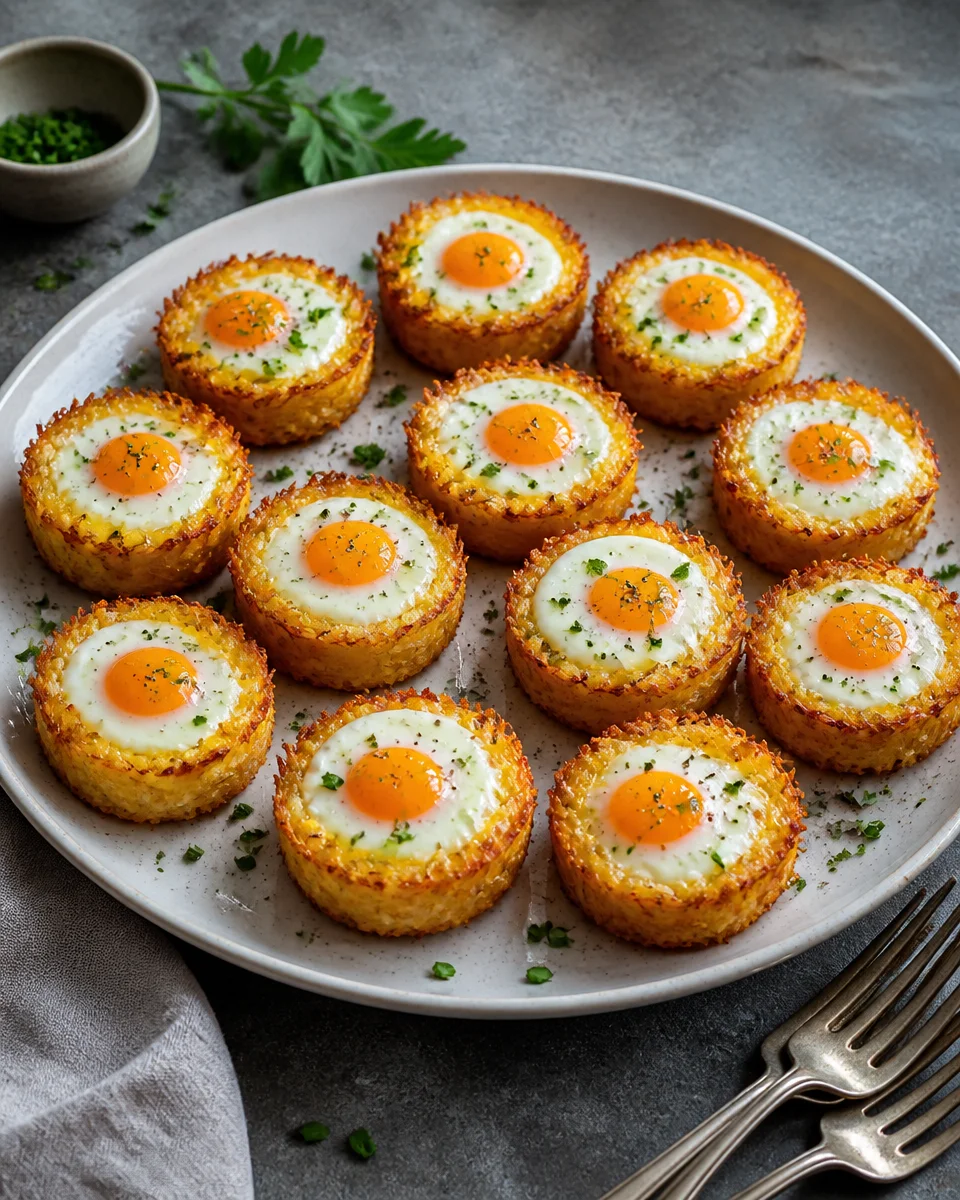
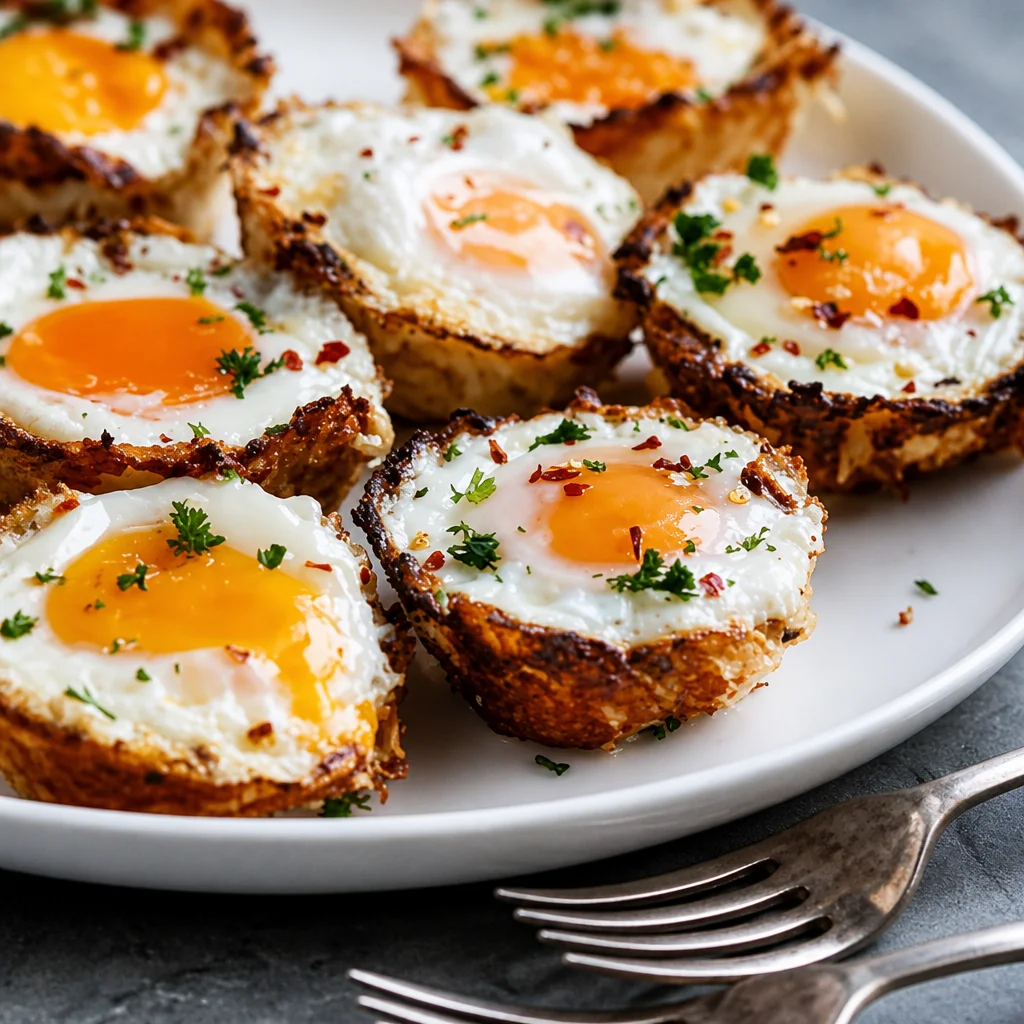
Easy Hash Brown Egg Cups — Low Carb Breakfast is the kind of recipe I lean on when mornings get hectic and I still want something warm and filling. You know those days when you open the fridge, stare for a second, and hope breakfast just figures itself out. These little cups are my answer to that. They’re crispy on the edges, soft in the middle, and they reheat like a dream. Plus, they feel like a treat even when you’re trying to keep things lighter.
What Makes This Recipe So Good
I’m not going to pretend I wake up with time to cook a full breakfast spread every day. I don’t. That’s why Easy Hash Brown Egg Cups — Low Carb Breakfast has earned a permanent spot in my routine. They’re basically breakfast you can hold in one hand, and that alone makes them worth it.
Here’s what I love most:
They’re meal prep friendly. Bake a batch, toss them in the fridge, and you’re set for a few days.
They’re customizable. You can go heavy on the cheese, add veggies, or keep it simple with just egg and seasoning.
They feel hearty even though we’re swapping the usual potatoes for cauliflower. You still get that hash brown vibe, just with fewer carbs.
If you’re more in a casserole mood (maybe feeding people, maybe just craving cozy), my other favorite is this easy bacon egg and hashbrown casserole. It’s a different vibe, but same comforting breakfast energy.
What Goes Into Cauliflower Hash Brown Egg Cups
Let’s talk ingredients without making it complicated. The key is cauliflower that’s not watery, because soggy cauliflower is the fastest way to sad breakfast cups.
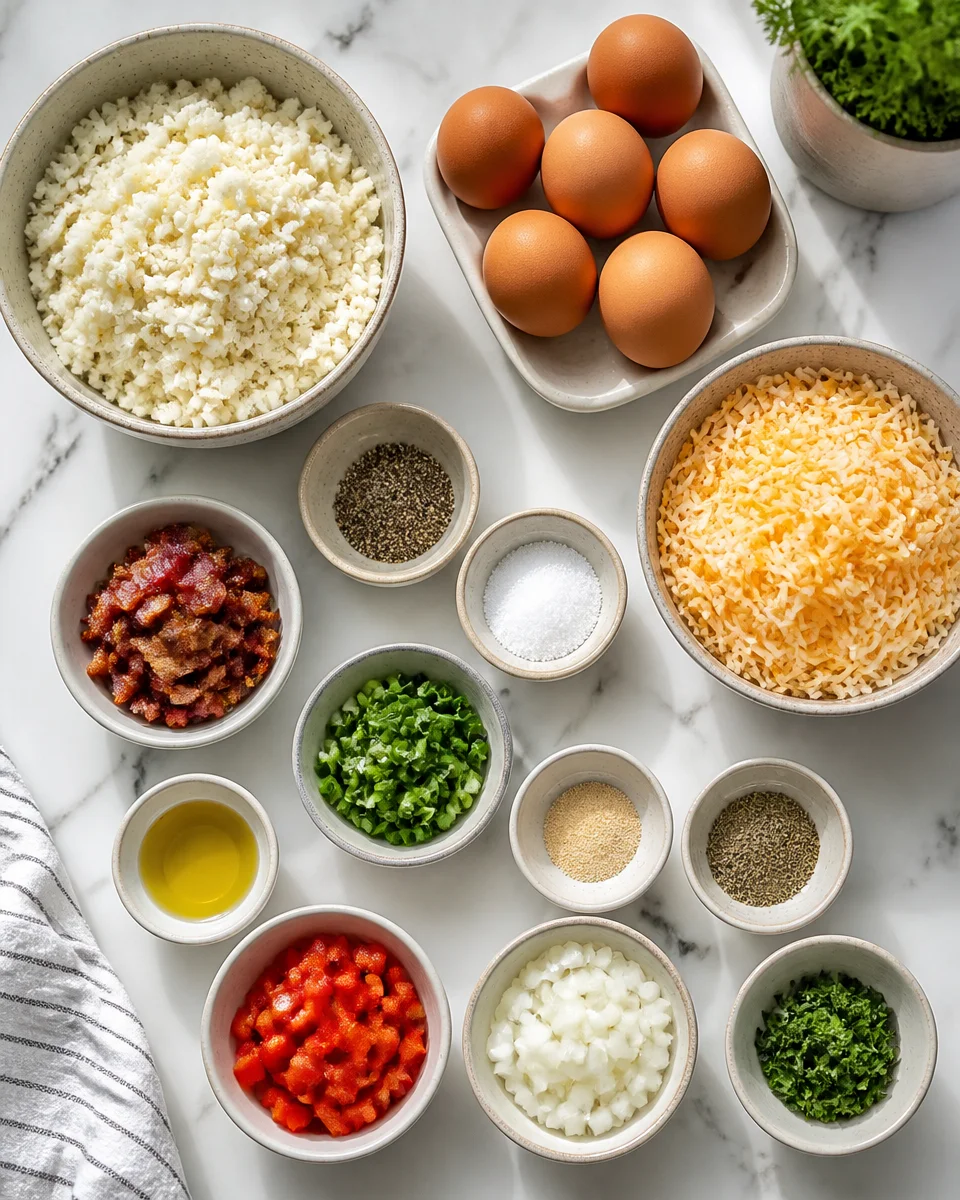
Ingredients you will need
- Riced cauliflower (fresh or frozen, just squeeze it dry)
- Eggs (one for the mix and more for cracking into the cups)
- Shredded cheese (cheddar is classic, mozzarella is mild, pepper jack is fun)
- Salt and pepper
- Garlic powder or onion powder (optional but tasty)
- Cooking spray or a little oil for the muffin tin
- Optional add ins: cooked bacon bits, diced ham, chopped spinach, green onions
If you like this kind of grab and go breakfast, you might also want to check out these easy egg muffins meal prep breakfast cups. They’re more egg forward, less crispy crust, but they’re super handy.
How To Make Cauliflower Hash Brown Egg Cups
This is the part that makes you feel like you’ve got your life together, even if your sink is full of dishes. The process is simple, but the one thing you really can’t skip is drying the cauliflower.
Step by step, no stress
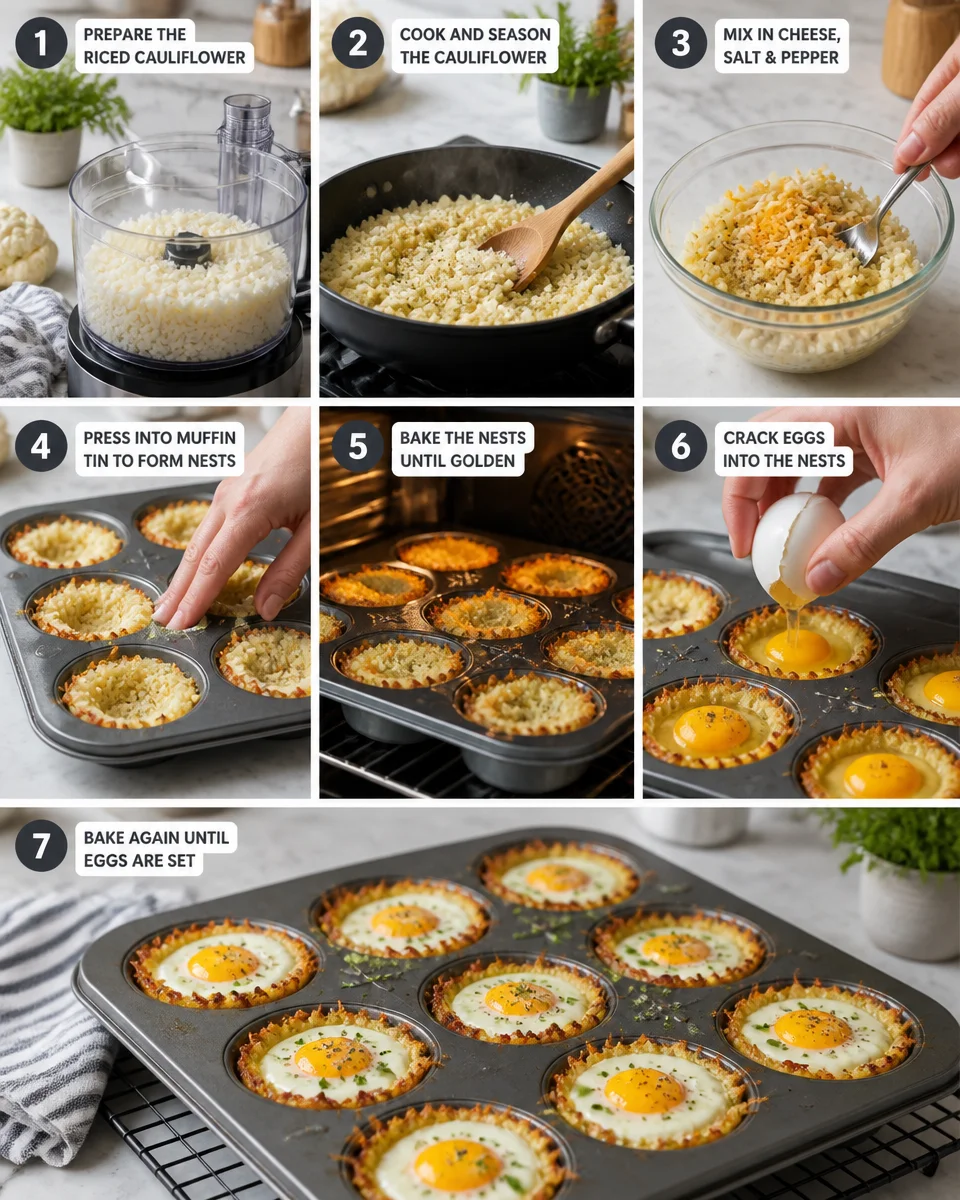
1) Heat your oven to 400 F. Spray a muffin tin really well. If your muffin tin is older and sticky, go heavier on the spray.
2) Cook your riced cauliflower first. If it’s frozen, microwave it until hot. If it’s fresh, you can sauté it for a few minutes. Now the important part: put it in a clean towel and squeeze like you mean it. You want it as dry as possible.
3) In a bowl, mix the dried cauliflower with a handful of cheese, one egg, salt, pepper, and any seasonings you like. This mixture becomes your hash brown crust.
4) Divide the cauliflower mixture into the muffin cups. Press it down and up the sides to form little nests. I use the bottom of a spoon to press it in.
5) Bake the nests for about 15 to 18 minutes, until the edges look golden and they feel set.
6) Pull the pan out and crack an egg into each nest. Sprinkle a little extra cheese on top if you want. Pop it back in the oven for 8 to 12 minutes depending on how runny or firm you like your yolks.
7) Let them cool for a few minutes before removing. They set up as they sit, and they’re less likely to fall apart.
I’ve made these on weekends while doing laundry, and the payoff all week is real. The first time I tried Easy Hash Brown Egg Cups — Low Carb Breakfast, I honestly didn’t expect the crust to get as crisp as it did. Dry cauliflower and a hot oven really do the trick.
“I made these on Sunday and ate them all week before work. They actually kept me full, and my kids stole a couple too. The crispy edges are the best part.”
If you ever want to switch from cups back to a bake-and-scoop style breakfast, this easy sausage hashbrown breakfast casserole is another solid option for busy mornings.
Nutritional Breakdown
I’m not a medical person, so I’m not going to make big promises, but I can tell you why these feel lighter than regular hash brown cups. Cauliflower replaces most of the starchy base, and the protein from the eggs does a lot of the heavy lifting for staying power.
Here’s a simple way to think about it:
What changes the numbers the most is how much cheese you use and whether you add bacon or sausage. If you’re aiming for lower calories, go lighter on cheese. If you’re aiming for more filling, add a bit of meat or extra egg whites.
I also like making a batch with spinach and green onion when I want that “I ate vegetables today” feeling before noon. Easy Hash Brown Egg Cups — Low Carb Breakfast can be as simple or as loaded as you need.
And if you’re not strictly low carb but you love the idea of baked breakfast cups, these easy baked sweet potato egg cups are a great alternative. Different flavor, still super practical.
Tips For Cauliflower Hash Brown Egg Cups
These are the little things I’ve learned after making them a bunch of times. They’re not hard, but a few tweaks make them way more reliable.
My best tips (the stuff that matters)
Squeeze the cauliflower dry. I know I already said it, but it’s the difference between crispy and mushy.
Grease the pan well. Muffin tins can be clingy. A silicone muffin pan also works great if you have one.
Pre bake the nests. Don’t skip this. The crust needs time to firm up before the egg goes in.
Watch the egg bake time. Everyone likes eggs different. Start checking around 8 minutes if you like a softer yolk.
Cool before removing. They’ll hold together better after a 5 minute rest.
If you’re making breakfast for a crowd and want something cheesy and classic, this easy funeral potatoes cheesy hash brown casserole is pure comfort food. Not low carb, but absolutely worth knowing about for potlucks and holidays.
Common Questions
Can I make these ahead of time?
Yes. Bake them, cool them, and store in the fridge. They’re great for 3 to 4 days. Reheat in the microwave, or use the oven or air fryer if you want the edges crisp again.
Can I freeze cauliflower hash brown egg cups?
You can, but the egg texture changes a bit after freezing. If you do freeze, wrap them well and reheat gently. For best texture, I prefer fridge meal prep instead.
How do I keep them from sticking?
Grease the muffin tin generously and let them cool before removing. If they still stick, run a butter knife around the edge carefully.
What toppings go well with them?
Hot sauce, salsa, avocado, and a sprinkle of fresh herbs are all great. If you’re doing brunch, they’re also good with a side of berries or a simple salad.
Do I have to use cheese?
No, but it helps the cauliflower crust hold together and adds flavor. If you skip it, consider adding an extra egg to the crust mixture and season it well.
A cozy breakfast you will actually make again
If you’ve been needing a breakfast that feels satisfying but still fits a lighter routine, Easy Hash Brown Egg Cups — Low Carb Breakfast is one of those recipes that really earns its keep. You get the comfort of hash browns, the protein of eggs, and the bonus of easy reheating all week. If you want another perspective and a slightly different spin, this recipe for Cauliflower Hash Brown Egg Cups (Low Carb + Gluten Free) is also a great read. Now go preheat that oven and make future you very happy tomorrow morning. 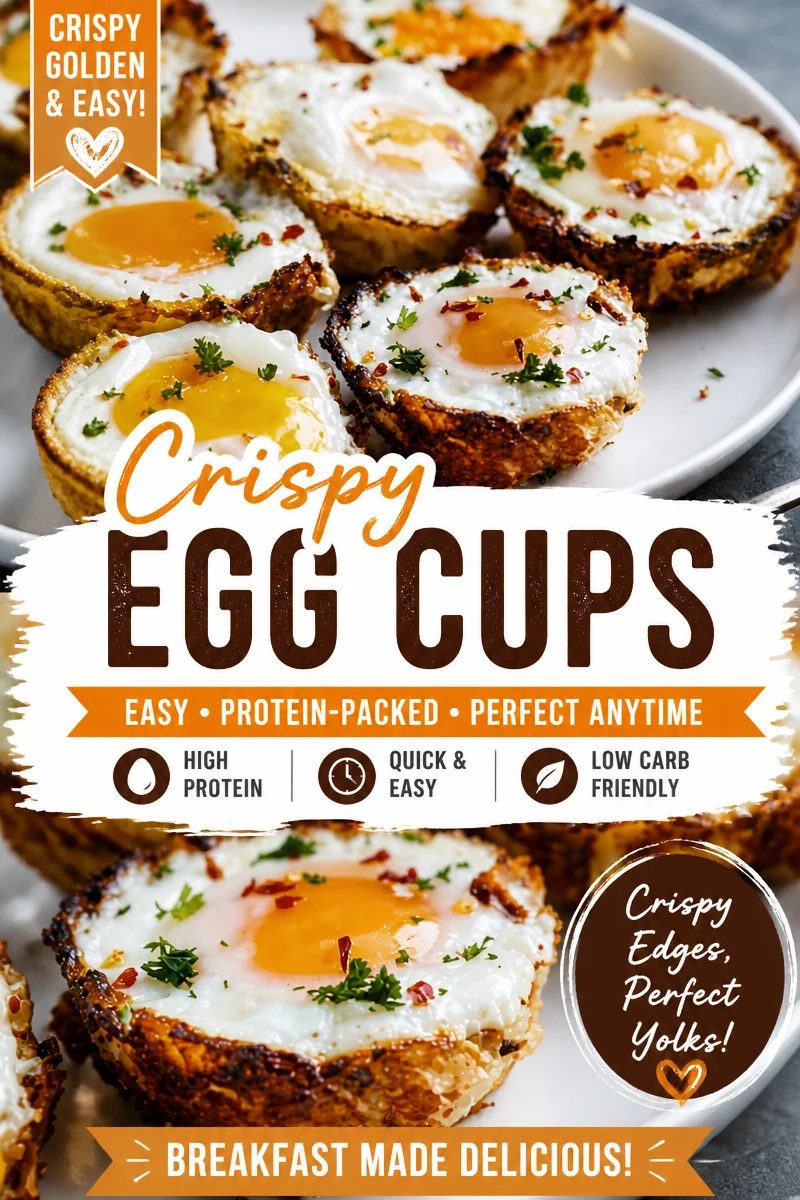
Easy Hash Brown Egg Cups
Ingredients
Method
- Heat your oven to 400°F (200°C) and spray a muffin tin generously with cooking spray.
- Cook the riced cauliflower: if frozen, microwave until hot; if fresh, sauté for a few minutes. Squeeze it dry using a clean towel.
- In a bowl, mix the dried cauliflower with cheese, one egg, salt, pepper, and any additional seasonings. This is your hash brown crust.
- Divide the cauliflower mixture into the muffin cups, pressing it down and up the sides to form nests.
- Bake the nests for about 15 to 18 minutes until golden and set.
- Remove the pan and crack an egg into each nest, adding more cheese on top if desired. Bake for another 8 to 12 minutes based on preferred yolk firmness.
- Allow them to cool for a few minutes before removing to minimize falling apart.