
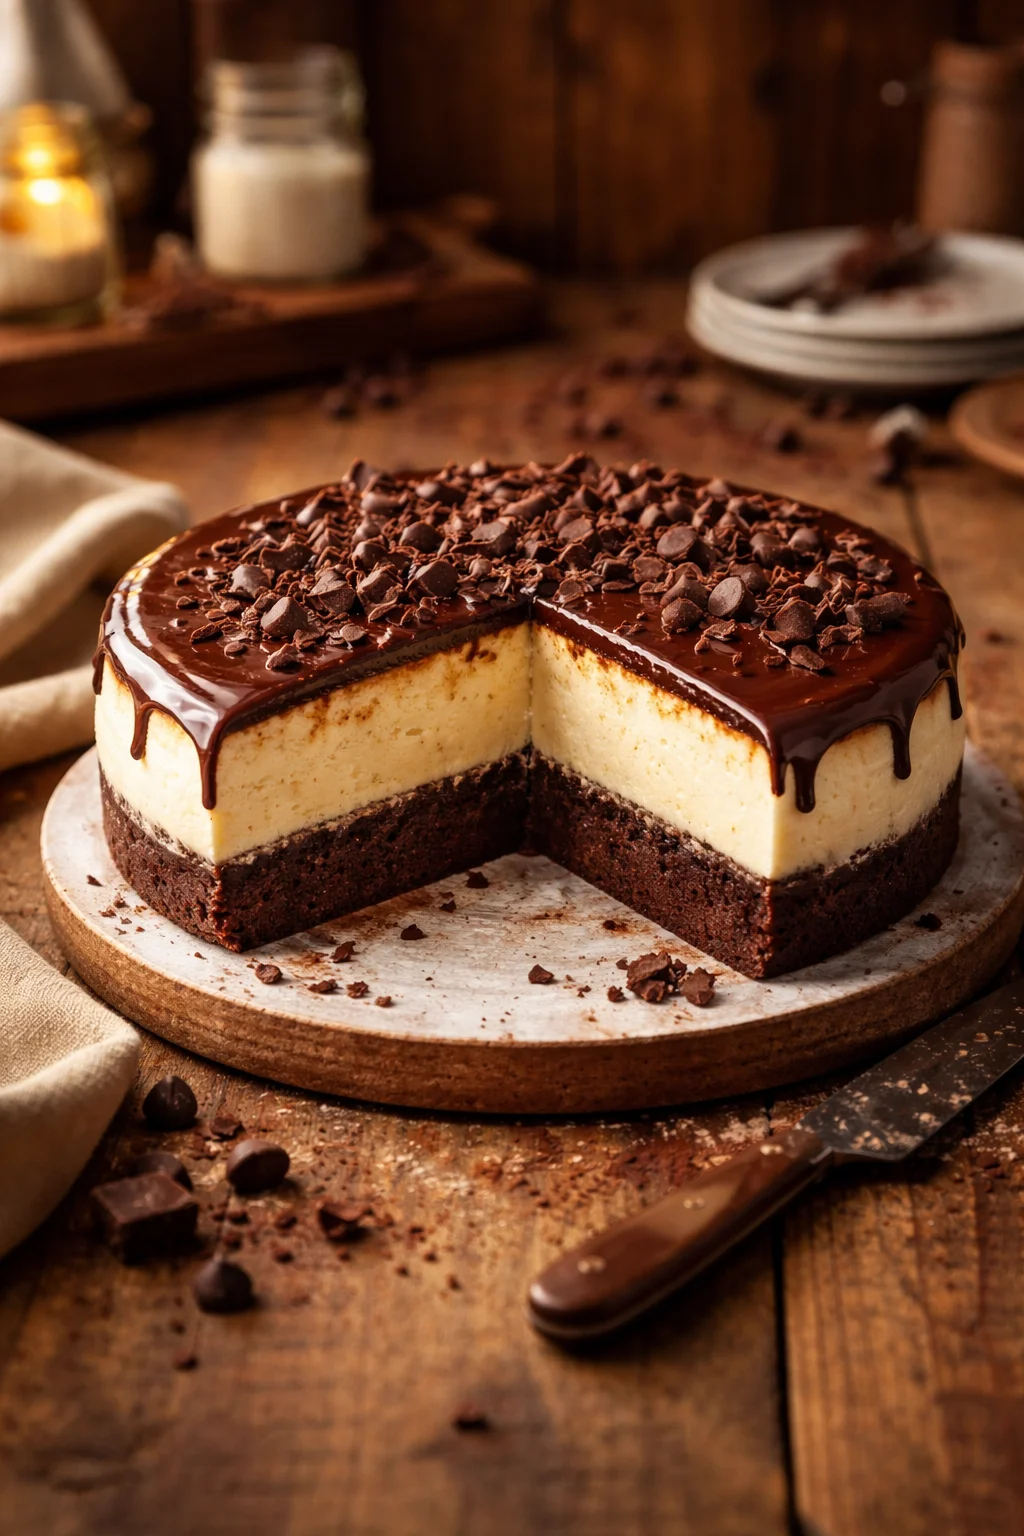
BROWNIE BOTTOM CHEESECAKE is my go to dessert for those days when I cannot decide between a fudgy brownie and a creamy slice of cheesecake. You know the feeling, right, you want something chocolatey, but you also want that tangy, dreamy cheesecake bite. This recipe fixes the problem by giving you both in one pan, with a brownie base that stays rich and chewy under a thick cheesecake layer. I started making it for birthdays, then I realized it instantly makes regular weekends feel like a party. If you have a bowl, a mixer, and a little patience while it chills, you can totally pull this off.
How To Make Brownie Bottom Cheesecake
I like to think of this as a two part situation: brownies first, cheesecake second. The brownie layer is basically your crust, but way better because it is chocolate. Then the cheesecake layer goes right on top and bakes into that classic smooth top. I have tried a few methods, and this one is the simplest without losing that bakery style vibe.
What you will need
- 9 inch springform pan (or a deep 9 inch cake pan lined carefully)
- Mixing bowls, whisk, rubber spatula
- Hand mixer or stand mixer
- Roasting pan for a water bath (optional but helpful)
Ingredients
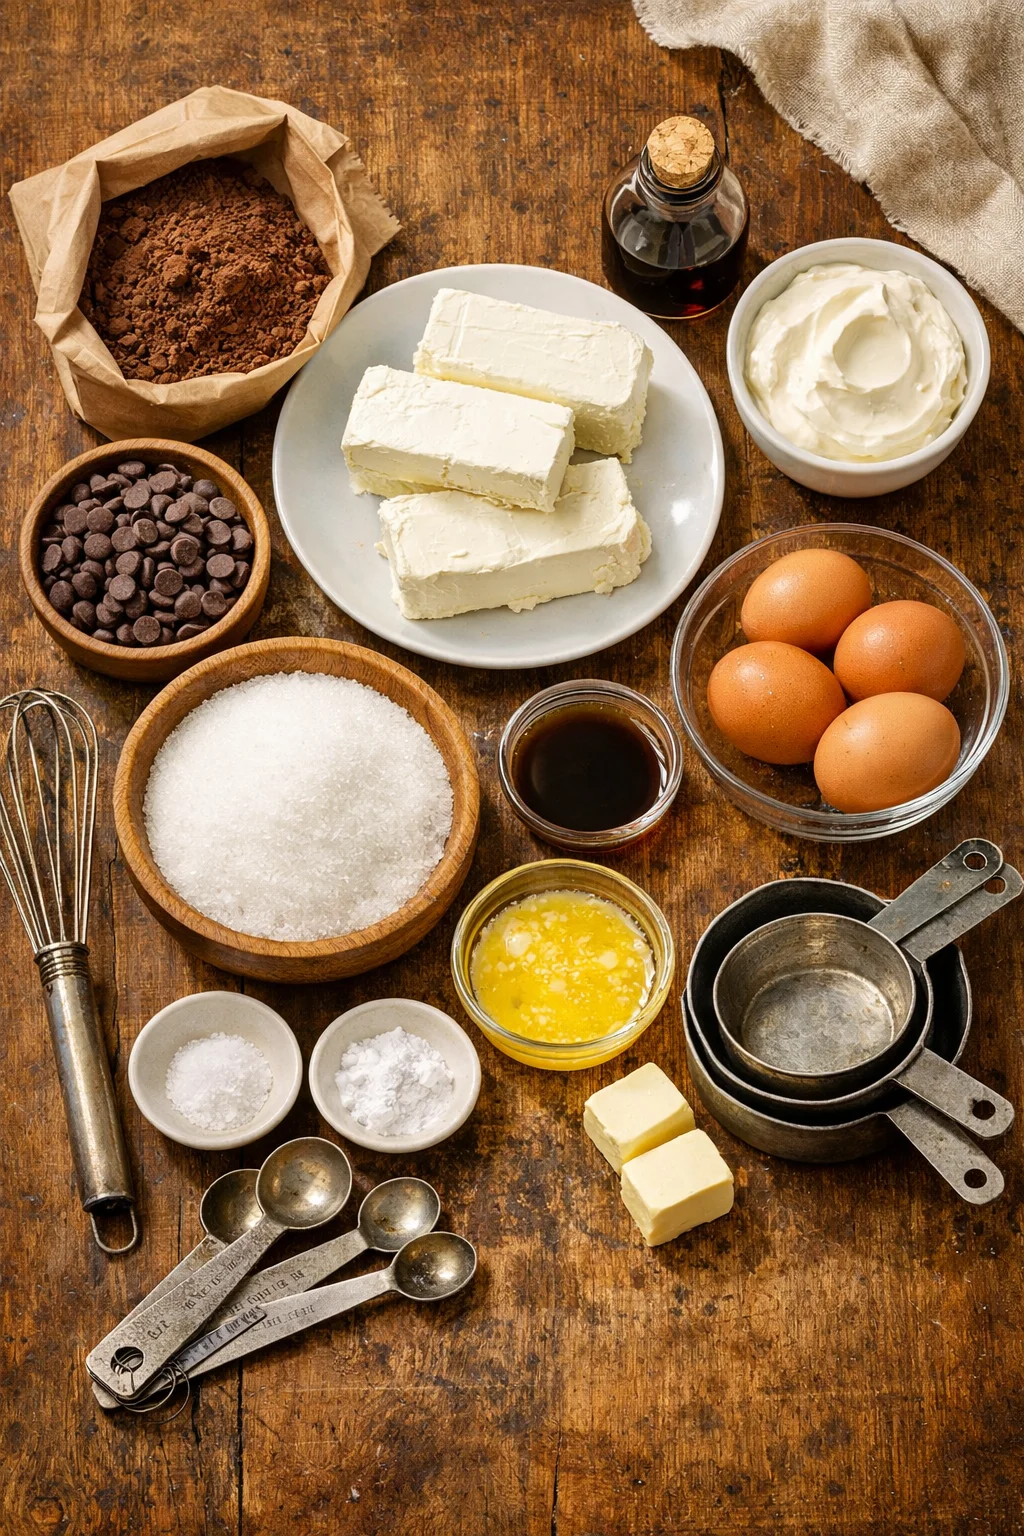
- Brownie layer: 10 tablespoons melted butter, 1 cup sugar, 2 large eggs, 1 teaspoon vanilla, 1 cup cocoa powder, 1 half teaspoon salt, 1 half cup flour
- Cheesecake layer: 24 ounces cream cheese softened, 3 fourths cup sugar, 3 large eggs, 3 fourths cup sour cream, 2 teaspoons vanilla, 1 tablespoon flour (optional, helps stability)
Quick side note: if you love playing around with brownie textures, I have a whole rabbit hole of brownie ideas. I once read through this brownie batter guide and it honestly helped me understand what makes brownies more fudgy versus cakey.
Directions
1) Preheat your oven to 325 F. Grease your springform pan and line the bottom with parchment if you can. It makes life easier later.
2) Make the brownie layer. In a bowl, whisk melted butter and sugar. Add eggs and vanilla, whisk again until glossy. Stir in cocoa powder and salt, then fold in flour just until you do not see streaks. Spread this into the pan. It will look like a thin layer, that is perfect.
3) Bake the brownie layer for 12 to 15 minutes. You want it just set, not fully baked, because it will bake again with the cheesecake. Let it cool while you mix the cheesecake.
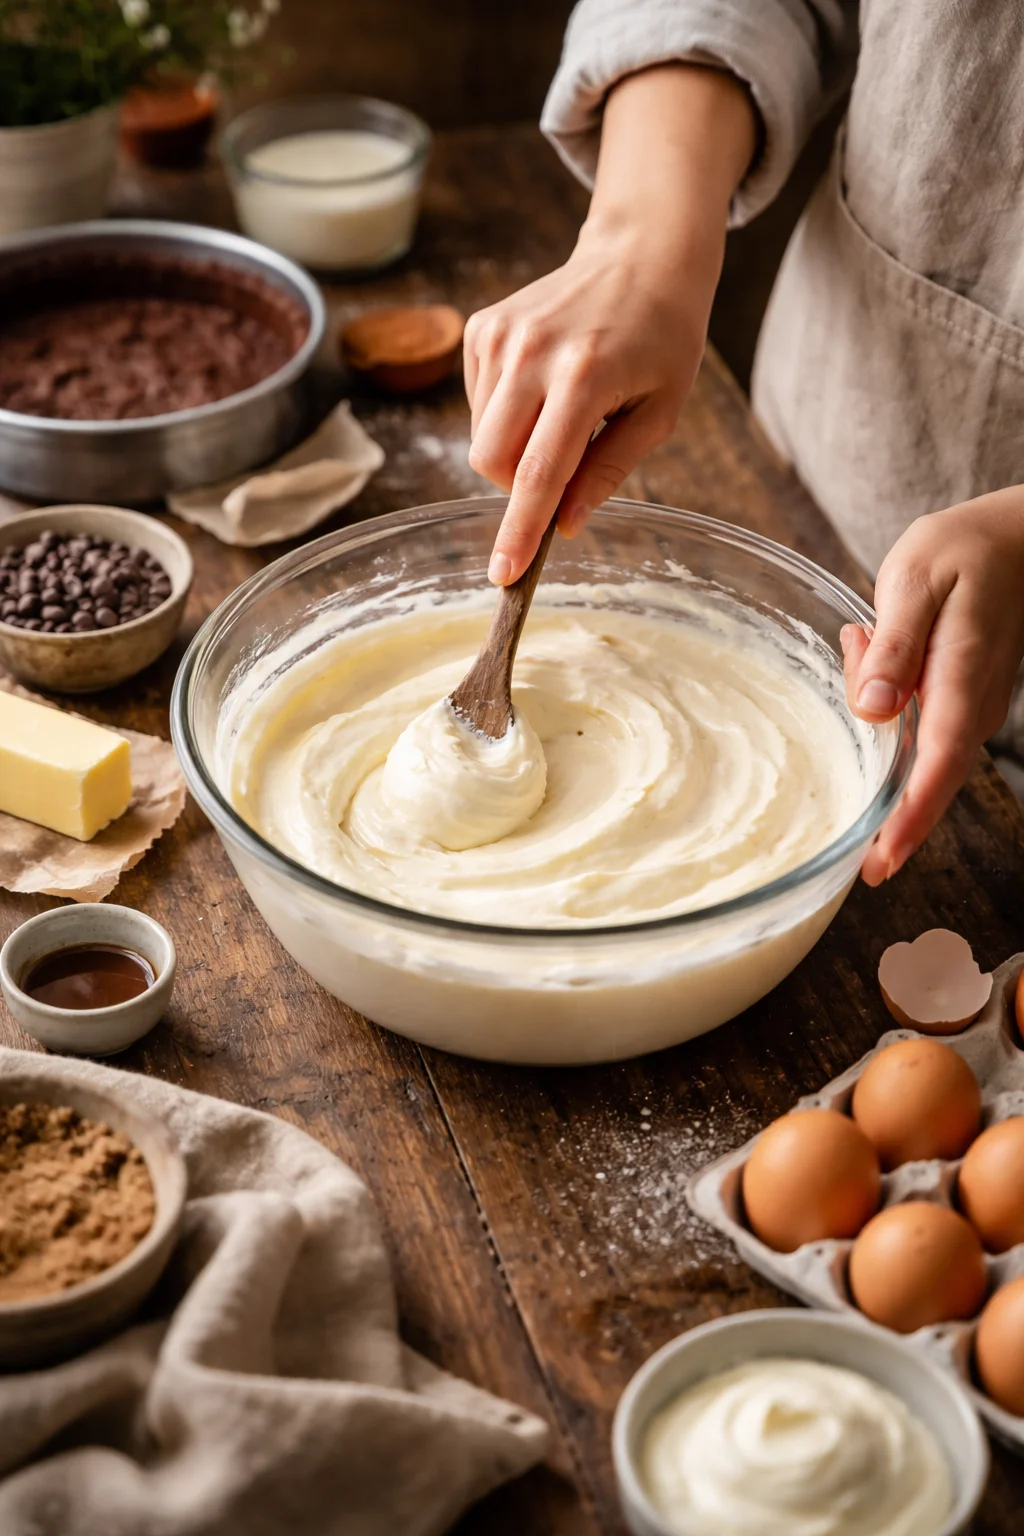
4) Make the cheesecake layer. Beat cream cheese and sugar until smooth, scraping the bowl a couple times. Add eggs one at a time on low speed. Stir in sour cream and vanilla. If you use the flour, mix it in last and stop as soon as it disappears.
5) Pour cheesecake batter over the brownie layer. Tap the pan gently on the counter to pop air bubbles.
6) Bake 55 to 70 minutes. The edges should look set and the middle should still have a little jiggle. Turn the oven off, crack the door, and let it sit for 30 minutes. Then cool on the counter until room temp.
7) Chill at least 6 hours, overnight is best. This is where the magic happens and the slices become clean and gorgeous.
If you are craving a bar version for a potluck, check out these cheesecake brownies because they are super shareable and travel well.
Tips for Making
This is the part where I save you from the little mistakes I made the first few times. None of them are tragic, but a few tweaks take your BROWNIE BOTTOM CHEESECAKE from good to wow, can I get the recipe.
Start with room temp cream cheese. If it is cold, it stays lumpy and you will be standing there mixing forever, getting annoyed.
Do not overmix after adding eggs. I keep the mixer on low and stop as soon as everything looks blended. Too much air can lead to cracks and a puffed top that falls.
Pre bake the brownie layer. This keeps the brownie from turning into a pudding layer under the cheesecake. Just that quick 12 to 15 minutes makes a big difference.
Use a little parchment. Even with a springform pan, parchment on the bottom makes it easier to lift and serve clean slices.
Flavor ideas that actually work. A spoon of instant espresso in the brownie layer makes chocolate taste deeper. A little lemon zest in the cheesecake adds a fresh pop without making it lemon cheesecake.
When I want to switch it up but still keep the brownie vibe, I make something like blondie brownies on a different weekend. It is a fun change if you are not in the mood for full chocolate.
“I made this for my sister and I was nervous because cheesecake feels fancy. It came out perfect and the brownie bottom stayed chewy. Everyone asked for a second slice.”
Can You Freeze Cheesecake
Yes, you can freeze cheesecake, and it is honestly one of my favorite tricks for stress free hosting. BROWNIE BOTTOM CHEESECAKE freezes really well because the brownie base helps it hold together.
Here is how I do it:
- Chill the cheesecake fully in the fridge first, preferably overnight.
- Remove from the pan and place the whole cheesecake or slices on a baking sheet to firm up in the freezer for 1 hour.
- Wrap tightly in plastic wrap, then wrap again in foil. Double wrapping helps prevent freezer taste.
- Label it with the date. I try to eat it within 1 to 2 months for best texture.
To thaw, I move it to the fridge overnight. Do not thaw at room temp if you can avoid it, because you will get condensation and a softer texture. If you are freezing slices, you can thaw a slice in the fridge in a few hours and it is basically dessert on demand.
I sometimes freeze extra desserts too, like banana pudding brownies, and future me is always grateful.
Expert Baking Tips
I am not a professional pastry chef, but I have made enough cheesecakes to know what keeps them consistent. This is the calm, reliable stuff that helps your BROWNIE BOTTOM CHEESECAKE bake evenly and slice nicely.
About the water bath: You do not have to do it, but it helps with even baking and fewer cracks. If you use one, wrap the outside of your springform pan in two layers of foil so water does not sneak in. Place it in a roasting pan, then pour hot water into the roasting pan until it comes about halfway up the sides.
Know when it is done: The center should jiggle like set pudding, not like liquid. The edges should look firm. If the whole cheesecake is wobbling like soup, it needs more time.
Cooling matters: Sudden temperature changes can cause cracks. That is why I like the oven off, door cracked method. It is boring, but it works.
Cutting clean slices: Use a sharp knife, run it under hot water, wipe it dry, and slice. Repeat between slices if you want that bakery look.
More Cheesecake
If you are anything like me, once you make one cheesecake that turns out, you suddenly want to make five more. I get it. The base recipe is comforting because you know what to expect, then you can play with flavors.
Here are a few easy directions to explore next:
- Chocolate lover mode: Add mini chocolate chips to the cheesecake layer or drizzle ganache on top after chilling.
- Fruit swirl: Spoon a few tablespoons of raspberry jam on top and swirl it gently before baking.
- Cookie vibe: Top with crushed cookies right before serving for crunch.
If you want something with a brighter, tangy punch, I am obsessed with key lime flavors, and this cheesecake factory key lime cheesecake style recipe is a fun one to try when you want a totally different mood.
Common Questions
Do I have to use a springform pan?
It helps a lot, but you can use a deep cake pan. Line it with parchment so you can lift it out, and be gentle when removing.
Why did my cheesecake crack?
Usually it is overbaking, too much mixing after adding eggs, or cooling too fast. It still tastes great. You can cover cracks with whipped cream or chocolate drizzle.
Can I make it ahead?
Yes, it is actually better made ahead. I prefer making it the day before so it chills overnight and slices clean.
How do I store leftovers?
Keep it covered in the fridge for up to 4 or 5 days. For longer storage, freeze slices as described above.
Can I add toppings?
Absolutely. Whipped cream, berries, caramel sauce, or shaved chocolate all work. Just add toppings right before serving so they look fresh.
A sweet ending and a little encouragement
If you have been wanting a dessert that feels special without being complicated, BROWNIE BOTTOM CHEESECAKE is the one I keep coming back to. You get that dense chocolate base, the creamy center, and a slice that makes people stop talking for a second after the first bite. If you want to compare versions, I found helpful inspiration from Brownie Bottom Cheesecake – girl. Inspired. and also this cozy take from Brownie Bottom Cheesecake – Simply Stacie. Put it on your next weekend baking list, chill it overnight, and let yourself enjoy that moment when you cut the first perfect slice. 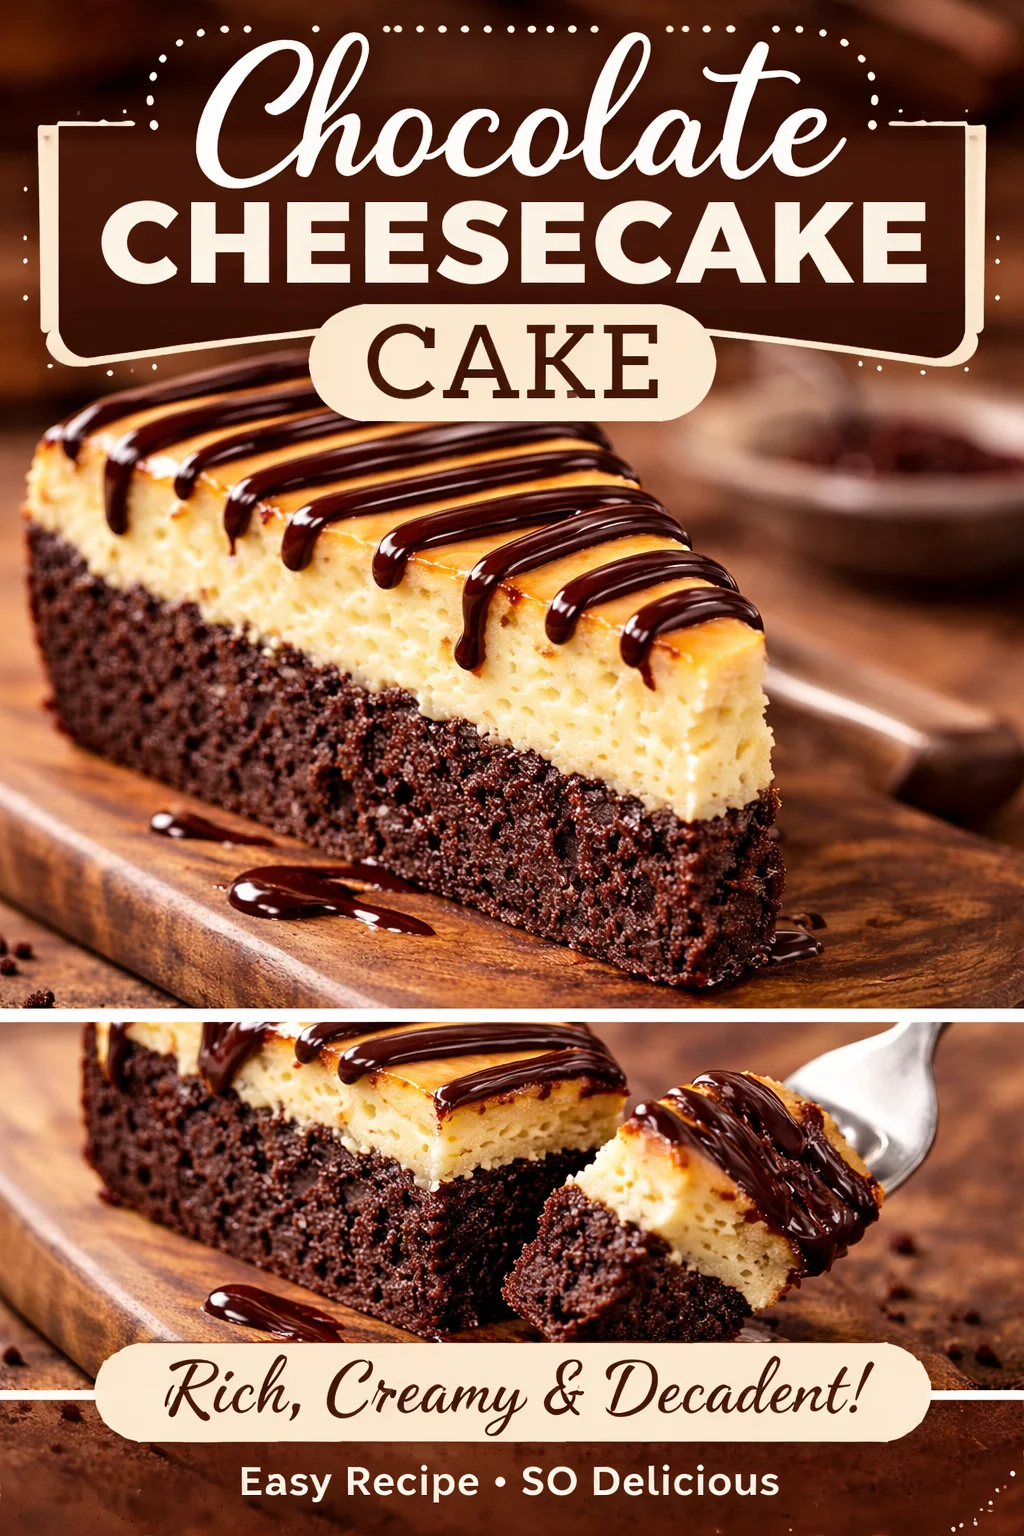
Brownie Bottom Cheesecake
Ingredients
Method
- Preheat your oven to 325 F. Grease your springform pan and line the bottom with parchment if you can.
- In a bowl, whisk melted butter and sugar together.
- Add eggs and vanilla, whisk until glossy.
- Stir in cocoa powder and salt, then fold in flour just until you do not see streaks.
- Spread this brownie mixture into the pan.
- Bake for 12 to 15 minutes until just set, then let it cool.
- Beat cream cheese and sugar until smooth, scraping the bowl a couple of times.
- Add eggs one at a time on low speed.
- Stir in sour cream and vanilla. If using flour, add it last and mix until just combined.
- Pour cheesecake batter over the brownie layer and tap the pan gently on the counter to pop air bubbles.
- Bake for 55 to 70 minutes. The edges should look set and the middle should still jiggle slightly.
- Turn off the oven, crack the door, and let it sit for 30 minutes.
- Cool on the counter until room temperature.
- Chill in the fridge for at least 6 hours, preferably overnight.