
Raspberry Pie Recipe days usually hit when you want something cozy and homemade, but you do not want a complicated dessert project that takes over your whole kitchen. Maybe you have a bag of frozen raspberries sitting in the freezer, or you spotted fresh ones that looked too good to pass up. Either way, this is the kind of pie that feels a little special without being fussy. I make it when friends are coming over, but also when it is just me and I want leftovers for breakfast. If you have ever had a runny berry pie or a soggy bottom crust, do not worry, I have been there too. Let’s fix that together.
What is Raspberry Pie?
Raspberry pie is a classic fruit pie with a sweet tart filling made from raspberries, sugar, and a thickener like cornstarch. It can be made with fresh raspberries in peak season, but honestly, frozen raspberries work great too, as long as you handle the extra juice.
What I love most is that raspberries bring a strong flavor without needing a lot of extra ingredients. It tastes bright and jammy, and the color is gorgeous when you slice into it.
It also plays well with other desserts. If you are in a raspberry mood and want another baking idea for later, I am obsessed with this protein raspberry lemon cake when I want something lighter but still punchy and sweet.
The biggest thing to know is that raspberries break down fast when heated. That is not a bad thing. It is why the filling turns luscious. You just need the right thickener and enough cooling time so it sets up instead of sliding all over the plate.
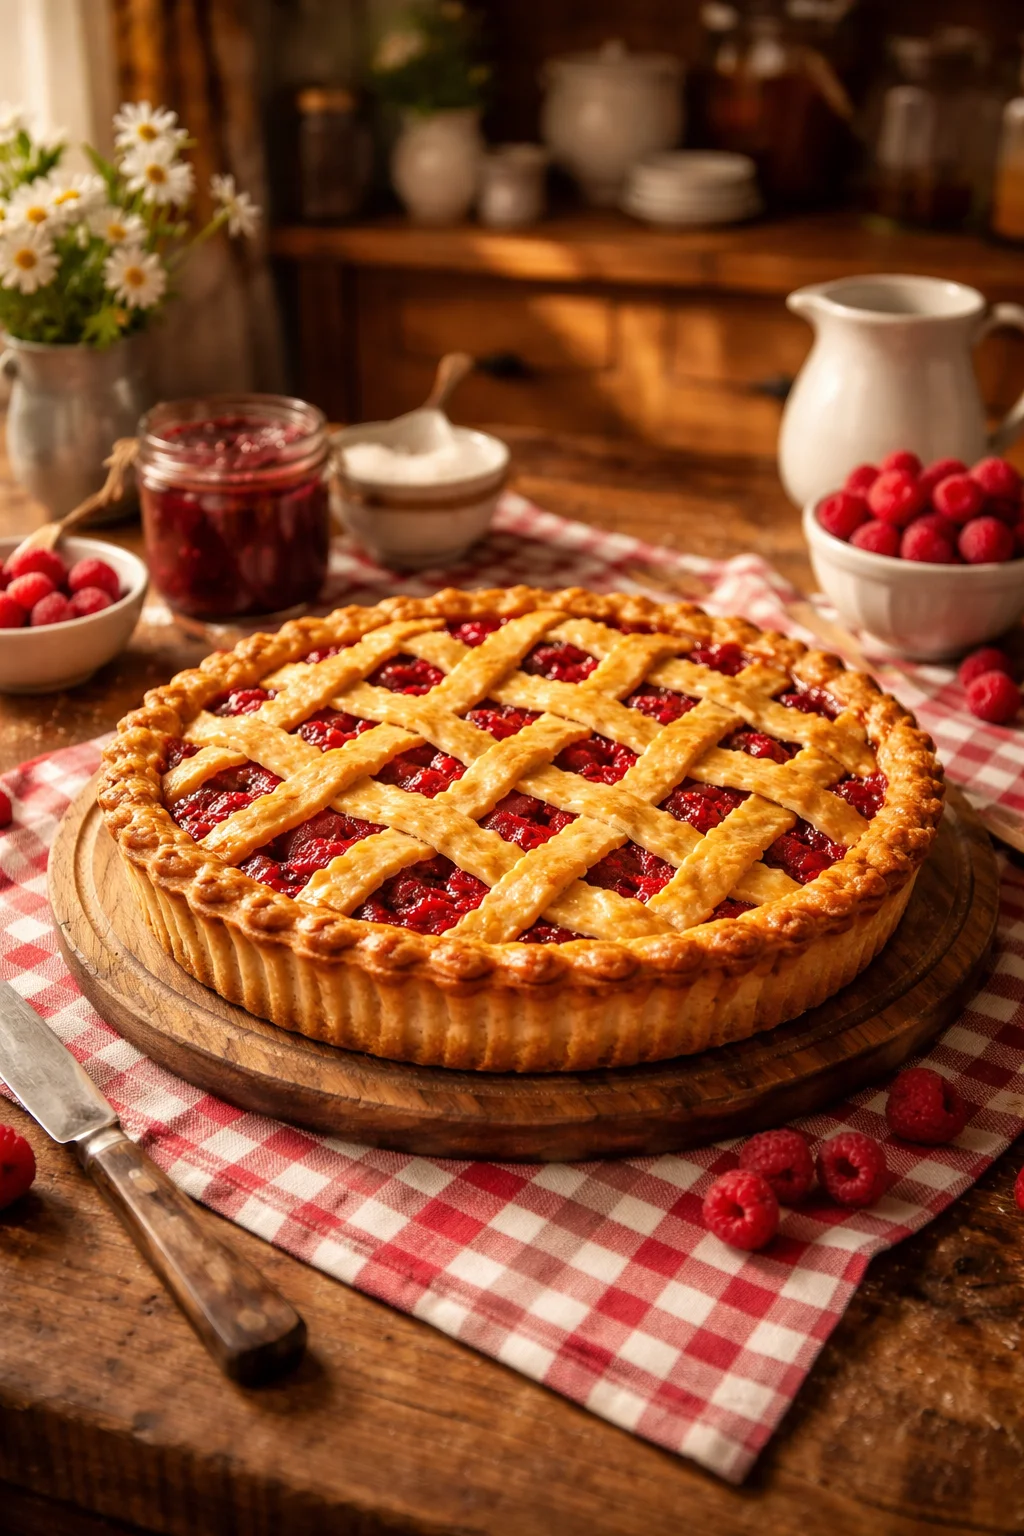
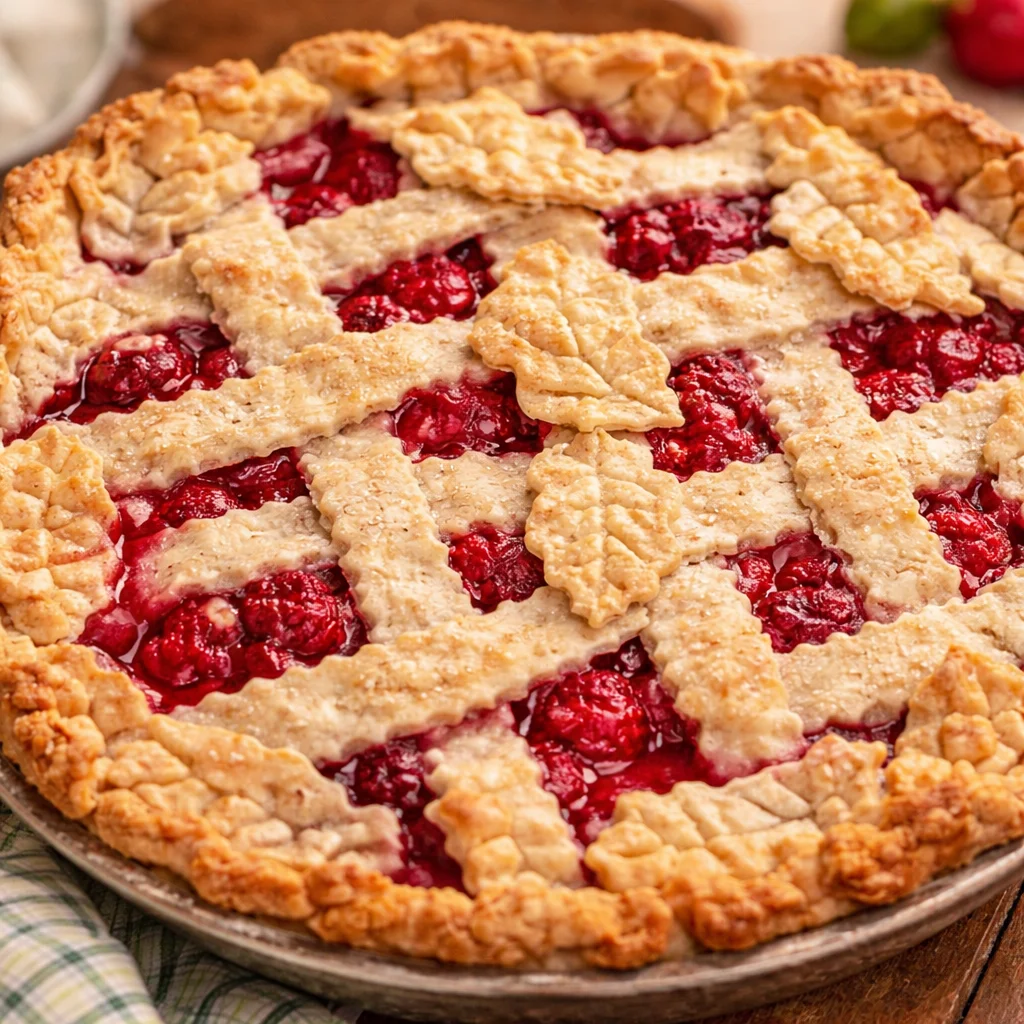
Perfect Double Crust Raspberry Pie
For me, a double crust Raspberry Pie Recipe is the ultimate comfort vibe. You get the buttery bottom crust, plus that golden top that crackles a little when you cut through it. Some people do lattice, some do a full top with vents. Either way works, so pick what feels fun.
What you will need
- Pie pan (9 inch)
- Rolling pin
- Mixing bowl
- Measuring cups and spoons
- Pastry brush (for egg wash, optional but nice)
- Baking sheet (to catch drips, trust me)
A quick crust note: you can use homemade pie dough or a good store bought crust. I am not judging. On busy weeks, I have absolutely used store bought and still had people asking for seconds.
If you enjoy old school pies in general, you might also like this old fashioned shoofly pie recipe. Totally different flavor, but it has that same cozy, nostalgic feel.
“I tried this on a Sunday night with frozen berries and I was sure it would be soupy. It set perfectly after cooling and the flavor was amazing. My family asked me to make it again the next week.”
How to make Raspberry Pie
This is the part where I talk you through it like I would if you were standing in my kitchen. Read it once, then bake. You have got this.
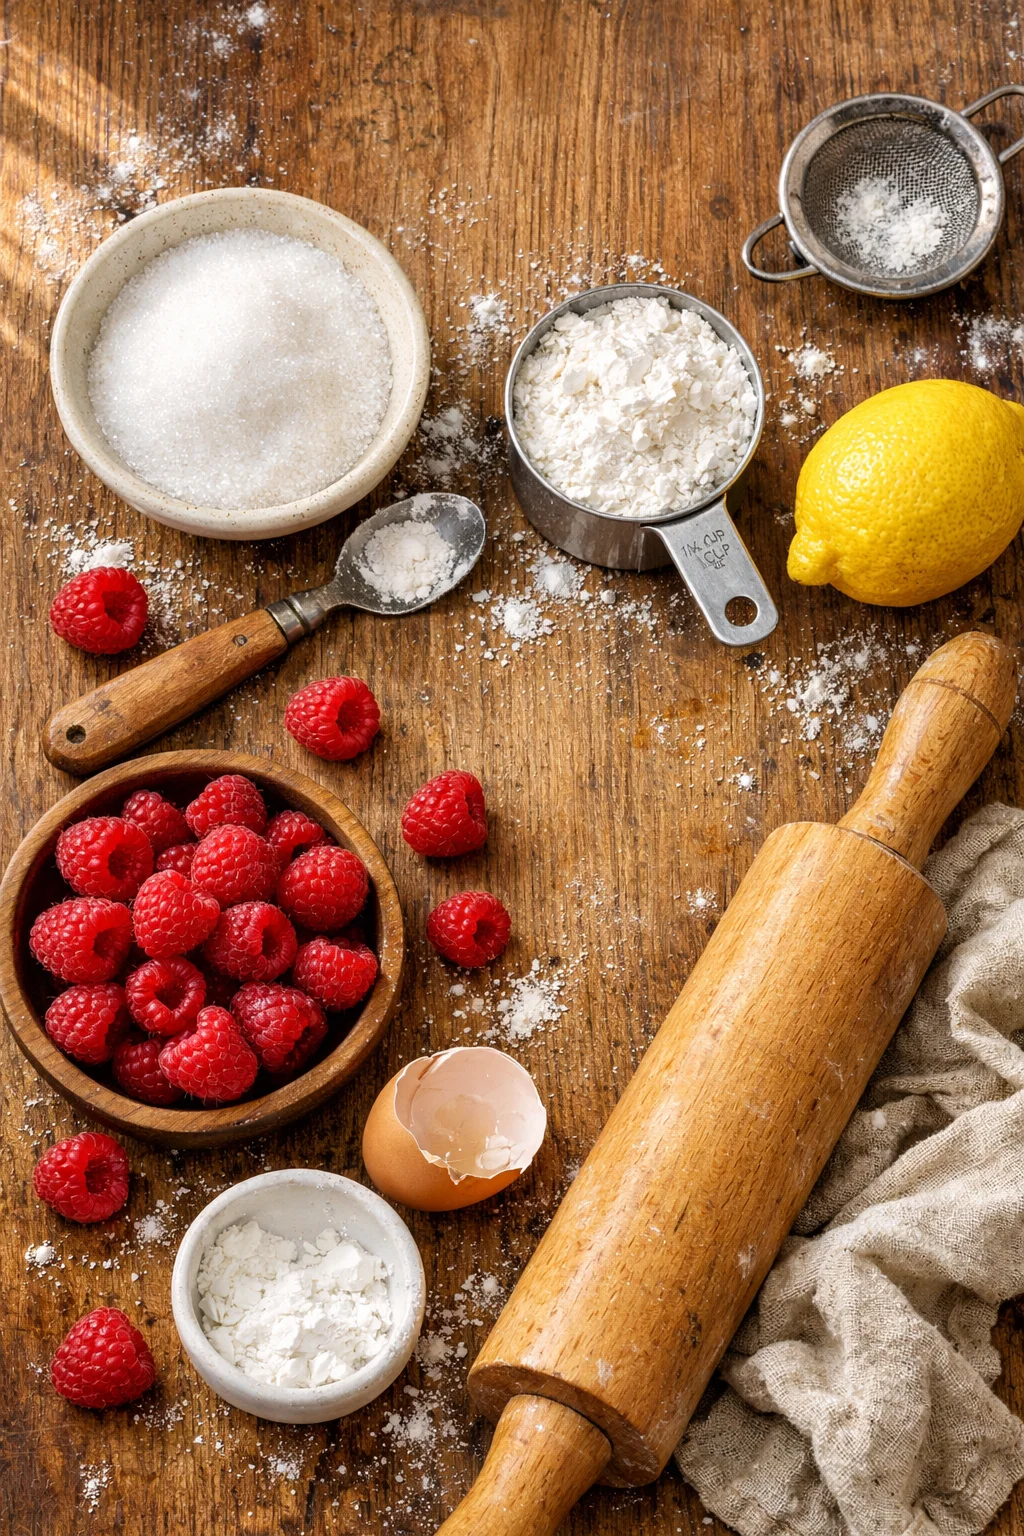
Ingredients
- 2 pie crusts (homemade or store bought)
- 5 to 6 cups raspberries (fresh or frozen)
- 3/4 cup sugar (adjust to taste, raspberries vary)
- 1/4 cup cornstarch
- 1 tablespoon lemon juice
- 1/2 teaspoon vanilla extract (optional but I love it)
- Pinch of salt
- 1 tablespoon butter, cut into small pieces
- 1 egg + 1 tablespoon water for egg wash (optional)
- 1 tablespoon coarse sugar for the top (optional but pretty)
Directions
Step 1: Prep the oven and pan. Preheat your oven to 400 F. Put a baking sheet on the lower rack to catch any bubbling juices.
Step 2: Roll the bottom crust. Fit one crust into your pie pan. Leave a little overhang. Pop it into the fridge while you make the filling. Cold dough is your friend.
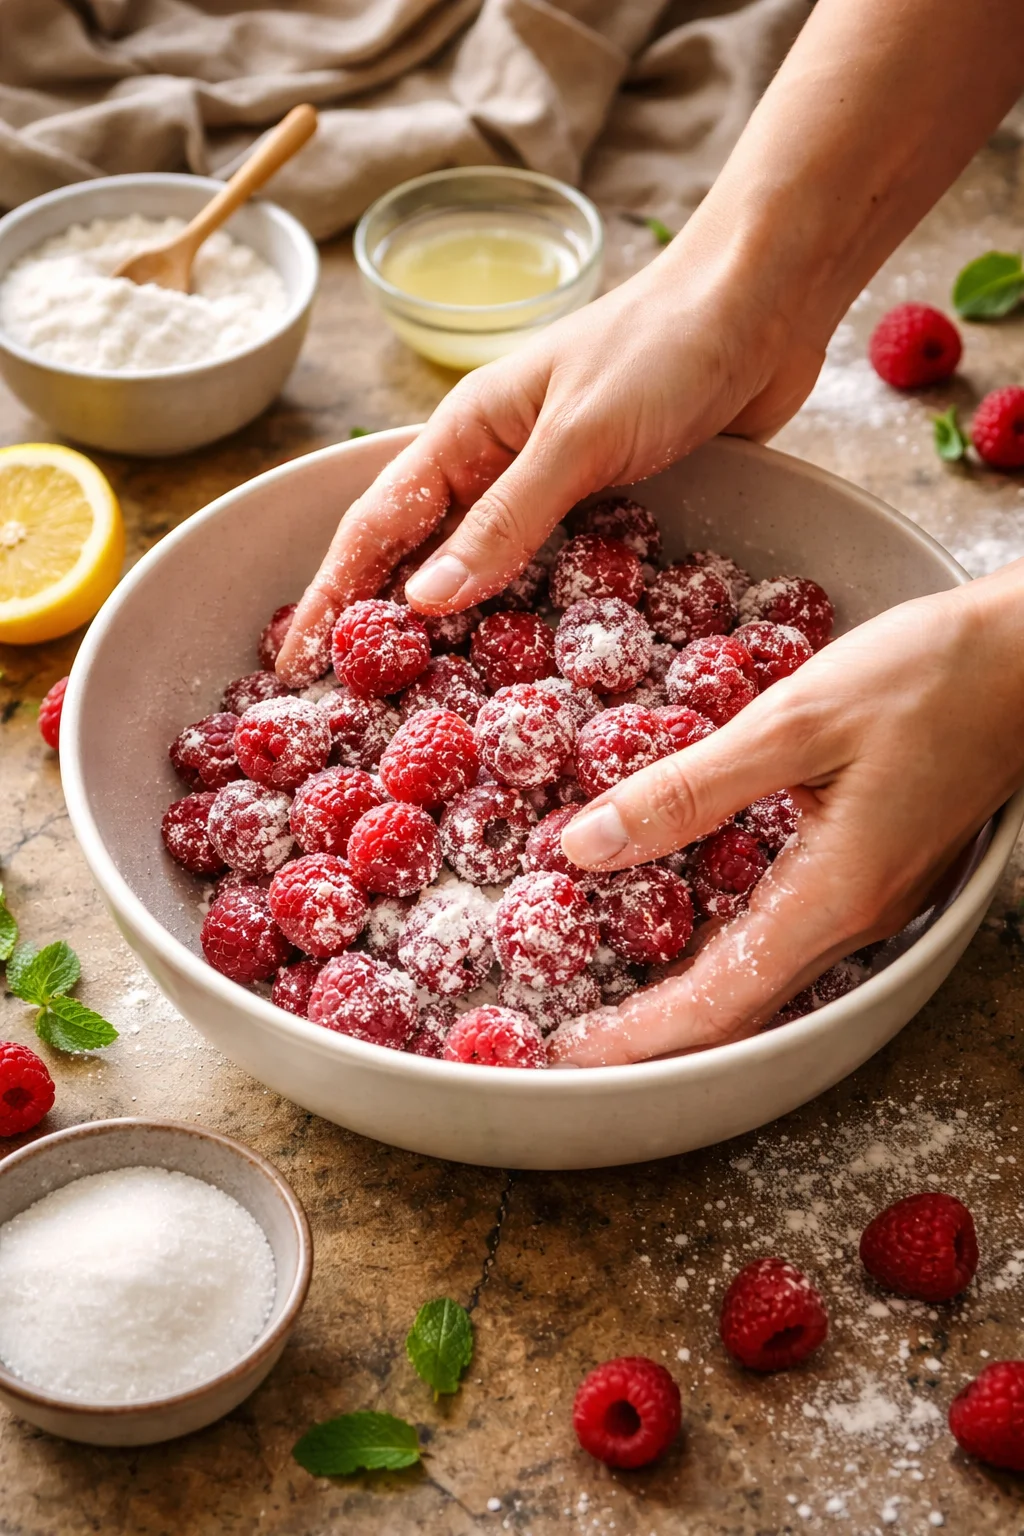
Step 3: Mix the filling. In a large bowl, gently toss raspberries with sugar, cornstarch, lemon juice, vanilla (if using), and a pinch of salt. Do not mash the berries. Just fold until coated.
Step 4: Fill the pie. Pour the raspberry mixture into the chilled crust. Dot the top with little pieces of butter. This small step makes the filling taste richer.
Step 5: Add the top crust. Add your second crust. You can do a full top with slits, or a lattice. Seal the edges and crimp. If you want extra shine, brush with egg wash and sprinkle coarse sugar.
Step 6: Bake. Bake at 400 F for 20 minutes, then lower the heat to 350 F and bake another 35 to 45 minutes. You want to see real bubbling in the center area, not just around the edges. That bubbling is how you know the cornstarch is doing its job.
Step 7: Cool, for real. Let the pie cool at least 3 to 4 hours. I know it is hard. But slicing early is the fastest way to get a runny pie.
If you are on a pie kick, you can also check out these fun air fryer apple hand pies for an easier, grab and go option on a busy day.
;
Expert tips
I have made every mistake possible with berry pies, so here is what actually helps. These tips keep your Raspberry Pie Recipe from turning into raspberry soup.
Use the right amount of thickener. Raspberries are juicy. Cornstarch is simple and reliable. If your berries are frozen, do not reduce the cornstarch, if anything you may need the full amount.
Do not skip the lemon. It wakes up the berry flavor and keeps the filling from tasting flat.
Watch the edges. If your crust edges brown too fast, cover them with foil for the last half of baking.
Let it bubble. This is a big one. If it is not bubbling, the filling has not thickened fully. Give it time.
Cool completely. I said it already, but it is worth repeating. Cooling is part of the recipe, not an optional step.
Also, if you ever want a no bake day (because yes, we all have those), this irresistible no bake Snickers pie recipe is wildly easy and always a crowd pleaser.
5 Secrets to Better Baking
These are my little kitchen habits that make baking feel less stressful and more consistent. I use them every time I make this Raspberry Pie Recipe, especially when I am baking for people.
My five go to secrets
1. Read the full recipe before you start. It saves you from that moment where you realize your butter is supposed to be cold but it is already melting on the counter.
2. Keep the dough cold. If the crust starts feeling soft, chill it for 10 to 15 minutes. Cold dough bakes flakier.
3. Bake on a sheet pan. Besides catching drips, it helps the bottom bake more evenly.
4. Taste your fruit. If your raspberries are super tart, bump the sugar up a little. If they are very sweet, you can pull it back. This is how homemade baking gets better than store bought.
5. Give yourself time. Pies are not hard, they just need a little patience, especially the cooling part.
Common Questions
Can I use frozen raspberries?
Yes. Do not thaw them first. Mix them frozen with the sugar and cornstarch, then bake as usual. It helps prevent extra liquid.
How do I stop the bottom crust from getting soggy?
Chill the crust before filling, bake on a hot oven with a sheet pan in place, and make sure the filling bubbles well so it thickens.
Why is my raspberry pie runny?
Usually it is one of two things: not enough bubbling during baking, or you sliced before it cooled. Let it cool for several hours.
Do I need to do a lattice top?
Nope. A full top crust with a few slits works perfectly. Lattice is just a pretty option.
How do I store it?
Cover and store at room temp for a day, then move it to the fridge. It keeps well about 4 to 5 days. You can also freeze slices.
A sweet ending and a little nudge to bake
If you have been looking for a Raspberry Pie Recipe that feels doable and tastes like something you would proudly put on the table, this is the one I come back to. Focus on a cold crust, a properly thickened filling, and the not so exciting but totally necessary cooling time. If you want to compare versions, I have definitely taken ideas from Raspberry Pie Recipe – Allrecipes and the super approachable tips from Easy Raspberry Pie Recipe – Crazy for Crust. Now go grab those raspberries and make your kitchen smell amazing. You will be so happy you did. 
Raspberry Pie
Ingredients
Method
- Preheat your oven to 400°F. Place a baking sheet on the lower rack to catch any bubbling juices.
- Fit one pie crust into your 9-inch pie pan, leaving a little overhang. Place it into the fridge while preparing the filling.
- In a large mixing bowl, gently toss raspberries with sugar, cornstarch, lemon juice, vanilla (if using), and a pinch of salt. Do not mash the berries.
- Pour the raspberry mixture into the chilled pie crust and dot with small pieces of butter.
- Add the second pie crust on top. You can make slits for a lattice or use a whole crust with slits. Seal the edges and crimp.
- Brush with egg wash and sprinkle with coarse sugar if desired.
- Bake at 400°F for 20 minutes, then lower the heat to 350°F and bake for another 35 to 45 minutes until the filling is bubbling.
- Let it cool for at least 3 to 4 hours before slicing.