

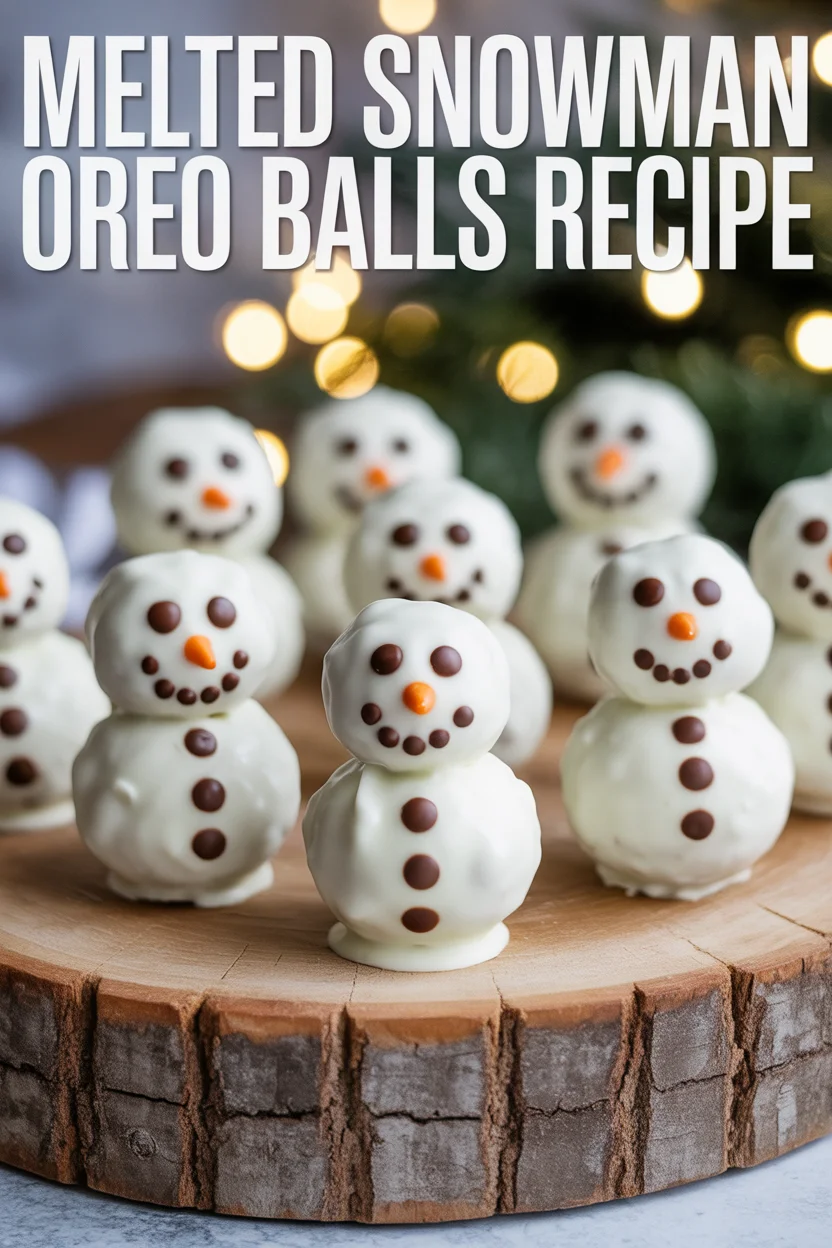
Melted Snowman Oreo Balls are the kind of treat you make when your calendar is packed, your kids need a classroom dessert, and you still want something adorable on the table. I love them because they look fancy without the fuss. You get creamy, chocolatey centers, a smooth white coating, and goofy little faces that make everyone smile. If you can crush cookies and melt chocolate, you can make these. They are very forgiving, which is great when you are short on time. Ready to let a few snowmen melt all over your kitchen in the cutest way possible?
Melting Snowman Oreo Balls Recipe
This is my go to winter party dessert. It uses simple ingredients, no bake steps, and the decoration is easy to customize. If you have ever made Oreo truffles, this will feel familiar, except we let the white chocolate puddle around the balls so they look like little melted snowmen.
Ingredients
- 36 classic Oreo cookies, regular filling
- 8 ounces cream cheese, softened
- 16 ounces white melting wafers or white chocolate, chopped
- Mini Reese’s cups or chocolate bells for hats, optional
- Mini chocolate chips for eyes
- Orange sprinkle jimmies or orange icing for noses
- Black decorating gel or melted chocolate for smiles and buttons
- Colored sprinkles or pretzel sticks for arms, optional
Directions
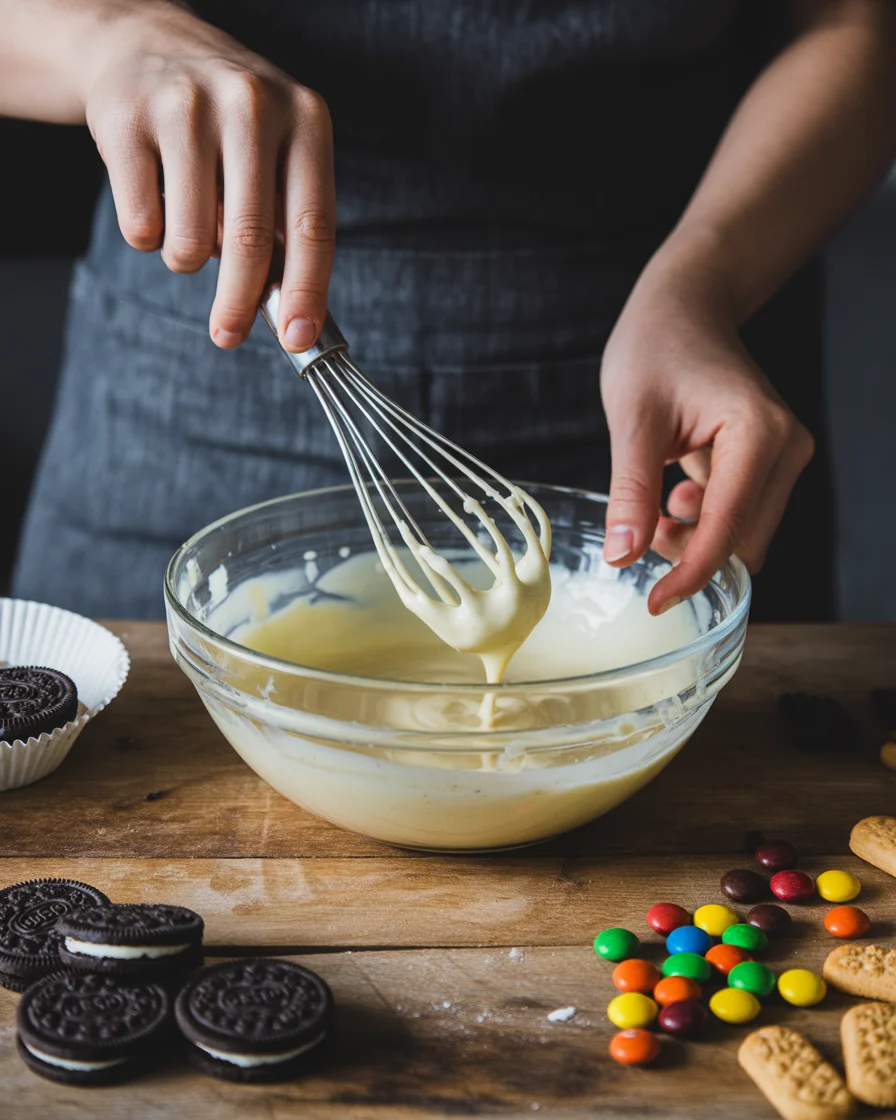
- Crush the Oreos in a food processor until fine crumbs. If you do not have a processor, seal the cookies in a bag and smash with a rolling pin.
- Mix crumbs with cream cheese until a thick, uniform dough forms. Use a spoon or your hands.
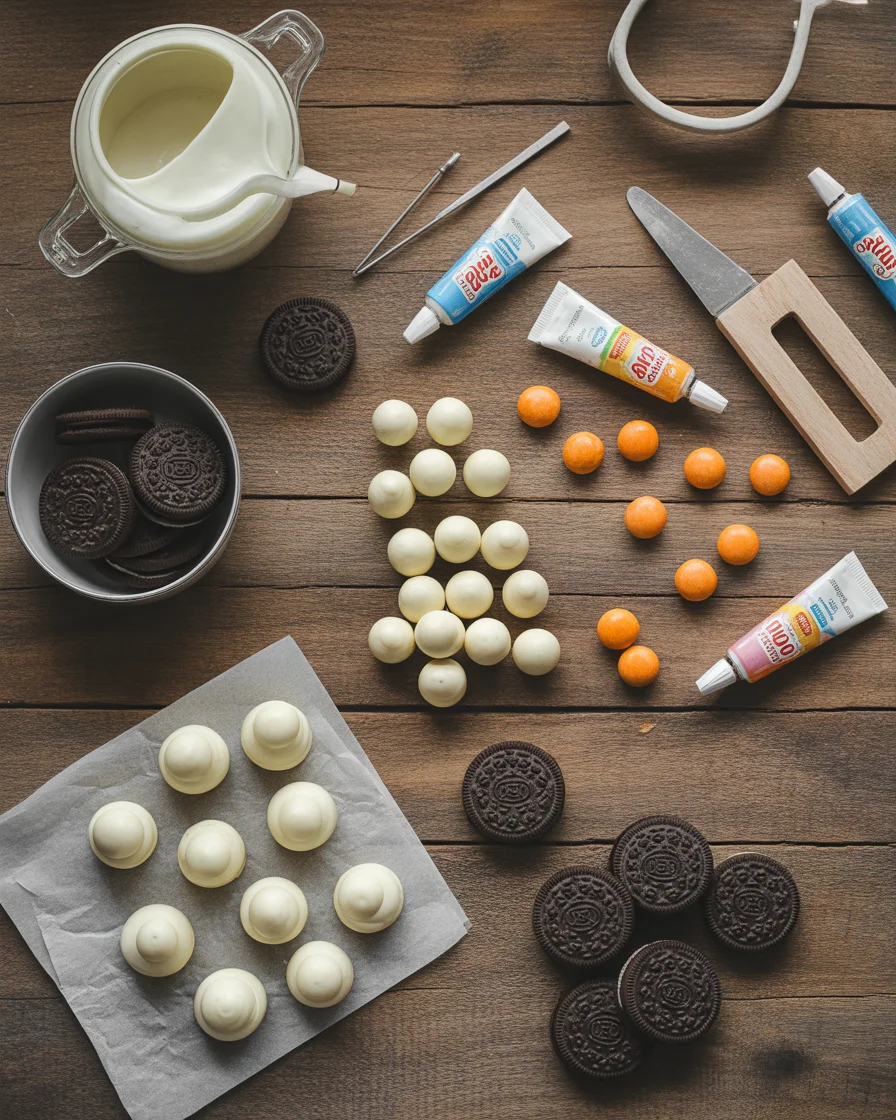
- Roll into 1 inch balls and place on a parchment lined baking sheet. Freeze 15 to 20 minutes until firm.
- Melt white chocolate in a microwave safe bowl in 20 to 30 second bursts, stirring between each, until smooth.
- Dip each chilled ball into the white chocolate and place back on the parchment. Spoon an extra puddle of chocolate around the base so it looks like a melting snowman.
- Before the coating sets, place mini chocolate chip eyes, an orange sprinkle nose, and draw a smile with gel or melted chocolate. Add a hat or scarf if you like.
- Let set at room temperature or in the fridge until firm, about 15 minutes.
Make ahead and storage
Keep finished snowmen in an airtight container in the fridge for up to 5 days. You can also freeze the undipped truffle centers for a month. Thaw in the fridge before dipping so condensation does not mess up the coating. For a step by step Oreo ball baseline, check out this festive guide: Easy Christmas Oreo Balls.
I made these for a holiday potluck and people kept asking which bakery I bought them from. They were gone in under 10 minutes and my kids helped decorate every single one.
Pro tip: Use good quality melting wafers for a smooth, shiny finish. They set quickly and are easier to work with than regular white chocolate chips.
How to Make Oreo Truffles
There are a few core steps that make Oreo truffles great, and they all apply here with our snowman twist. You want the dough to be soft enough to roll, but not sticky. The chilling step matters a lot. If the centers are too warm, they will slide off your fork and the coating will get streaky. I like to use a fork for dipping so the extra chocolate can drip through the tines. Tap the fork gently on the bowl edge and then slide the truffle onto parchment with a toothpick.
If you want extra smooth tops, spoon a second teaspoon of melted coating over the head portion so the snow puddle looks even. And if you want a guided version with holiday vibes, you might love these seasonal twists too: Valentine’s Oreo Truffles. They follow the same method with a different look, so once you learn the basics, you can theme them for any holiday.
Key reminder: keep a small bowl of melted coating nearby for touch ups. If a nose falls off or an eye shifts, add a dot of warm coating and stick it back on. No one will know.
Melting Snowman Oreo Cookie Balls Tips
I have made these more times than I can count, and a few tiny tweaks make a big difference. Here are the tips that help avoid messy results and keep the decorations in place.
- Chill the dough: 15 to 20 minutes is the sweet spot. Longer and they can sweat when brought out, which can make the coating seize.
- Use a shallow bowl for dipping: It makes it easier to spoon extra coating around the base for that melty look.
- Decorate right away: Add eyes and nose while the white coating is still wet. They adhere way better.
- Keep water away from chocolate: Even a drop can make it grainy. Dry bowls, dry utensils, dry hands.
- Work in small batches: Keep half the rolled centers in the fridge while you dip the first half so none get too warm.
- Use gel or melted chocolate for faces: Piping tiny smiles with a toothpick gives more control than a big icing tube.
- Have fun with hats and scarves: A mini peanut butter cup on top looks like a little snowman hat. Red licorice strings make cute scarves.
If you love this kind of bite sized dessert, take a peek at these simple spins too: Easy and Delicious Oreo Cake Balls. Same family of sweets, just styled a little differently.
Creative Variations of Snowman Oreo Balls
Once you nail the base, you can get creative with flavors and textures. Here are a few playful ideas you can try with the same method:
Minty snowmen: Use mint Oreos instead of classic. Top with crushed candy canes for sparkle.
Cookies and cream snowmen: Stir in a handful of extra Oreo chunks for a cookie studded center. It gives a nice bite under the smooth coating.
Peanut butter twist: Add two tablespoons of peanut butter to the dough and use milk chocolate hats for a sweet salty combo.
Carrot nose crunch: Swap the orange sprinkle nose for a tiny sliver of dried apricot. It looks cute and brings a little tang.
Gluten free option: Use gluten free sandwich cookies and confirm your melting wafers are certified gluten free. The process is identical.
For more winter fun on the dessert table, match these with a tray of festive bark. This Snowman Chocolate Bark is playful, sharable, and uses a lot of the same candy decorations you already bought for the faces. It makes everything feel like a themed spread.
Decorating Ideas for the Perfect Presentation
The decorating is honestly the best part. Lay out a simple station and let everyone assemble their own. Kids love giving the snowmen silly faces and wobbly hats. Here is how I set it up for less mess and more fun:
Plan your puddles: After dipping, use the back of a spoon to nudge the coating into an irregular circle so it looks like real melting snow. Imperfect is good here.
Switch up the hats: Mini peanut butter cups, Rolos, or even chocolate buttons all work. Angle them to look like they are slouching.
Add scarves and arms: Thin licorice for scarves. Pretzel sticks for twig arms. A tiny dot of melted coating works as glue.
Faces that pop: Mini chips for eyes, a single orange jimmie for the nose, and a dotted smile using a toothpick. Keep the expressions varied. It makes the tray feel lively.
Serve on a chilled platter: Set a lined tray in the fridge for 10 minutes before arranging. The cold surface helps keep the coating firm and shiny.
If you want a whimsical pairing for a winter party table, these frosty cupcakes are perfect neighbors: Vanilla Snowman Cupcakes. Matching faces, different textures, double the smiles.
Common Questions
Can I use white chocolate chips instead of melting wafers?
Yes, but chips often have stabilizers that make them thicker. Add a teaspoon of coconut oil to help thin the coating and melt on low heat to avoid scorching.
How do I keep the coating from cracking?
Avoid big temperature swings. Do not freeze the centers too long, and let the dipped snowmen set at room temp before moving them to the fridge.
What if my faces smudge?
Let the white coating set completely before adding gel details, or use melted chocolate piped with a toothpick. If something smears, let it firm up and draw over it again.
Can I make them with flavored Oreos?
Absolutely. Mint, golden, or even seasonal flavors work. Just keep the cookie to cream cheese ratio the same so the centers hold their shape.
Do they need to be refrigerated?
Yes. Because of the cream cheese, store them in the fridge. Serve chilled or let them sit out 10 minutes for softer bites.
A Sweet Wrap Up for Your Winter Table
I hope this gave you everything you need to make a tray of adorable, tasty Melted Snowman Oreo Balls. Once you try a batch, you will see how easy it is to tweak the faces, hats, and puddles to match your style. For more inspiration and clever party ideas, I love browsing holiday treats like the ones at Melted Snowmen Oreo Balls | The Girl Who Ate Everything, and this classic step by step from Melting Snowman Oreo Cookie Balls | Cookies and Cups is super helpful if you want another visual guide. Have fun, get a little messy, and watch those goofy faces disappear fast from the plate. If you make them, tell me which hat you picked so I can try it next time.
Melted Snowman Oreo Balls
Ingredients
Method
- Crush the Oreos in a food processor until fine crumbs. If no processor is available, seal cookies in a bag and smash with a rolling pin.
- Mix crumbs with cream cheese until a thick, uniform dough forms.
- Roll into 1 inch balls and place them on a parchment lined baking sheet. Freeze for 15 to 20 minutes until firm.
- Melt white chocolate in a microwave-safe bowl in 20 to 30 second bursts, stirring between each until smooth.
- Dip each chilled ball into the white chocolate and place back on the parchment. Spoon an extra puddle of chocolate around the base so it looks like a melting snowman.
- Before the coating sets, place mini chocolate chip eyes, an orange sprinkle nose, and draw a smile with gel or melted chocolate. Add a hat or scarf if desired.
- Let set at room temperature or in the fridge until firm, about 15 minutes.