

Cherries in the Snow Recipe is the cure for that moment when you promised to bring dessert and time is not on your side. Maybe your oven is busy, maybe it is hot out, or maybe you just want something sweet and nostalgic without fuss. This is the dessert I pull together when I need a big wow with very little work. It is creamy, pretty, and tastes like a cherry cloud. If you love a retro treat that still feels special today, you will love this.
What is Cherries in the Snow?
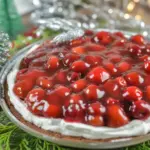
It is an old fashioned layered dessert that looks fancy but is honestly simple. Think tender cubes of angel food cake topped with a fluffy cream cheese and whipped layer, then finished with a glossy cherry topping. The result is soft, creamy, and lightly tangy with bright cherry flavor in every bite. It is a little trifle and a little no bake cheesecake all in one.
What I love most is how flexible it is. You can build it in a glass dish to show off those layers, or scoop it into jars for parties. It is great for holidays, cookouts, or anytime you need dessert for a crowd. My family calls it the snow bowl, and it always disappears fast.
The layers at a glance
Base: cubes of store bought angel food cake. Middle: a creamy mix of cream cheese, sugar, vanilla, and whipped topping. Top: cherry pie filling, either canned or homemade. That is it. You can add a sprinkle of almond slivers or white chocolate curls if you want a little crunch.
On chilly nights, I pair a square of this with a cozy drink like peppermint white hot chocolate. It is a dreamy combo. If you are planning a whole dessert spread, this dish shines next to a festive cake like a dark velvet beauty.
Why it works: sweet cherries plus tangy cream cheese plus pillowy cake. The textures are different in the best way, so every spoonful feels fun. It also holds up well in the fridge and tastes even better after a little chill time.
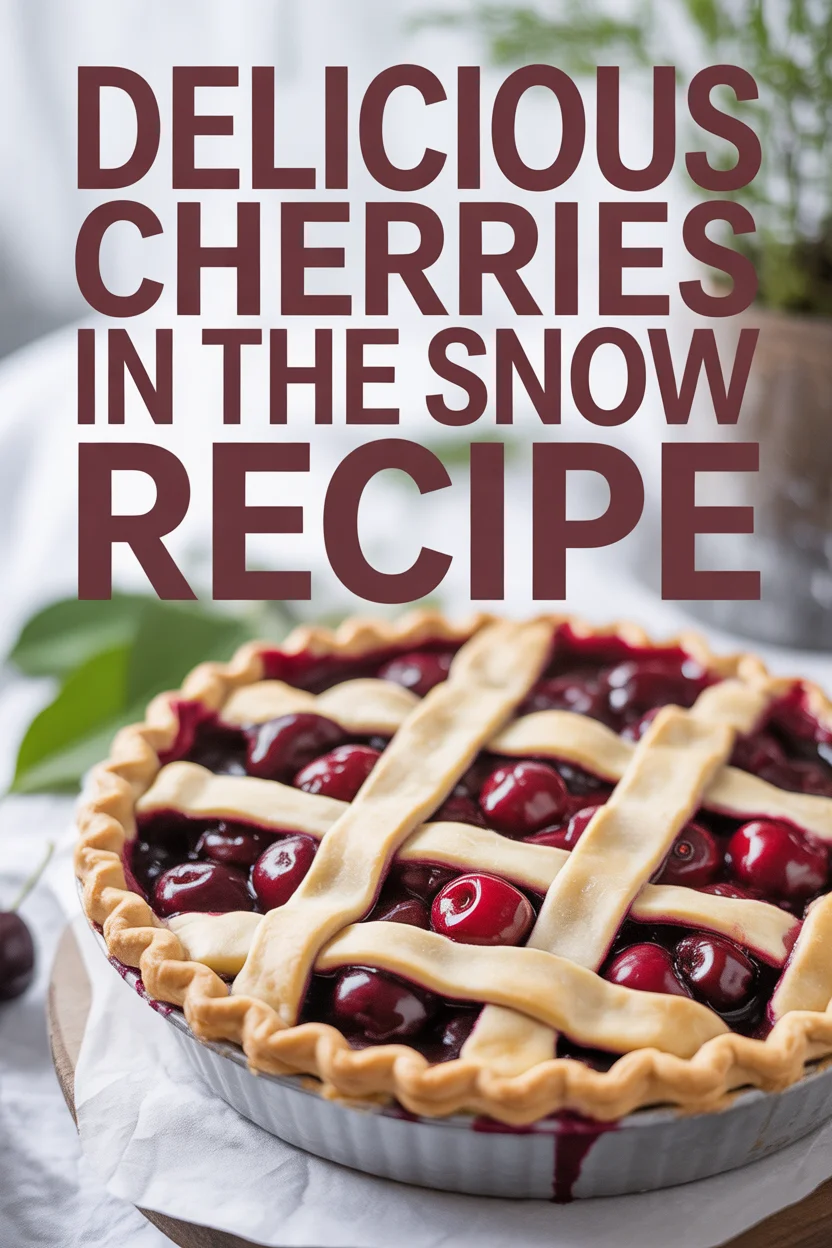
Bonus: If you are hunting for a showstopper but want something make ahead friendly, the Delicious Cherries in the Snow Recipe is at the top of my list.
How do you make Cherries in the Snow?
What you will need
- 1 premade angel food cake, cut into bite size cubes
- 16 ounces cream cheese, softened to room temp
- 1 cup powdered sugar
- 1 teaspoon vanilla extract
- Optional: 1/4 teaspoon almond extract for a bakery style cherry vibe
- 12 to 16 ounces whipped topping, thawed
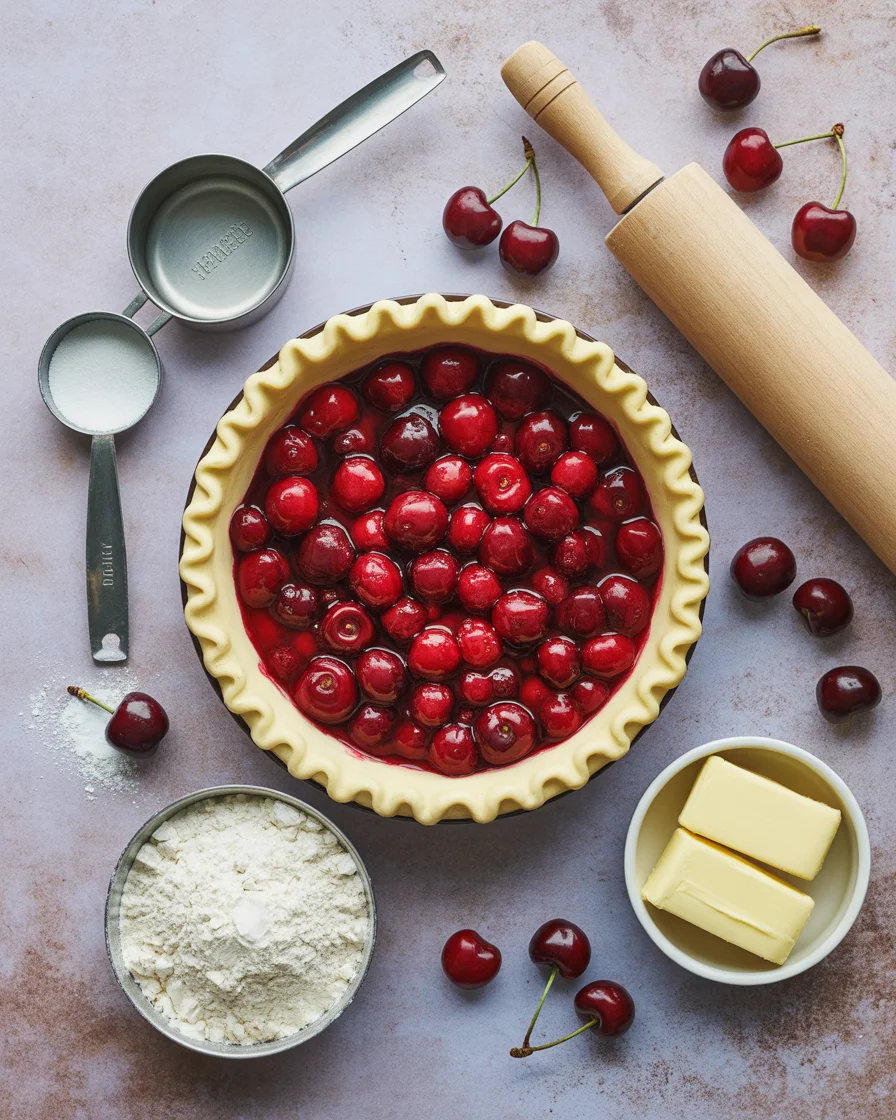
- 2 cans cherry pie filling, or about 4 cups homemade cherry topping
Directions
- Cube the cake. Put half the cubes in the bottom of a 9×13 glass dish. Save the rest for the next layer.
- Make the cream layer. Beat cream cheese until smooth, then blend in powdered sugar, vanilla, and almond extract if using. Gently fold in the whipped topping until fluffy and even.
- Layer it up. Spread half the cream over the cake cubes. Add the rest of the cake. Spread the rest of the cream on top.
- Finish with cherries. Spoon the cherry pie filling over the cream and spread gently to the edges.
- Chill. Cover and refrigerate for at least 2 hours so the layers set and flavors come together.
If you love easy no bake desserts, you might also enjoy this silky salted caramel cheesecake. It is another crowd pleaser that turns out beautifully without a lot of effort.
“I made this for a church potluck and every single bite was gone. Three people asked for the recipe. It is simple, nostalgic, and just plain happy food.”
Tip: For the cleanest slices, chill overnight and use a sharp knife to cut squares. Wipe the knife between cuts for neat layers.
The Delicious Cherries in the Snow Recipe is perfect when you want something special but straightforward. It is a true make ahead miracle, and it scales well if you need to double it for a party.
Ingredient Notes
- Angel food cake: Store bought is great and saves time. If you prefer, use pound cake for a denser bite or ladyfingers for a tiramisu like vibe.
- Cream cheese: Soften it fully so it blends smooth. Cold cream cheese will leave little lumps. If that happens, beat it longer before adding the whipped topping.
- Whipped topping: The stabilized kind helps the layers hold. If using homemade whipped cream, whip to firm peaks and serve within 24 hours for best texture.
- Sugar: Powdered sugar mixes easily and keeps the cream silky. Granulated works in a pinch, but beat well to dissolve.
- Vanilla and almond extracts: Vanilla is classic. Almond is optional but boosts the cherry flavor in a lovely way. Use sparingly.
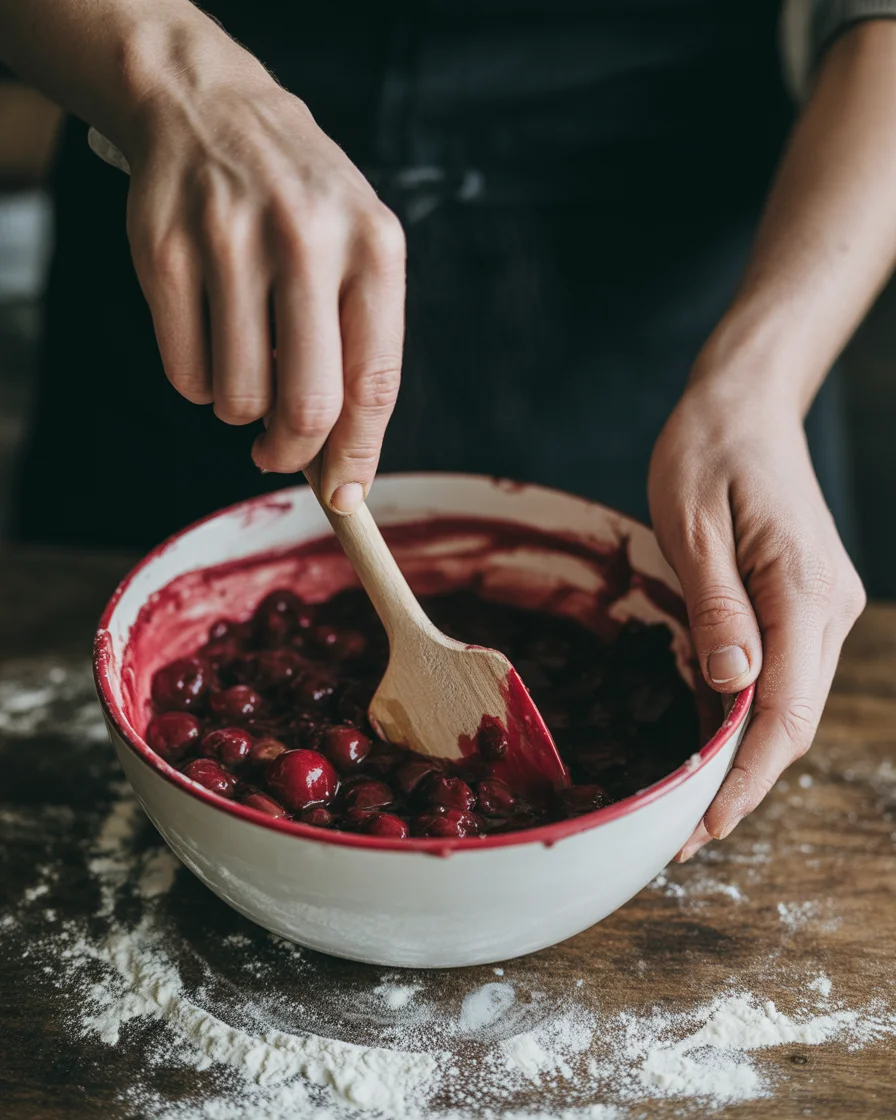
- Cherry topping: Canned pie filling is fine and fast. If you prefer homemade, cook cherries with sugar and a cornstarch slurry until thick and glossy, then cool fully before layering.
One more note: room temperature ingredients are your best friend here. It keeps the cream layer fluffy and easy to spread.
Serving it alongside something savory makes a complete spread. I love it after a fresh fish dinner like this simple marinated grilled salmon for balance.
Variations
Make it your own
Chocolate lovers can drizzle a little chocolate syrup over the cream before the cherry layer. White chocolate shavings are pretty too. If you want a brighter bite, stir a splash of lemon juice into the cherry topping to cut the sweetness.
Switch the base. Try pound cake or vanilla sponge for a richer texture. For a lighter version, use fat free cream cheese and light whipped topping, then pile on extra cherries to keep the flavor big.
Go mini. Spoon layers into small jars or cups for grab and go desserts. These are perfect for picnics and holiday parties. Speaking of holidays, this dish looks so good on a Christmas dessert table next to colorful pinwheel cookies or a dramatic black velvet cake if you are going bold.
Try a different fruit. Blueberry, strawberry, or mixed berry toppings all work with the creamy layer. Pineapple is fun too for a tropical spin. If you love sweet and salty, add a thin graham or pretzel crumble between the cake and cream layer for texture.
And if you are taking this to a Valentine party or cozy date night, the Delicious Cherries in the Snow Recipe pairs nicely with simple heart cookies or other red and pink treats.
Storage
Keep it fresh
Cover the dish tightly and refrigerate. It holds well for 3 days, and I think it is best on day 2 when the flavors have mingled. Keep it cold until serving so the cream layer stays fluffy.
Freezing is not ideal because the whipped layer can weep after thawing. If you must freeze, use stabilized whipped cream and wrap very well. Thaw in the fridge, not on the counter.
Leftovers make the happiest midnight snack. If you are in a prep mood already, you can also build a pot of chicken noodle soup for the week and tuck this dessert into the back of the fridge for little moments of joy.
For transport, keep it in a cold bag with ice packs. Assemble in a lidded dish so you can pop it right back into the fridge on arrival.
Common Questions
Can I make it a day ahead?
Yes, absolutely. Making it the day before is ideal. The layers set nicely and the flavor improves.
Can I use homemade whipped cream instead of whipped topping?
Yes. Whip to firm peaks and fold in gently. Serve within 24 hours for the best structure.
What can I use instead of angel food cake?
Pound cake, vanilla sponge, or even ladyfingers work. Pound cake gives a richer bite while ladyfingers make it more delicate.
Is there a lighter option?
Use light cream cheese, a reduced sugar cherry topping, and light whipped topping. It is still satisfying and pretty.
How do I avoid a runny cream layer?
Soften cream cheese fully and beat smooth before folding in whipped topping. Keep everything chilled and do not overmix.
A sweet little send off
I hope this Delicious Cherries in the Snow Recipe becomes your easy, pretty dessert when you need something reliable and crowd pleasing. It is nostalgic in the best way, with creamy layers and those bright cherries on top. If you want more ideas or a second take, check out this classic guide from Tastes of Lizzy T or this no bake walkthrough from The Food Hussy. Now grab a big spoon, chill the dish, and get ready to scoop into a bowl of pure comfort. The only hard part is not going back for seconds.
Cherries in the Snow
Ingredients
Method
- Cube the angel food cake and place half the cubes in the bottom of a 9×13 glass dish.
- In a mixing bowl, beat the cream cheese until smooth, then blend in the powdered sugar, vanilla, and almond extract if using.
- Gently fold in the whipped topping until the mixture is fluffy and well combined.
- Spread half of the cream mixture over the cake cubes.
- Add the remaining cake cubes, followed by spreading the rest of the cream mixture on top.
- Spoon the cherry pie filling over the cream and gently spread it to the edges.
- Cover the dish and refrigerate for at least 2 hours to set the layers and blend the flavors.