

No-Bake Banana Split Cake saved my summer sanity. Picture this: it is hot, you promised dessert, and the oven is not an option. That is when this cheerful, creamy, layered beauty steps in. It is got a graham cracker base, silky cream cheese filling, bananas, pineapple, strawberries, and a fluffy cloud of whipped cream on top. It tastes like childhood, but better, because you made it at home without breaking a sweat. Let me show you exactly how to make it turn out perfect every single time.
Why Freeze the Graham Cracker Crust?
If you have ever sliced into a no-bake dessert and the crust crumbled, you know the pain. Freezing the crust gives it structure. It solidifies the butter that binds the graham cracker crumbs, so when you add creamy layers and juicy fruit, everything stays crisp at the bottom instead of turning soft.
What Freezing Actually Does
The graham crumb and butter mixture needs time to set. When you put it in the freezer for at least 20 to 30 minutes, the butter chills and firms up. This helps the crust stick together and prevents sliding when you add the cream cheese filling. The chilled base also creates a little barrier so the fruit juices are less likely to seep down and make it soggy.
For best results, press the crumbs very firmly into your pan using the bottom of a measuring cup. Make sure the corners are compacted. If you like a thicker crust, go for it. Just increase the butter a touch so it still binds well. The right balance will give you that crisp bite that contrasts with the fluffy layers on top.
If your kitchen is warm, freeze a little longer. You want the crust firm to the touch before moving on. Once your dessert is assembled, the crust will soften slightly in the fridge but hold together when sliced. That clean slice is pure joy.
Quick tip: line your pan with parchment if you want to lift out the whole cake to cut neat squares. It is not required, just helpful.
Key reminder: freeze the crust long enough to set, and you will avoid the messy crumble.
Substitutions for Pineapple and Bananas
Maybe pineapple is not your thing, or bananas disappear the second you buy them. No worries. This dessert is flexible. Here are some easy swaps that still keep that fun banana split vibe without changing the spirit of the recipe.
- No bananas? Try sliced peaches or firm mango. Keep the pieces thin so they layer neatly.
- Skip pineapple? Use canned mandarin oranges, well drained. Fresh chopped strawberries also work great.
- Need low sugar? Try fresh berries and skip any fruit packed in syrup. Look for fruit packed in juice or water.
- Want a tropical twist? Go with kiwi and toasted coconut on top for extra crunch.
- Nut allergy? Leave out the chopped nuts and add mini chocolate chips or crushed waffle cones.
One important step if you use canned fruit: drain it very well. Too much liquid will make your layers slide and the cream filling will loosen. I like to pat pineapple tidbits dry with a paper towel. Also, choose bananas that are ripe but firm. You want them sweet but not mushy, so they hold their shape.
Craving a caramel kick with your fruit? You might love this creamy dip on the side for parties: creamy caramel apple cheesecake dip. It pairs surprisingly well with the same fruit you would use for a banana split.
Using Homemade Whipped Cream vs. Store-Bought
There is no wrong answer here. Both can be great, and both can go wrong if you are not careful. It comes down to your schedule and the texture you prefer.
The Texture Difference
Homemade whipped cream tastes extra fresh and lightly sweet, with a soft billowy texture. If you whip it to medium peaks and fold it gently into your cream cheese mixture, you get a lush, mousse-like filling. Store-bought whipped topping, on the other hand, has more stability. It will hold its shape longer and can make the layers a bit firmer.
Store-Bought Whipped Topping Tips
If you go store-bought, let it thaw in the fridge until completely soft before folding in. Do not mix it when it is partially frozen, or it can turn lumpy. If you go homemade, chill the bowl and beaters before whipping and add a tablespoon of powdered sugar and a splash of vanilla. That tiny bit of extra sugar helps stabilize your cream.
I tried both versions side by side for a summer potluck. The homemade one got the oohs and ahhs for flavor, but the store-bought held its shape better outside. Either way, guests demolished both. I will probably use homemade for small gatherings and whipped topping for big outdoor parties.
If creamy desserts are your jam, check out this rich treat that also layers like a dream: Instant Pot salted caramel cheesecake. It is not no-bake, but it is surprisingly hands-off and super reliable.
Tips for Perfecting the Recipe
I have made this more times than I can count, and a few small tweaks make a huge difference. Here is what I keep coming back to every single time I make No-Bake Banana Split Cake.
- Press and freeze the crust until firm before you add any filling.
- Whip the cream cheese until smooth before folding in the whipped cream. Lumps hide easily, so keep mixing until silky.
- Layer carefully: cream mixture, bananas, pineapple, then strawberries. Keep bananas and pineapple toward the middle to avoid sliding.
- Drain fruit like you mean it. Wet fruit is the number one reason for soupy layers.
- Chill the finished cake for at least 4 hours, overnight if possible. The set time gives you clean slices.
- Garnish just before serving with chocolate drizzle, nuts, or maraschino cherries to keep everything fresh and pretty.
- Cut with a warm knife for sharp edges. Wipe between cuts for tidy squares.
Make-Ahead and Storage
Make it a day ahead and store covered in the fridge. It keeps well for up to 2 days once assembled. If you want to prep even earlier, make the crust and the cream cheese filling the day before, then add fruit and whipped topping the day you plan to serve. Leftovers store best in a tightly sealed container so the fridge does not dry out the whipped layer.
Love layered desserts you can scoop into a bowl? You might also enjoy this easy showstopper for parties: decadent chocolate cheesecake trifle. It has that same crowd-pleasing vibe, with chocolate in every bite.
Additional Summer Dessert Ideas
Once you start making cool, creamy sweets, it is hard to stop. If your crew loves fruit-forward treats, blend a fast breakfast or dessert with this refreshing sip: blueberry banana oatmeal smoothie. It is hearty enough to tide you over and light enough for hot days.
Craving something richer but still easy? Try a chocolate classic that always disappears from the table: triple chocolate cheesecake. It is pure indulgence and a great make-ahead dessert. And if you want a cheerful, no-fuss option that feels like a sundae in cake form, No-Bake Banana Split Cake is still my favorite for summer nights with friends.
When I plan a dessert spread, I usually balance fruity and chocolate options, something sippable, and something sliceable. It keeps everyone happy and makes it feel like a mini celebration. If you need more ideas, I keep a rotating list of seasonal recipes, and there is always room for another banana split bake on it.
Common Questions
How long should I chill No-Bake Banana Split Cake before serving?
At least 4 hours. Overnight is even better for clean slices and fully set layers.
Can I make it in a different pan size?
Yes. A 9 by 13 pan is standard, but you can use a deep 8 by 8 for a taller cake. Just watch your chilling time and slice small squares.
How do I keep bananas from browning?
Slice them right before layering and tuck them under the cream layer. A light brush of lemon juice helps if you need extra time, but do not overdo it or it will taste tangy.
Do I have to use nuts?
No. You can skip them or swap with mini chocolate chips or crushed cookies. Add right before serving to keep the topping crisp.
What if my filling is too loose?
Chill longer and make sure the fruit is well drained next time. If using homemade whipped cream, whip to medium-firm peaks before folding in.
Let’s Make Dessert Easy and Happy
You do not need a special occasion to make No-Bake Banana Split Cake, but it sure turns an average afternoon into something fun. Remember the big three for success: freeze the crust, drain the pineapple, and chill the finished cake long enough to set. If you are hungry for more variations and want to see how others do it, I like the versions shared at The Kitchen is My Playground and Syrup and Biscuits. They both keep the spirit of this dessert while showing little twists you might love. Now go grab those graham crackers and bananas, and let this simple recipe spark some smiles.
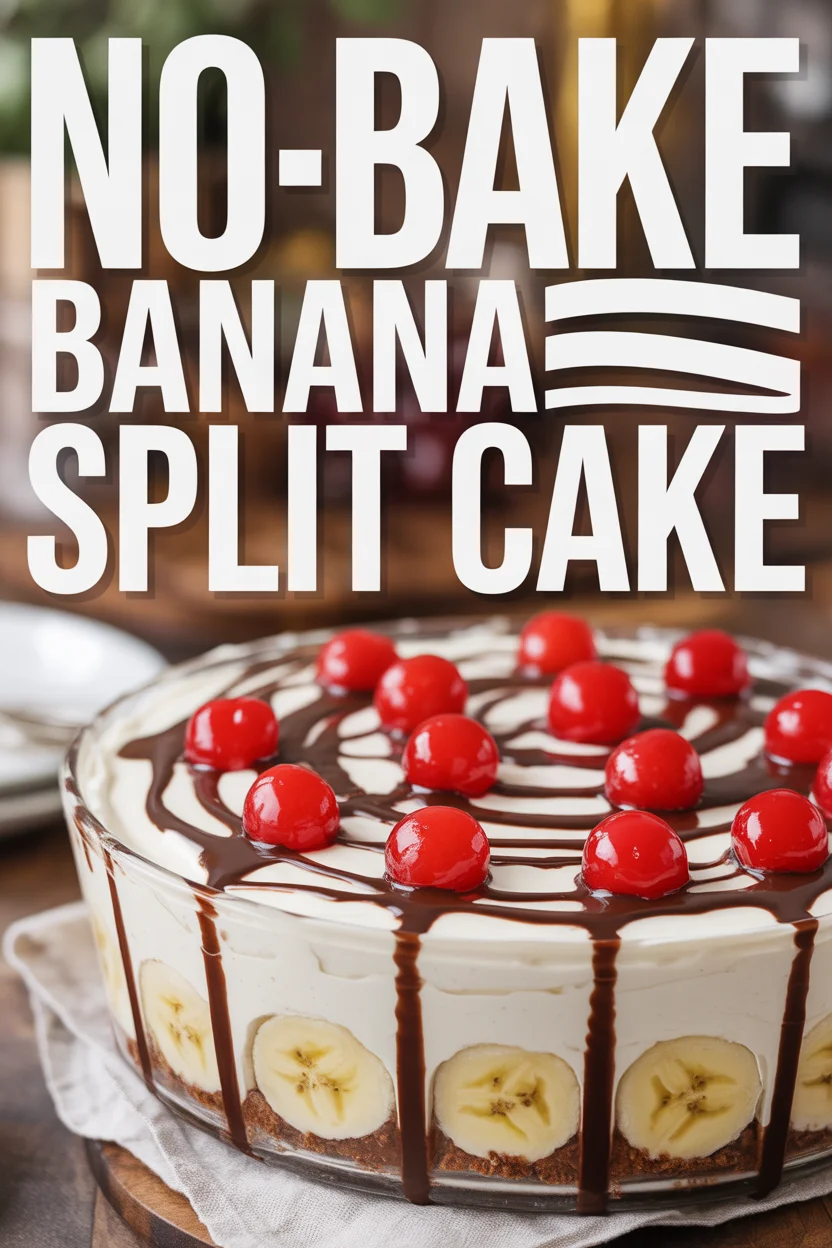
No-Bake Banana Split Cake
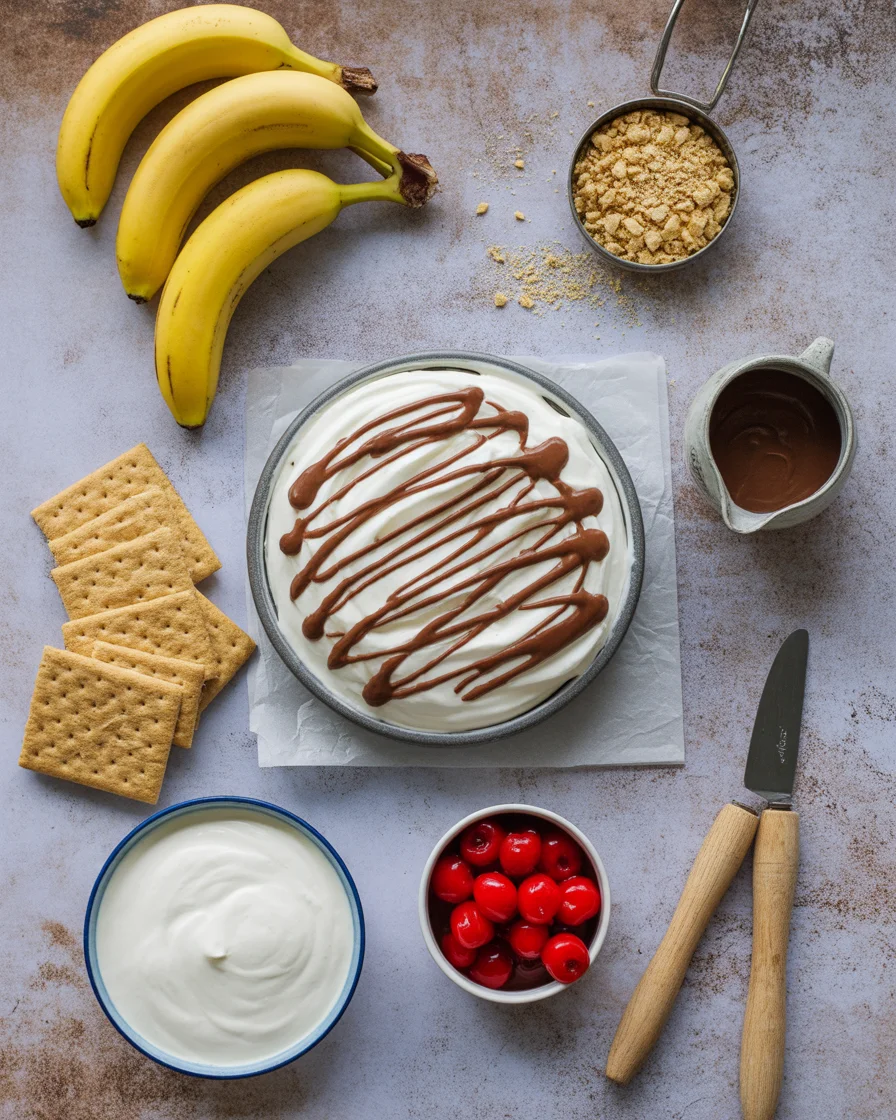
Ingredients
Method
- Mix graham cracker crumbs with melted butter until combined, then press firmly into the bottom of a 9×13 inch pan.
- Freeze the crust for at least 20-30 minutes until firm.
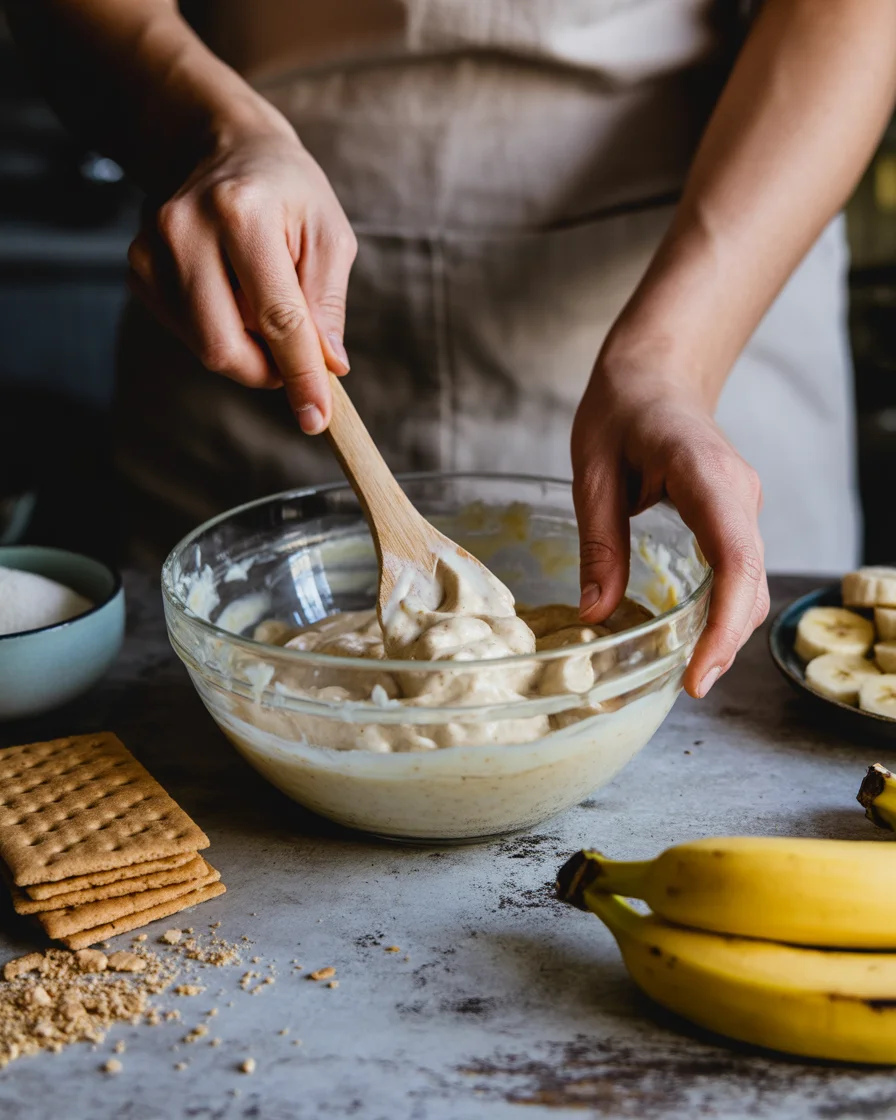
- In a mixing bowl, whip cream cheese until smooth.
- Fold in whipped cream until well combined and fluffy.
- Spread the cream cheese filling evenly over the chilled crust.
- Layer sliced bananas, then pineapple tidbits, and top with strawberries.
- Cover with additional whipped cream if desired, then chill for at least 4 hours or overnight.
- Garnish with chopped nuts, chocolate drizzle, or maraschino cherries just before serving.
- Cut with a warm knife for neat squares.