
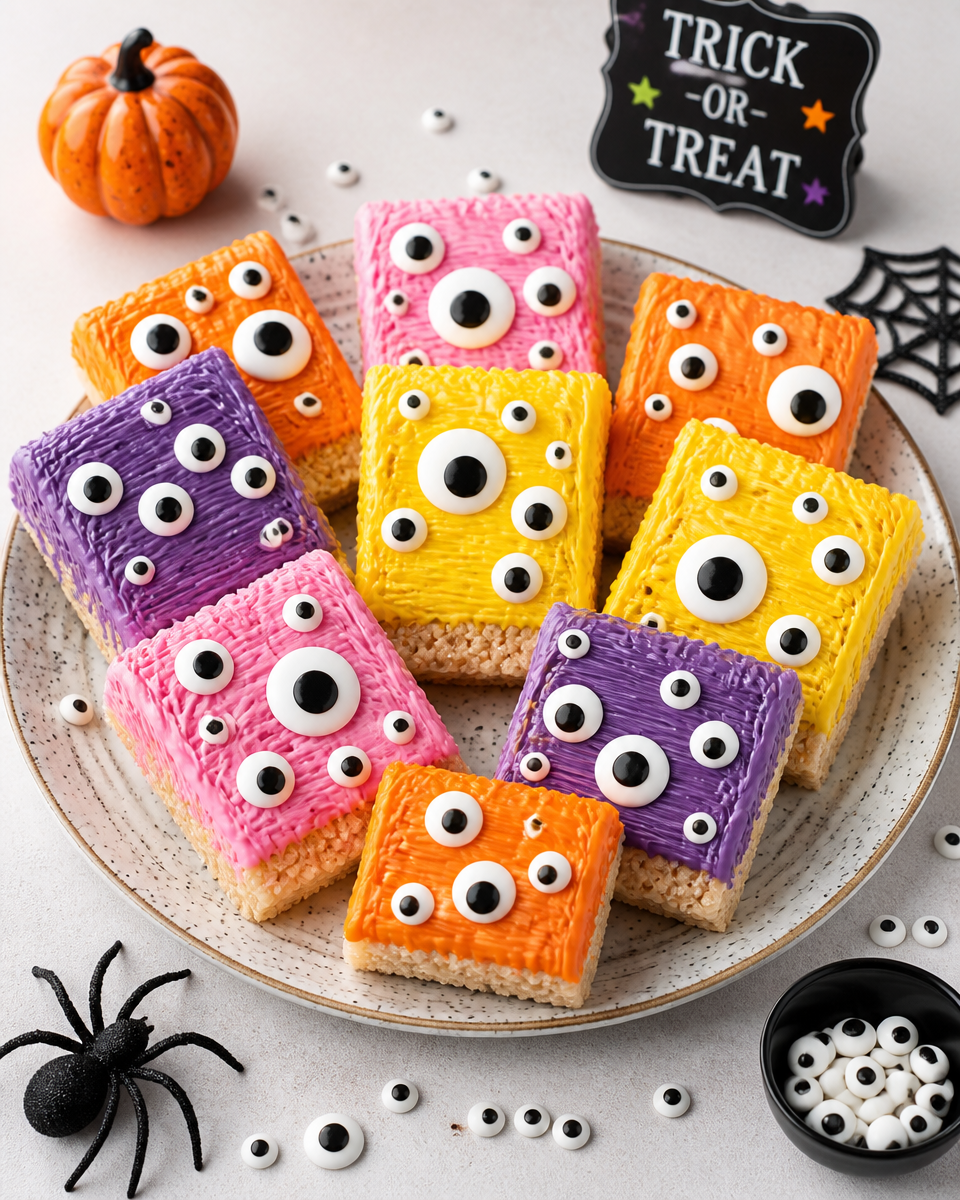
Halloween Rice Krispie Treats are my go to answer when I need something cute, fast, and basically guaranteed to disappear from the snack table. You know that moment when you realize you promised to bring a Halloween treat, but your week has been a lot and you have zero energy for anything complicated? Yep, this is for that moment. These are sweet, gooey, and totally kid approved, but honestly, adults hover around them too. I started making them after one too many last minute party invites, and now they are kind of my signature. Let’s make a batch that looks festive without stressing you out.
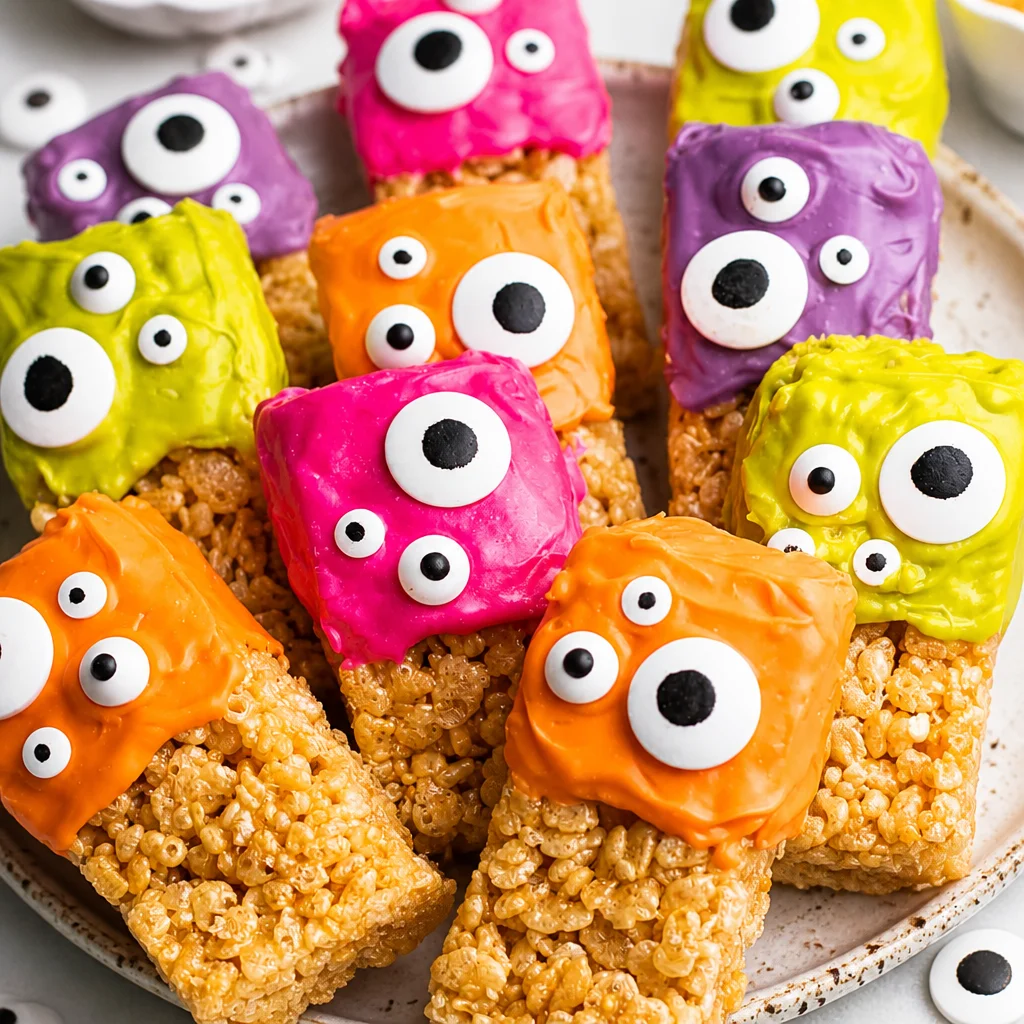
How to Make Halloween Rice Krispie Treats
I’m going to keep this simple, because the whole point is that you can pull these off even if you are juggling costumes, carving pumpkins, and trying to remember where you put the candy stash.
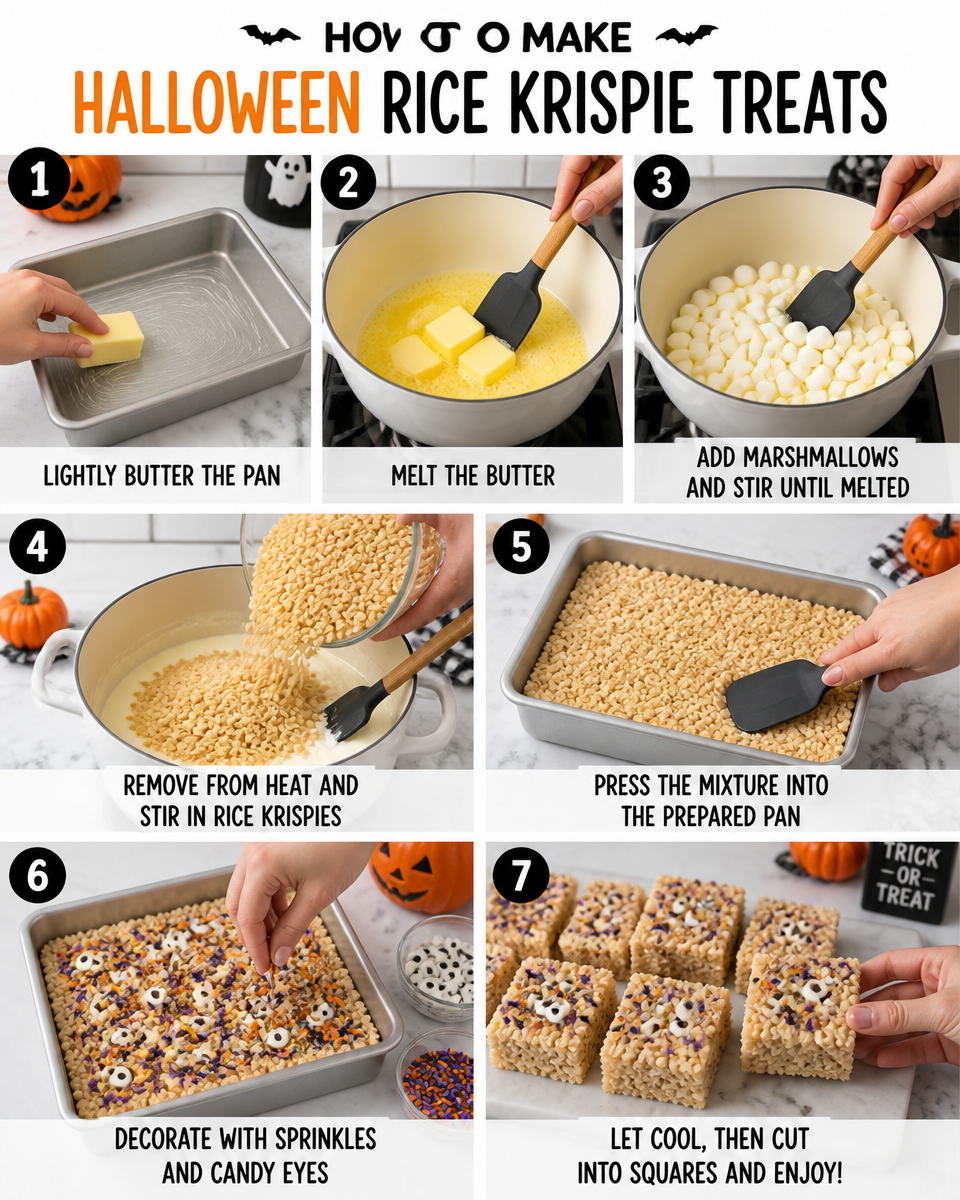
Step by step, the easy way
- Prep the pan: Lightly butter a 9×13 pan, or line it with parchment paper so you can lift the whole slab out later.
- Melt the butter: Use a big pot on low heat so nothing browns too fast.
- Add marshmallows: Stir until smooth and glossy. Low heat is your friend here.
- Add cereal: Dump it in and stir quickly, coating every piece.
- Press into pan: Gently press, do not smash it flat. I use buttered hands or a buttered spatula.
- Decorate: Add Halloween sprinkles, candy eyes, or a drizzle of colored chocolate.
- Cool and slice: Give them 30 to 60 minutes, then cut into squares or fun shapes.
If you want the classic base before you start adding Halloween flair, I always point friends to this recipe because it nails that soft and chewy texture: easy rice krispie treats gooey marshmallow squares. It is the exact vibe we are going for, just dressed up for spooky season.
One small thing that makes a big difference: when you press the mixture into the pan, stop as soon as it looks even. Pressing too hard makes the treats dense instead of light and gooey. And nobody is coming to a Halloween party hoping for a workout snack.
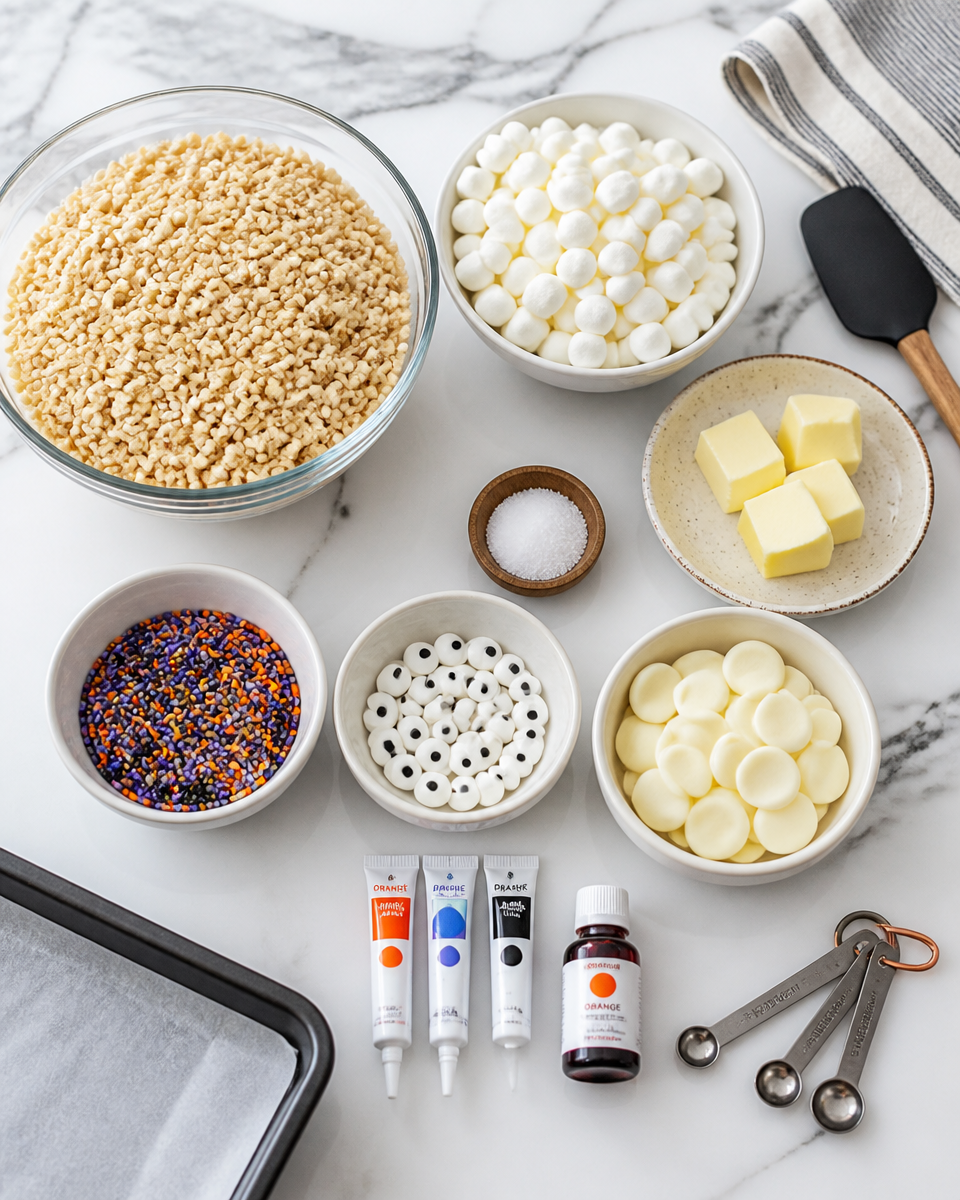
Ingredients You’ll Need
This is the part I love because the list is short and forgiving. You can keep it basic or go full Halloween with add ons. Here is what I use most of the time.
- Rice Krispies cereal
- Mini marshmallows or regular marshmallows
- Butter
- Vanilla extract optional but really nice
- Pinch of salt makes the sweetness taste better
- Halloween sprinkles orange, black, purple mixes
- Candy eyes for monster style treats
- Melting wafers or white chocolate for drizzles
- Food coloring if you want bright orange or green drizzle
I also like having a backup plan if I want to keep things super gooey. Using a little extra marshmallow gives that soft bite that people always comment on. If you are into that extra marshmallow pull, this is another good reference point to keep bookmarked: gooey marshmallow squares.
“I made these for my daughter’s class party and I had three parents ask me for the recipe. The candy eyes made them look so fun, and they stayed soft all day.”
Variations To Try
This is where Halloween Rice Krispie Treats get really fun, because you can change the look without changing the basic method. I usually pick one theme so the tray looks intentional, even if it was made at the last second.
My favorite Halloween themes
1) Mummy treats: Cut into rectangles, drizzle with white chocolate “bandages,” then stick on two candy eyes. They look adorable and a little silly in the best way.
2) Monster squares: Press into the pan, then add a colored drizzle in green or purple and scatter candy eyes everywhere. The more random, the better.
3) Pumpkin patch: Add orange sprinkles on top and press a green candy or a little green icing dot into each square like a stem.
4) Spooky chocolate: Mix in a handful of mini chocolate chips after the cereal is coated. Let it cool just a minute so the chips do not completely melt.
If you love seasonal flavors, pumpkin is actually amazing with this texture. I tried it on a whim, and now I crave it every fall: pumpkin spice rice krispie treats. It feels a little cozy, even though it is still very much a snack bar.
Also, if you are the kind of person who plans ahead for the next holiday while you are still eating Halloween candy, I respect that. These holiday themed ones are cute inspiration for later: rice krispie Christmas puddings and fun Christmas rice crispy treats.
Expert Tips for Perfect Treats
I am not a fancy pastry person, but I have made enough batches to know what makes them turn out great. These tips are the difference between “fine” and “wow, who made these?”
Use low heat. If you rush the melting step, the marshmallows can get tough and your treats can end up weirdly chewy in a bad way.
Salt is not optional in my kitchen. Just a pinch balances the sweetness and makes the flavor pop. People rarely notice salt is there, they just know it tastes better.
Do not pack them down. I know it is tempting to press hard so everything sticks, but gentle pressure keeps them soft.
Butter your hands or spatula. This saves you from the sticky mess and keeps the top smooth.
Decorate while they are still slightly warm. Sprinkles and candy eyes stick best when the surface is tacky. If they cool too much, you can always add a thin drizzle of melted chocolate as glue.
One more real life tip: cut with a lightly buttered knife. Wipe the blade between cuts if you want clean edges. If you are making these for a party table, clean cuts make them look extra polished with basically no extra effort.
How to Store Halloween Rice Krispie Treats
Good news, these store easily, which is helpful if you want to make them the night before or if you somehow end up with leftovers.
Room temperature is best. I keep them in an airtight container for up to 2 to 3 days. Put parchment paper between layers so the decorations stay cute.
Do not refrigerate if you can help it. The fridge can make them firmer and less gooey. If your kitchen is super hot, then sure, but bring them back to room temp before serving.
Freezing is possible. Wrap individual squares in plastic wrap, then put them in a freezer bag. They can freeze for about a month. Thaw at room temperature, still wrapped, so they do not dry out.
If you are taking them to a party, I like packing them in a single layer in a sturdy container. I learned the hard way that stacked candy eyes can get squished and slide off. Still tasty, just a little less camera ready.
Common Questions
Can I make Halloween Rice Krispie Treats in the microwave?
Yes. Melt butter and marshmallows in a big microwave safe bowl in short bursts, stirring often, then mix in cereal. It is fast, just keep an eye on it so the marshmallows do not overheat.
Why are my treats hard instead of soft?
Usually it is from too high heat, pressing the mixture too firmly, or not using enough marshmallows. Low heat and gentle pressing fix most issues.
How do I keep candy eyes from falling off?
Press them on while the treats are still a bit warm, or use a tiny dot of melted chocolate as glue.
Can I use store brand cereal and marshmallows?
Absolutely. I do it all the time. If the cereal is a little more crushed in the bag, it still works, it just looks slightly less crisp.
What is the best way to cut them into shapes?
Let the pan cool, then lift the whole slab out using parchment paper. Use a lightly buttered cookie cutter and press straight down, then wiggle gently to release.
A sweet, spooky finish
If you make Halloween Rice Krispie Treats once, you will get why I keep coming back to them. They are quick, they are cute, and they bring that fun Halloween vibe without making a huge mess. If you want extra inspiration, I like comparing ideas from Easy Halloween Rice Krispie Treats – Crazy for Crust and Halloween Rice Krispie Treats – To Simply Inspire because they always spark a new decorating idea. Grab your sprinkles, throw on a spooky playlist, and make a batch this week. You will be so happy you did when you see everyone reach for seconds.
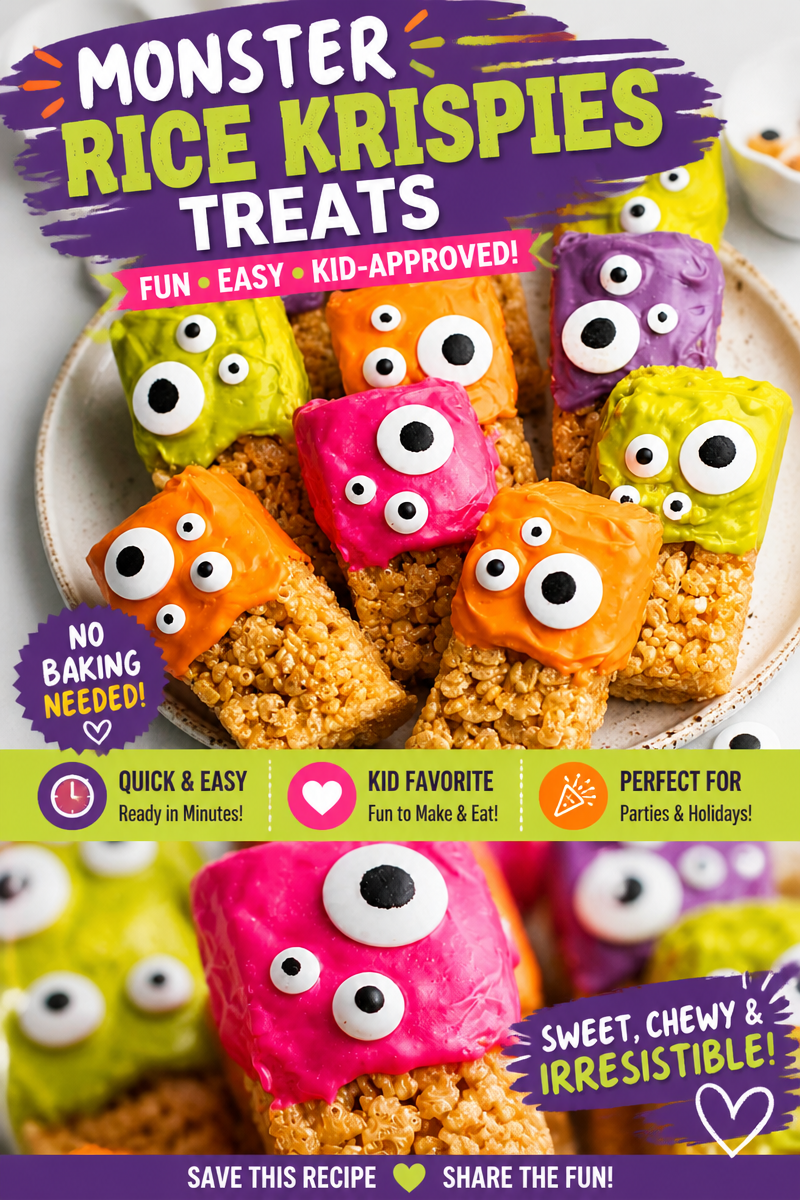
Halloween Rice Krispie Treats
Ingredients
Method
- Lightly butter a 9×13 pan or line it with parchment paper.
- In a large pot, melt the butter over low heat.
- Add marshmallows to the pot and stir until smooth and glossy.
- Stir in the Rice Krispies cereal until evenly coated.
- Press the mixture gently into the prepared pan, ensuring it is even but not compacted.
- Decorate the top with Halloween sprinkles, candy eyes, or drizzle with melted chocolate.
- Allow to cool for 30 to 60 minutes before slicing into squares or fun shapes.
