
Easy Candy Corn Fudge — 3 Color Layered is my go to treat when I want something cute for Halloween but I do not want to babysit a pot on the stove all afternoon. You know those days when you promised to bring something festive, and suddenly it is the night before? This is that recipe. It is sweet, smooth, and basically impossible not to smile at because it looks like candy corn in fudge form. I also love that it slices into neat little squares, so it is easy to share at parties or pack into treat bags. If you have ever felt intimidated by homemade fudge, this one is the friendly starting point. 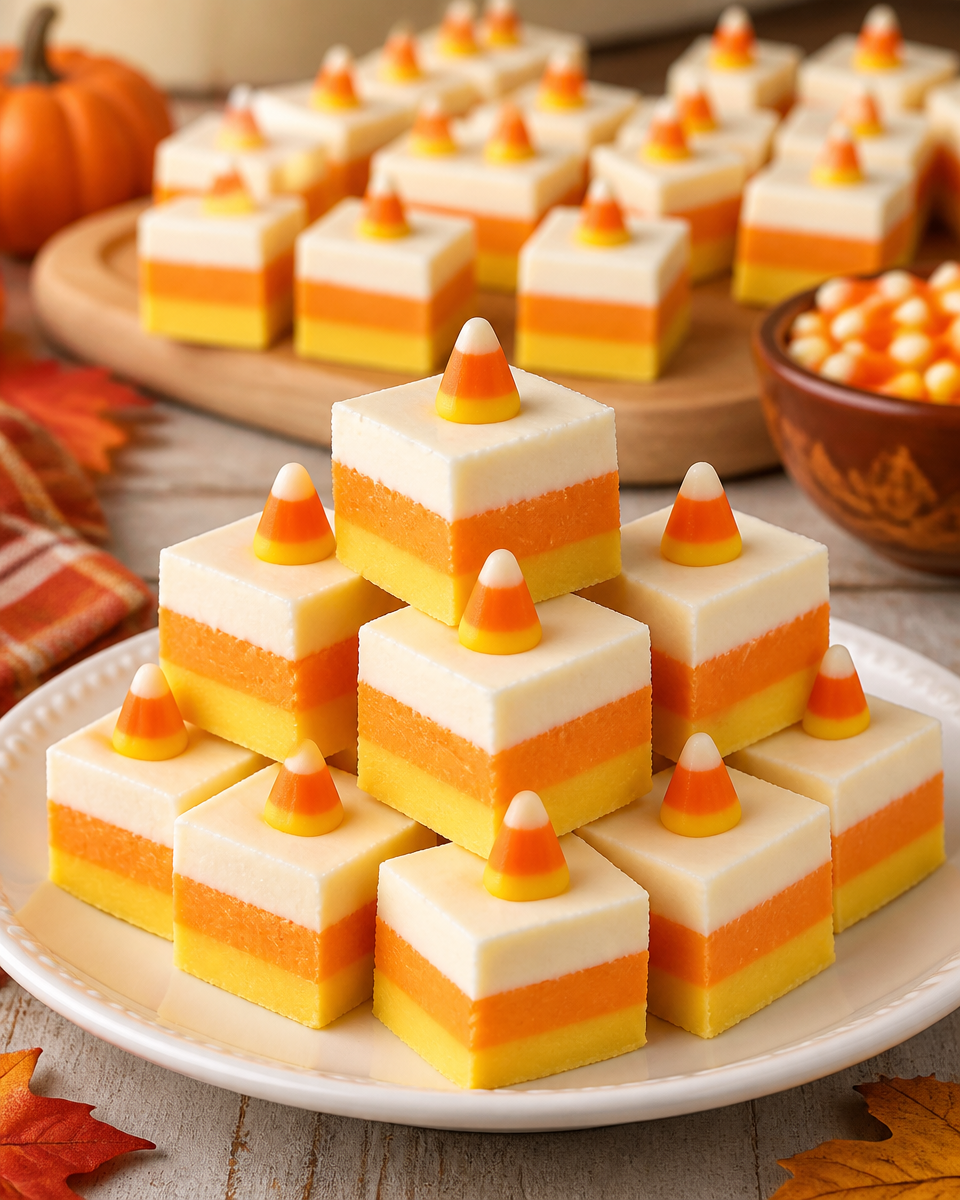
How To Make Candy Corn Fudge
I have made this enough times that I can practically do it on autopilot, but I still get excited every time I see the layers set up. The main idea is simple: you make one fudge base, then split it into three bowls and tint each one. The only part that takes a little patience is waiting for each layer to firm up before adding the next. Trust me, that waiting is what gives you those clean, pretty stripes.
Ingredients and quick plan
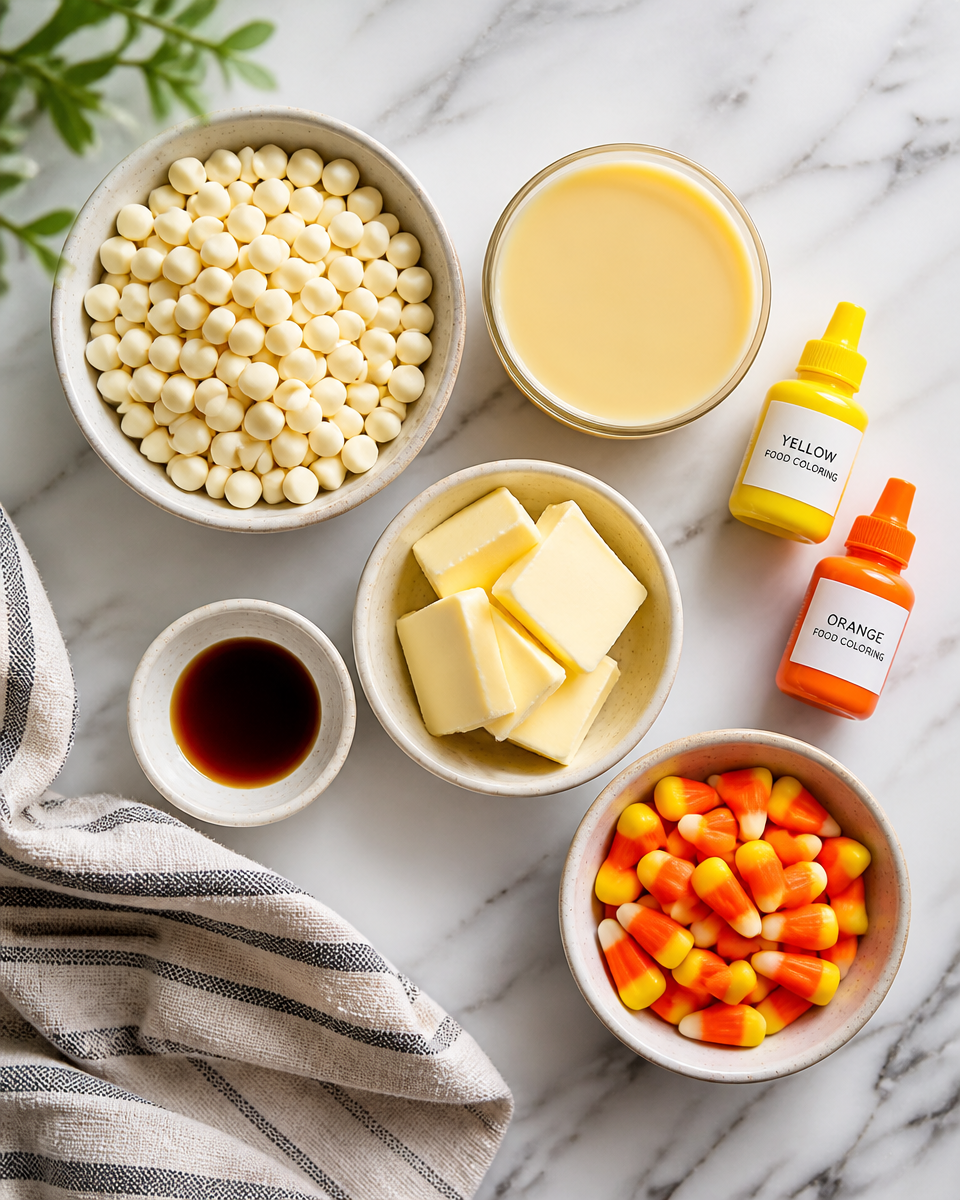
Here is what you need. Nothing fancy, and you can find it all in a regular grocery store.
- White chocolate chips (or white baking chips)
- Sweetened condensed milk (not evaporated milk)
- Butter (helps it melt smoothly)
- Vanilla extract
- Food coloring in yellow and orange
- Optional: candy corn for topping
Before you start, line an 8×8 pan with parchment paper. Leave a little extra hanging over the sides so you can lift the fudge out easily later. I also like to lightly spray the parchment with a tiny bit of cooking spray, just to be safe.
If you want a fun drink to go with your candy making night, I usually whip up a quick coffee and top it with this cold foam recipe. It feels like a mini cafe moment while the layers chill.
Step by step directions for clean layers
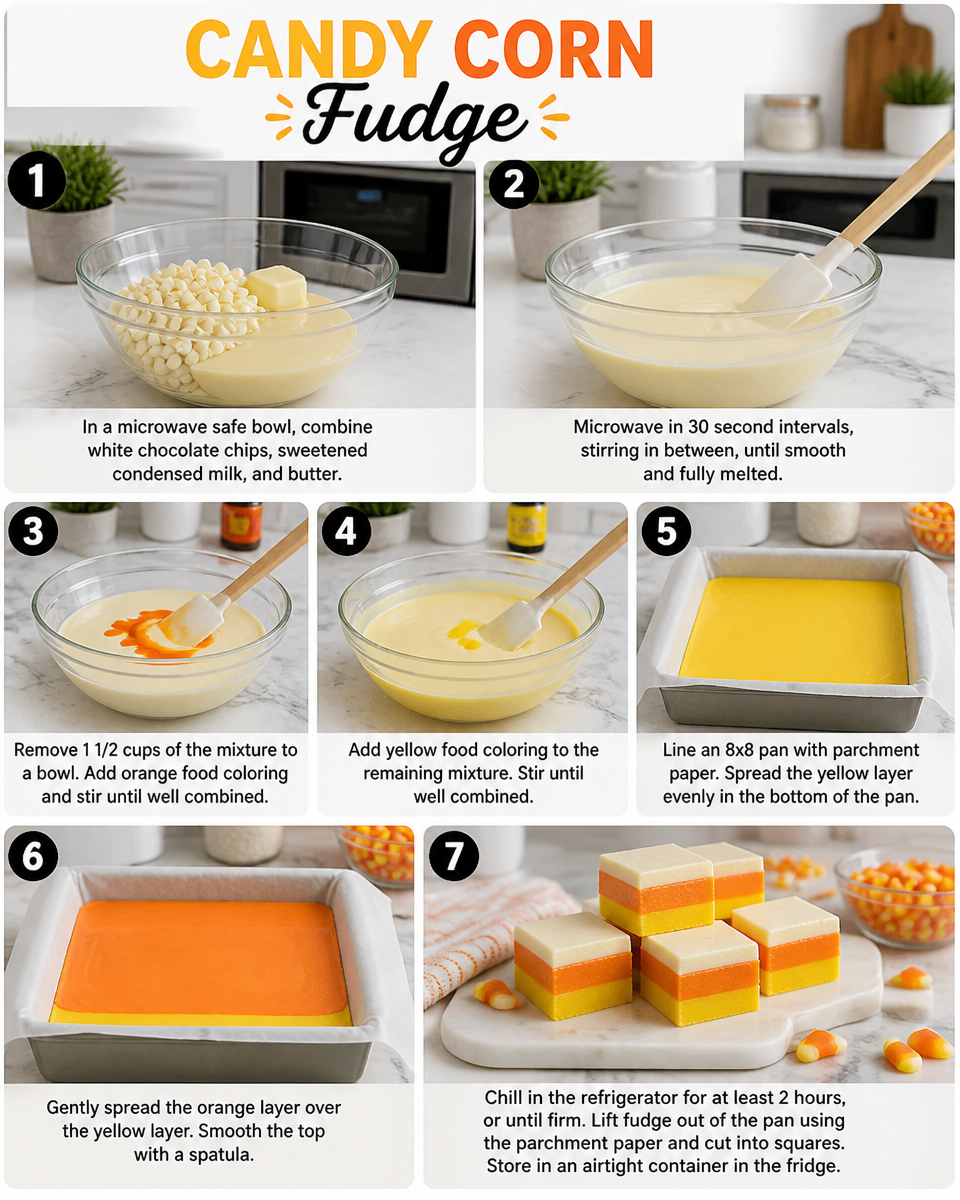
1) In a microwave safe bowl, combine white chocolate chips, sweetened condensed milk, and butter. Microwave in short bursts, stirring well each time, until smooth. Do not rush it. If you blast it too long, white chocolate can seize and get grainy.
2) Stir in vanilla. Now you have your base.
3) Divide the mixture into three bowls as evenly as you can. One stays white. Tint one bowl yellow, and tint the last bowl orange. Start with a tiny drop of color and build slowly. You can always add more, but you cannot take it away.
4) Press the orange layer into the lined pan first and smooth it out. Tap the pan gently on the counter to help it settle into the corners.
5) Chill for about 10 to 15 minutes, just until it is set enough that the next layer will not sink.
6) Add the yellow layer. I like to spoon it on in little blobs across the surface, then gently spread. Chill again for 10 to 15 minutes.
7) Add the white layer on top, smooth it, then chill for at least 2 hours before slicing. Overnight is totally fine too.
When it is firm, lift it out using the parchment, then slice with a warm knife. I run my knife under hot water and wipe it dry between cuts. This makes those edges look sharp and bakery worthy.
Little personal note: the first time I made Easy Candy Corn Fudge — 3 Color Layered, I got impatient and poured the yellow layer too early. It still tasted great, but the layers did a little swirl situation. So yes, it will still be delicious even if it is not perfect, but that short chill time really helps if you want the clean stripes.
“I made this for my kid’s Halloween class party and every square disappeared. The layers looked so cute, and it was way easier than I expected.”
Variations and Add-ins
The classic version is adorable, but you can absolutely play around with it. Easy Candy Corn Fudge — 3 Color Layered is basically a blank canvas once you know the method.
Here are a few ideas I have tried (and a couple I have on my list):
Flavor twists
Add a tiny splash of almond extract instead of vanilla, or do half vanilla and half almond for that bakery vibe. You can also mix in a pinch of salt to keep it from tasting too one note.
Texture add-ins
Top the white layer with candy corn, Halloween sprinkles, or crushed vanilla cookies. Press them in lightly so they stick after chilling.
Color upgrades
If you want a brighter “candy corn” look, use gel food coloring. Liquid works, but gel gives stronger color without thinning the fudge.
Swirl option
If you are short on time, you can do two layers instead of three, or even swirl the yellow and orange together for a marbled look. It will not be traditional candy corn stripes, but it is still festive.
When I am in a Halloween snack making mood, I usually pair this with something crunchy like cornflake brittle. I know it is labeled Christmas, but honestly, it is great any time you want that sweet crispy bite next to creamy fudge.
Storage Tips for Candy Corn Fudge
Good news: this is one of those treats that actually stores really well, which is perfect if you like to make things ahead.
Room temperature: Keep it in an airtight container for about 5 to 7 days. If your kitchen is warm, it might get a little softer, so I usually store it in the fridge just to keep the layers firm.
Refrigerator: In an airtight container, it will stay nice for up to 2 weeks. Let it sit out for 10 minutes before serving if you want it a little softer.
Freezer: Yes, you can freeze it. Wrap individual squares in plastic wrap, then place them in a freezer bag. It keeps well for about 2 to 3 months. Thaw in the fridge overnight.
One tip I learned the hard way: do not store it next to strongly scented foods. White chocolate loves picking up fridge smells. So maybe do not tuck it beside leftover onion pizza.
Also, if you are planning a cozy night in with snacks, this fudge is fun with a warm bowl of something savory too. I know it sounds random, but sweet and salty cravings hit together sometimes. If you want an easy dinner idea, this creamy chicken corn chowder is super comforting before dessert.
Recommended Tools for Making Fudge
You do not need a ton of gadgets, but a few basics make the whole thing smoother and less messy.
What I actually use at home:
1) An 8×8 pan (metal or glass both work)
2) Parchment paper for easy lift out
3) Microwave safe bowls (at least 3 if you want to tint all at once)
4) A silicone spatula for scraping every last bit
5) Measuring spoons for vanilla and food coloring
6) A sharp knife for clean slices
If you only have one big bowl, you can still do it. Just melt the base, pour off one third into the pan for the orange layer after tinting, then tint the remaining base yellow, and finally leave some white. It is a little more juggling, but it works.
And if you are making coffee to go with your fudge session, I am going to link it again because I make it constantly: easy 3 ingredient coffee topping. It is especially good when you are standing in the kitchen waiting for layers to chill.
More Halloween-Themed Recipes
Once you make Easy Candy Corn Fudge — 3 Color Layered, it kind of flips a switch and you want to make everything festive. If you are putting together a Halloween spread, I like to mix textures and flavors so it is not all sugar on sugar.
Here are a few easy ideas:
Sweet: popcorn mixes with candy eyes, chocolate dipped pretzels, or brownies with orange frosting.
Salty: nachos, mini sliders, or a big pot of soup for the adults while the kids go wild on treats.
Cozy dinner: I will happily make this creamy chicken corn chowder recipe again here because it is the kind of meal that makes the whole night feel warm and settled before the candy parade begins.
Common Questions
Why did my layers blend together?
Usually it is because the bottom layer was still too soft. Chill each layer just long enough that it is set on top before adding the next.
Can I make this without a microwave?
Yes. Melt everything gently on the stove using low heat and stir constantly. White chocolate can scorch fast, so keep it slow.
Do I have to use butter?
I recommend it. It helps the mixture melt smoothly and gives the fudge a nicer texture. If you skip it, the fudge can be thicker and harder to spread.
What if my fudge looks grainy?
That usually means the chocolate got overheated. Next time, microwave in shorter bursts and stir a lot. Also use good quality white chips if you can.
How do I get super clean slices?
Chill the fudge well, use a sharp knife, and warm the blade under hot water, then dry it before each cut.
A sweet little wrap up
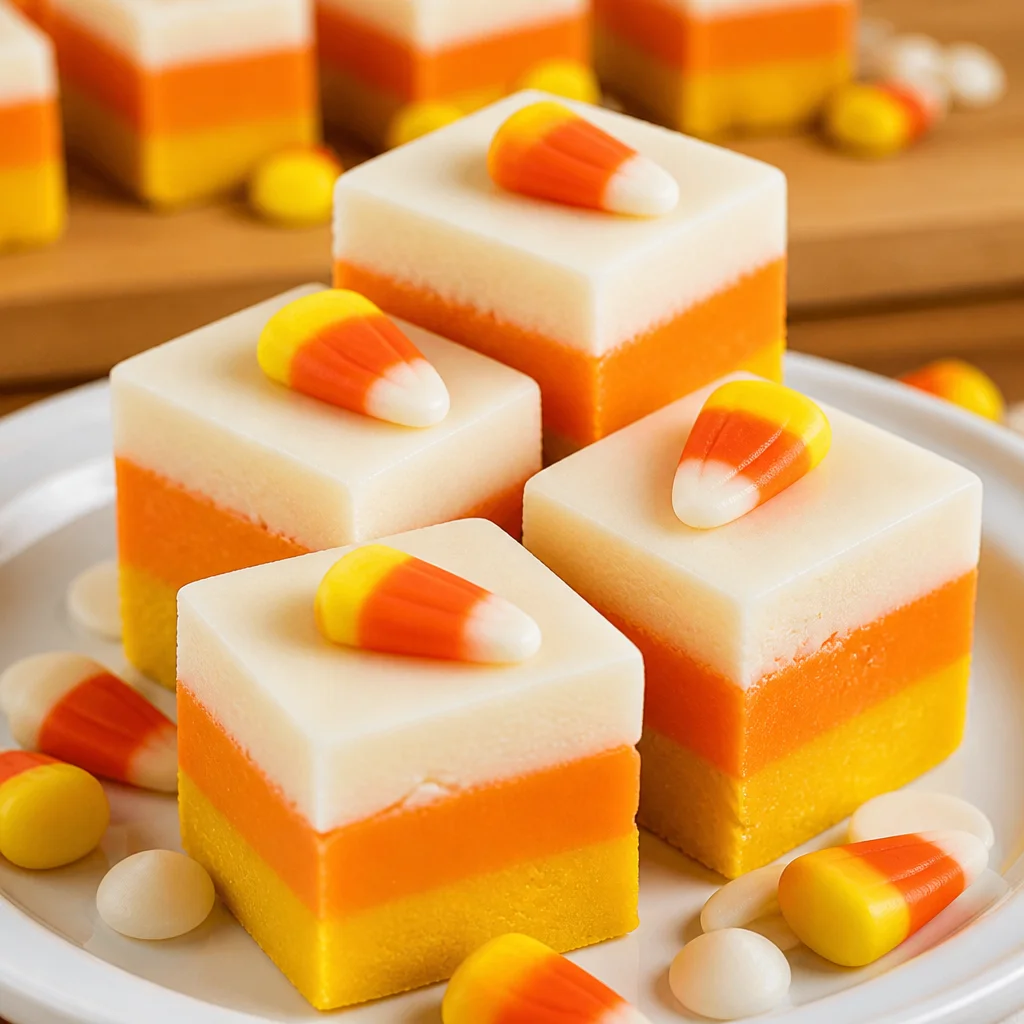
If you want a treat that looks like you tried really hard but is secretly simple, Easy Candy Corn Fudge — 3 Color Layered is the one to make. It is mostly melt, tint, chill, and slice, and it always gets attention on a dessert table. If you like comparing recipes, I also found helpful tips on Easy Candy Corn Fudge – Mom On Timeout and this super simple version on Easy 3 Ingredient Candy Corn Fudge Recipe – Take Two Tapas. Now grab your food coloring, give yourself permission to be a tiny bit impatient, and still make it anyway. You are going to love how cute those layers look when you slice the first square.

Easy Candy Corn Fudge — 3 Color Layered
Ingredients
Method
- In a microwave-safe bowl, combine white chocolate chips, sweetened condensed milk, and butter. Microwave in short bursts, stirring well each time, until smooth.
- Stir in vanilla extract.
- Divide the mixture into three bowls; one will remain white, tint one bowl yellow, and the last bowl orange using food coloring.
- Press the orange layer into the lined 8×8 pan and smooth it out. Tap the pan gently on the counter.
- Chill for 10 to 15 minutes until set enough for the next layer.
- Add the yellow layer by spooning it on and spreading it gently. Chill for another 10 to 15 minutes.
- Finally, add the white layer, smooth it out, and chill for at least 2 hours or overnight.
- Once firm, lift the fudge out using the parchment paper and slice with a warm knife for clean edges.
