
Easy Ice Cream Cake No Bake Layered Dessert is my go to save the day treat when I need something fun, cold, and guaranteed to make people happy. You know those days when it is too hot to bake, or you promised dessert and totally forgot until the last minute? Yep, this is for that. It is simple, it is flexible, and it looks way more impressive than the effort it takes. I have made versions of this for birthdays, cookouts, and random Tuesday nights when we just needed something sweet. Stick with me and I will walk you through it like we are chatting in my kitchen. 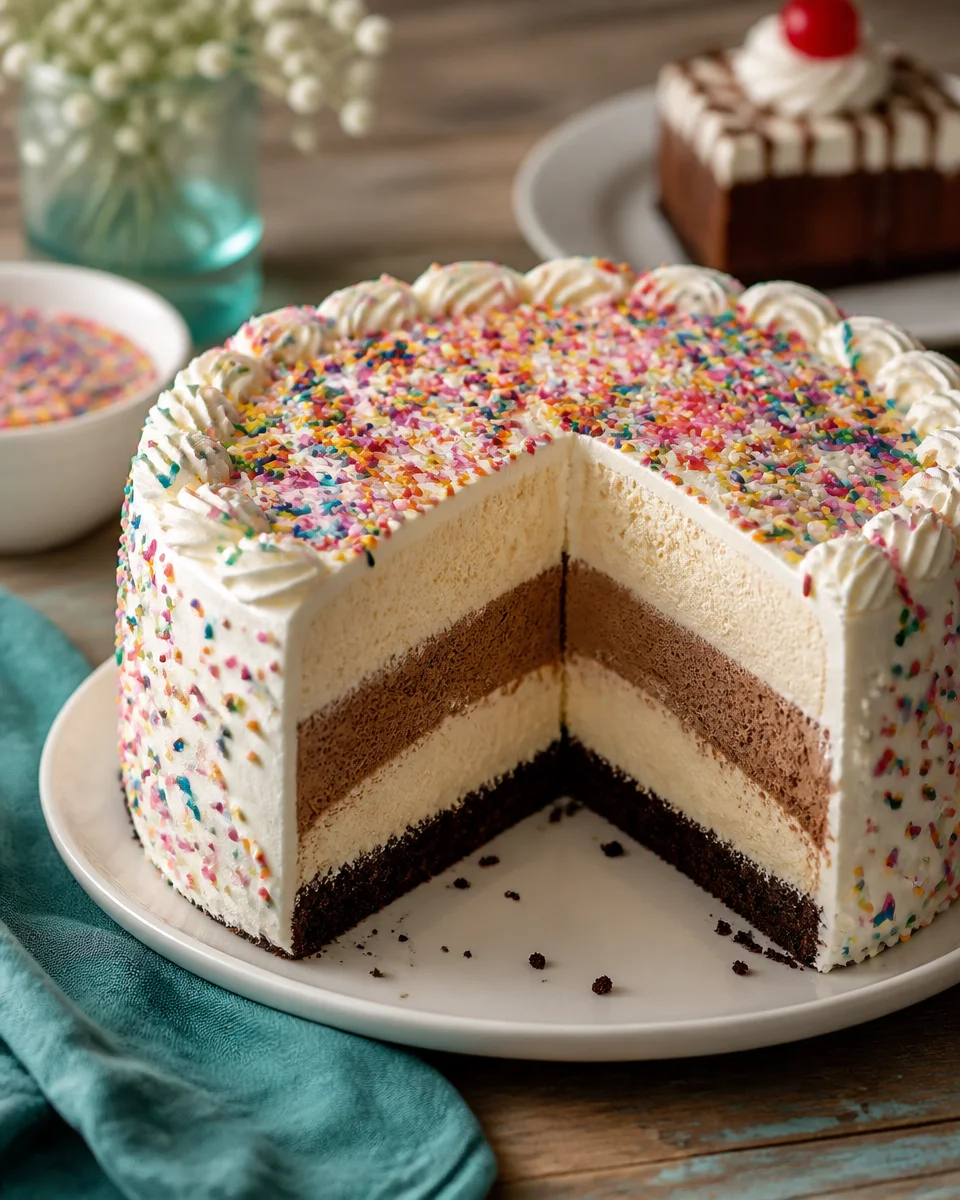
Why You’ll Love This Ice Cream Cake
First, it is truly no bake. Your oven gets to stay off, and honestly, that alone feels like a win in the summer. Second, the texture is the best part: crunchy, creamy, and a little chewy in the middle depending on what cookies you use. Third, it is easy to customize, so you can match whatever your people love.
I also like that it is a make ahead dessert. When friends are coming over, I want to be able to pull something out of the freezer and act like I have my life together. This layered dessert does that for me.
If you are on a no bake kick, you might also like my cozy little obsession with chilled layered sweets like this easy Oreo dirt cake. Same low effort energy, big payoff.
- No oven needed, just a freezer and a little patience
- Feeds a crowd and slices clean when properly frozen
- Kid friendly and adults love it too
- Budget friendly since you can use store brand ice cream and cookies
One more thing: Easy Ice Cream Cake No Bake Layered Dessert is forgiving. Even if your layers are not perfectly even, nobody cares once they taste it.
5 Layers to Love
This is where the fun happens. I build this like a little dessert lasagna, and you can swap things in and out. The basic idea is: crunchy base, ice cream, a creamy layer, more crunch, and a topping that makes it look finished.
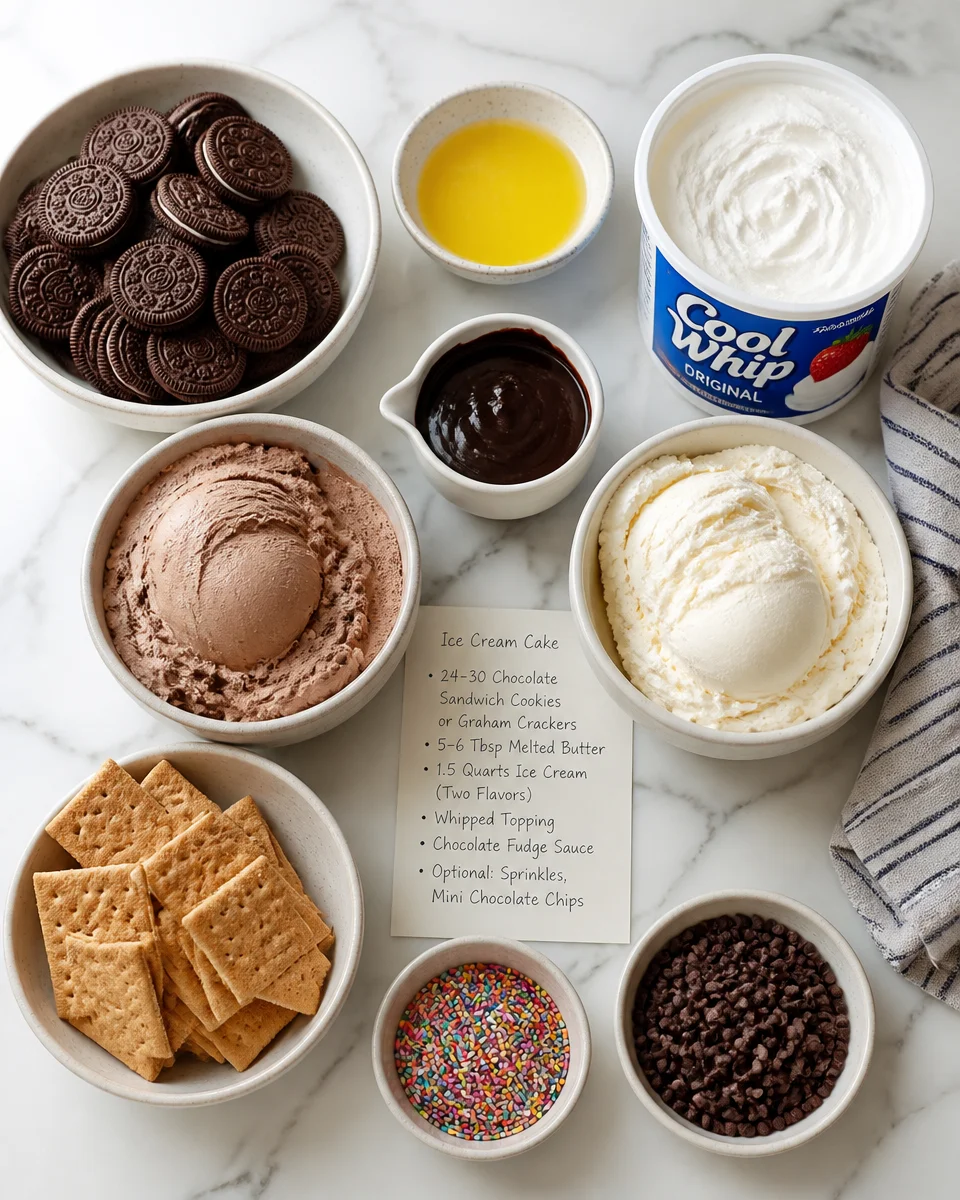
What you will need
- About 24 to 30 chocolate sandwich cookies or graham crackers, crushed
- 5 to 6 tablespoons melted butter (only if you want a firm crust style base)
- 1.5 quarts ice cream, softened (flavor one)
- 1.5 quarts ice cream, softened (flavor two)
- 1 tub whipped topping or 2 cups homemade whipped cream
- Chocolate fudge sauce or caramel sauce
- Optional extras: mini chocolate chips, sprinkles, chopped candy, crushed cones
How I layer it
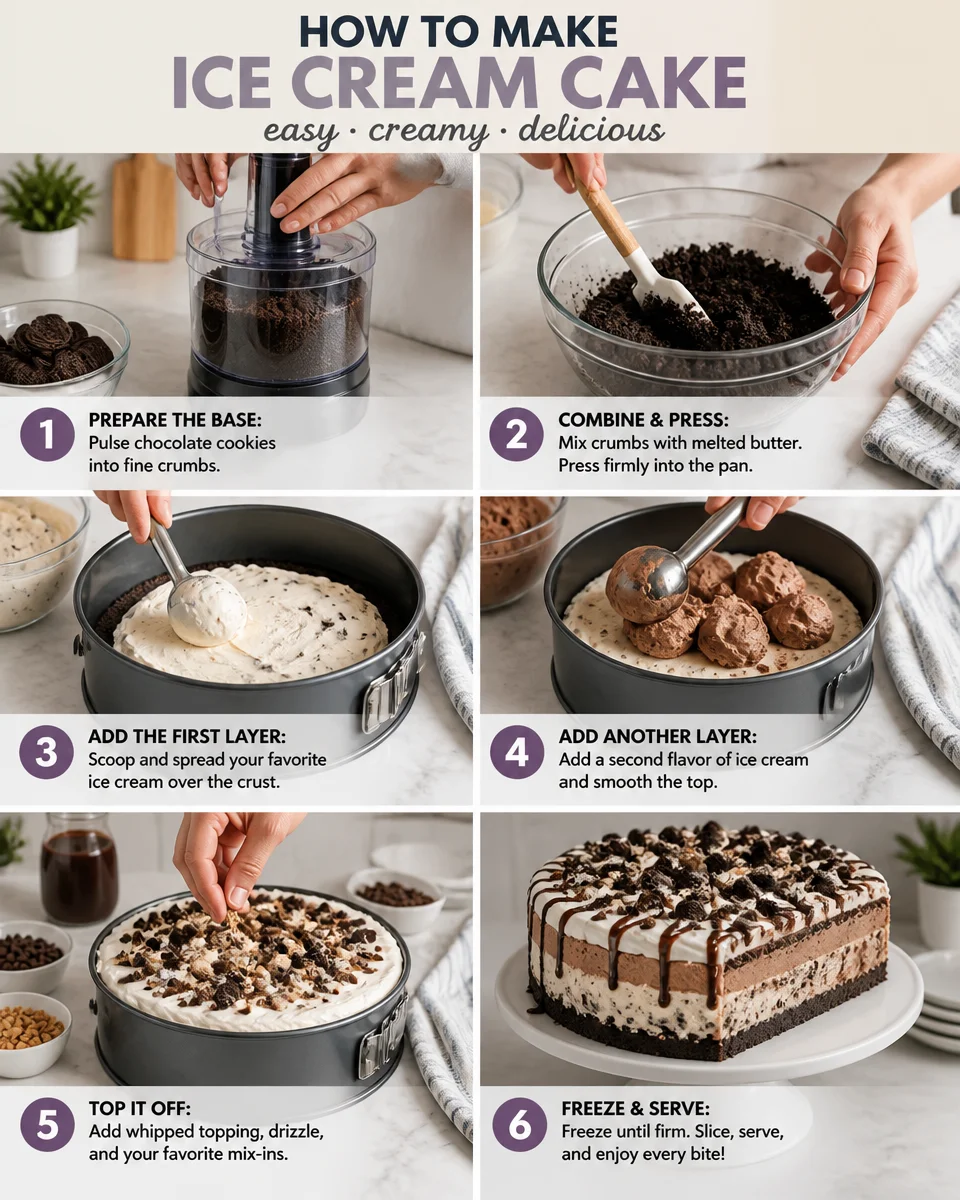
Layer 1: Crushed cookies. Sometimes I mix with melted butter for a sliceable crust, sometimes I skip the butter and just press the crumbs in. Both work, but butter makes it more tidy.
Layer 2: First ice cream flavor. Spread it gently, then tap the pan on the counter to settle it.
Layer 3: A thin ribbon of fudge sauce plus a layer of whipped topping. This gives you that creamy middle and keeps it from feeling too heavy.
Layer 4: More cookie crumbs or crunchy bits. This is where I add crushed waffle cone pieces if I have them.
Layer 5: Second ice cream flavor, then a final fluffy layer of whipped topping on top if you want it pretty.
When I am in the mood for another classic fridge and freezer style dessert, I also make this easy icebox cake with graham crackers. It is a different vibe, but the same kind of satisfying.
After you build it, cover it well and freeze it until solid. I aim for at least 6 hours, but overnight is even better. Easy Ice Cream Cake No Bake Layered Dessert really rewards you for waiting.
Ice Cream Cake Success Tips
This is the part that keeps it from turning into a messy scoop situation. I have learned these tips the real way, meaning after a couple of chaotic slices that slumped onto plates. So here is what actually helps.
My practical tips for clean layers
- Soften, do not melt: Let ice cream sit out 10 to 15 minutes. You want it spreadable, not soupy.
- Line your pan: Parchment or plastic wrap with overhang makes lifting and slicing so much easier.
- Freeze between layers: Even 10 to 15 minutes helps if your kitchen is warm.
- Press crumbs gently: Packing too hard can make the bottom tough to cut.
- Use a hot knife: Dip the knife in hot water, wipe dry, slice, repeat.
Also, store it like you mean it. Wrap the pan in plastic wrap, then add foil. Ice cream absorbs freezer smells fast, and nobody wants a cake that tastes like last month’s garlic bread.
“I made this for my daughter’s birthday and everyone thought it was from a bakery. The layers stayed perfect and it was so easy I’m doing it again next weekend.”
If you like keeping things no bake and make ahead, you might enjoy this banana pudding cheesecake layered dessert too. It is creamy, chill, and super shareable.
Choosing Your Ice Cream Flavors
This is the part where you can make it personal. The best combo is the one you will actually be excited to eat straight from the freezer two days later. I usually pick one classic flavor and one fun flavor so it feels balanced.
Here are some combos that always work:
Classic and crowd pleasing: vanilla + chocolate, vanilla + cookies and cream, chocolate + mint chip
Fruity and bright: strawberry + vanilla, raspberry sorbet + dark chocolate (so good), mango + coconut
Big dessert energy: coffee + chocolate, peanut butter + brownie batter, salted caramel + vanilla
If you are serving kids, I keep it simple and add the fun with toppings like sprinkles or crushed candy. If it is more of an adult group, coffee ice cream with fudge layers feels kind of fancy without trying.
And if you want a lighter, sunny dessert idea for another day, this lemon icebox pie is the one I make when I want something creamy but not heavy.
The Magical Finishing Touch
Let’s talk toppings, because toppings are where this dessert turns into a party. Even if your layers are a little uneven, the top is what everyone sees first, and it is also the first bite. I like to keep the topping simple but bold.
My favorite finishing combo is whipped topping spread across the top, then warm fudge sauce drizzled over it. The fudge will set pretty quickly once it hits the cold surface, so you get these snappy little chocolate ribbons.
Other topping ideas that look great with almost no effort:
- Crushed cookies sprinkled all over
- Chopped candy bars for crunch and drama
- Sprinkles when it is a birthday situation
- Toasted nuts if you like a salty bite
One tip I swear by: do the final toppings right before serving if they are crunchy. That way, they stay crunchy. If you are using only cookie crumbs, those hold up fine even if you add them earlier.
If you want to see another no bake layered idea in a quick format, I saved a fun version in this easy icebox cake web story. It is the kind of thing I check when I need a reminder while juggling everything else.
Common Questions
1) How long does it need to freeze?
At least 6 hours, but overnight is best for clean slices. If you are impatient, freeze 2 hours, add toppings later, and expect softer slices.
2) What pan should I use?
A 9×13 pan feeds a crowd. For a taller cake, use a 9 inch springform pan and press the layers up evenly.
3) Can I make this without whipped topping?
Yes. Homemade whipped cream works, or you can skip the whipped layer and use a thin layer of softened ice cream plus sauce in the middle.
4) How do I keep it from getting icy?
Wrap it tightly and do not leave it uncovered in the freezer. Also, avoid melting the ice cream before layering. Softened is good, melted is trouble.
5) How long does it keep?
About 1 week for best taste and texture, though it is safe longer if wrapped well. After that, it can pick up freezer flavors.
A Sweet Little Freezer Victory
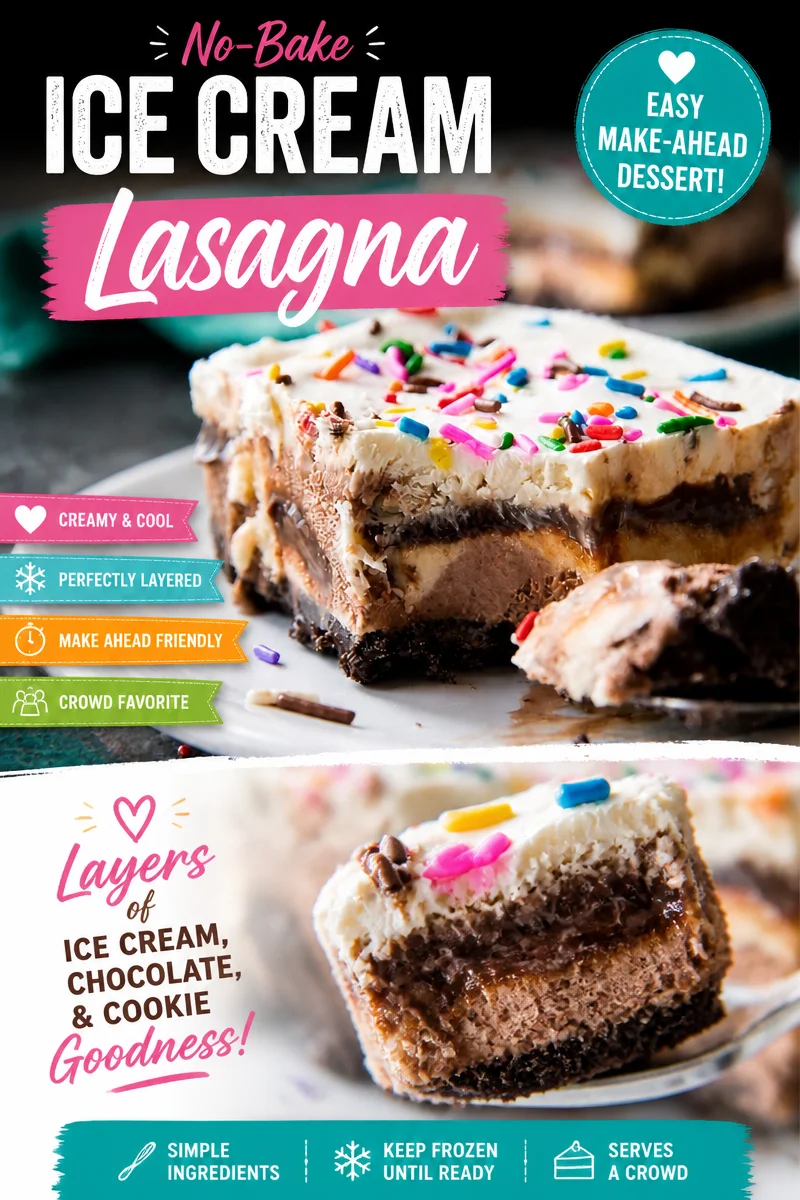
If you need a dessert that feels fun, looks great on the table, and does not make you sweat in the kitchen, Easy Ice Cream Cake No Bake Layered Dessert is the move. Pick two ice cream flavors you love, stack your layers, and give it enough time to freeze solid. For more inspiration, I learned a few extra ideas from Easy 5 Layer Ice Cream Cake – Sally’s Baking Addiction, and it is a great reference when you want to switch up textures and toppings. Try it once, then make it your own, because the best version is the one that fits your freezer and your cravings.
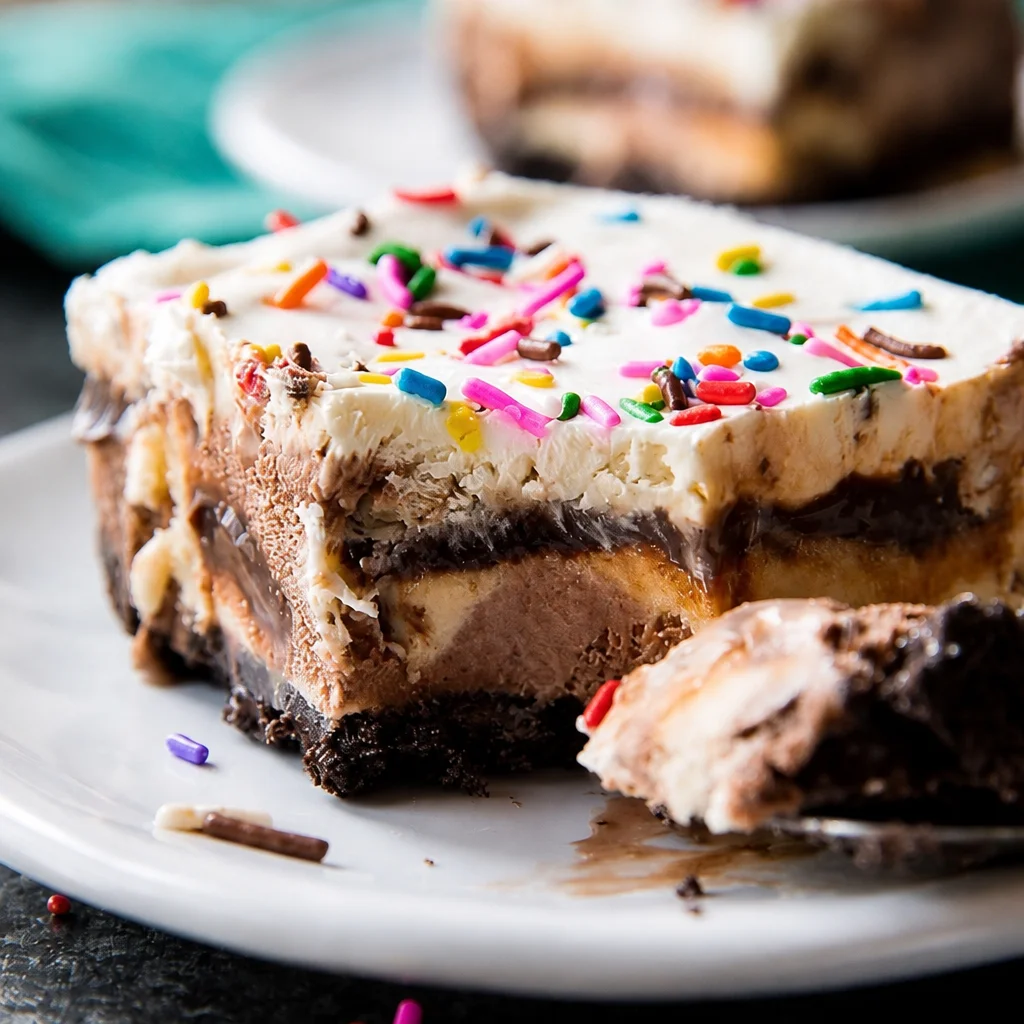
Easy Ice Cream Cake
Ingredients
Method
- Start with Layer 1: Press the crushed cookies or graham crackers into the bottom of a 9×13 pan. Mix with melted butter if you prefer a sliceable crust.
- Layer 2: Spread the first flavor of softened ice cream evenly over the cookie base. Tap the pan on the counter to settle.
- Layer 3: Drizzle a thin ribbon of fudge sauce and add a layer of whipped topping for creaminess.
- Layer 4: Add more cookie crumbs or crunchy bits. If desired, include crushed waffle cone pieces.
- Layer 5: Add the second flavor of softened ice cream and top with a final layer of whipped topping for decoration.
- Cover the cake well and freeze it until solid, aiming for at least 6 hours, preferably overnight.
- To serve, slice with a hot knife and add any crunchy toppings just before serving.
