
Easy Rainbow Layer Cake — Colorful Birthday Party is my go to move when I need a big wow moment without turning the kitchen into a stressful mess. You know that feeling when you want something fun and bright, but you also want it to actually taste good and not be dry? Yep, that is exactly why I love this cake. It looks like a party on the outside, and it’s soft and sweet on the inside. Also, slicing into it is honestly the best part because everyone leans in like it is a magic trick. 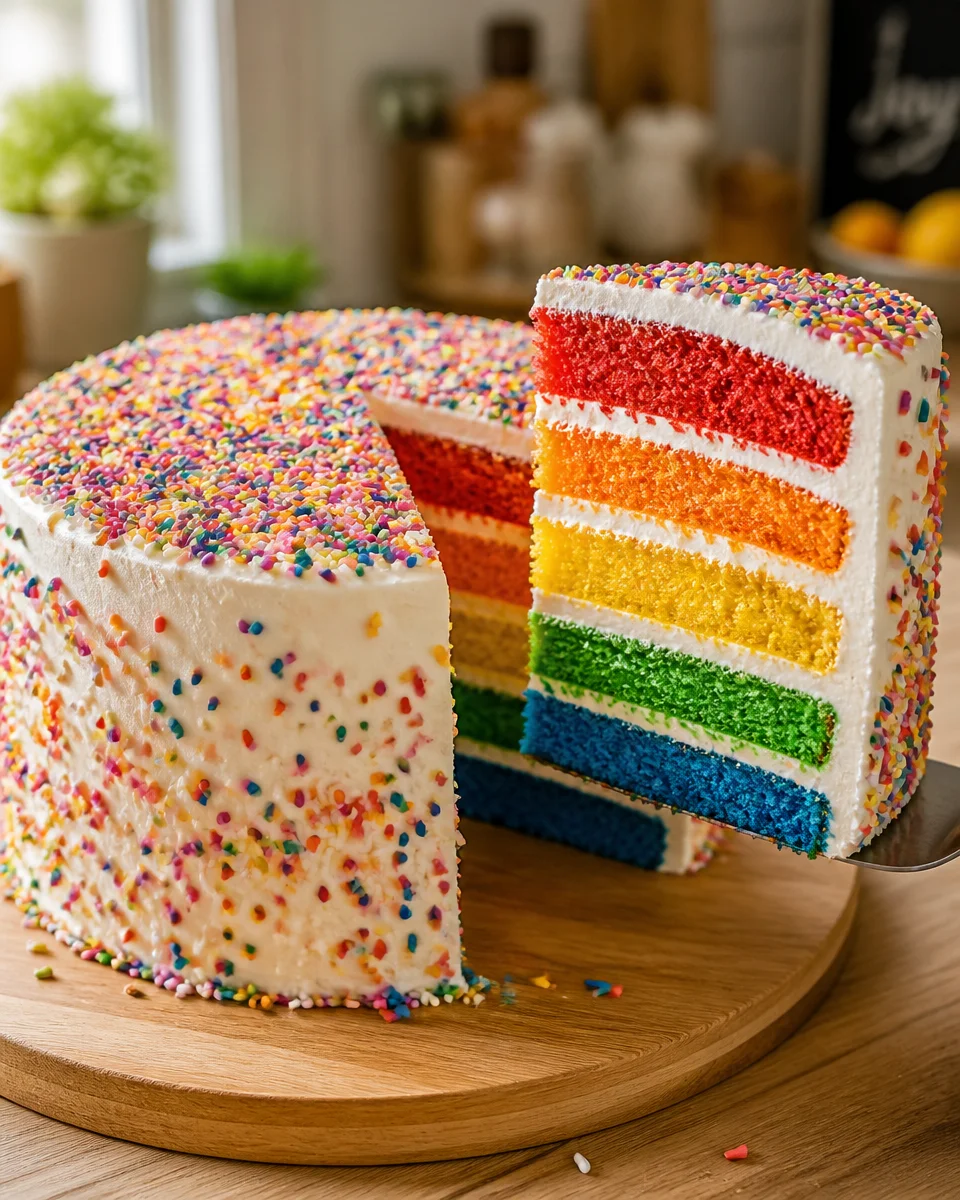
Moist & Fluffy Rainbow Cake
The secret to a great rainbow cake is not fancy tools. It is moisture. A lot of rainbow cakes look cute but eat like colorful cardboard, and I refuse. For this Easy Rainbow Layer Cake — Colorful Birthday Party, I stick with a simple butter and oil combo because butter gives flavor and oil keeps the crumb soft even the next day.
I also swear by not overmixing once the flour goes in. When you beat it too long, the cake gets tight and bready. We want **fluffy**, not chewy. Another little thing, room temp eggs and milk blend easier, so you don’t get weird lumps and you get a smoother batter.
If you are planning a full birthday dessert table, you can pair this with something creamy and cold like this easy banana pudding cheesecake. It is such a good contrast to the bright cake slices.
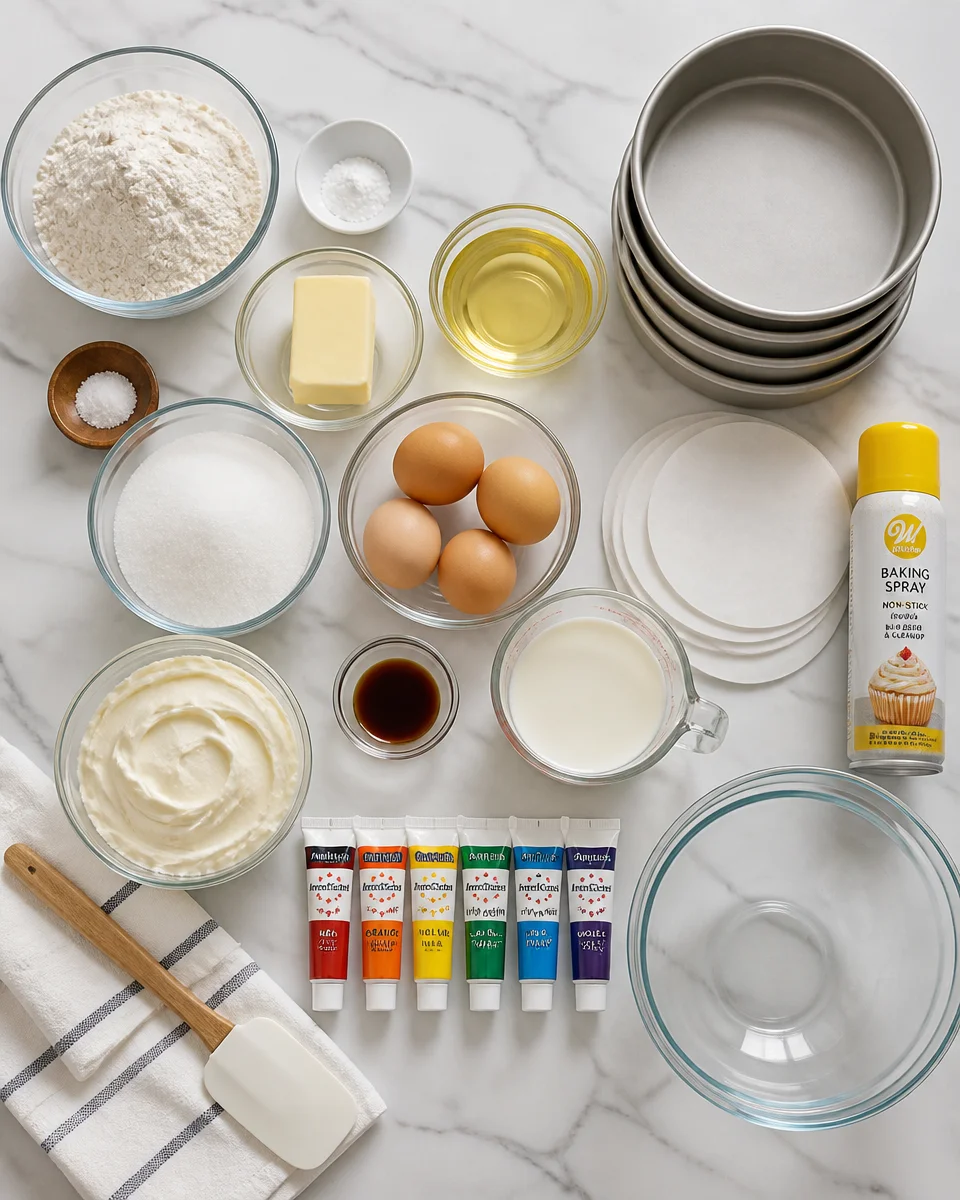
What You Need to Make This Recipe
Before you start, do yourself a favor and set everything out. When you are dividing batter into colors, you do not want to be digging for measuring spoons mid chaos.
Ingredients and tools checklist
- All purpose flour
- Baking powder and a pinch of salt
- Unsalted butter, softened
- Neutral oil (like vegetable or canola)
- Granulated sugar
- Eggs (room temp is best)
- Milk or buttermilk (buttermilk gives extra tenderness)
- Vanilla extract
- Gel food coloring in rainbow shades (gel is stronger, so you use less)
- Buttercream frosting or cream cheese frosting
- 3 to 6 same size cake pans (or bake in batches)
- Parchment paper circles and nonstick spray
- Mixing bowls, spatula, and a kitchen scale if you have one
Quick note on pans: if you only have two pans, that is totally fine. You just bake the layers in batches and keep the batter bowls covered while you wait. I have done it plenty of times while watching a show and pretending it is relaxing.
Love colorful birthday vibes? You might also want to bookmark this easy funfetti cake for another party option that feels extra cheerful.
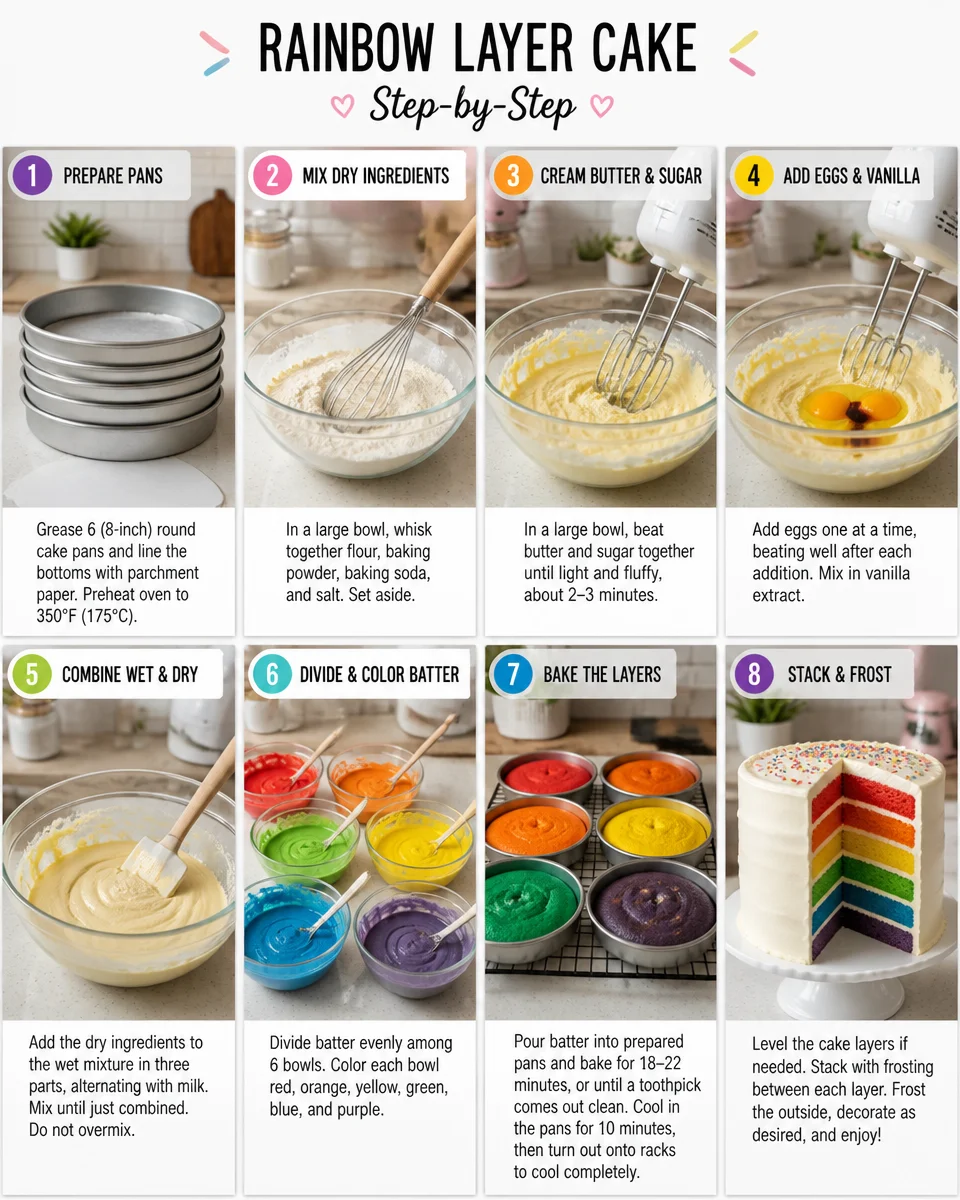
How to Make a Rainbow Layer Cake
This is the part where people assume it is hard. It is not hard, it is just a few steps. Think of it like setting up little stations. Once your batter is ready, you are basically doing the same thing on repeat, just in different colors.
Simple step by step directions
1) Prep your pans. Heat the oven to 350 F. Line each pan with parchment and spray the sides. I do not skip parchment because rainbow layers can be delicate.
2) Mix the dry stuff. Whisk flour, baking powder, and salt in a bowl. Set aside.
3) Cream butter and sugar. Beat until it looks lighter and a bit fluffy. Add oil and mix again.
4) Add eggs and vanilla. Add eggs one at a time so the batter stays smooth.
5) Add dry and milk. Add the flour mix and milk in turns. Stop mixing once it looks combined. If you keep going, the cake gets tougher.
6) Divide and color. Split batter evenly into bowls. Add gel coloring a little at a time. Start small because you can always add more.
7) Bake. Bake each layer until a toothpick comes out clean and the top springs back when you tap it gently. Cool in the pan for 10 minutes, then cool fully on a rack.
8) Stack and frost. Level layers if needed, then stack with frosting between each layer. Add a thin crumb coat first, chill 15 minutes, then finish frosting.
I like to keep decorations simple because the inside is already the show. A smooth white frosting with sprinkles is perfect. If you want another layered dessert that is basically zero stress, this easy Oreo dirt cake is always a hit with kids and adults.
“I made this for my daughter’s birthday and people kept asking where I ordered it from. The layers were bright, the cake stayed soft, and it sliced so clean. I’m making it again for our next party.”
Rainbow Swirl Technique
If you love the rainbow look but do not want to bake separate layers, the swirl method is your friend. It still gives that colorful effect, and it feels a bit more casual. I do this when I’m short on time or only have one cake pan.
Here is how it works. Color your batter in multiple bowls like usual. Then drop spoonfuls of each color into the pan, right on top of each other, moving around the pan. When you are done, take a butter knife or skewer and gently swirl a few times. Do not overdo it, because too much swirling turns it into a muddy color situation.
The swirl version is great for cupcakes too. And if you like experimenting with different flavors and colors, you might enjoy this easy matcha cake on a non birthday weekend. It is a totally different vibe but still super pretty when sliced.
Pro Tips for Making This Recipe
I have made this Easy Rainbow Layer Cake — Colorful Birthday Party enough times to learn what actually matters and what is just noise. These tips keep the cake bright, soft, and easy to assemble.
Use gel coloring. Liquid food coloring can thin the batter and the colors often look weak. Gel is bold with just a dab.
Weigh the batter. If you have a kitchen scale, use it to divide batter evenly. Even layers stack better and look cleaner when sliced.
Chill your layers. If the cake feels fragile, wrap the cooled layers and chill them for 30 minutes. Cold cake is easier to frost.
Do a crumb coat. This is the thin first layer of frosting that traps crumbs. Chill it, then do the final coat. It makes the outside look neat even if you are not a frosting expert.
Pick a frosting that fits the crowd. Classic vanilla buttercream is sweet and stable. Cream cheese frosting is tangy and softer. If your party is outdoors in warm weather, buttercream holds up better.
If you are building a dessert table, a cinnamon option is always nice next to bright vanilla cake. This easy churro cake brings that cozy flavor that balances all the sugar and sprinkles.
Common Questions
Can I make this Easy Rainbow Layer Cake — Colorful Birthday Party ahead of time?
Yes. Bake the layers 1 to 2 days ahead, wrap them well, and keep them in the fridge. Frost the day of the party or the night before.
How do I keep the colors bright after baking?
Use gel colors and avoid overbaking. Overbaking can dull the color and dry out the cake.
What if I only have two cake pans?
Bake in batches. Keep the remaining batter bowls covered while the first layers bake. It still works, it just takes a little longer.
Do I need to level the cake layers?
Not always, but it helps a lot. If your layers have a dome, trim it so the stack is stable and the slices look sharp.
Can I freeze the layers?
Absolutely. Wrap each cooled layer tightly in plastic wrap, then foil. Freeze up to 2 months. Thaw in the fridge overnight before frosting.
Wrap it up and make it your own
This Easy Rainbow Layer Cake — Colorful Birthday Party is one of those recipes that makes people smile before they even take a bite, and it is honestly not complicated once you break it into steps. Focus on keeping the cake moist, using gel colors, and giving yourself time to cool the layers before frosting. If you want another reference point for the general idea and timing, check out Easy Rainbow Cake – The Comfort of Cooking as a handy extra guide. Now go make your kitchen look like a rainbow happened, and tell me how your slices turned out.
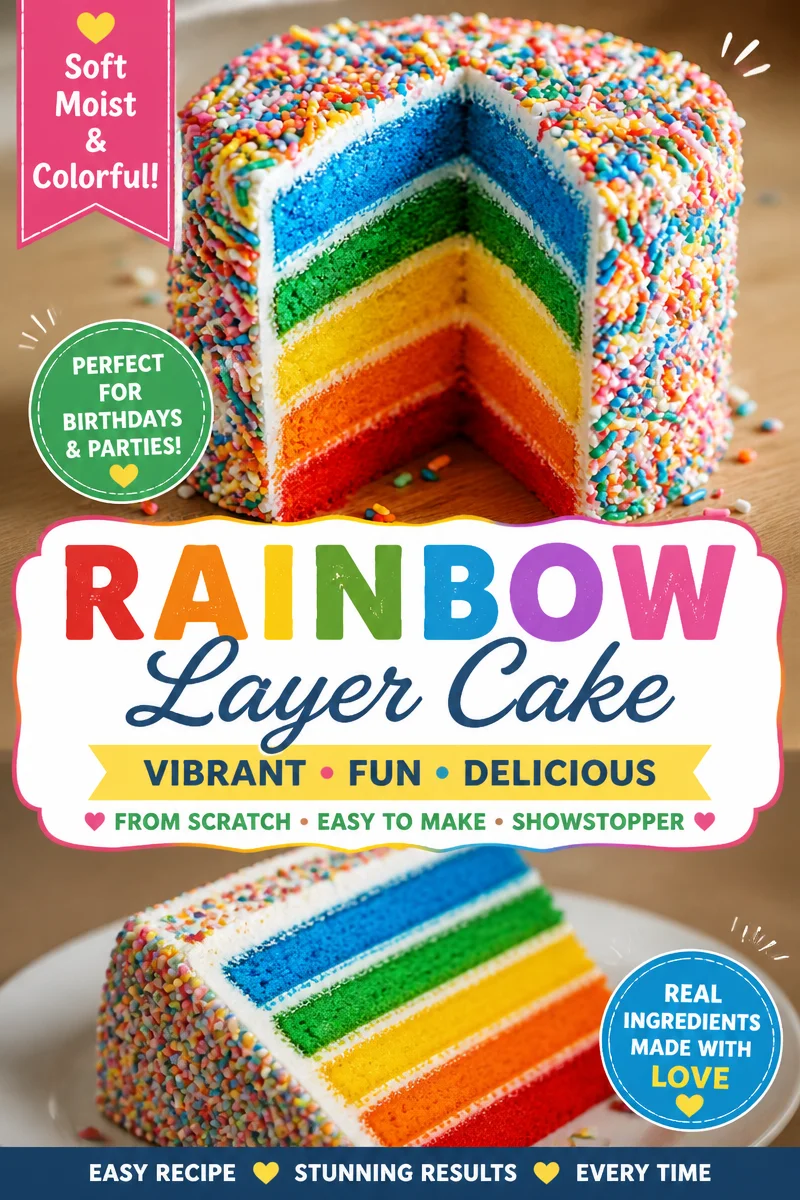
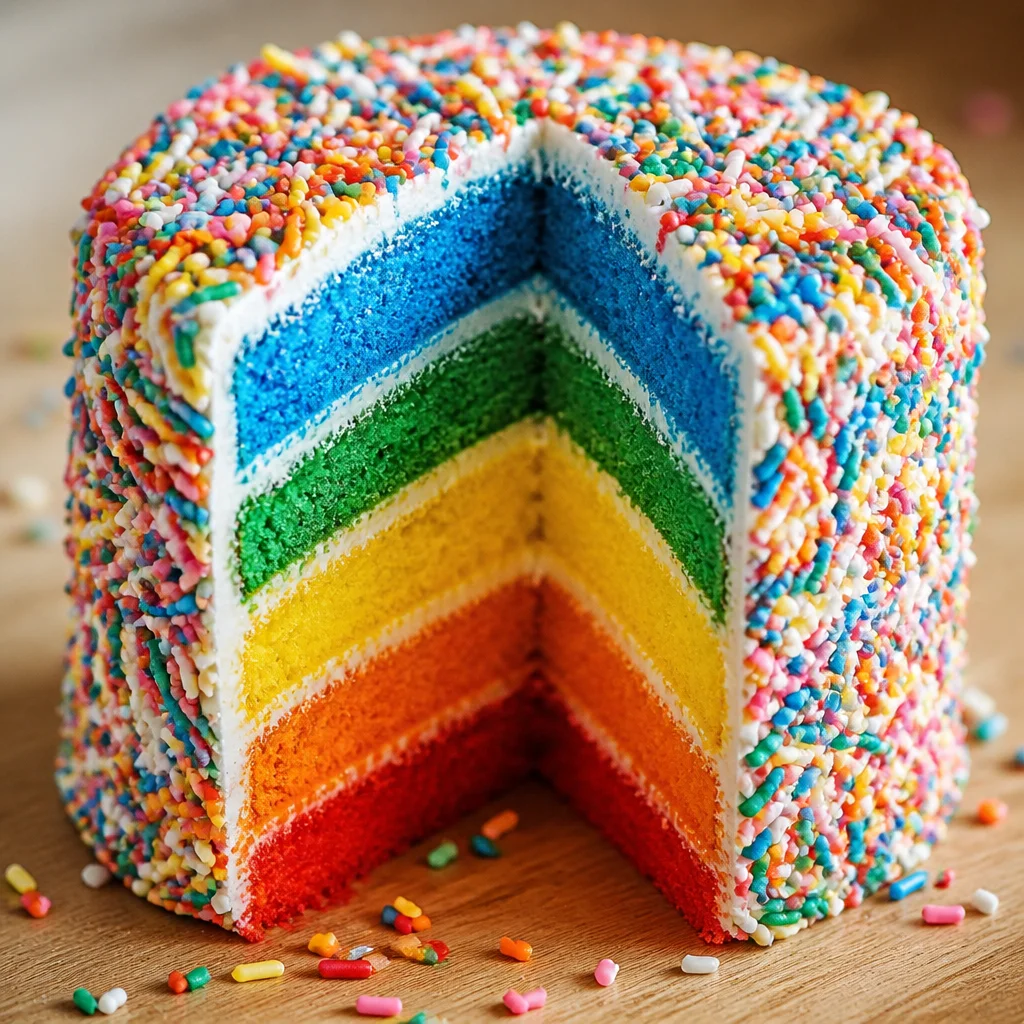
Easy Rainbow Layer Cake — Colorful Birthday Party
Ingredients
Method
- Preheat the oven to 350°F (175°C). Line each cake pan with parchment paper and spray the sides.
- In a bowl, whisk together flour, baking powder, and salt. Set aside.
- In another bowl, beat the softened butter and granulated sugar until fluffy and lighter in color.
- Add the oil and mix until well combined.
- Add the eggs one at a time, mixing after each addition to keep the batter smooth.
- Alternately add the dry ingredients and milk, starting and ending with the dry ingredients. Mix until combined, but do not overmix.
- Divide the batter evenly into bowls and add gel food coloring to each bowl, mixing until you achieve the desired color.
- Pour each colored batter into the prepared pans and bake until a toothpick inserted comes out clean (about 25-30 minutes).
- Cool the cakes in the pan for 10 minutes, then transfer to a cooling rack to cool completely.
- Level the cooled layers if needed, then stack them with frosting between each layer.
- Apply a thin crumb coat of frosting, chill for 15 minutes, then finish frosting with your desired design.
