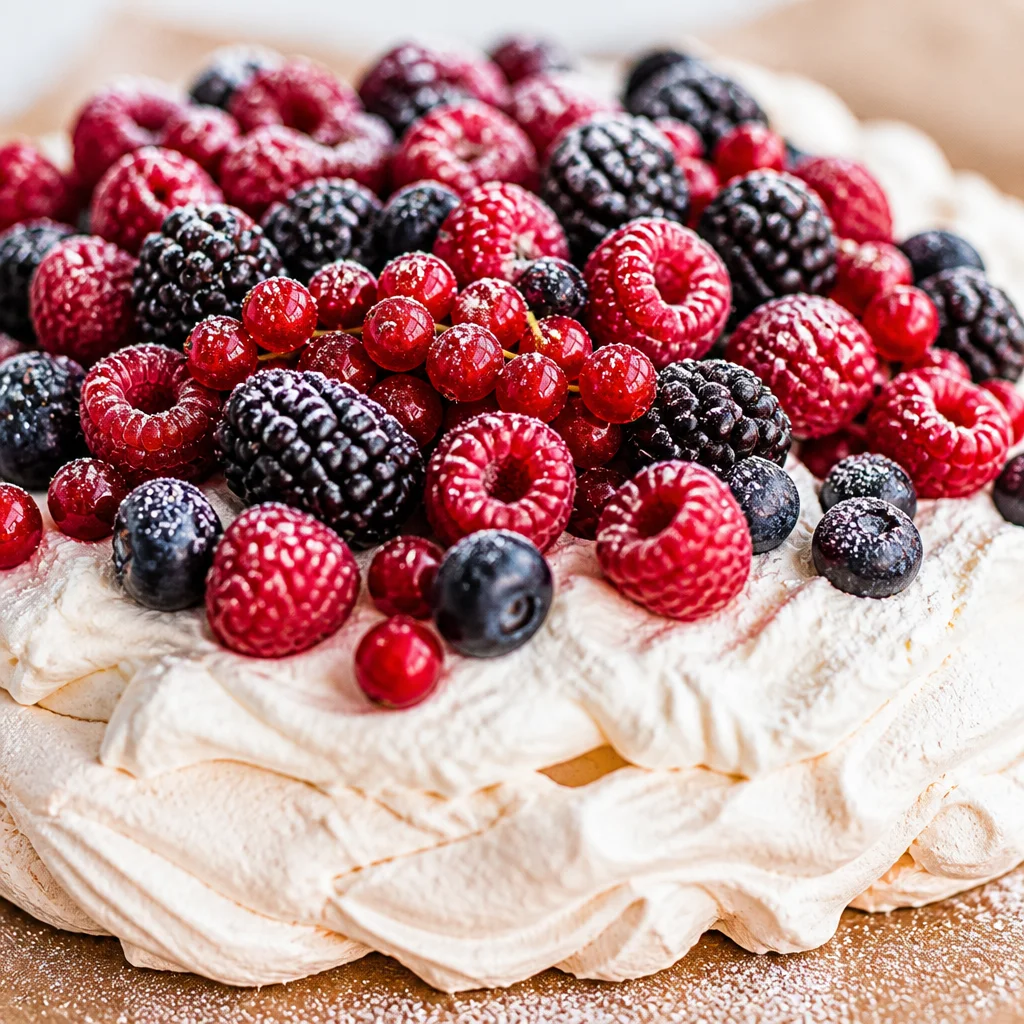
mini pavlova recipe is basically my go to plan when I want a dessert that looks fancy but doesn’t make me feel like I need a pastry degree. You know those days when dinner ends, everyone wants something sweet, and you’re standing there thinking, “I should’ve bought dessert”? Yep. This is for that moment. Mini pavlovas feel special, but they’re honestly just whipped egg whites, a little patience, and toppings you probably already love. I make them for birthdays, brunch, and even random Tuesdays when I need a win.
What Is Pavlova?
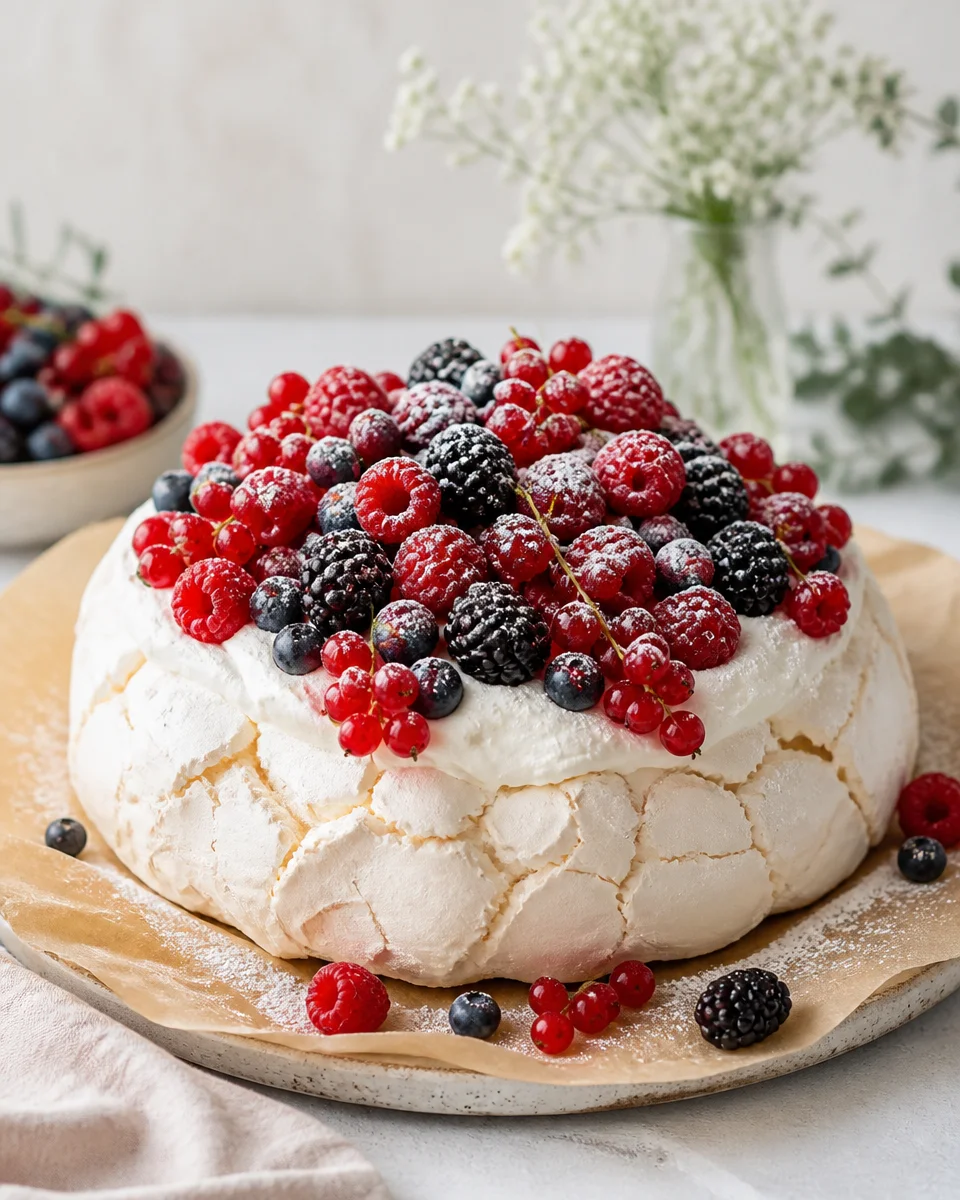
Pavlova is a light dessert made from baked meringue. The outside turns crisp, and the inside stays soft and marshmallowy. That texture contrast is the whole magic.
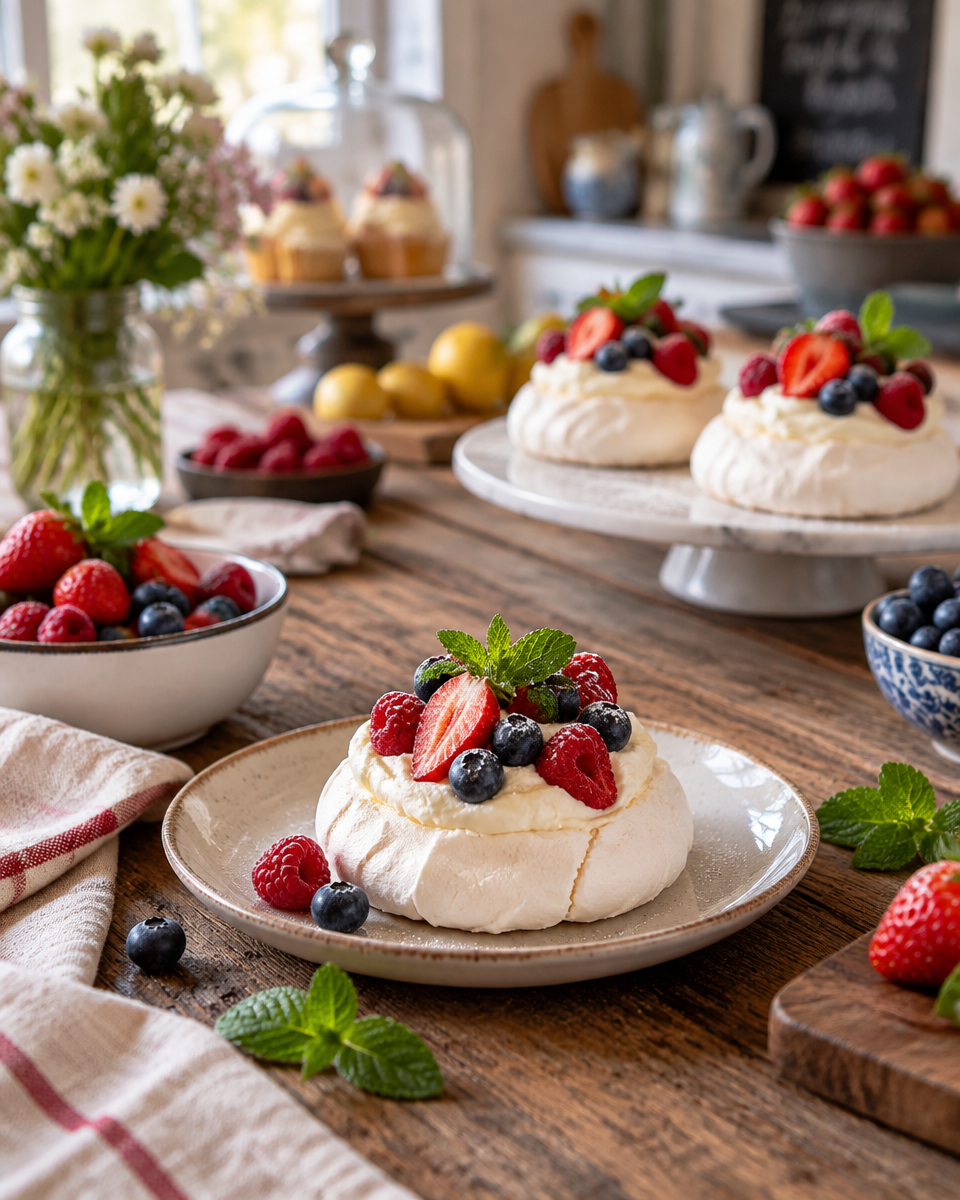
The name gets tossed around a lot, but what matters in your kitchen is this: pavlova is meant to be topped. Think whipped cream, fruit, lemon curd, chocolate, whatever makes you happy. Because we’re doing minis, you get adorable single servings, and everyone can top theirs differently.
I like mini versions because they bake a bit faster and they’re less stressful to serve. No slicing, no mess, and no “who got the biggest piece?” drama.
What Is the Difference Between Pavlova and Meringue?
This is one of those questions people ask as they peek into my oven.
Meringue is the broad category: egg whites plus sugar whipped up and baked until dry and crisp. Pavlova is a type of meringue that usually includes a little cornstarch and an acid like vinegar or lemon juice. Those two small additions help create that soft, chewy center that pavlova is known for.
So if you’ve made crunchy meringue cookies before, pavlova will feel familiar, but the goal is slightly different. Pavlova wants a crisp shell with a pillowy middle, not a full dry snap all the way through.
By the way, if you’re planning a full comfort food meal and want a cozy side, I’m obsessed with this comforting southern cornbread dressing for holiday tables. Pavlova is a surprisingly fun dessert follow up because it’s light after a heavier meal.
Tips for a Perfect Crispy Pavlova Shell
Let’s get you that crisp outside that cracks when you tap it with a spoon, but still melts in your mouth.
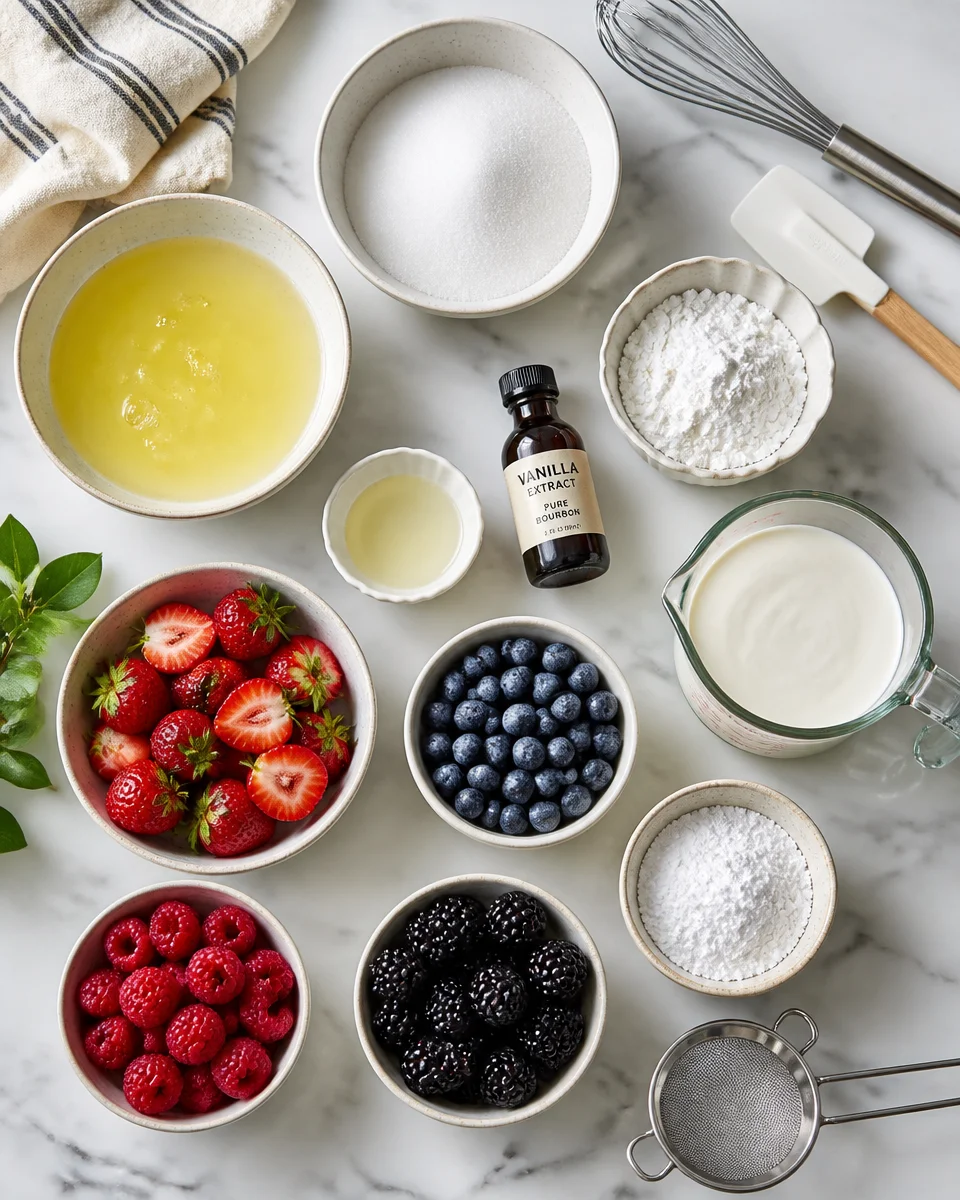
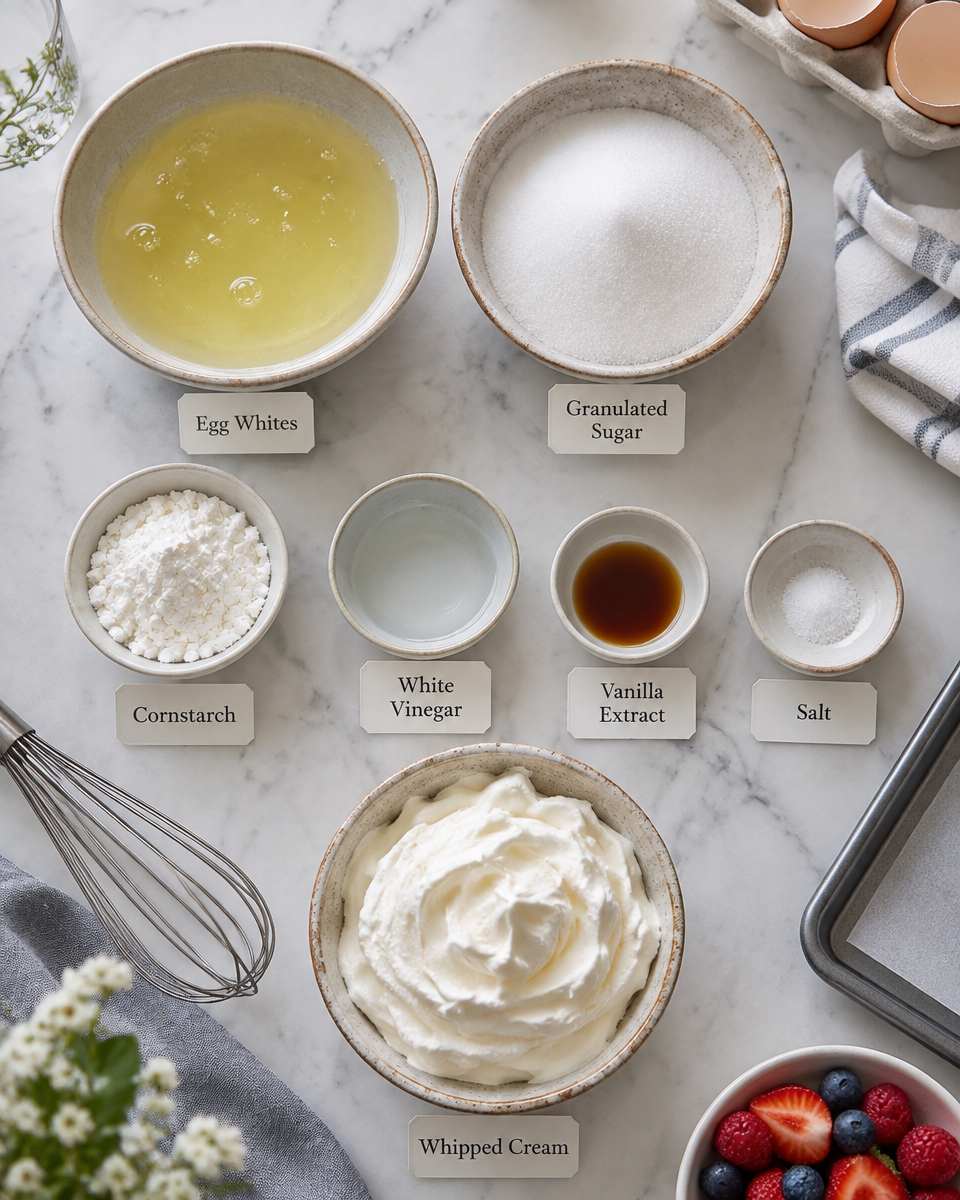
What you will need for this mini pavlova recipe
- Egg whites (room temp is easier to whip)
- Granulated sugar (superfine is nice, but regular works if you add it slowly)
- Cornstarch
- White vinegar or lemon juice
- Vanilla extract
- Pinch of salt
- Whipped cream and toppings
Here are my real life tips that actually make a difference:
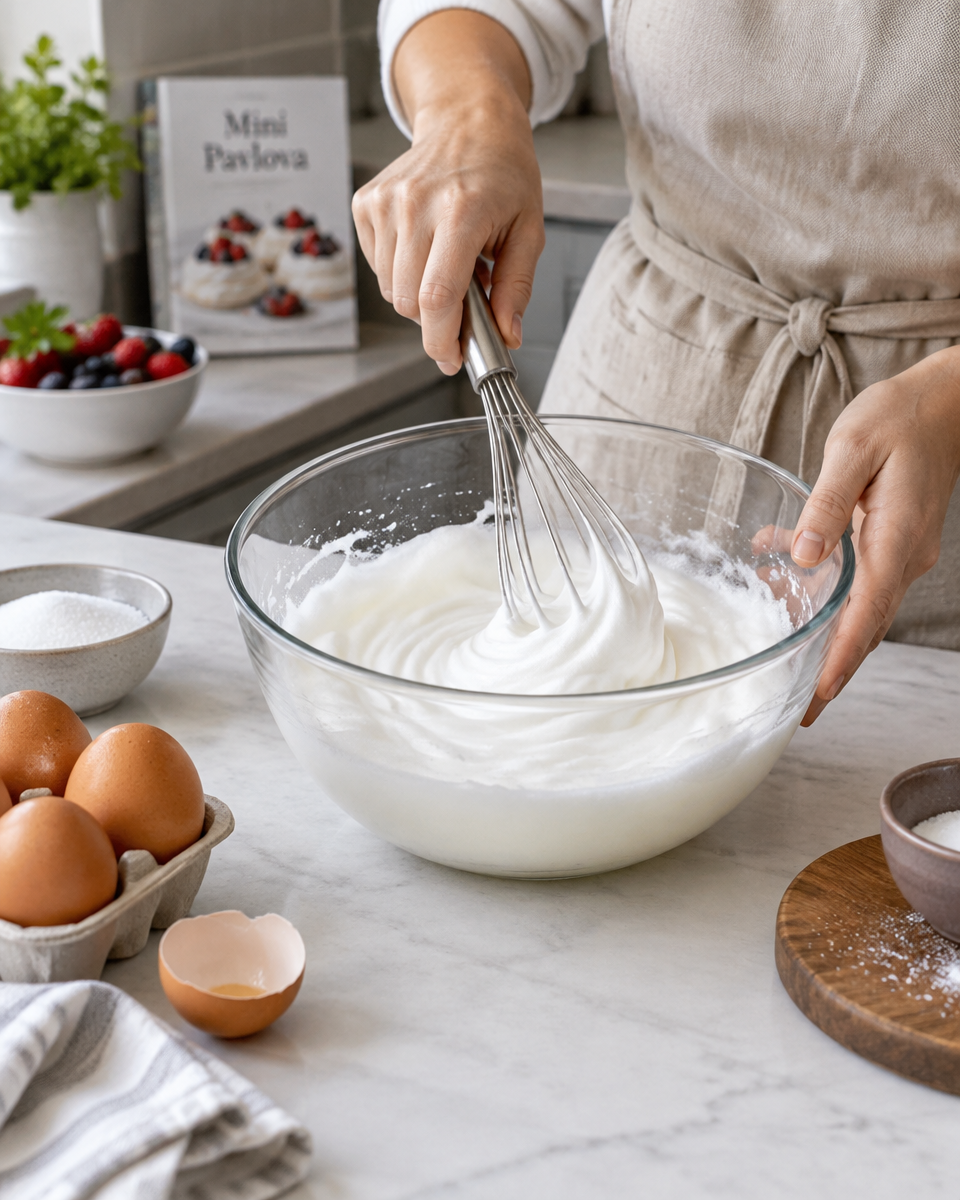
- Use a clean bowl. Any grease can mess with whipping. I wipe my bowl with a little vinegar if I’m unsure.
- Add sugar slowly. Like, one spoon at a time. This helps it dissolve so your shells don’t weep later.
- Stop whipping when it’s glossy and holds peaks. If it looks dry and clumpy, it’s gone too far.
- Low and slow baking. Pavlova is more of a drying process than a typical bake.
If you want a cute fall dessert theme later in the year, these Halloween pumpkin cookies are a fun one to keep in your pocket too. But back to pavlova.
Why Did My Pavlova Crack?
Cracks happen, and I promise it’s not the end of the world. Mini pavlovas actually hide cracks really well once you add cream and fruit. Still, here’s why cracking usually shows up:
Common reasons: the oven was too hot, the pavlovas cooled too fast, or you opened the oven door a bunch to check on them. I get it, it’s tempting.
What I do now is bake them low, then turn the oven off and let them sit inside for about an hour with the door closed. That slow cool is a big deal for keeping them from shocking and cracking.
Also, a little cracking is kind of normal. Pavlova is dramatic like that. If it looks rustic, just call it charming.
What Toppings Go on Mini Pavlovas?
This is the fun part, and it’s where the mini pavlova recipe really becomes yours. My basic formula is whipped cream plus something juicy plus something bright.
Some topping ideas that never disappoint:
Classic: whipped cream, strawberries, blueberries, and a tiny drizzle of honey.
Citrus: whipped cream, lemon curd, and raspberries.
Fancy but easy: whipped cream, sliced kiwi, passionfruit pulp if you can find it, and toasted coconut.
Chocolate: whipped cream, chocolate shavings, and cherries, or even a spoon of Nutella swirled into the cream.
“I made these mini pavlovas for my daughter’s birthday and they looked bakery worthy. The shells were crisp and the center stayed soft. Everyone asked for the recipe and I’m not even a confident baker.”
Little random tip: if you’re serving a brunch spread, something crispy and salty on the side is amazing with a sweet dessert later. These crispy breakfast potatoes are honestly one of my most repeated recipes when friends stay over.
Can You Make Mini Pavlovas Ahead of Time?
Yes, with one big rule: keep the shells dry and keep the toppings separate.
You can bake the shells a day ahead, sometimes two if your kitchen isn’t humid. Let them cool completely, then store them in an airtight container. Do not put them in the fridge uncovered or they’ll soften fast.
Whip the cream and prep fruit a few hours ahead if you want, but assemble right before serving. Once cream hits the shell, the crisp outside starts relaxing. That’s not a tragedy, but if you want that perfect crunch, wait until the last minute.
How to Store Pavlova
This part is simple, but it matters.
Unfilled shells: airtight container at room temp, in a cool dry spot. If it’s super humid where you live, add a little packet of food safe silica if you have one, or just aim to serve the same day.
Filled pavlovas: in the fridge, lightly covered, and try to eat within 24 hours. They’ll still taste great, but the texture won’t be as crisp.
If you’ve got leftovers, I won’t judge you for eating one straight from the fridge at midnight. Been there.
Variations Berry, Tropical and Chocolate Style
Once you’ve got the base down, it’s easy to spin this mini pavlova recipe into whatever vibe you want. Here’s a quick little guide that helps when you’re planning for guests
Berry style: whipped cream plus strawberries, raspberries, and a spoon of berry jam warmed for a drizzle.
Tropical style: whipped cream plus mango, pineapple, and toasted coconut. A squeeze of lime wakes everything up.
Chocolate style: cocoa dusted whipped cream, shaved dark chocolate, and sliced bananas or cherries. You can also add a tiny drizzle of chocolate sauce on top.
If you’re doing a holiday dessert table and want something adorable next to pavlovas, these sparkle sweetheart cookies are super cute and easy to stack on a platter.
Frequently Asked Questions About Mini Pavlova
Q and A from my kitchen to yours
Q: Can I make this mini pavlova recipe when it’s raining or humid?
A: You can, but expect slightly softer shells. If possible, serve the same day and keep them in an airtight container until serving.
Q: Why is my pavlova weeping or sticky?
A: Usually the sugar didn’t dissolve fully or the shells sat in humidity. Add sugar slowly and whip until the mixture feels smooth, not gritty, when you rub a tiny bit between fingers.
Q: Can I use carton egg whites?
A: Sometimes they whip, sometimes they don’t. For best results, use fresh eggs. It’s more reliable for structure and volume.
Q: How do I know they’re done baking?
A: The outside should feel dry and lift off parchment without sticking. They will still be pale, not golden.
Q: What size should I make the nests?
A: I like about 3 inches wide with a small dip in the center for cream. Bigger is fine, just bake a little longer.
More Easy Meringue Dessert Recipes
If you enjoyed this mini pavlova recipe, you’re basically already a meringue person now. The same skill set can lead to all kinds of light desserts. You can do classic meringue cookies, a big shared pavlova, or little swirled nests topped with lemon curd.
I also recommend checking out Mini Pavlovas – RecipeTin Eats because it’s a helpful extra reference when you want to compare timings and topping ideas.
Alright, go make these
This mini pavlova recipe is one of those desserts that looks impressive but feels totally doable once you try it. Keep the bowl clean, add sugar slowly, and let the shells cool gently so they stay crisp. Then pile on whipped cream and whatever fruit makes you happy. If your first batch cracks a little, you didn’t fail, you just made room for more toppings. Go bake a batch and let me know what topping combo you end up loving most.
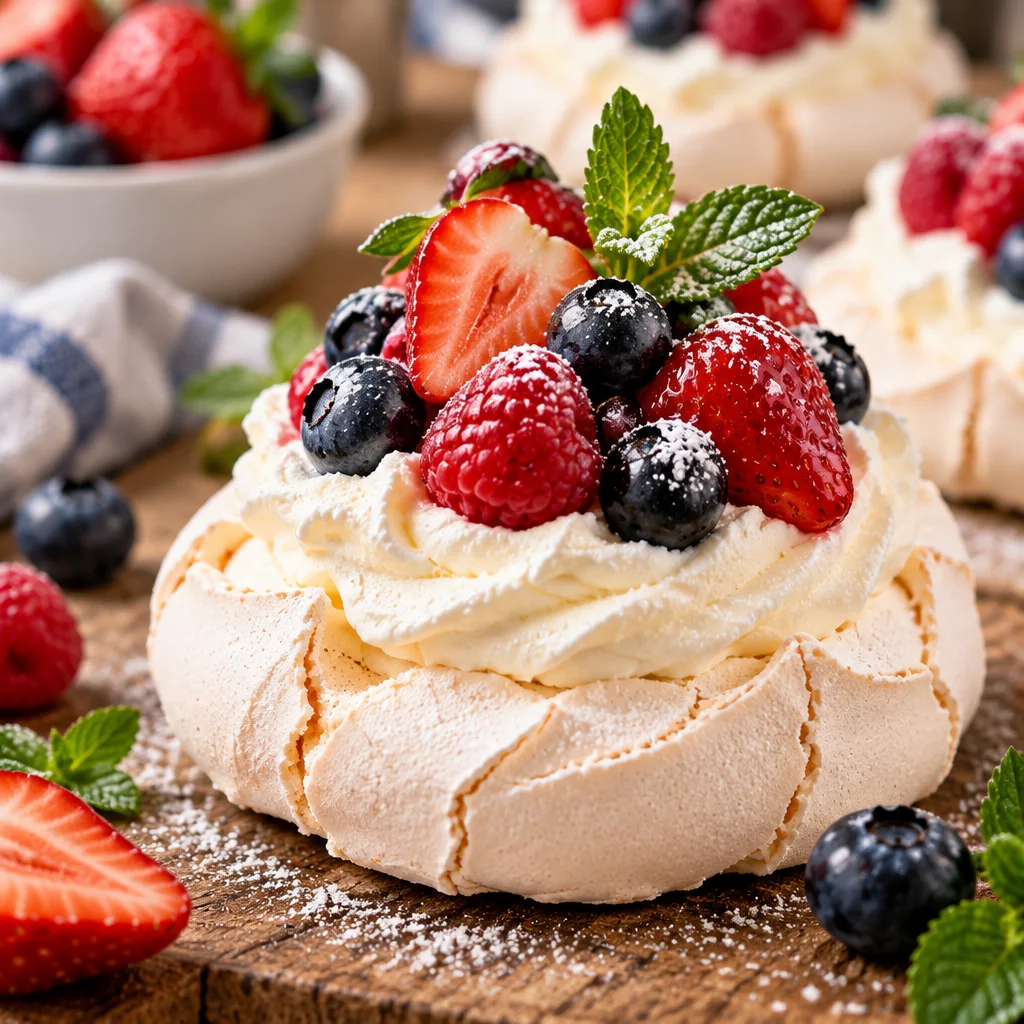
Mini Pavlova
Ingredients
Method
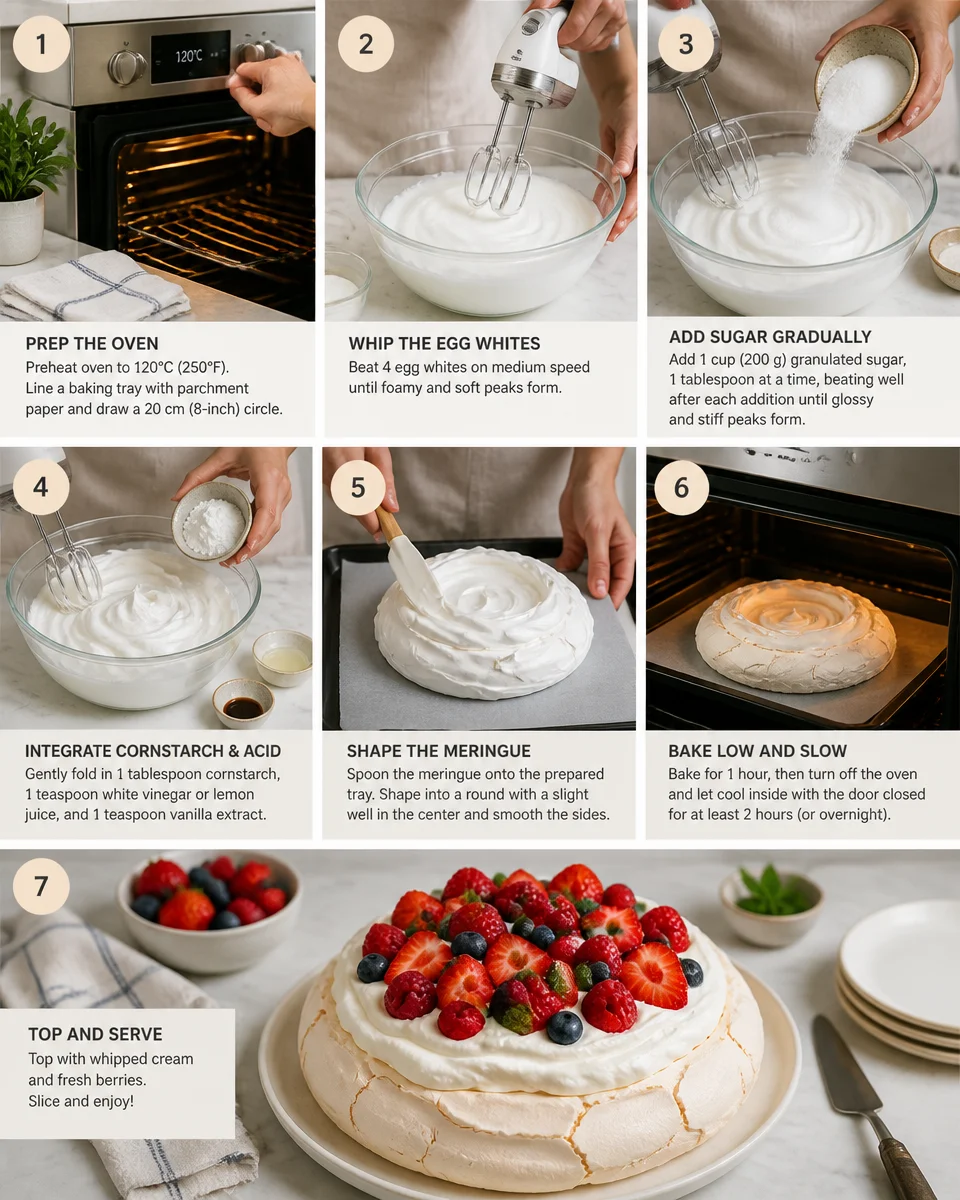
- Preheat the oven to a low temperature (approximately 200°F or 95°C).
- In a clean bowl, whip the egg whites until soft peaks form.
- Gradually add the granulated sugar, one tablespoon at a time, until glossy and stiff peaks form.
- Sprinkle cornstarch, vinegar, vanilla extract, and salt into the mixture. Gently fold to combine.
- Spoon the meringue mixture onto a lined baking sheet in 3-inch circles with a small dip in the center.
- Bake for about 60 minutes until the outside is dry and can easily lift off the parchment.
- Turn off the oven and let the pavlovas cool inside for about an hour to prevent cracking.
- Top with whipped cream and decorate with chosen fruits or toppings.
- Serve immediately for the best texture, or store unfilled shells in an airtight container.