

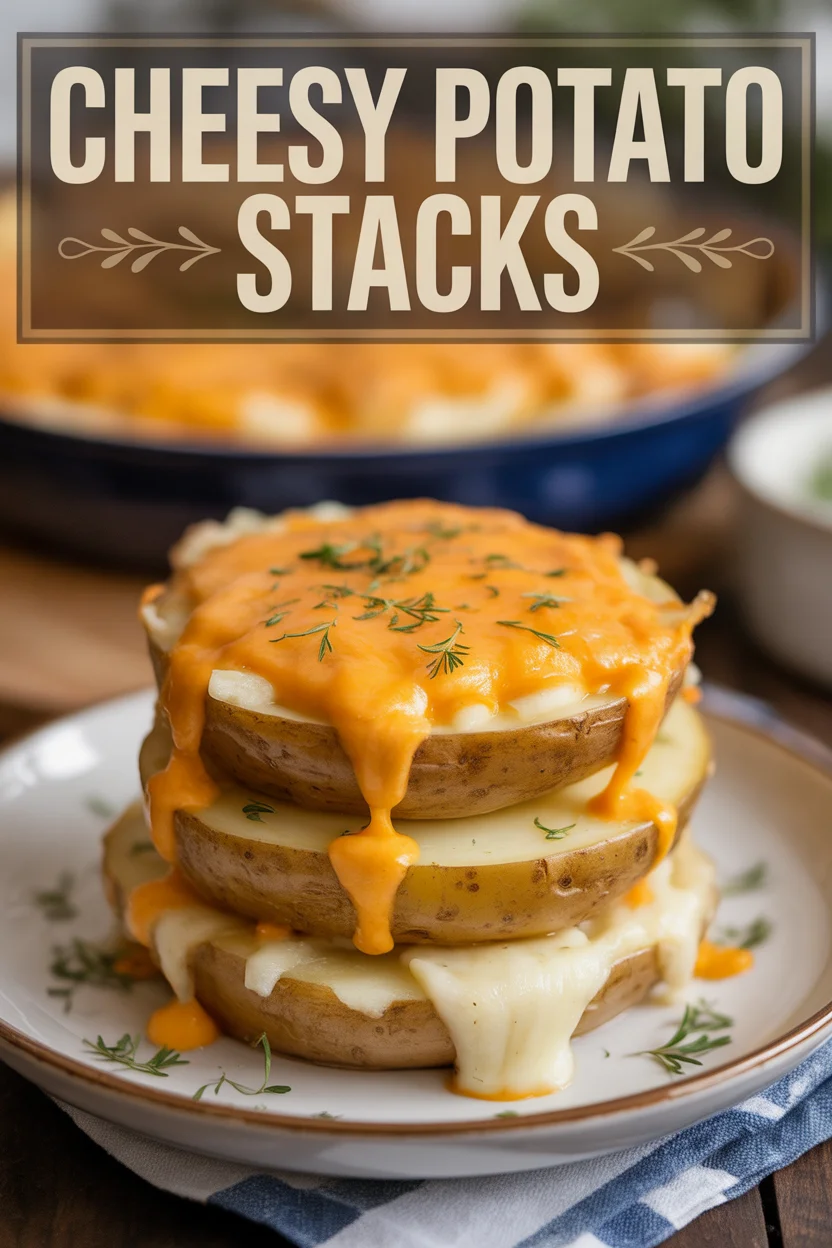
cheesy potato stacks are my go-to when I want something that feels fancy but takes zero brain power after a long day. Thin slices of potato, a little cream, plenty of cheese, and a hot oven do magic. The edges get crunchy, the centers turn silky, and the tiny stack size makes them perfect for parties or weeknights. If you’ve ever struggled with mushy middles or bland layers, I’ve got tips that fix that. Think crisp edges, balanced seasoning, and a muffin tin that does all the heavy lifting. Let’s make this your new favorite side
4 Ways to Upgrade Potato Stacks
When I make cheesy potato stacks for friends, I like to tweak the flavors based on the main dish. Here are easy upgrades that never fail. No fancy skills needed, just a few smart swaps.
- Cheese mix with purpose: Combine a melty cheese like Gruyere or Monterey Jack with a sharp one like Parmesan or aged cheddar. The melty cheese gives ooze, the sharp cheese brings punch.
- Herb and garlic glow-up: Stir minced garlic into the cream, then sprinkle chopped thyme or rosemary between layers. Fresh herbs make the whole kitchen smell amazing.
- Spice the edges: Dust the muffin cups with a mix of smoked paprika and black pepper before adding potatoes. This gives a tiny barbecue vibe and extra color. For more cookout inspiration, peek at grilled potato ideas you can riff on.
- Crunch topper: Finish with a spoonful of panko tossed in melted butter and Parmesan for the last 10 minutes. You’ll get a golden lid that shatters when you bite.
Quick note on salt: potatoes need more than you think. If your stacks ever taste flat, it’s usually lack of salt in the cream and between layers.
What you need to make Mini Potato Gratin Stacks
Mini stacks are basically baby gratins baked in a muffin pan. The tools and ingredients are simple, and you probably have most of them already. For flavor inspiration and technique, I lean on the spirit of classic potatoes au gratin but keep it smaller and faster.
Essential ingredients and tools
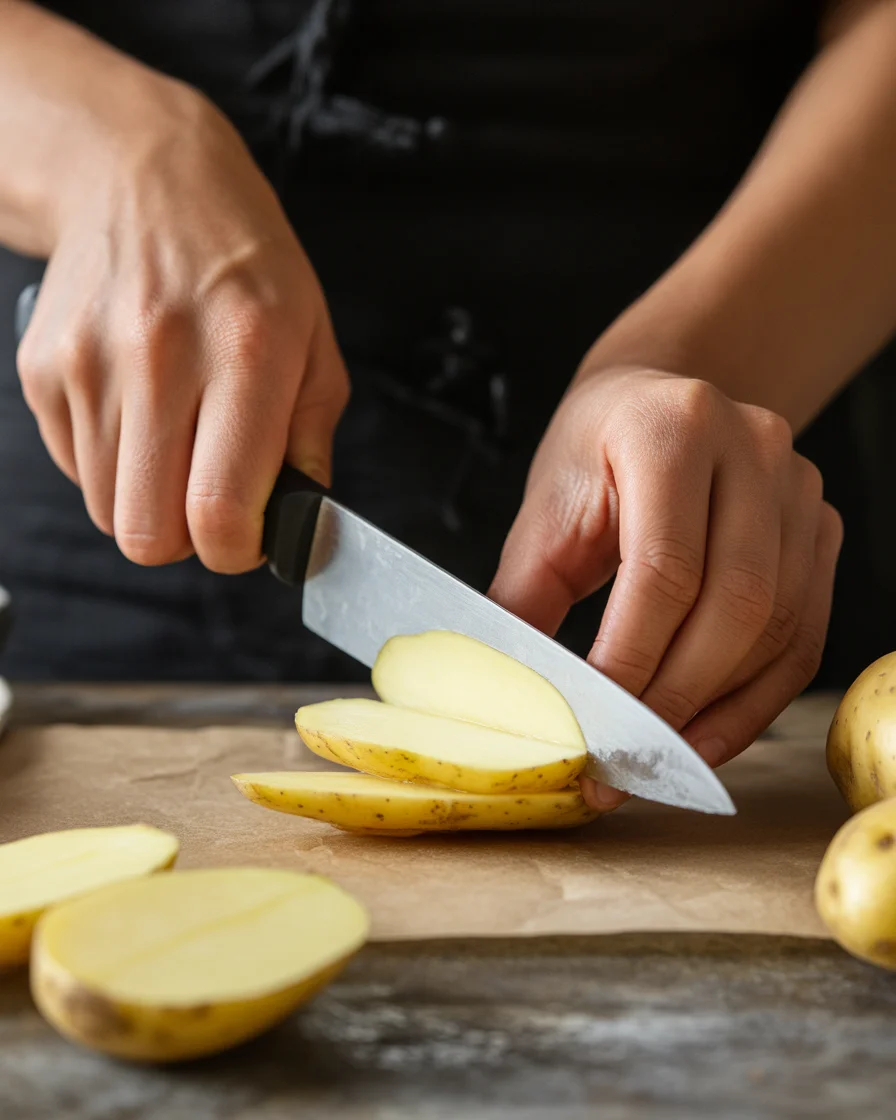
- Potatoes: Yukon Golds slice clean and bake up tender without falling apart. Russets work too, but rinse slices to remove extra starch.
- Cheese: 1 cup total, shredded. Try 3 parts Gruyere or mozzarella to 1 part Parmesan for flavor and browning.
- Cream mixture: 3/4 cup heavy cream or half and half, 2 tablespoons melted butter, 1 clove garlic minced, 1 teaspoon kosher salt, 1/2 teaspoon pepper.
- Herbs: 1 teaspoon chopped thyme or rosemary. Dried is fine, use half the amount.
- Muffin pan: Standard 12-cup. Nonstick if you have it.
- Oil or spray: To grease the tin thoroughly.
- Optional: Mandoline for uniform thin slices, about 1/16 inch.
Pro tip: Pat slices dry with paper towels before layering. Drier slices equal better browning and crispier edges.

How to make Mini Potato Gratin Stacks
We’re aiming for crispy edges and creamy middles without any soggy vibes. Follow these steps and you’ll get exactly that.
Thin slicing and seasoning
Step 1: Preheat the oven to 400°F. Grease each muffin cup really well. Add a little square of parchment to the bottom of each cup if your pan loves to cling.
Step 2: Slice potatoes as thin and even as you can. If using a mandoline, set it thin and watch your fingers. Toss the slices in the cream mixture so every piece gets a bit of seasoning and fat.
Step 3: Layer 4 to 5 slices in each cup, then a pinch of cheese and a few herb flakes. Repeat until each cup is just shy of the top. Press down with your fingers to compact the stack. Add a final spoon of cream and a sprinkle of Parmesan.
Bake to crispy, then finish hot
Step 4: Bake at 400°F for 25 minutes, then rotate the pan and bake another 10 to 15 minutes until the edges are visibly browned and the centers feel tender when pierced.
Step 5: For extra crisp, switch to broil for 1 to 2 minutes at the end. Watch closely. Pull the pan and let the stacks sit for 8 minutes. This rest sets the layers so they pop out clean.
Step 6: Run a butter knife around each stack and lift with a spoon. If anything sticks, twist gently and it will release.
“I followed this method for a family dinner and the edges turned lacy and crisp. Even my picky teenager asked for seconds. Never thought a muffin pan could make potatoes taste like this.”
If you like crunchy potatoes at breakfast, you’ll also love these crispy breakfast potatoes. Same golden edges, different vibe.
Food safety note: the cream should bubble and reduce slightly around the edges. That’s your sign it thickened and the centers are done.
What to serve with Mini Potato Gratin Stacks
These little stacks can act fancy with steak or keep it casual with roast chicken. They play well with bright, tangy sides that cut the richness.
Pairing ideas that never fail
For something protein-forward, try grilled salmon with lemon or seared pork chops with a quick pan sauce. A peppery arugula salad on the side keeps everything balanced. If you want an easy appetizer spread, set the stacks on a board with roasted veggies and a garlic yogurt dip.
Planning a finger-food dinner or game night? Add a platter of easy cheesy chicken fritters and a simple chopped salad. For brunch, I pair them with soft-scrambled eggs and a fresh fruit bowl, then let the stacks be the crispy star.
Crispy Cheesy Potato Stacks
I’m a texture person, and crisp edges are the whole point. If your first try wasn’t crispy enough, it usually comes down to moisture, oven temp, or overcrowding the pan. Here’s how I guarantee success.
Make them extra crisp
Dry slices well. Water is the enemy of browning. Pat potatoes dry before tossing with the cream mixture.
Grease the pan generously. Oil plus butter gives flavor and release. Even nonstick pans appreciate insurance.
Go thin. The thinner the slices, the quicker the edges crisp. About 1/16 inch is my sweet spot.
Finish hot. If the color looks shy at the end, broil briefly. Browning equals flavor.
Leftovers reheat well. I set them on a small tray and re-crisp in a 400°F oven for 8 to 10 minutes. They freeze nicely too. Wrap individually, thaw in the fridge, then bake at 400°F until hot. For a totally different comfort-food route on a busy night, try this cozy crockpot hamburger potato casserole and let the slow cooker do the work.
Flavor swaps and timing tips
Smoked Gouda makes these taste like a campfire snack, while a mix of feta and mozzarella brings salty tang you’ll want with grilled chicken. If you need to scale up for a party, prep and stack the muffin cups earlier in the day, then bake right before guests arrive. The rest period is key, so keep that 8 minute rest to help cheesy potato stacks hold their shape when you unmold them.
If you’re batch-cooking for meal prep, two stacks per container with a handful of green beans makes a satisfying lunch. I tuck in a lemon wedge so I can squeeze a little acidity right before eating.
Common Questions
How thin should I slice the potatoes? As thin as you can get them while staying consistent. Around 1/16 inch gives the best texture and crisp edges.
Can I use milk instead of cream? Yes, but blend milk with a little melted butter to keep richness. Cream gives the silkiest result.
What potatoes work best? Yukon Golds are ideal. They hold shape, taste buttery, and brown nicely. Russets are fine if you rinse and dry slices well.
How do I keep them from sticking? Grease each muffin cup thoroughly, add a tiny parchment square to the bottom, and let stacks rest before removing.
Can I make them ahead? Yes. Assemble up to 1 day ahead, cover, and chill. Bake right before serving, then rest, and pop them out.
Ready to stack and snack?
That’s everything you need for crispy, creamy, no-stress stacks that impress every time. Keep your slices thin, season generously, and let them rest so they unmold clean. If you want more ideas, I loved the technique in Crispy Cheesy Potato Stacks. – Half Baked Harvest and the straightforward tips from Crispy, Cheesy Potato Stacks | The Kitchn. Now go grab that muffin pan and make cheesy potato stacks for dinner. Your oven is about to make you look like a genius.

Mini Potato Gratin Stacks
Ingredients
Method
- Preheat the oven to 400°F (200°C) and grease each muffin cup properly.
- Slice the Yukon Gold potatoes as thin and evenly as possible.
- Toss potato slices in the cream mixture to coat them in seasoning.
- Layer 4 to 5 potato slices in each muffin cup, followed by a pinch of cheese and herb flakes until just below the top.
- Gently press down to compact the layers and add a final spoon of cream and sprinkle of Parmesan.
- Bake at 400°F (200°C) for 25 minutes, then rotate the pan and bake for an additional 10 to 15 minutes until edges are browned.
- Optionally, switch to broil for 1 to 2 minutes to achieve extra crisp. Keep an eye on them.
- Let the stacks sit for 8 minutes to rest. This allows them to set properly.
- Run a butter knife around each stack and lift them with a spoon. If they stick, gently twist to release.