
Pumpkin Patch Dirt Cups are one of those treats that show up every fall, and honestly? They’re a lifesaver when you need something quick, cute, and just a tad silly for the season. Last year, we had a last-minute family game night and I totally forgot to make dessert… until my youngest begged for “those little pumpkin gardens in a cup.” Total memory blackout, but I pulled it together. Maybe you want something special for a school party, or just a fun evening snack. Pumpkin Patch Dirt Cups are deceptively easy, super fun, and always a crowd-pleaser for kids and grownups (with zero shame).
A Fall Dessert Everyone Will Love
Alright, confession: I’m not above admitting I’ve eaten these for breakfast. No regrets. Pumpkin Patch Dirt Cups somehow bring people together, every single time. There’s something about the combo of chocolate, creamy pudding, and those squishy candy pumpkins perched on top that just screams “let’s make memories.” You don’t need fancy skills, either. These are so simple even your little cousin who burns toast could do it. Make them for Halloween, after raking leaves, or honestly, just because you want something to brighten up a crummy Monday. My family laughs every time at how we fight for the last cup. It’s a thing now.
“Every year, these dirt cups remind us that desserts don’t have to be complicated to be perfect. My kids request them for every single fall event—sometimes in July!” — L. Harper, family friend
Ingredients Needed for Pumpkin Dirt Cups
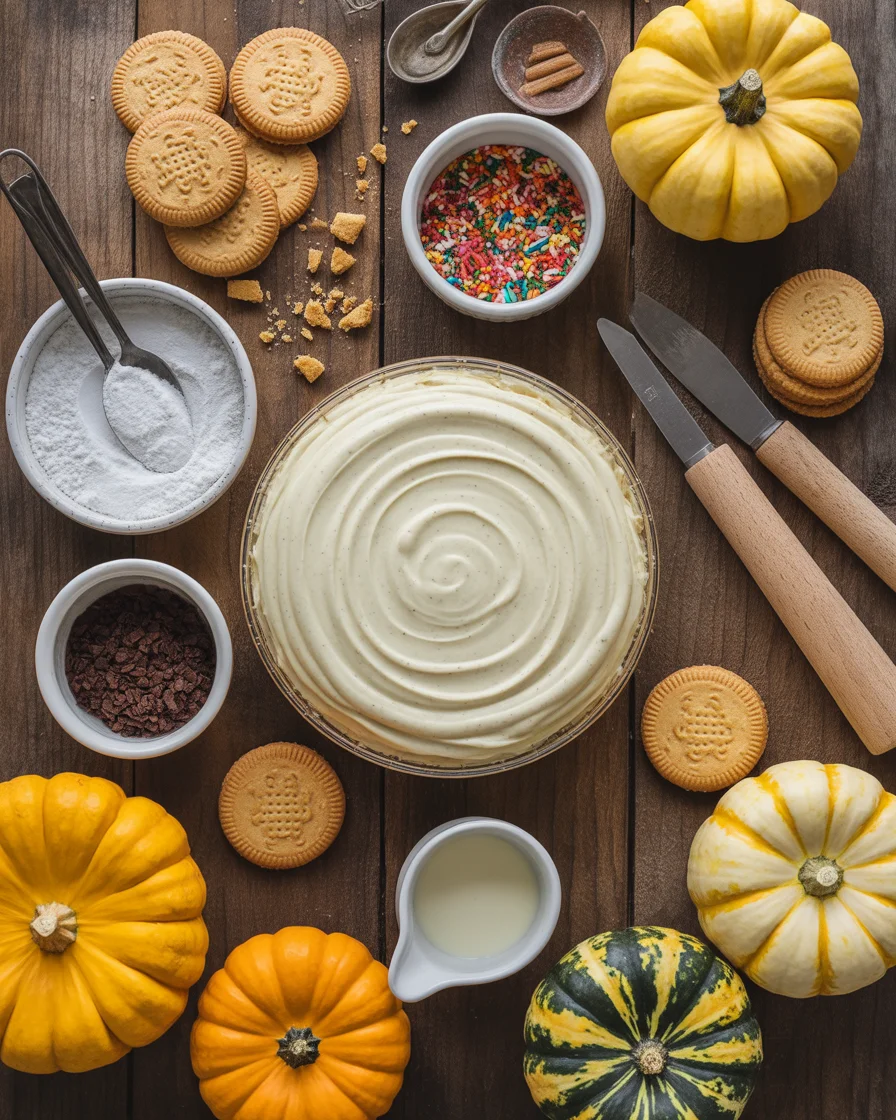
Here’s what you’ll need to pull these off (nothing wild, I promise):
- 1 package instant chocolate pudding mix
- 2 cups cold milk (using whole milk makes it extra creamy, but don’t stress if you have something else)
- 1 package chocolate sandwich cookies, crushed into “dirt”
- 1 tub whipped topping, thawed (like Cool Whip)
- Candy pumpkins (try to grab “Mellowcreme Pumpkins” if you can)
- Optional: Green colored coconut flakes, gummy worms, or green frosting for extra patch vibes
How to Make Pumpkin Dirt Cups
Now for the “hard” part. Believe me, these take barely any time at all, and it’s actually fun to get a little messy:
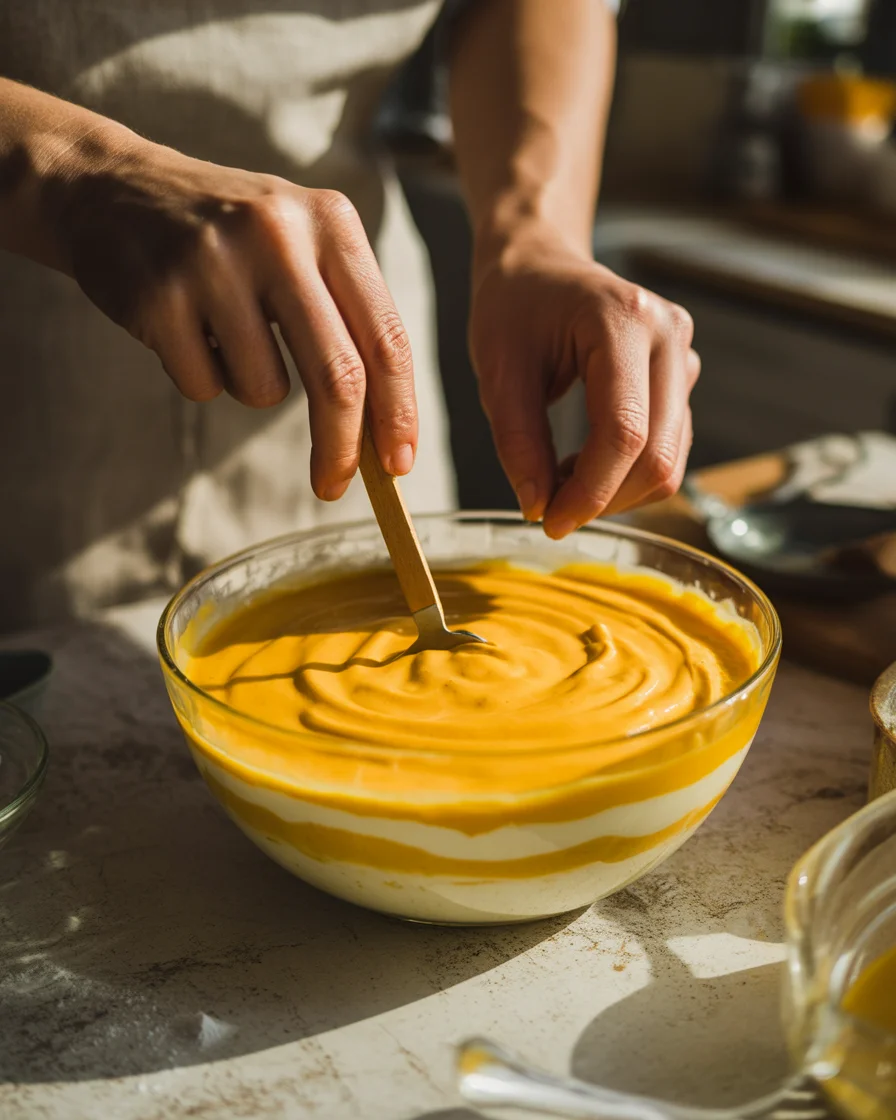
First, whisk your instant pudding and milk together. Easy peasy. Let it thicken for a few minutes—don’t rush here or you’ll get soup.
Fold in the whipped topping. This makes the pudding super light and gives that fluffy, dreamy texture.
Grab your cups. Layer cookie crumbs (hello, dirt), then pudding, then more cookie “dirt” on top. Do at least two layers for max fun, but more is always ok.
Last step: Plant those candy pumpkins right on top. If you’re into details, sprinkle some green coconut flakes or add a swirl of green icing for the pumpkin patch look.
Cleanup is usually just licking the spoons, but go wild.
Honestly, the messier, the better. Some people add gummy worms for a laugh—I say go for it if the mood strikes!
When to Make These Easy Pumpkin Patch Dirt Cups
There’s never really a bad time, but I get it. You’re looking for the prime moment to whip up Pumpkin Patch Dirt Cups. Here’s when they really shine:
- At Halloween parties (absolute showstopper)
- For school fall festivals—bonus: they travel well in little cups
- Cozy family movie nights (I’ve made them on a random Wednesday just to make it feel like an occasion)
- After apple or pumpkin picking—have them waiting for when you pile back into the house
And hey, don’t forget Thanksgiving. Stick a “thankful” flag in each cup and you are officially the fun adult at the table.
More Delicious Dirt Cup Ideas
If you love the base idea but want to switch things up, there’s loads of wiggle room. You could mix in different flavors of pudding—try butterscotch or vanilla if you’re wild like that. Use crushed graham crackers for a lighter “soil” vibe or toss in different Halloween candies for kicks.
Sometimes, I add chocolate chips or toffee bits in the middle for a little extra crunch. My friend once made a batch with peanut butter cups buried in the “dirt.” Honestly, those went so fast, not even a crumb left. It’s the kind of recipe you can bend to your will. Just don’t skip the candy pumpkins—those little guys are key!
Frequently Asked Questions about Easy Pumpkin Patch Dirt Cups
Q: Do Pumpkin Patch Dirt Cups need to be refrigerated?
Absolutely—unless you enjoy warm pudding. Keep them chilled until serving.
Q: Can I make these ahead of time?
For sure. Just wait to add the candy pumpkins until right before serving so they don’t get soggy or weird.
Q: Can I use homemade pudding?
Totally, go for it if you have that extra time. Insta-mix is a shortcut, not a rule.
Q: What if I’m dairy-free?
Sub in your favorite non-dairy pudding and whipped topping. We’ve used almond milk pudding and coconut whip—nobody could tell.
Q: Are Pumpkin Patch Dirt Cups travel-friendly?
Yup! Just use tight-fitting lids or a big container with a lid for safe journeys. We’ve driven them all over town for school parties and fall events.
Give Fall a Sweet Little Boost
There you have it—everything you need to know to make Pumpkin Patch Dirt Cups a staple in your fall dessert game. These are just too easy and cute to pass up. Whether you follow the classic version or go rogue with wild mix-ins, you’ll always get smiles. Don’t overthink it—messy is fine, imperfect is perfect. If you want more inspiration, check out the step-by-step guide from Pumpkin Patch Dirt Cups – I Can Teach My Child! or this creative take from Pumpkin Dirt Cups – Made To Be A Momma. Trust me, your fall season’s about to get a whole lot sweeter. Don’t wait for Halloween—start scooping!

Pumpkin Patch Dirt Cups
Ingredients
Method
- Whisk together the instant pudding and cold milk. Let it thicken for a few minutes.
- Fold in the whipped topping to create a light and fluffy mixture.
- In cups, layer crushed cookie crumbs, then the pudding mixture, followed by more cookie crumbs.
- Repeat for at least two layers for maximum fun.
- Plant candy pumpkins on top and optionally sprinkle with green coconut flakes or add a swirl of green icing.