
Spooky Halloween Cookies can be both adorable and kinda creepy-looking, which is exactly what you want this time of year, right? The struggle is real: I used to panic every October about showing up to a party with sad, boring treats. You know the feeling. Everyone seems to bring store-bought stuff or those dry prepackaged sweets, and you want to impress your crew. Maybe you just need something simple that actually works, with a little wow-factor on the side (and not just from your grandma).
How to Make Halloween Cookies
Okay, I’m gonna walk you through the basic way I whip up Spooky Halloween Cookies for parties or late-night Halloween movie marathons. I’m really all about stuff you can actually find at a normal grocery store (because who needs to go hunting for purple matcha powder or whatever).
Start with a classic sugar cookie dough. You can just grab your favorite recipe or one off the back of the sugar bag. Chill the dough—don’t skip this! Then roll it out and use fun Halloween cookie cutters. Pumpkins, ghosts, spiders, or bats. I love using black and orange gel food coloring for a punch of color. The fun part? Decorating. Toss on colored icing, or maybe just smear a little on for that ‘spooky’ unkempt vibe. Candy eyeballs are a must. Want to go the extra mile? Pipe on “stitched” mouths or spooky faces. Nobody cares if they look messy. Honestly, it adds to the character. Oh, and don’t forget those Halloween sprinkles if you want extra pizzazz.
If you want your Spooky Halloween Cookies extra soft, take them out right as the edges look set but the middle’s still pale. Total game changer for texture. And trust me on this: decorating is always more fun with a friend and your favorite playlist blasting. 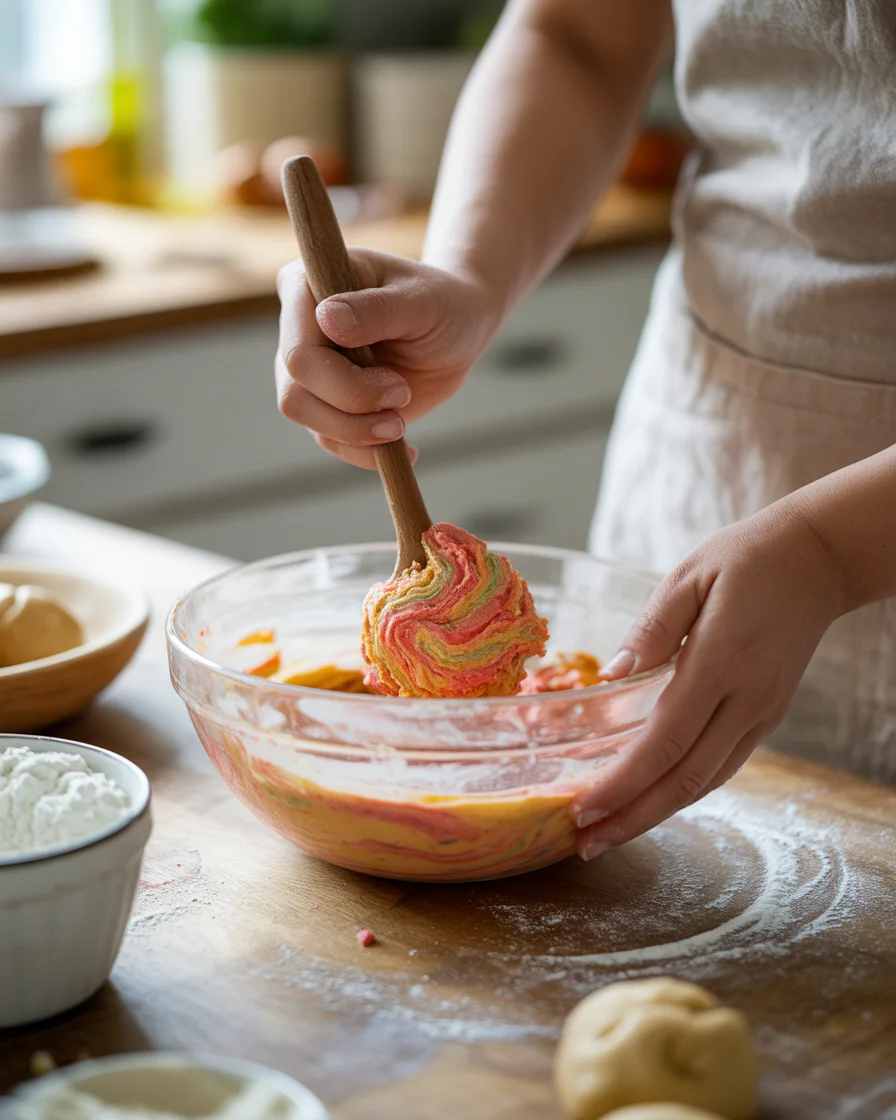
Why This Recipe Works
Here’s the big deal with these Spooky Halloween Cookies—the method leaves zero room for disappointment. The dough is super versatile and won’t puff up so much that all your shapes get ruined in the oven. It’s the magic combination of butter (lots) and just enough flour to keep things together, but not so much you get hockey pucks.
Whenever I follow the “chill the dough” rule (which…let’s be honest, I forget sometimes), you get those crisp edges everyone wants. The cookies taste buttery and soft in the middle every single time. If you ever get let down by recipes where cookies spread out like pancakes, this is not one of those.
Plus, decorating is easy. Even if you’re “all thumbs” with a piping bag. My nieces go wild with this part, and theirs honestly sometimes look more original than mine. The cookies hold their shape, don’t crumble, and you can actually taste the vanilla and butter—instead of cardboard. That alone makes it a winner. 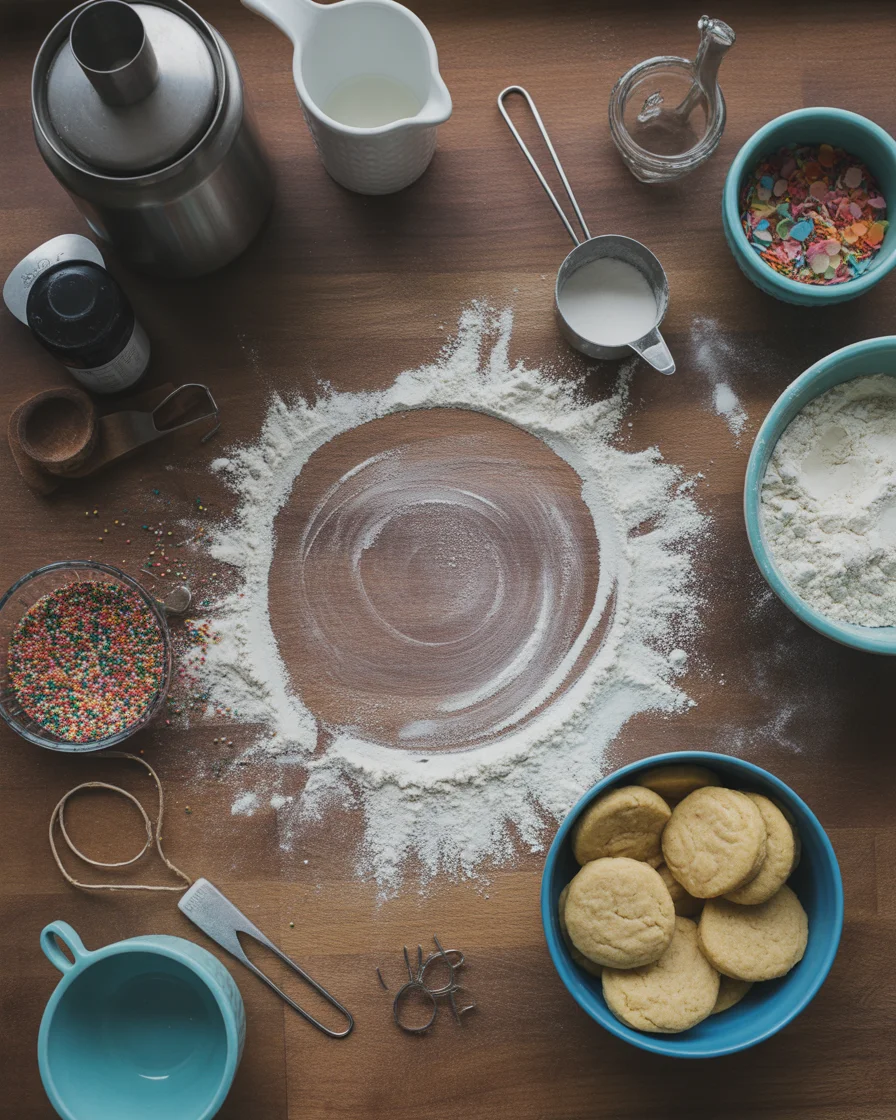
I made these Spooky Halloween Cookies for my office’s bake-off and actually came in second (definitely my proudest baking moment, considering I’m known for burning toast!) – Jamie L.
Expert Tips
Alright, real talk: Here are a few things nobody tells you till it’s too late. Don’t overmix the dough, or you’ll get tough cookies. If you want vibrant colors, grab gel food coloring since the basic drops take ages to get bold hues. And when rolling out the dough, keep it kinda thick—like the width of two quarters stacked. That way, your Spooky Halloween Cookies won’t burn through.
If your icing’s too runny, just add a little more powdered sugar. If it’s too thick, a drip of milk will save it. Also—don’t stress if your decorations look a little unhinged or wonky. Spooky is better than perfect. Seriously, one year I tried so hard to make a fancy spiderweb, but it came out looking like a squashed bug (still devoured).
Let them cool before icing, or it turns into a melted mess. Patience is important, even if you’re as impatient as I am. A cooling rack helps a ton. And toss those decorated cookies in the fridge if you need them to set fast.
Recipe Variations
There’s a nearly endless supply of ways to jazz up these Spooky Halloween Cookies for different spooky tastes or allergy needs. I sometimes swap half the vanilla for orange or almond extract—gives it a funky twist that makes people wonder what your secret is. If you’re making a big batch, throw in a tablespoon of cocoa powder for a slightly chocolate flavor.
Want to go gluten-free? Use a solid 1-to-1 gluten-free flour blend. It’s pretty simple, but go slow adding the flour so it’s not crumbly. And for vegan friends, you can totally sub in your favorite plant butter and use a flax “egg.” Not exactly five-star restaurant level, but still shockingly good.
If you’re feeling extra, dip the edges in melted chocolate, or top each cookie with little vampire teeth candies. Some years I just stuff the inside with a spoonful of colored jam for a gory “monster bite” reveal. The spookier, the better, honestly.
Struggling with Flat or Dry Cookies?
Man, if your Spooky Halloween Cookies are turning out sad and flat, you are not alone. Dry, cracker-style cookies are the worst, so these fixes should help:
- Chill your dough longer than you think you need (I like at least 45 minutes).
- Don’t roll out cookies too thin—go for a thicker dough.
- Pull them from the oven before the tops get brown.
- Store cookies in a sealed container with a slice of bread so they stay soft.
If you try these and still flail, it’s probably the oven temp or you misread a step (which—hey, don’t feel bad. Happens to all of us).
Frequently Asked Questions about Halloween Cookies
Q: How far ahead can I make these cookies?
A: You can make Spooky Halloween Cookies up to three days before your event. Just store in a sealed container.
Q: Can I freeze the cookies?
A: Absolutely. I freeze both dough and baked cookies. Thaw at room temp, then decorate.
Q: What’s the best icing to use?
A: I love royal icing because it hardens, but you can use a simple powdered sugar glaze if you’re lazy (no shade).
Q: Any decorating hacks?
A: Use a zip-top bag with a tiny corner snipped for easy piping if you don’t own fancy tools.
Q: Help! My cookies stuck to the tray.
A: Line your pan with parchment paper. Nothing sticks, ever.
Ready to Scare Up Some Fun?
Making Spooky Halloween Cookies is way easier than you think, and let’s be honest, way more fun than showing up empty-handed or with plain brownies. Just remember: chill your dough, don’t panic over the details, and give yourself some time for decorating. You’ll be shocked at how quickly these cookies disappear (and how many compliments you get).
If you want even more inspiration, check out this Spooky Halloween Cookies Recipe – Handle the Heat or give these Easy Halloween Cookies – If You Give a Blonde a Kitchen a try. Now, please, go blast your favorite playlist and get baking. I promise your friends will be dying for your secret recipe.

Spooky Halloween Cookies
Ingredients
Method
- In a bowl, cream together the softened butter, granulated sugar, and brown sugar until light and fluffy.
- Add eggs one at a time, mixing well after each addition, then stir in the vanilla extract.
- In another bowl, whisk together flour, baking soda, and salt.
- Gradually add the dry ingredients to the wet ingredients, mixing just until combined.
- Chill the dough for at least 45 minutes.
- Preheat the oven to 350°F (175°C).
- Roll out the dough to about ¼ inch thick and use Halloween cookie cutters to cut out shapes like pumpkins, ghosts, and bats.
- Place the cutouts on a lined baking sheet and bake for 8-10 minutes or until edges are set.
- Remove from the oven and let cool on a wire rack.
- Prepare icing by mixing powdered sugar and milk until desired consistency is reached.
- Use gel food coloring to tint the icing as desired.
- Decorate cookies with icing, candy eyeballs, and sprinkles. Be creative and have fun!
- Allow the decorated cookies to set, preferably by refrigerating them.