
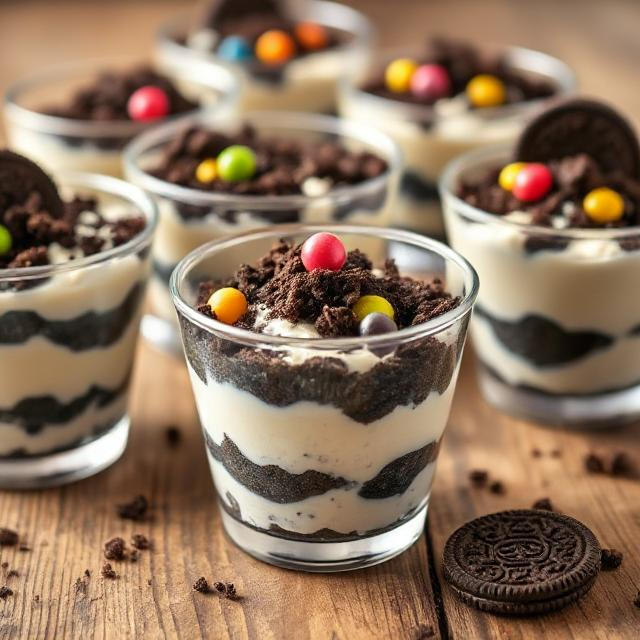
Some desserts are more than just sweet treats—they’re a nostalgic trip down memory lane, a fun way to bring smiles to faces, and a reminder of the joy of simple pleasures. Easy Oreo Dirt Pudding Cups No-Bake are one such dessert. This no-bake recipe is a playful combination of creamy pudding, rich chocolate, and crunchy Oreo cookies, making it perfect for kids’ parties, potlucks, or just a fun family dessert. Imagine layers of velvety chocolate pudding, fluffy whipped cream, and crumbled Oreos that mimic the look of “dirt,” topped with gummy worms for a whimsical touch. It’s a dessert that feels like a playful adventure, whether you’re serving it at a birthday party, a summer picnic, or just a casual weeknight treat.
The first time I made this dessert, it was for my niece’s birthday party. She had requested something “fun and chocolatey,” and this recipe caught my eye. As I assembled the cups, the kids gathered around the kitchen, their eyes wide with excitement. “What are you making? It looks like dirt!” my niece exclaimed, giggling. When I finally handed out the cups, the kids couldn’t wait to dig in. “This is the best dessert ever!” one of her friends declared, his face covered in chocolate pudding and cookie crumbs. Since then, Easy Oreo Dirt Pudding Cups have become a staple at every family gathering.

The first time I served this dessert to adults, it was at a potluck dinner. I was a little nervous because the dish seemed so simple compared to the elaborate cakes and pastries others had brought. But as soon as I placed the cups on the dessert table, people started gravitating toward them. “What’s this?” a friend asked, eyeing the cups curiously. “A little bit of childhood nostalgia,” I replied with a smile. When everyone took their first bite, the room filled with laughter and delight. “This is so fun and delicious!” someone said, reaching for another cup. Even the most sophisticated dessert lovers couldn’t resist the charm of these playful treats. That day, Easy Oreo Dirt Pudding Cups No-bake became a potluck favorite, and they’ve been a hit at every gathering since.
Why This Easy Oreo Dirt Pudding Cups No-Bake?
Selling Points:
- Fun and Playful: The “dirt” and gummy worm theme makes this dessert a hit with kids and adults alike.
- No-Bake Convenience: Perfect for hot summer days or when you don’t want to turn on the oven.
- Simple Ingredients: With just a few easy-to-find ingredients, this recipe is accessible to everyone.
- Customizable: Add your favorite toppings or mix-ins to make it your own.
What You Need for Easy Oreo Dirt Pudding Cups No-Bake
Ingredients:
- 1 package (15.25 oz) Oreo cookies
- 2 boxes (3.9 oz each) instant chocolate pudding mix
- 4 cups cold milk
- 1 container (8 oz) whipped topping (like Cool Whip), thawed
- 1 package gummy worms (optional, for decoration)
- Clear cups or bowls (for serving)


How to Make Easy Oreo Dirt Pudding Cups No-Bake
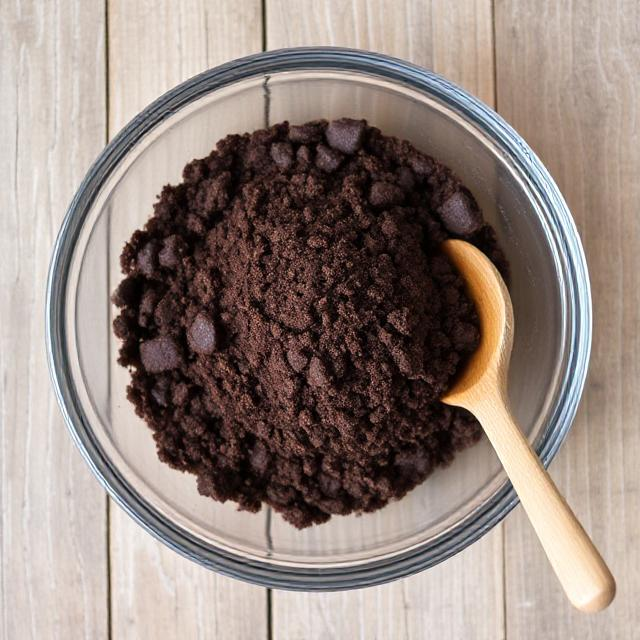
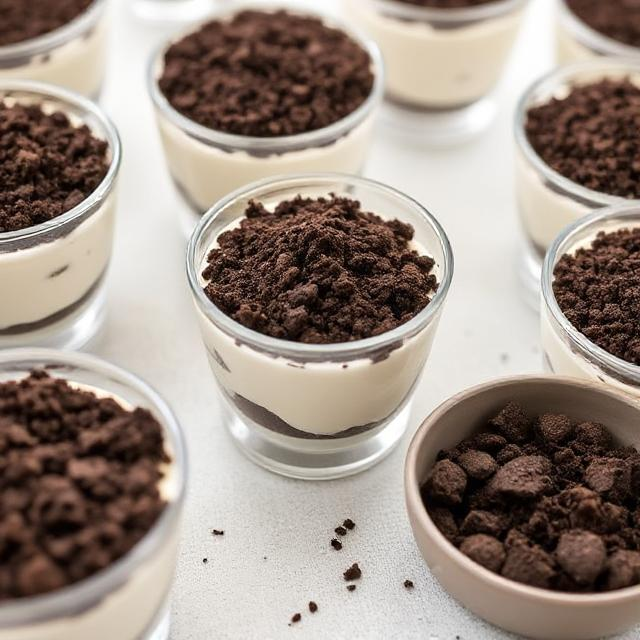
- Prepare the Oreos: Place the Oreo cookies in a resealable plastic bag and crush them using a rolling pin or the bottom of a glass. You can also pulse them in a food processor until they resemble coarse dirt. Set aside.
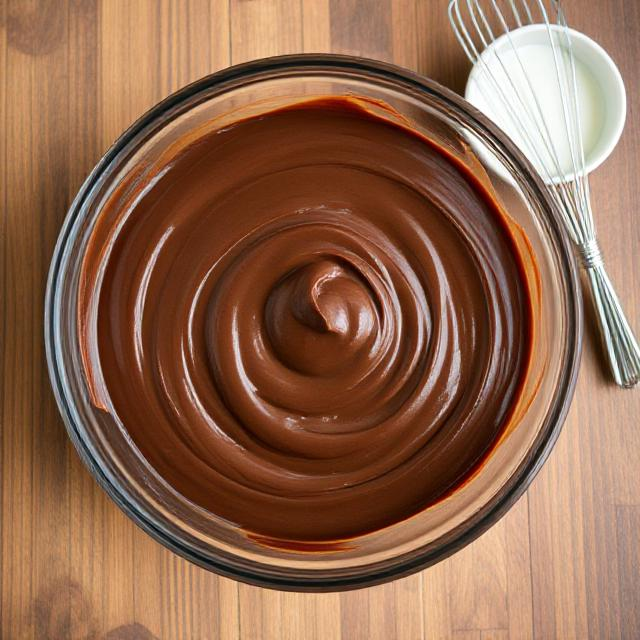
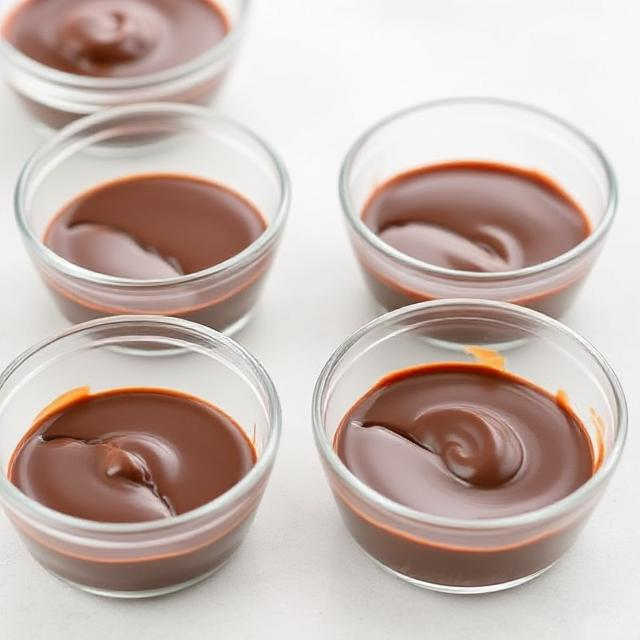
- Make the Pudding: In a large bowl, whisk together the instant chocolate pudding mix and cold milk until smooth and thickened. Let it set for 5 minutes.
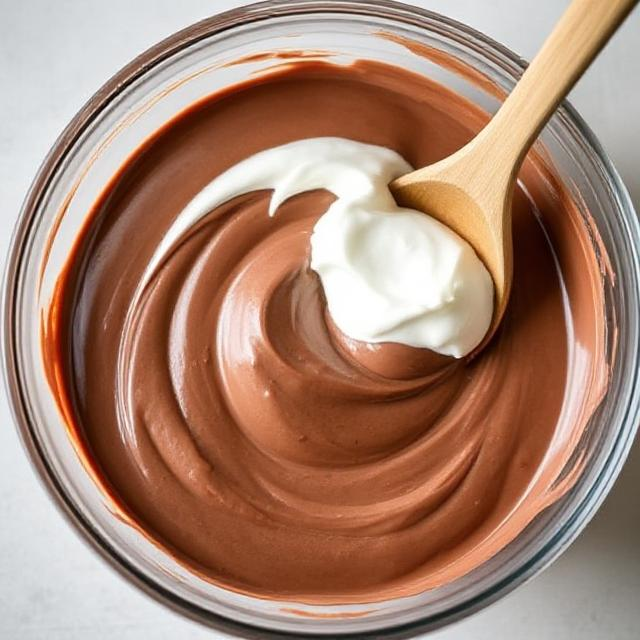
- Fold in Whipped Topping: Gently fold the whipped topping into the pudding until fully combined.
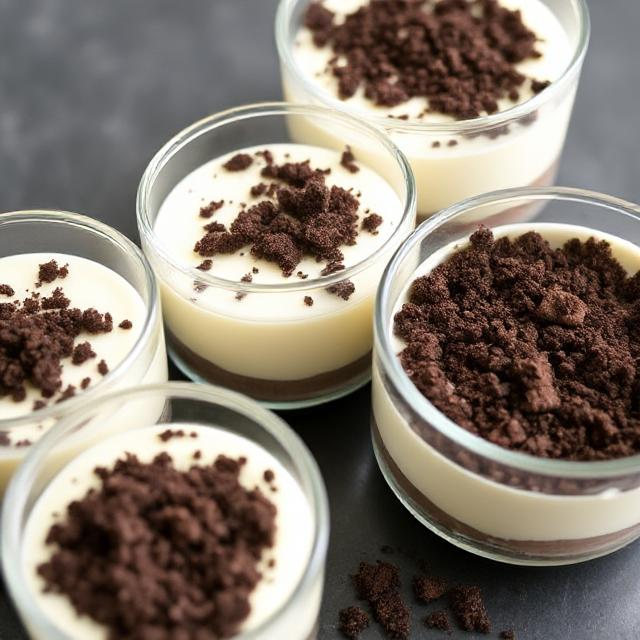
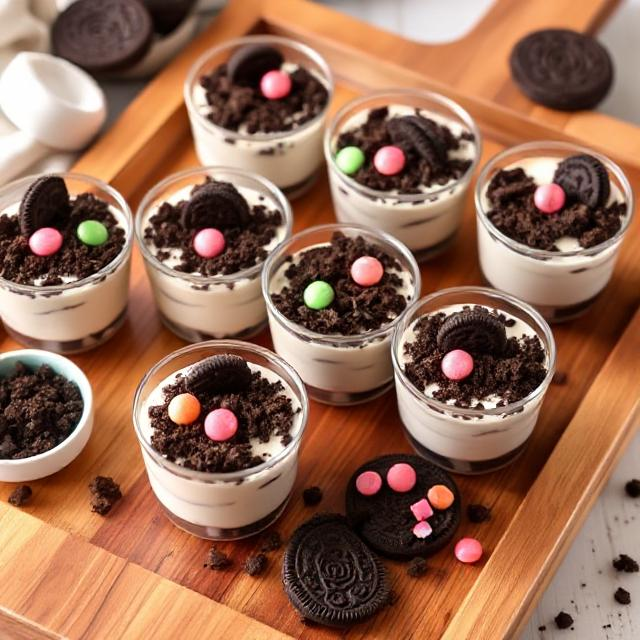
- Assemble the Cups: In each clear cup or bowl, layer the ingredients as follows:
- A spoonful of crushed Oreos
- A layer of chocolate pudding mixture
- Another spoonful of crushed Oreos
- Another layer of chocolate pudding mixture
- A final sprinkle of crushed Oreos on top
- Add the Finishing Touch: Place a few gummy worms on top of each cup, pushing them slightly into the “dirt” for a playful effect.
- Chill and Serve: Refrigerate the cups for at least 30 minutes before serving to allow the flavors to meld.
Tips for the Perfect Easy Oreo Dirt Pudding Cups No-Bake
- Crush Oreos Well: Make sure the Oreos are finely crushed to mimic the look of dirt.
- Use Clear Cups: Clear cups or bowls showcase the fun layers of the dessert.
- Chill Before Serving: Letting the cups chill helps the pudding set and enhances the flavor.
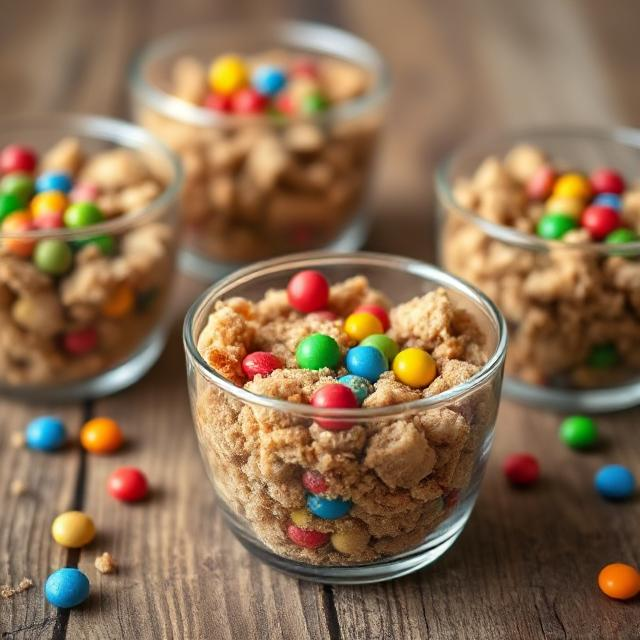
- Get Creative: Add other toppings like chocolate chips, sprinkles, or even crushed candy bars for extra fun.

Substitutions and Variations
- Gluten-Free: Use gluten-free chocolate cookies in place of Oreos.
- Dairy-Free: Substitute the milk with almond milk or oat milk and use a dairy-free whipped topping.
- Different Pudding Flavors: Try vanilla, butterscotch, or cheesecake pudding for a twist.
- Vegan Option: Use vegan chocolate cookies and plant-based pudding mix.
Make a Healthier Version
- Low-Fat Milk: Use low-fat or skim milk to reduce calories.
- Sugar-Free Pudding: Opt for sugar-free pudding mix and whipped topping.
- Fresh Fruit: Add fresh berries or banana slices for a healthier touch.
Closing for Easy Oreo Dirt Pudding Cups No-Bake
This Easy Oreo Dirt Pudding Cups recipe is more than just a dessert—it’s a celebration of fun, creativity, and the joy of sharing something delightful with loved ones. Whether you’re serving it at a party or enjoying it as a sweet treat at home, this dessert is sure to bring smiles to everyone’s faces. Don’t forget to let us know how your dirt pudding cups turn out, and consider checking out some of our other recipes for more culinary inspiration. Happy cooking!
Frequently Asked Questions for Easy Oreo Dirt Pudding Cups No-Bake
Can I make this dessert ahead of time?
Yes, you can assemble the cups a few hours in advance and keep them refrigerated until ready to serve.
Can I freeze this dessert?
It’s best enjoyed fresh, as freezing may alter the texture of the pudding and whipped topping.
Can I use homemade pudding?
Absolutely! Homemade chocolate pudding can be used instead of instant pudding mix.
Can I make this gluten-free?
Yes, use gluten-free chocolate cookies and ensure the pudding mix is gluten-free.
Can I add other toppings?
Yes, try adding crushed candy bars, chocolate chips, or even fresh fruit for extra flavor.
How do I store leftovers?
Store in an airtight container in the refrigerator for up to 2 days.
Can I make this in a large bowl instead of individual cups?
Yes, you can layer the ingredients in a large trifle bowl for a communal dessert.
What’s the best way to serve this dessert?
Serve chilled, with extra gummy worms or toppings on the side for added fun.
Can I make this vegan?
Yes, use vegan cookies, plant-based pudding mix, and dairy-free whipped topping.
This Easy Oreo Dirt Pudding Cups No-Bake recipe is a testament to the magic of simple, playful ingredients coming together to create something truly special. Whether you’re a seasoned baker or just starting out, this dessert is a must-try. So, gather your ingredients, grab your cups, and get ready to enjoy a treat that’s sure to become a family favorite. Happy cooking!
Easy Oreo Dirt Pudding Cups No-Bake
Course: All Recipes4
servings30
minutes40
minutes300
kcalIngredients
1 package (15.25 oz) Oreo cookies
2 boxes (3.9 oz each) instant chocolate pudding mix
4 cups cold milk
1 container (8 oz) whipped topping (like Cool Whip), thawed
1 package gummy worms (optional, for decoration)
Clear cups or bowls (for serving)
Directions
- Prepare the Oreos: Place the Oreo cookies in a resealable plastic bag and crush them using a rolling pin or the bottom of a glass. You can also pulse them in a food processor until they resemble coarse dirt. Set aside.
- Make the Pudding: In a large bowl, whisk together the instant chocolate pudding mix and cold milk until smooth and thickened. Let it set for 5 minutes.
- Fold in Whipped Topping: Gently fold the whipped topping into the pudding until fully combined.
- Assemble the Cups: In each clear cup or bowl, layer the ingredients as follows:
- spoonful of crushed Oreos
- layer of chocolate pudding mixture
- Another spoonful of crushed Oreos
- Another layer of chocolate pudding mixture
- final sprinkle of crushed Oreos on top
- Add the Finishing Touch: Place a few gummy worms on top of each cup, pushing them slightly into the “dirt” for a playful effect.
- Chill and Serve: Refrigerate the cups for at least 30 minutes before serving to allow the flavors to meld.