

Some dishes are more than just meals—they’re a celebration of flavor, technique, and the joy of creating something truly satisfying. Easy Brined and Fried Chicken is one such dish. This recipe combines the juiciness of brined chicken with the crispy, golden perfection of fried chicken, making it a crowd-pleasing favorite for any occasion. Imagine tender, flavorful chicken with a perfectly seasoned crust that’s crispy on the outside and succulent on the inside. It’s a dish that feels like a celebration, whether you’re serving it for a family dinner, a game day gathering, or a picnic in the park.
The first time I made this dish, it was for a summer barbecue. I wanted something that would stand out among the usual burgers and hot dogs, and this recipe caught my eye. As I brined the chicken, the aroma of herbs and spices filled the kitchen. When I fried the chicken, the sizzle and golden color were irresistible. “What’s that amazing smell?” a guest asked, peeking into the kitchen. When I brought out the platter of fried chicken, everyone gathered around, eager to dig in. “This is the best fried chicken I’ve ever had!” someone exclaimed, reaching for another piece. Since then, Easy Brined and Fried Chicken has become a staple at my summer gatherings.
The first time I served this dish to my family, it was on a Sunday afternoon. My kids, who are usually picky eaters, were intrigued by the brining process. “Why are we soaking the chicken in saltwater?” my daughter asked, skeptically. But after one bite, her skepticism vanished. “This is so juicy and crispy!” she said, reaching for another piece. Even my husband, who’s not a big fan of fried food, couldn’t resist. “You’ve outdone yourself,” he said, helping himself to a second helping. That day, Easy Brined and Fried Chicken became a family favorite, and we’ve made it countless times since.
Why This Easy Brined and Fried Chicken?
Selling Points:
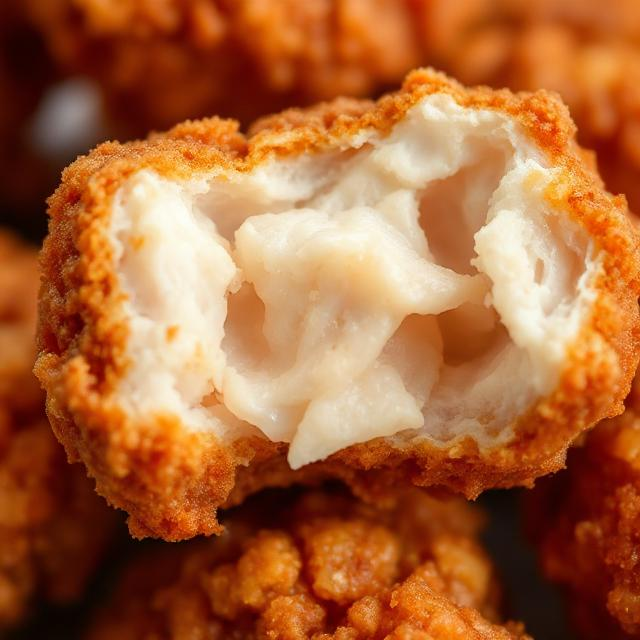
- Juicy and Flavorful: The brine ensures the chicken stays moist and packed with flavor.
- Crispy and Golden: The perfect crust makes this fried chicken irresistible.
- Easy to Make: With simple ingredients and straightforward steps, this recipe is perfect for home cooks of all levels.
- Crowd-Pleasing: A hit with both kids and adults.
- Versatile: Perfect for family dinners, picnics, or any occasion that calls for a special meal.
What You Need for Easy Brined and Fried Chicken
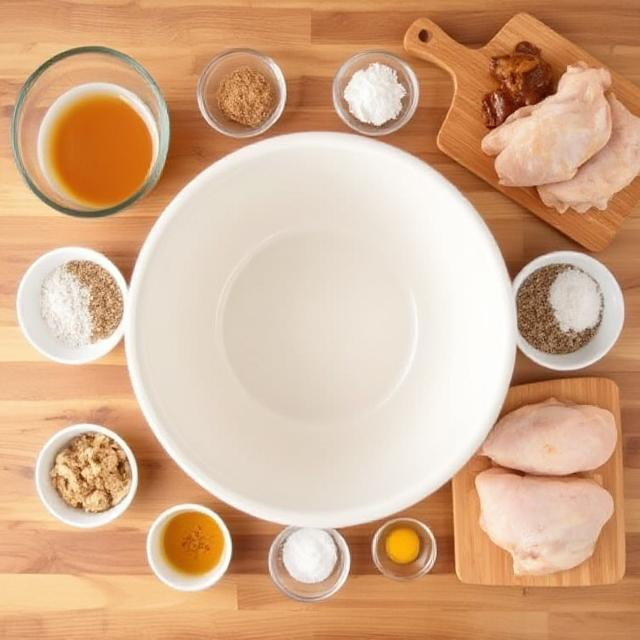
Ingredients:
For the Brine:
- 4 cups water
- 1/4 cup kosher salt
- 1/4 cup sugar
- 2 bay leaves
- 1 tbsp black peppercorns
- 1 tbsp garlic powder
- 1 tbsp onion powder
- 1 tsp paprika
- 1 tsp dried thyme
For the Chicken:
- 3-4 lbs chicken pieces (legs, thighs, breasts, or wings)
- 2 cups buttermilk
- 2 cups all-purpose flour
- 1 tbsp garlic powder
- 1 tbsp onion powder
- 1 tbsp paprika
- 1 tsp cayenne pepper (optional)
- Salt and pepper, to taste
- Vegetable oil, for frying
How to Make Easy Brined and Fried Chicken
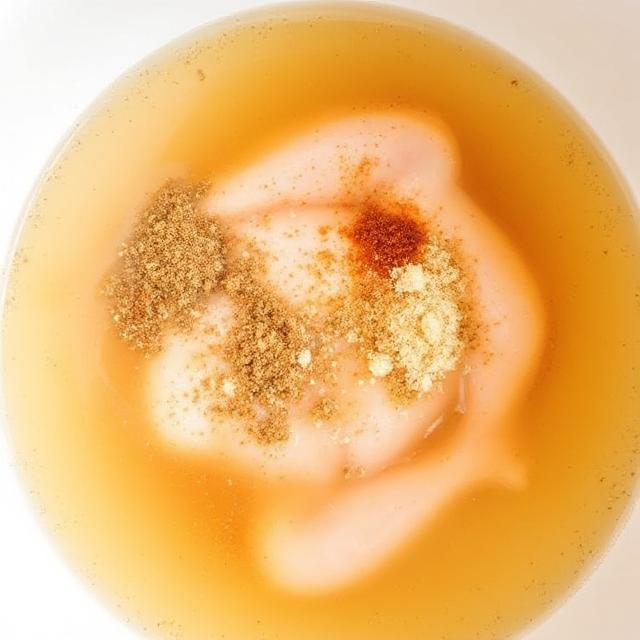
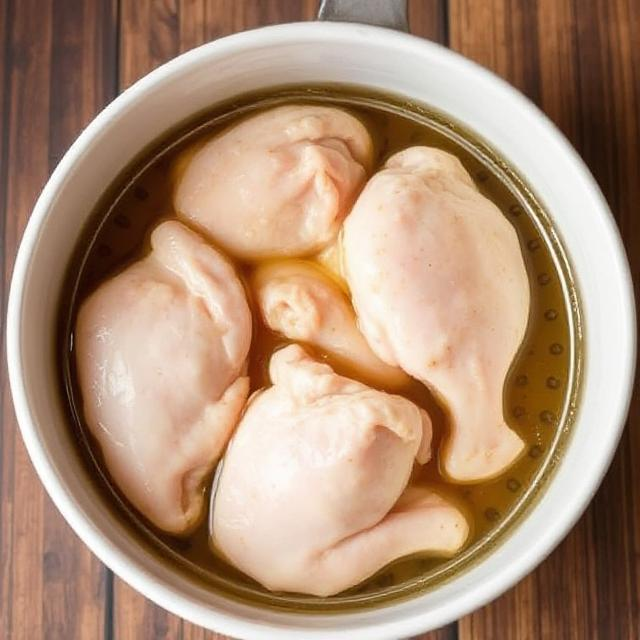
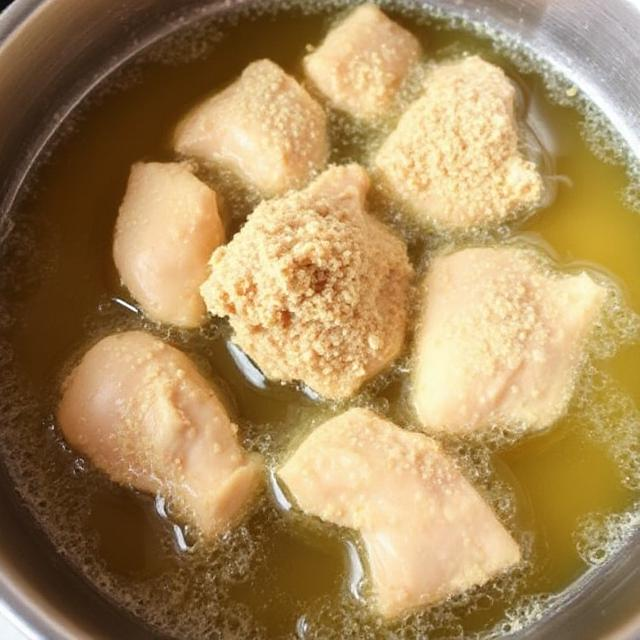
- Prepare the Brine: In a large pot, combine the water, salt, sugar, bay leaves, peppercorns, garlic powder, onion powder, paprika, and thyme. Bring to a boil, stirring until the salt and sugar dissolve. Remove from heat and let cool completely.
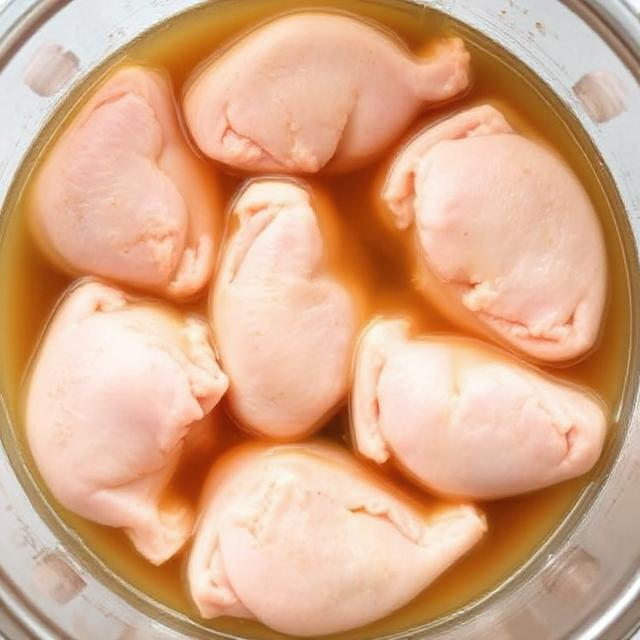
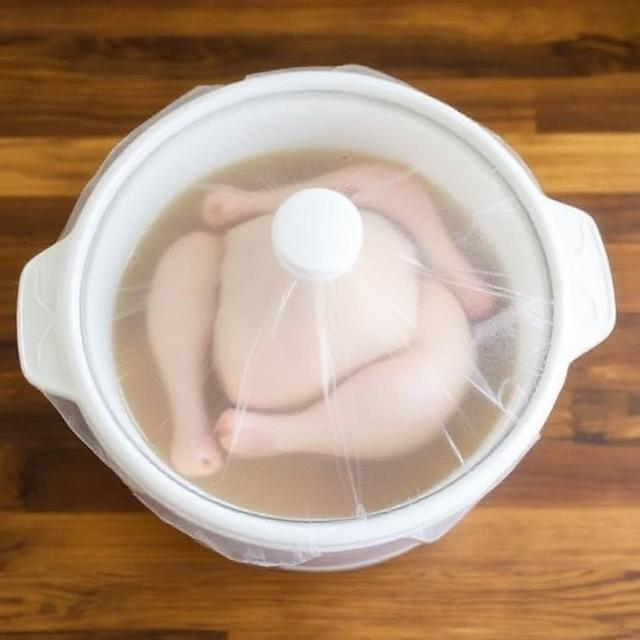
- Brine the Chicken: Place the chicken pieces in a large bowl or resealable bag. Pour the cooled brine over the chicken, ensuring it’s fully submerged. Cover and refrigerate for at least 4 hours, or overnight for best results.
- Soak in Buttermilk: Remove the chicken from the brine and pat dry. Place the chicken in a bowl and cover with buttermilk. Let soak for 1 hour.
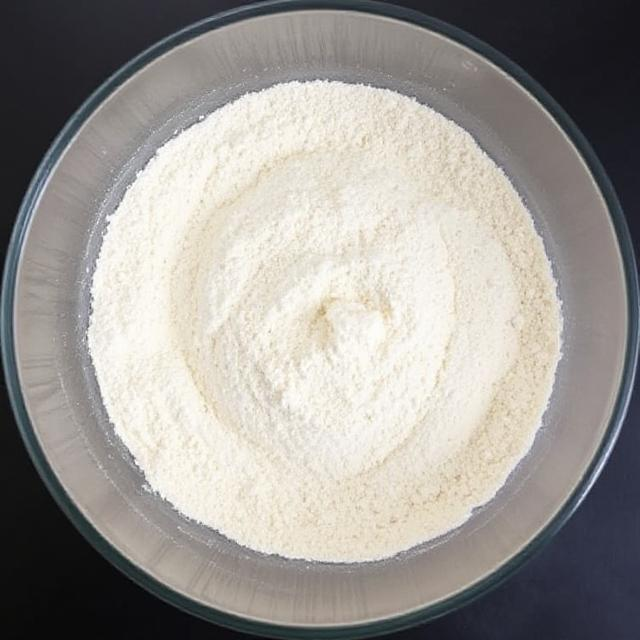
- Prepare the Coating: In a large bowl, mix the flour, garlic powder, onion powder, paprika, cayenne pepper (if using), salt, and pepper.
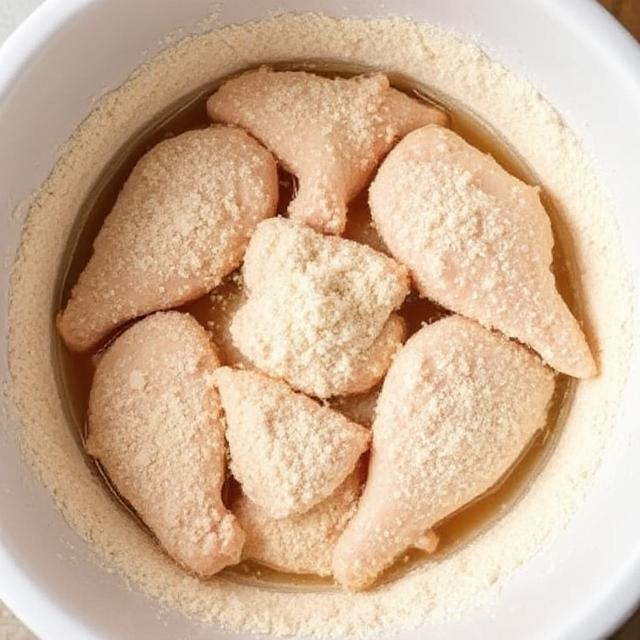
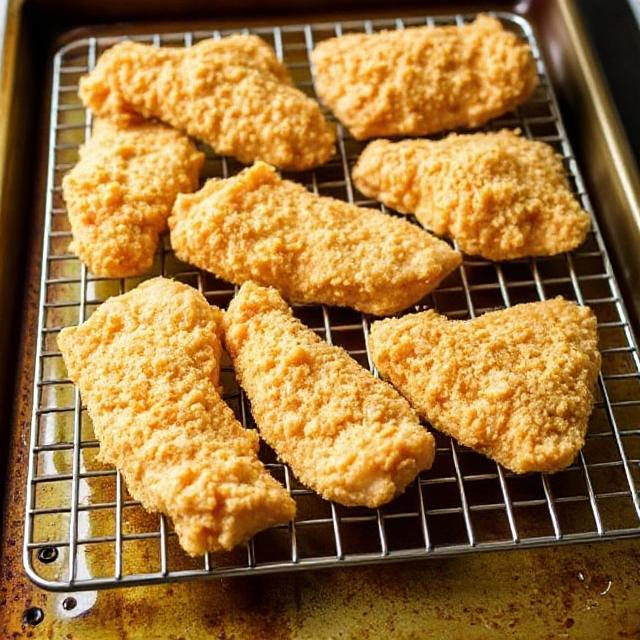
- Coat the Chicken: Remove the chicken from the buttermilk, shaking off excess. Dredge each piece in the flour mixture, pressing to adhere. Let the coated chicken rest on a wire rack for 10-15 minutes.
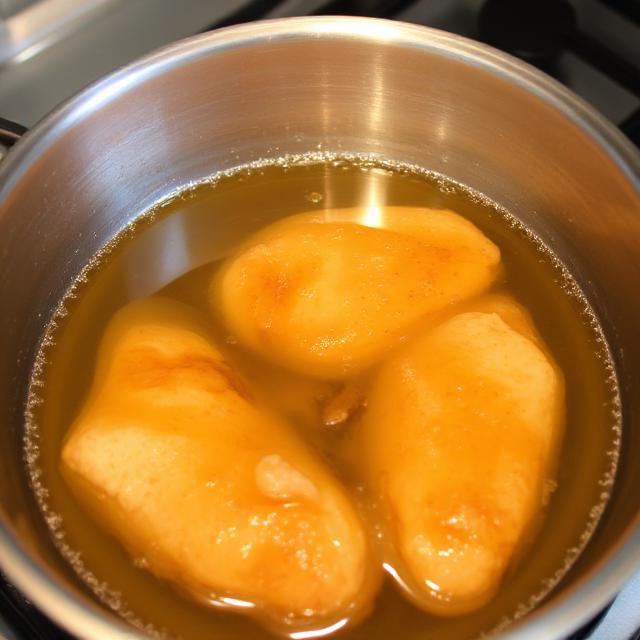
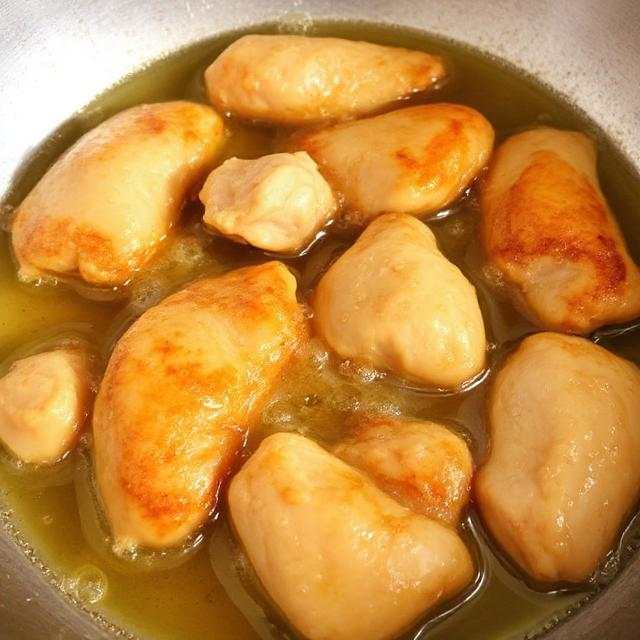
- Heat the Oil: In a large skillet or Dutch oven, heat 2-3 inches of vegetable oil to 350°F (175°C).
- Fry the Chicken: Working in batches, carefully place the chicken in the hot oil. Fry for 12-15 minutes, turning occasionally, until golden brown and cooked through (internal temperature of 165°F/74°C).
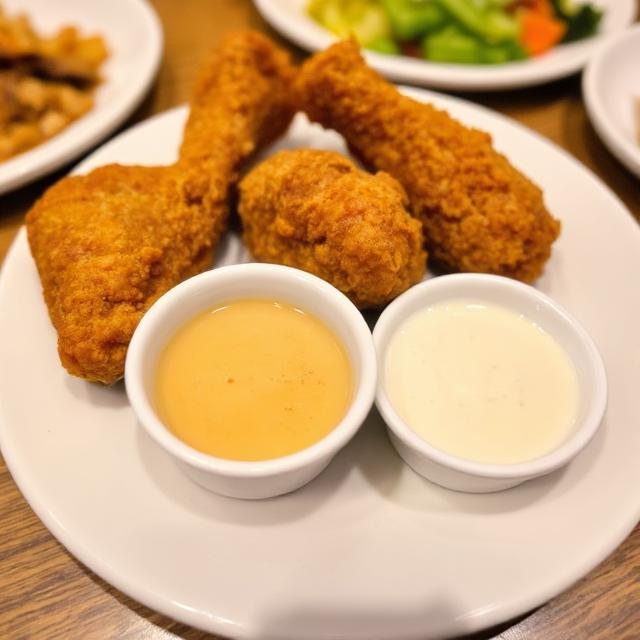
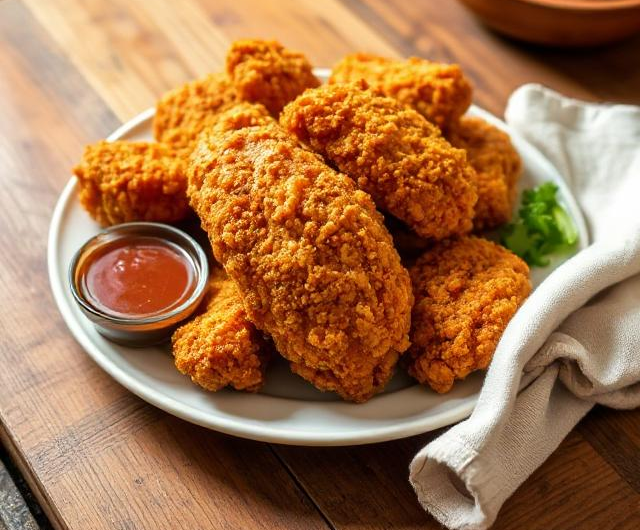
- Drain and Serve: Transfer the fried chicken to a wire rack or paper towel-lined plate to drain. Serve warm.
Tips for the Perfect Fried Chicken
- Don’t Skip the Brine: Brining ensures the chicken stays juicy and flavorful.
- Use Buttermilk: The buttermilk tenderizes the chicken and helps the coating stick.
- Double Coat: For extra crispiness, dip the chicken in buttermilk and flour a second time.
- Maintain Oil Temperature: Keep the oil at 350°F (175°C) for even cooking and a crispy crust.
- Rest the Coating: Letting the coated chicken rest helps the coating adhere better during frying.

Substitutions and Variations
- Gluten-Free: Use a gluten-free flour blend for the coating.
- Dairy-Free: Substitute buttermilk with a mixture of dairy-free milk and lemon juice or vinegar.
- Spicy Version: Add more cayenne pepper or hot sauce to the buttermilk or flour mixture.
- Herb-Infused: Add fresh herbs like rosemary or thyme to the brine for extra flavor.
Make a Healthier Version
- Oven-Baked: Instead of frying, bake the chicken at 400°F (200°C) for 30-40 minutes, flipping halfway through.
- Air Fryer: Cook the chicken in an air fryer at 375°F (190°C) for 20-25 minutes, flipping halfway through.
- Skinless Chicken: Use skinless chicken pieces to reduce fat content.
Closing for Easy Brined and Fried Chicken
This Easy Brined and Fried Chicken is more than just a meal—it’s a celebration of flavor, technique, and the joy of sharing something delicious with loved ones. Whether you’re serving it for a family dinner, a picnic, or a special gathering, this dish is sure to impress. Don’t forget to let us know how your fried chicken turns out, and consider checking out some of our other recipes for more culinary inspiration. Happy cooking!
Frequently Asked Questions for Easy Brined and Fried Chicken
Can I make this dish ahead of time?
Yes, you can brine the chicken overnight and fry it just before serving.
Can I freeze this dish?
Yes, freeze the fried chicken in an airtight container for up to 2 months. Reheat in the oven for best results.
Can I use a different type of meat?
Yes, try this recipe with turkey or pork for a variation.
Can I make this gluten-free?
Yes, use a gluten-free flour blend for the coating.
Can I add other flavors?
Yes, try adding smoked paprika, cumin, or chili powder to the flour mixture.
How do I store leftovers?
Store in an airtight container in the refrigerator for up to 3 days.
Can I make this in an air fryer?
Yes, cook the chicken in an air fryer at 375°F (190°C) for 20-25 minutes, flipping halfway through.
What’s the best way to serve this dish?
Serve with mashed potatoes, coleslaw, or cornbread for a complete meal.
Can I make this healthier?
Yes, bake or air fry the chicken instead of frying it.
This Easy Brined and Fried Chicken is a testament to how simple, wholesome ingredients can come together to create something truly special. Whether you’re a seasoned cook or just starting out, this recipe is a must-try. So, gather your ingredients, heat up your oil, and get ready to enjoy a dish that’s sure to become a family favorite. Happy cooking!
Easy Brined and Fried Chicken
Course: All Recipes4
servings30
minutes40
minutes300
kcalIngredients
- For the Brine:
4 cups water
1/4 cup kosher salt
1/4 cup sugar
2 bay leaves
1 tbsp black peppercorns
1 tbsp garlic powder
1 tbsp onion powder
1 tsp paprika
1 tsp dried thyme
- For the Chicken:
3-4 lbs chicken pieces (legs, thighs, breasts, or wings)
2 cups buttermilk
2 cups all-purpose flour
1 tbsp garlic powder
1 tbsp onion powder
1 tbsp paprika
1 tsp cayenne pepper (optional)
Salt and pepper, to taste
Vegetable oil, for frying
Directions
- Prepare the Brine: In a large pot, combine the water, salt, sugar, bay leaves, peppercorns, garlic powder, onion powder, paprika, and thyme. Bring to a boil, stirring until the salt and sugar dissolve. Remove from heat and let cool completely.
- Brine the Chicken: Place the chicken pieces in a large bowl or resealable bag. Pour the cooled brine over the chicken, ensuring it’s fully submerged. Cover and refrigerate for at least 4 hours, or overnight for best results.
- Soak in Buttermilk: Remove the chicken from the brine and pat dry. Place the chicken in a bowl and cover with buttermilk. Let soak for 1 hour.
- Prepare the Coating: In a large bowl, mix the flour, garlic powder, onion powder, paprika, cayenne pepper (if using), salt, and pepper.
- Coat the Chicken: Remove the chicken from the buttermilk, shaking off excess. Dredge each piece in the flour mixture, pressing to adhere. Let the coated chicken rest on a wire rack for 10-15 minutes.
- Heat the Oil: In a large skillet or Dutch oven, heat 2-3 inches of vegetable oil to 350°F (175°C).
- Fry the Chicken: Working in batches, carefully place the chicken in the hot oil. Fry for 12-15 minutes, turning occasionally, until golden brown and cooked through (internal temperature of 165°F/74°C).
- Drain and Serve: Transfer the fried chicken to a wire rack or paper towel-lined plate to drain. Serve warm.